Hi everyone, Steph Ackerman here today using stamps from Blank Page Muse.
Welcome to the Blank Page Muse Blog! We hope you love these amazing projects created by our fabulous Creative Stamping Team. At Blank Page Muse, we are proud to offer red rubber stamps, clear stamps and stencils. I Brake for Stamps rubber stamps are available online in the same shop. Art rubber stamps are pressed to order in the USA. We are here to help break that blank page! Visit our sister shop IBRAKEFORSTAMPS.com
Wednesday, May 20, 2026
Thinking of You
Friday, June 13, 2025
Thank You Etched Stone Flower
Hi everyone, Steph Ackerman here today using some amazing stamps from Blank Page Muse.
Friday, June 6, 2025
Etched Stone Flower Card
Hi everyone, Steph Ackerman here today using some amazing stamps from Blank Page Muse.
Monday, April 21, 2025
Where Flowers Speak, Friendship Grows
- Large Violet Stem stamp from Blank Page Muse
- Water-based ink pens (For this project, I used Altenew Artistry markers)
- Watercolor paper (I prefer Canson)
- Ink-blending brush
- Blue, Water Reactive ink (I used Distress Oxide)
- Paint Brushes
- Pattern paper (Your taste and preferences should dictate selection)
- White A2 Card base
- Boarder die (Your taste and preferences should dictate selection)
- Liquid glue
- Low-tack Tape
- Paper Trimmer
- Die cutting machine
- Stamping platform (I use a Misiti)
- Black embossing powder
- Heat tool
- Embossing ink
- Sentiment of choice
- Flat-back pearls
Process
- Using the watercolor paper and a paper trimmer, cut the paper to approximately 4.25" x 5.5".
- Place the cardstock into your stamping platform and secure it into place.
- Align the Large Violet Stem stamp into its final position
- Secure the stamp to the stamping platform using some low-tack tape.
- Close the lid and press firmly to ensure the stamp adheres to the lid.
- Double-check that it is secure because the technique to create the card requires a lot of repeated stamping.
- Choose a section of the stamp that feels comfortable to work with and use the Altenew Artistry marker to color only that portion of the stamp.
- Work with light, even strokes, making sure to only get the pigment on the raised section of the stamp.
- Make sure that there is good coverage.
- Stamp the image onto the cardstock.
- Use even pressure, making sure that the applied pressure is downward only to prevent potential stamp movement
- Clean any residual ink from the stamp with a paper towel.
- Using a damp, fine-tip brush and a light touch, pull the pigment from the edges of the stamped image towards the center of the image.
- Be sure to keep inside the lines of the image as you work.
- Take adequate time with this step to prevent smearing or bleeding.
- Allow to dry completely.
- Repeat the steps for other areas of the stamp.
- Save the fine detail or outlines for the final stamping.
- Using a die of your choice, cut out the boarders and align as shown to frame your focal image.
- Adhere into place with liquid glue
- Allow to dry
Assembly
- Secure the completed panel onto the stamping platform.
- Align chosen sentiment.
- Ink the sentiment with embossing ink and stamp the image, repeat if necessary for complete coverage
- Remove the panel from the stamping platform and apply the black embossing powder.
- Recover the excess powder.
- Heat-set the powder with a heat tool.
- Adhere the completed panel to the A2 card base with liquid glue.
The stamps I used can be found by following the links in the materials list, or you can find them with a quick search on www.blankpagemuse.com. Visit our social media sites for more stamping fun!
Monday, March 25, 2024
How to Create a Stamped Collage Style Card
Greetings! Chris here and today I am excited to share this stamped collage style greeting card.
I hope you are inspired to get creative with your stamps and
papers from Blank Page Muse and I Brake For Stamps. Don't forget to use my
discount code BPMChris.
Be sure to follow us at
The Blank Page Muse- https://blankpagemuse.com/
I Brake for Stamps-https://ibrakeforstamps.com/
FB Fan Page- https://www.facebook.com/groups/blankpagemuse/
Instagram Shop- https://www.instagram.com/blankpagemuse/
Instagram Blog- https://www.instagram.com/blankpagemuseblog/
Twitter- https://twitter.com/BlankPageMuse
Pintrest- https://www.pinterest.com/blankpagemuse/boards/
Monday, March 28, 2022
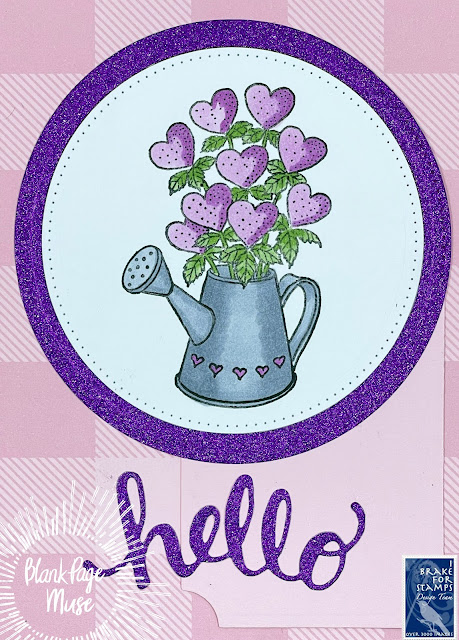
Hello - A Sweetheart Bouquet
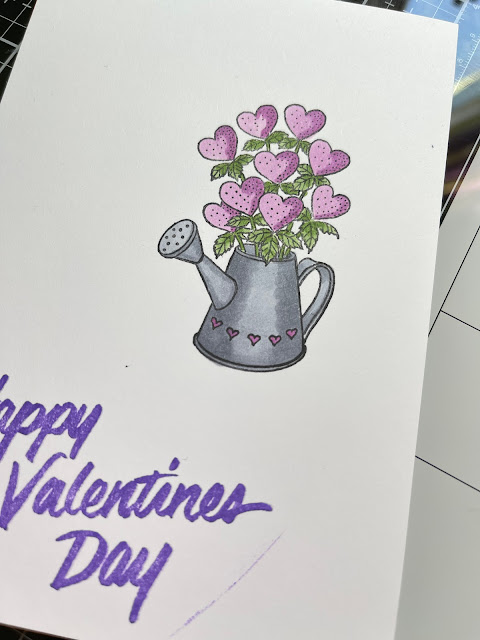
Today I am excited to share this beautiful card I created featuring the Heart Bouquet Stamp from I Brake for Stamps!
Be sure to follow us at
The Blank Page Muse- https://blankpagemuse.com/
FB Fan Page- https://www.facebook.com/groups/blankpagemuse/
Instagram Shop- https://www.instagram.com/blankpagemuse/
Instagram Blog- https://www.instagram.com/blankpagemuseblog/
Twitter- https://twitter.com/BlankPageMuse
Friday, August 27, 2021
Sending you the best! ...with Distress and Embossing
Good Morning and Happy Friday!
Today I have a simple but elegant card to share using the beautiful Floral Spray Sunflowers Chrysanthemums Words Border Art by Pam Bray.
The Blank
Page Muse- https://blankpagemuse.com/
FB Fan
Page- https://www.facebook.com/groups/blankpagemuse/
Instagram
Shop- https://www.instagram.com/blankpagemuse/
Instagram
Blog- https://www.instagram.com/blankpagemuseblog/
Twitter- https://twitter.com/BlankPageMuse
Pintrest- https://www.pinterest.com/blankpagemuse/boards/
May your weekend be wonderful and full of creating!
Christine
Tuesday, March 23, 2021
Flower Postcard
- Imagination
- Scissors
- Alcohol markers
- Paint brush
- Water colors
- Ink
- Craft Foam
- Water color paper
- Card Stock
- Glue
Thursday, February 25, 2021
Floral Bouquet Tag
Hi everyone! Tonya here with a floral tag I created! I don't know about you but I am longing for warmer weather and all the things that goes with spring. So I had the urge to create something floral and this is what I came up with. I used the Floral Spray Sunflowers Chrysanthemum Rubber Stamp by Pam Bray.
Supplies Used
Blank Page Muse: Floral Spray Sunflowers Chrysanthemum Rubber Stamp
Tag
Ink and Watercolors
Watercolor Brush
Scraps of Patterned Cardstock
Thread and Seam Binding
Damask Embossing Folder
Diecut Machine
Paper Cutter
Scissors
Gems and Flatback Pearls
Foam Pop Dots
The second sunflower image I shaped and adhered on top of the other sunflower to give it dimension. I added a large gem to the center of the sunflower and the smaller flowers I placed flatback pearls in the center of each one. I also added several loops of thread in different areas for texture. I finished off by tying a seam binding bow to the top of the tag.
Thursday, September 25, 2014
PanPastel Florals
Main Supplies
Sin City Stamps - Love of Butterflies (sc4) plate of rubber
PanPastel - Violet, Violet Tint and Permanent Green
Other
Blender marker
Embossing Folder
Papers - Beige leather textured cardstock, lilac metallic cardstock
Adhesives - Mounting tape, two sided tape and Uhu all purpose adhesive
Lilac gross grain ribbon
I have a step by step photo tutorial for you. To see how I made my card, please start the guide below.
Check out How to Color a Dry Embossed Background With PanPastels by Gracie CH on Snapguide.
I hope you enjoyed seeing my card and tutorial. Thanks so much for stopping by!
Wednesday, September 10, 2014
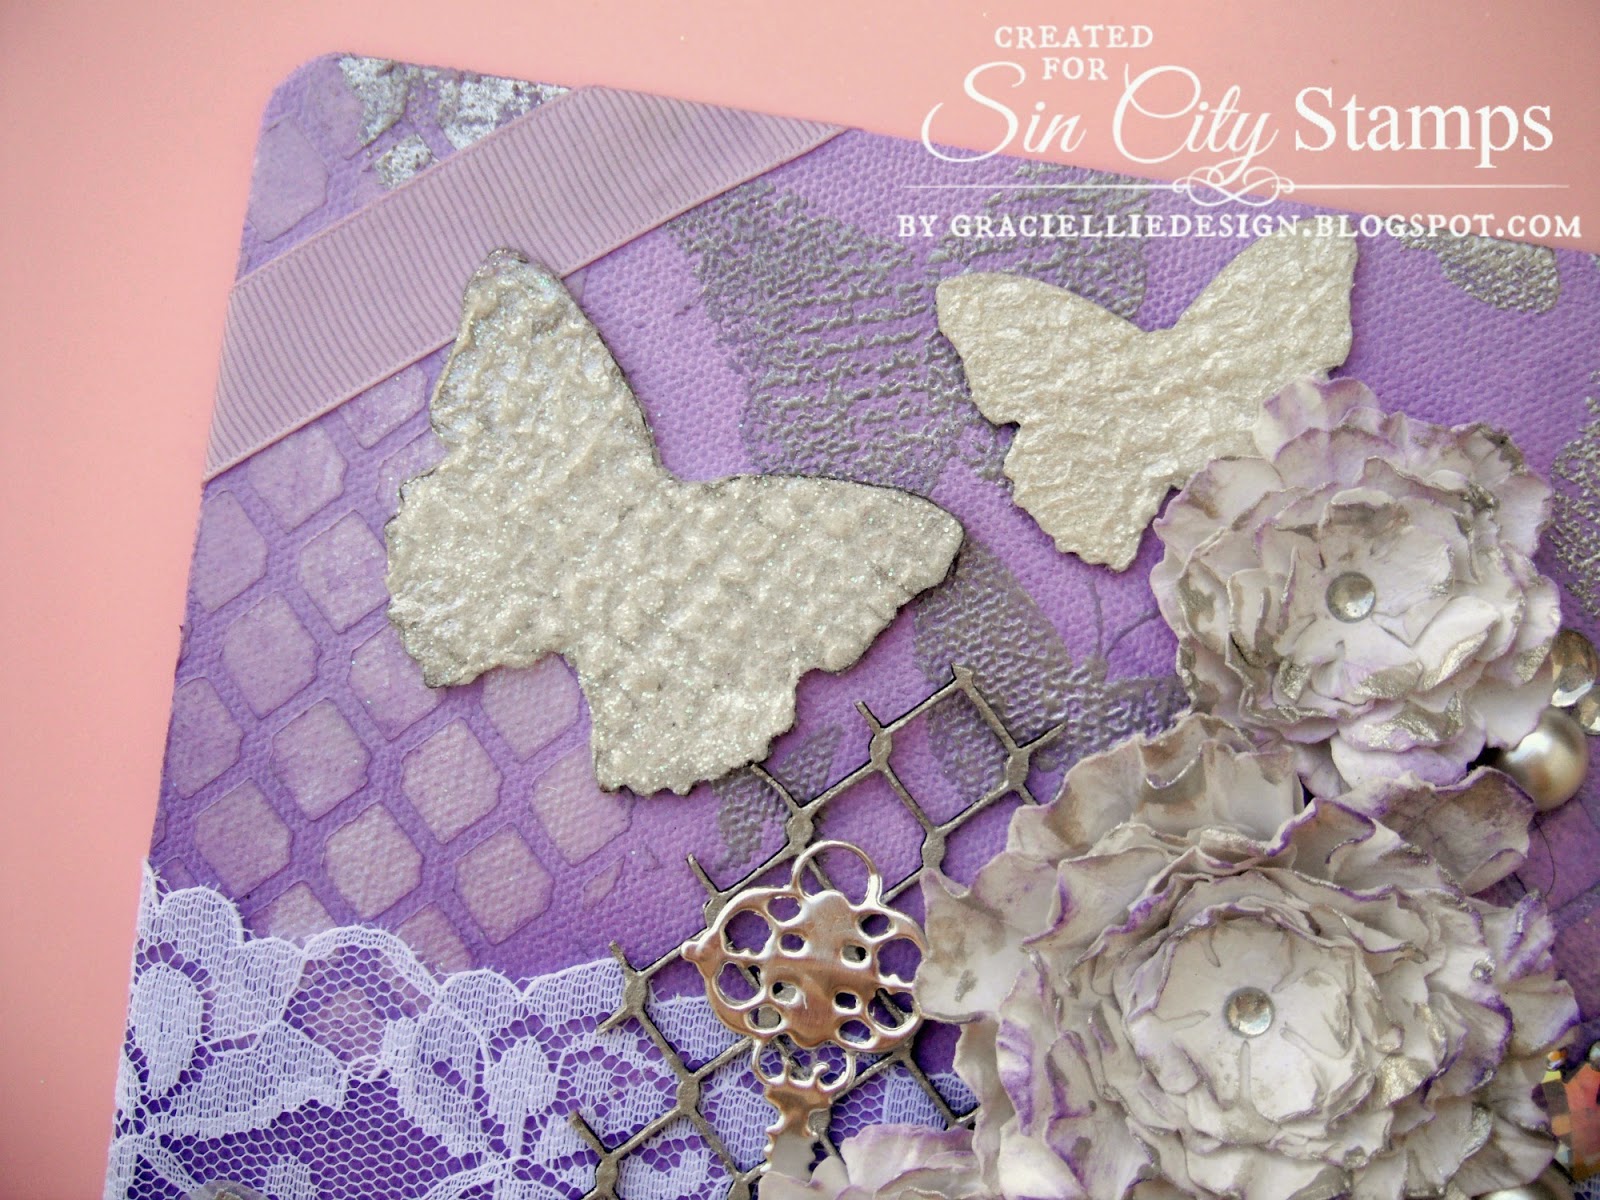
Lilac Canvas - Pan Pastel & Sin City Stamps
Hello and welcome. It's Gracie from Graciellie Design and I'm excited to be here once more, to share with you a new project. This month Sin City Stamps has partnered with PanPastel, and I am very excited! My teammates have been presenting such creative projects on the Sin City Stamps' blog showcasing products from both companies, and they've done an amazing job.
PanPastel is such a forgiving medium, it blends so well, it can be corrected with a simple eraser, and it has such rich color, it's is a delight to work with them!
Sin City Stamps: Love of Butterflies rubber plate, Chicken Wire with Butterflies Mask, Chicken Wire w/Butterflies Chipboard Sheet, Chicken wire with Butterflies Chipboard Book,
PanPastel: Violet, Violet Tint
Cottonwood Arts: Cottonwood Arts Thin 6"x 6"Canvas (to be released), Angled Cut Art Sponge - Sofft Tools
DreamWeaver Pearlescent Embossing Paste
Add a Little Dazzle metal sheet
Miscelaneous: Ribbon, lace, glitter, acrylic paint, vellum, cardstock, various adhesives, pearls and crystals
Check out How to Make a 3D Embellished Canvas With Pan Pastels by Gracie CH on Snapguide.
I hope you enjoyed my project and tutorial as much as I enjoyed making it and I hope you are inspired to try it out too! If you have any questions feel free to contact me through a comment here or at my blog.
Wednesday, August 13, 2014
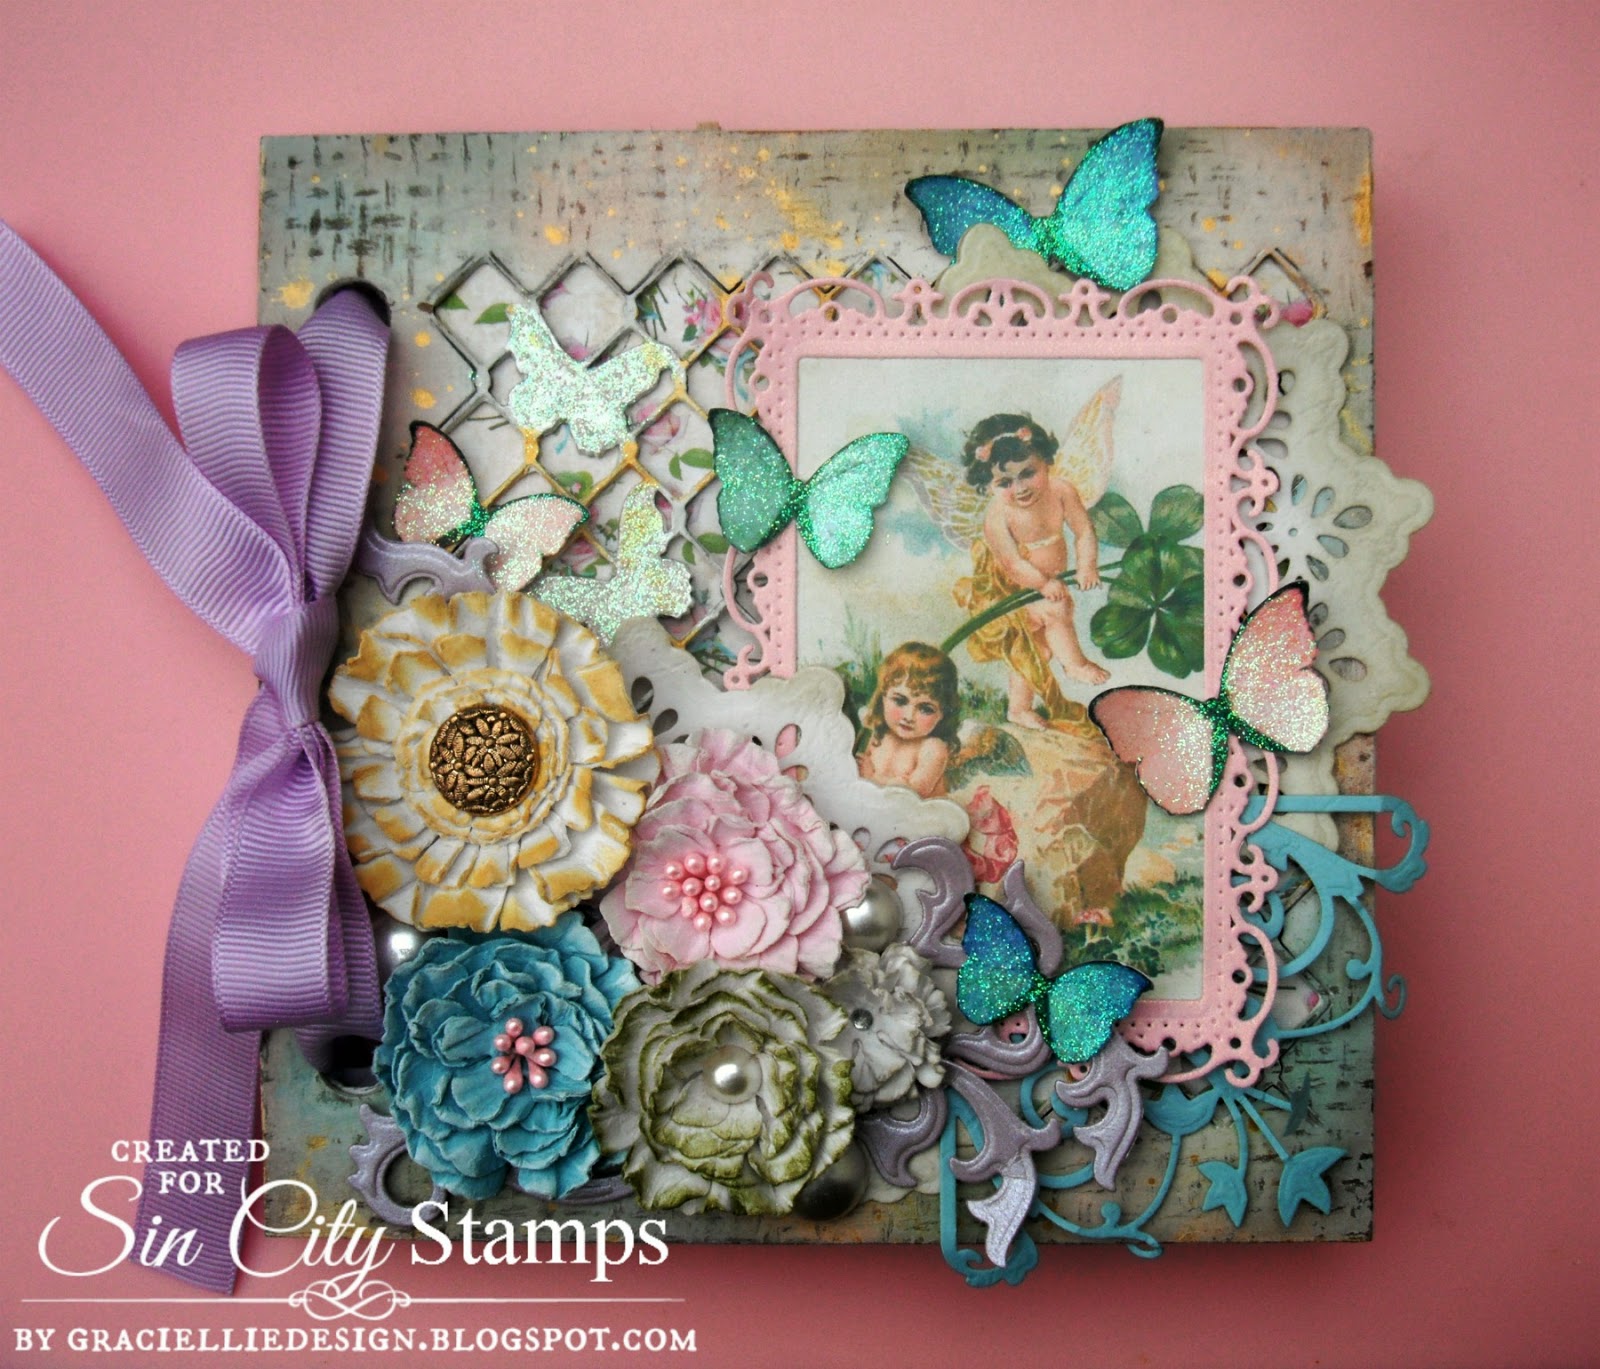
Vintage Fairy Album
Everything on this album was made from scratch, from the handmade flowers to the inside pages... To make it, I used the following materials:
Main supplies
Sin City Stamps Chicken wire w/ Butterflies Chipboard Book
Sin City Stamps Love of Butterflies Plate of Rubber
Sin City Stamps Chicken Wire with Butterflies Mask
Altered Pages' Fragile Fairies collage
Altered Pages' Fairy Wings Collage
Altered Pages' Alphabet F Collage
Altered Pages' Library Card
Other
Poster paint
Acrylic paint
Inka-Gold
Distress Inks
Pigment ink
Leather textured and metallic cardstocks
Spellbinders dies
Pearl stickers
Pearl stamens
Vintage button
Adhesives
Ribbon
To see how I created my album, please start the guide below and follow each step.
Check out How to Make a Vintage Fairy Album by Gracie CH on Snapguide.
I hope you enjoyed my project and tutorial. To purchase the products I used to create this album, please click on the corresponding link on the list of supplies. If you have any questions, feel free to contact me through a comment here or at my blog.
Thanks so much for your visit.


.png)