Friday, June 30, 2023

Masking Tape "Make Over"!!!

 Hi Stamping Fans!

Hope everyone is well and getting to enjoy some time for stamping & crafting!

Here in Australia it's Winter which means I get more time to create and play with all my rubber stamps and excess crafting items!

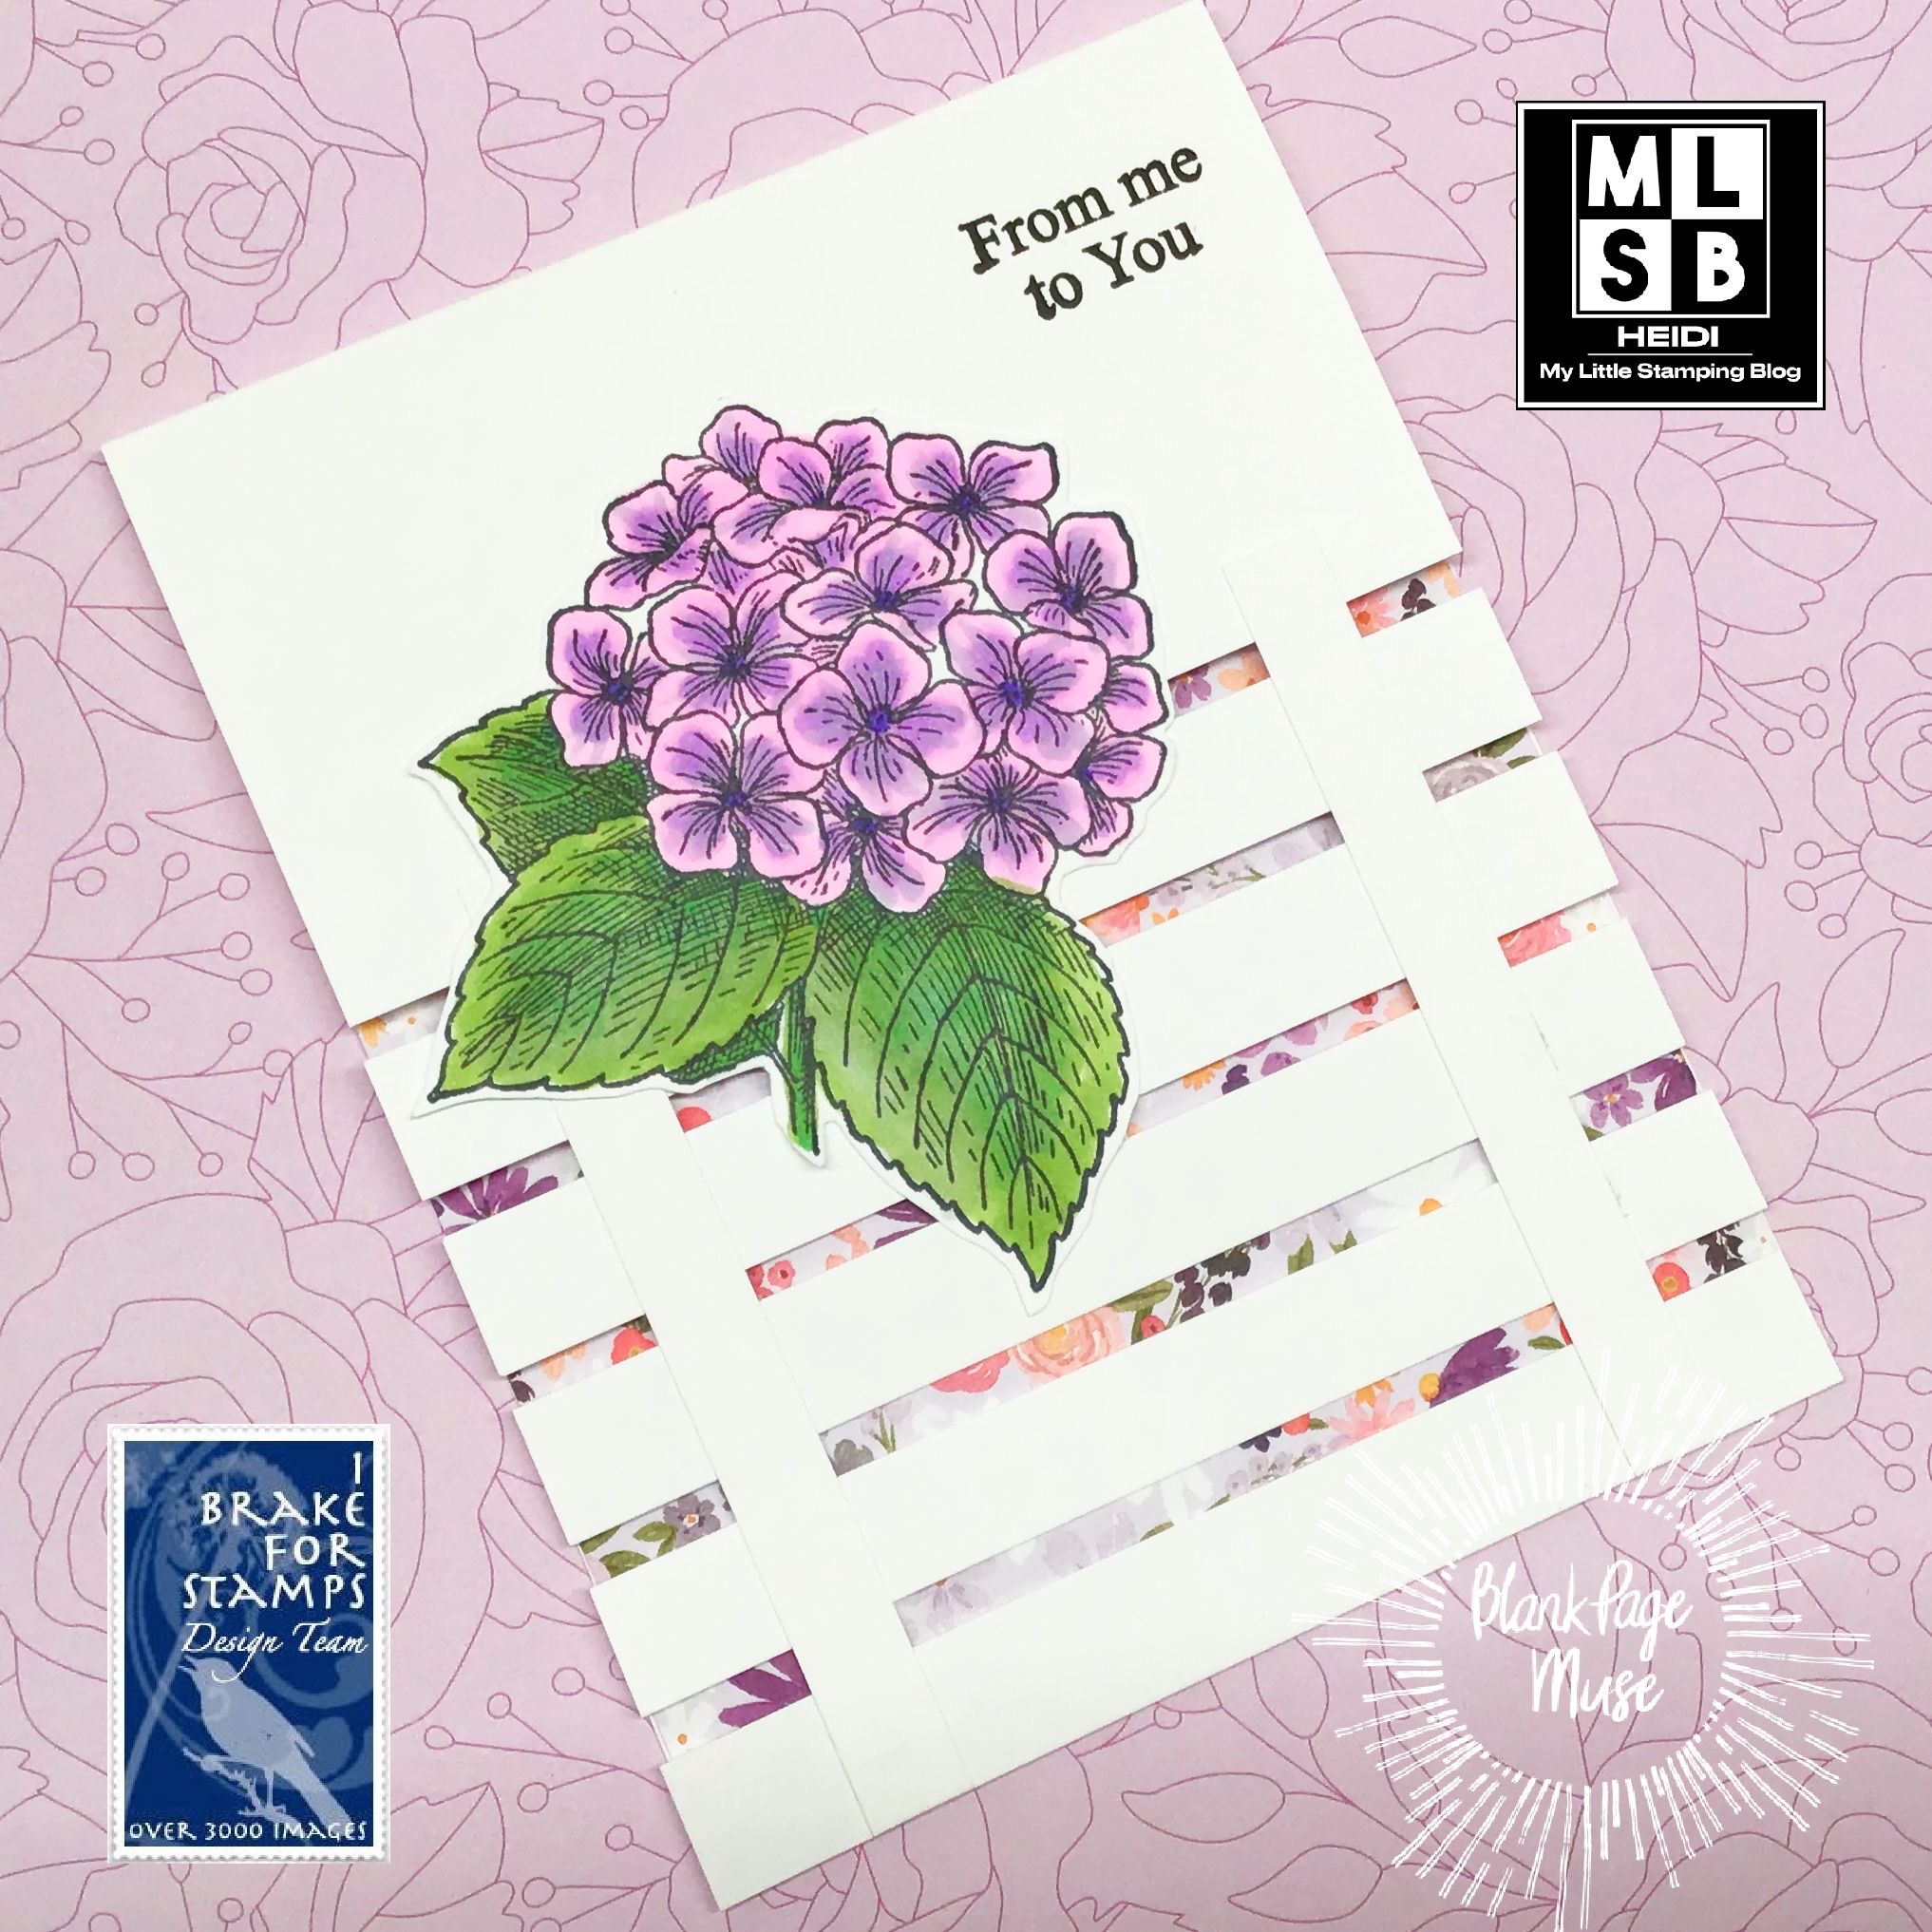
Today I have some homemade "washi tape" to share with you using masking tape, paint and of course stamps available in store!

I started with strips of masking tape - I used a piece of acetate to lay the masking tape on - keeps the "sticky" and also I didn't have to worry about the excess paint and stamping!

This is so easy to do - you can use any colored paint and any of your fav background, pattern and filler stamps to decorate. You can rip it up or use in strips as is - perfect for all your mixed media creations!

Currently I'm in a vintage, monochrome "mood" so I've been doing a lot of creating with neutral and brown tones in my journals and altered art creations!

Stamps used:
Vintage Tape Measure & Reel Stamps


***Remember to us the code BPMSharon at the store for 15% off ***
So many fab stamps to choose from!
Note: you can use the code at either the IBFS Store OR the BPM Store - why not do an order from each and increase your stash!

And visit our social media sites for more stamping fun!
I Brake For Stamps -https://ibrakeforstamps.com/ 

Monday, June 26, 2023

How to Create a Flowery Greeting Card

  Today I am excited to share this cheery Hydrangea birthday greeting. The  Hydrangea Flower Blossom with leaves Rubber Stamp stamps so beautifully and can be coordinated in you favorite Hyrdrangea color.


Supplies needed include

I Brake for Stamps Hydrangea Flower Blossom with leaves Rubber Stamp

Watercolor markers, Water Brush, Stamping Cardstock, coordinating cardstock, Happy Birthday die

Stamp your  Hydrangea Flower Blossom with leaves Rubber Stamp onto stamping cardstock repeatedly.


Color your stamped image with watercolor markers and a water brush. 
Color your Hydrangeas your desired colors. 


Matte your stamped image onto coordinating cardstock and adhere to your card base.  Die cut your greeting and attach to your card to finish your greeting card. 


I hope you are inspired to get creative with your stamps and papers from Blank Page Muse and I Brake For Stamps.  


Be sure to follow us at 

The Blank Page Muse- https://blankpagemuse.com/


I Brake for Stamps-https://ibrakeforstamps.com/


FB Fan Page-  https://www.facebook.com/groups/blankpagemuse/


Instagram Shop-  https://www.instagram.com/blankpagemuse/


Instagram Blog-  https://www.instagram.com/blankpagemuseblog/


Twitter-  https://twitter.com/BlankPageMuse


Pintrest- https://www.pinterest.com/blankpagemuse/boards/


Thursday, June 22, 2023

Summer Umbrella

 Hi everyone, Steph Ackerman here!

 Today I am using some amazing products from Blank Page Muse and I Brake For Stamps.


Create a beautiful summer scene using stamps and papers.


The full tutorial can be found on my blog.

Thanks for stopping by.

Steph

Looking for more Inspiration? Click the links below!
The Blank Page Muse Shop https://blankpagemuse.com/

Save 15% of your Blank Page Muse orders with discount code:  BPMSteph

Sunday, June 18, 2023

Clean & Simple Mask-uline Floral Technique

 Hello from design team member, Heidi.  I have always thought that there is no reason why flowers should not be masculine.  Every guy I know likes flowers.  Anyhow, it is corny but I decided to use a flower and masking and make it sort of a masculine card.  


I used this HUGE Dahlia stamp.  It is such a great stamp, I use this one a lot.  

1) I used a grid to mask a straight section of my card front.  I used Mint Tape, and I didn’t even measure how wide it is.  

2) Stamp right over the tape so that the flower shows up on either side.

3) Using both the tape and a ruler, use a black marker or pen to draw a border on the flower.  I didn’t extend beyond the stamped image, but depending on what length of sentiment you will use, you totally could extend it, even to the edge of the card. 

4) Remove the tape and then stamp your sentiment in between the lines.  

I finished the card by coloring just little parts of the flower with a light grey and a green marker. I then matted the card front with grey cardstock and voila, a clean and simple Thank You card, suitable for any recipient.  Even a guy.

This card uses Quarter Sheet Dahlia stamp set and also the sentiment comes from Fall Rubber Stamp set by Pam Bray Designs.

You can also find more inspiration at the links below:

The Blank Page Muse- https://blankpagemuse.com/

FB Fan Page- https://www.facebook.com/groups/blankpagemuse/

Instagram Shop- https://www.instagram.com/blankpagemuse/

Instagram Blog- https://www.instagram.com/blankpagemuseblog/

Twitter- https://twitter.com/BlankPageMuse

Pintrest- https://www.pinterest.com/blankpagemuse/boards/

Thursday, June 15, 2023

Pretty in Pink Happy Birthday Card

 Greetings! 
 Chris here and Today I am excited to share this so pretty in pink feminine Happy Birthday Card.


 Birthday cards seem to be the cards that I  run out of  the fastest so I was excited when I found this I Brake for Stamps You Are the Beast Stamp Set by StampinBack.  The set is so fun to play with. So let's get creative. 

Supplies needed 


Ink, Card base, White Card stock, markers

Start by cutting your papers from the Blank Page Muse - Sweet Passion paper pack by Pam Bray and adhere to your card. Using the HAPPY BIRTHDAY TO YOU  Stamp from the I Brake for Stamps You Are the Beast Stamp Set by StampinBack, ink only Happy Birthday and Stamp onto your card as shown. 


Stamp banner from your  I Brake for Stamps You Are the Beast Stamp Set by StampinBack onto papers. Cut our banner. 


Adhere you banner to the top of your card. 

Stamp and color the cupcake from the Stamp from the You Are the Beast Stamp Set  to coordinate with your card.  Adhere the cupcake to your card as shown. 


I hope you are inspired to get creative with your stamps and papers from Blank Page Muse and I Brake For Stamps.  


Be sure to follow us at 

The Blank Page Muse- https://blankpagemuse.com/


I Brake for Stamps-https://ibrakeforstamps.com/


FB Fan Page-  https://www.facebook.com/groups/blankpagemuse/


Instagram Shop-  https://www.instagram.com/blankpagemuse/


Instagram Blog-  https://www.instagram.com/blankpagemuseblog/


Twitter-  https://twitter.com/BlankPageMuse


Pintrest- https://www.pinterest.com/blankpagemuse/boards/


Sunday, June 11, 2023

Bright Vintage Tags!

 Hi again!

My second post for this month - can you believe we're nearly half way through the year - time flies!


Today I was inspired by some tags I saw on Instagram by @paperiliitin
I loved the bright coloured backgrounds along with the little vintage people which I have so I decided to create some myself using bits & pieces sitting around on my desk!


Backgrounds are painted and stamped and ephemera and main image layered and adhered to tag front.

Stamps links:
Art Journaling 2 Set by Terri Sproul


***Remember to us the code BPMSharon at the store for 15% off ***
So many fab stamps to choose from!
Note: you can use the code at either the IBFS Store OR the BPM Store - why not do an order from each and increase your stash!

And visit our social media sites for more stamping fun!
I Brake For Stamps -https://ibrakeforstamps.com/ 

Thursday, June 8, 2023

Trellis Hydrangea Card

 Hello from design team member, Heidi.  I am going to share with you today a Trellis card.  These are all the rage and they are not difficult!


1) Start by creating a top fold card and folding it.  Cut 3.25 inches off the front flap.  

2) Create your trellis pieces.  You will need 5 pieces for your horizontal slats that are 4.25 x 0.5 inches, and then for the vertical slats, 2 pieces that are 3/8 x 4 inches, and then for the inside vertical slat reinforcement, 2 pieces that are about a 0.25 x 4 inches.  

So that is 9 pieces total.

3) Now you want to get some washi or low tack tape, and place it FACE UP on your card front.  You have your card folded, and then just arrange the 5 horizontal slats in place.  Start with the bottom one - line it up at the bottom of the back of the card, and then just eyeball the rest to be mostly even.

DO NOT stress out about exact perfect spacing.  

4) Then put dots of glue in place for your vertical slats and place the wider slats for your card front.  I used magnets to weigh these down, but you could use your stamping blocks.  Note that these pieces are too long!  That is a good thing and we will be trimming them later.

5) After a the front is dry, open up the card, and reinforce the inside with the thinner slats. These pieces also are too long and will be hanging off the bottom of your card.  Once it is fully dry, trim the excess.

6) Cut a piece of patterned paper to line the inside of your card.  It needs to cover the open areas, so it must be at least 4.25 x 3.25.  Attach this to the inside of your card.

7) Decorate as you wish!

I used a beautiful hydrangea stamp for the outside of my card.  I colored it and fussy cut it out.  

For the inside, I used a floral border stamp from the same stamp set.  I stamped this in light purple ink, and I did the stamping before I added my patterned paper, just to make it easier.  

I then used some sentiments to finish off the outside and the inside and I was done!

The stamps I used for my card can be found in the I Brake for Stamps store.

Half Sheet Hydrangea Stamp Sheet

Sentiments from Florals Sheet Flowers for You

What do you think? Will you try, or have you already tried a trellis card?

You can also find more inspiration at the links below:

The Blank Page Muse- https://blankpagemuse.com/

FB Fan Page- https://www.facebook.com/groups/blankpagemuse/

Instagram Shop- https://www.instagram.com/blankpagemuse/

Instagram Blog- https://www.instagram.com/blankpagemuseblog/

Twitter- https://twitter.com/BlankPageMuse

Pintrest- https://www.pinterest.com/blankpagemuse/boards/


Tuesday, June 6, 2023

How to Create a Scenic Masculine Birthday Card

 I always seem to be short on masculine cards.


  So today I am excited to share this masculine birthday card I created with the Asleep on the Deck stamp from I Brake for Stamps.  This stamp creates beautiful masculine cards! Start by stamping the  Asleep on the Deck stamp from I Brake for Stamps onto a Kraft card base with archival ink. 


Use watercolor markers and a water brush to color your image as desired. 
I love the watercolored images on Kraft as it creates a very subtle color effect. 


Matte your image on a coordinating cardstock and die cut a birthday greeting to finish your card. 

I hope you are inspired to get creative with your stamps and papers from Blank Page Muse and I Brake For Stamps.  


Be sure to follow us at 

The Blank Page Muse- https://blankpagemuse.com/


I Brake for Stamps-https://ibrakeforstamps.com/


FB Fan Page-  https://www.facebook.com/groups/blankpagemuse/


Instagram Shop-  https://www.instagram.com/blankpagemuse/


Instagram Blog-  https://www.instagram.com/blankpagemuseblog/


Twitter-  https://twitter.com/BlankPageMuse


Pintrest- https://www.pinterest.com/blankpagemuse/boards/


Saturday, June 3, 2023

It's Such a Boy Thing

 Hi everyone, Steph Ackerman here!

 Today I am using some amazing products from Blank Page Muse and I Brake For Stamps.


Supplies:
Stamps: Phrases #048


I found the pattern paper from the paper pack was all that was needed to work well with this stamp.

The full tutorial can be found on my blog.

Thanks for stopping by.

Steph

Looking for more Inspiration? Click the links below!
The Blank Page Muse Shop https://blankpagemuse.com/

Save 15% of your Blank Page Muse orders with discount code:  BPMSteph


Copyright Text

Blank Page Muse 2018 Sin City Stamps 2013