Hello all you Blank Page Muse fans. Cathy here with 3 more Artist Trading Coins.
Don't know why I made 3 at a time but I do.They are just so fun to make!
Can you believe tomorrow is the last day of August?
Summer just went too fast for me!


Stamps Used:
Chicken mesh by Pam Bray
Corrugated heart by Pam Bray
Whimsical flower by Pam Bray
Art word by Pam Bray
Octopus with top hat from Octopus Time sheet
Faded page text by Terri Sproul
Artist Trading Coin back
Other Supplies:
100LB cardstock
Circle die
Black ink
Distress Oxide
Distress ink
Glue
Heat gun
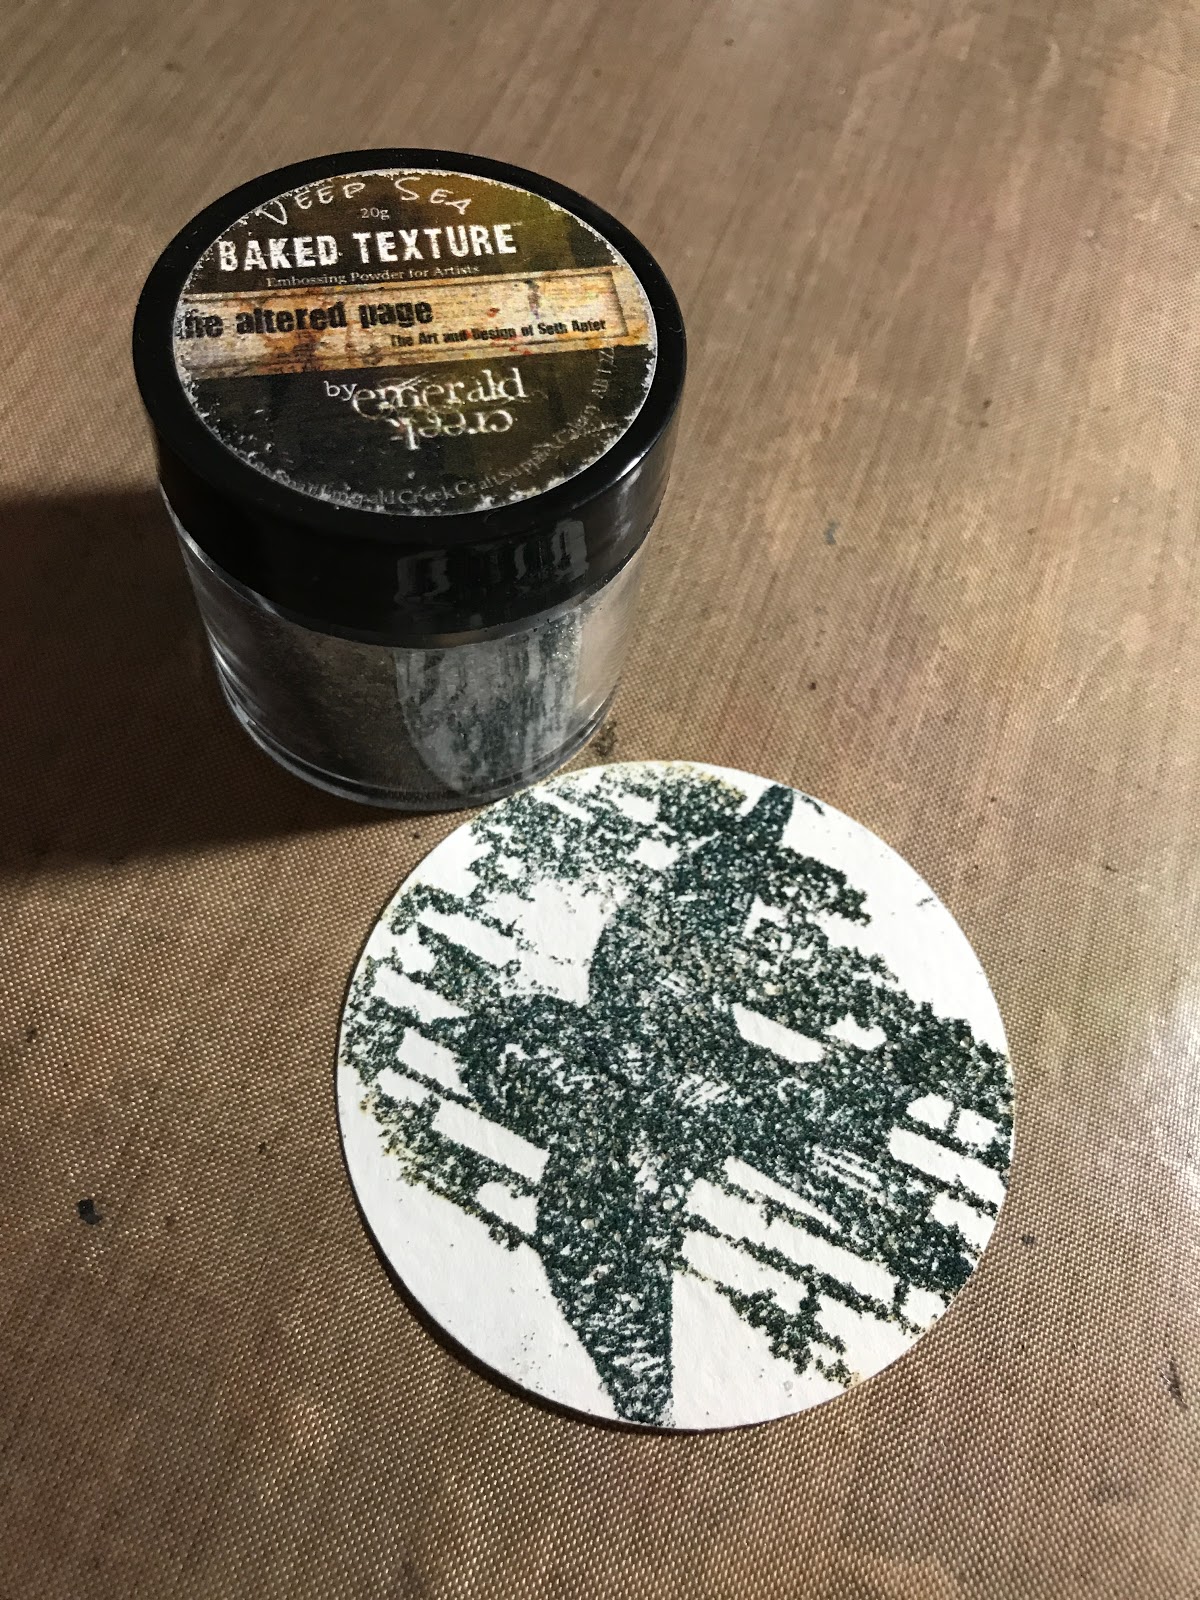
White embossing power
Wiggle eyes
White cardstock
Copic Marker
Frist make the center of the Artist Trading Coin. Cut 2 circles from the 100LB cardstock. Glue the 2 circles together.
Then take some purple colors of Distress Oxide and smooch them on the craft sheet. Then drag 3 different circles through it. Dry with heat gun or set aside to air dry.
Start by stamping
text with some Distress ink randomly on the background. Use the same color ink as the Distress Oxide so it blends into the background.
Next stamp
chicken mesh randomly in black ink.
Stamp
flower on white cardstock and color center with Copic markers. Cut out and add to center of Coin. Edge Coin with black ink. Glue to one of the centers you made earlier.
This one stamp the
octopus with a top hat in the center with black ink. Glue it to one of the centers you made earlier.
Then you glue wiggle eyes to the
octopus and edge with black ink. It is always fun to add some wiggle eyes.
Last one. Stamp the
text on the background with the Distress ink. Then stamp the
heart in black ink in the center.
Then grab the
ART word stamp and stamp and emboss in the middle of the heart. Edge with black ink. Glue it to the last center you cut out.
Last stamp the
Artist Trading Coin back on pattern paper for all 3. Cut out and glue to all the 3 backs of Coins.
Thanks for coming by!
Please visit the following for more
inspiration!
FB Fan Page- https://www.facebook.com/groups/blankpagemuse/
Instagram Shop- https://www.instagram.com/blankpagemuse/
Instagram Blog- https://www.instagram.com/blankpagemuseblog/
Twitter- https://twitter.com/BlankPageMuse
Pintrest- https://www.pinterest.com/blankpagemuse/boards/