Thursday, May 28, 2020

Hearts of Love...

Hi BPM Fans!

Hope everyone is doing well and moving forward as best you can!

What a year it has been so far! Thank goodness for rubber stamps, stencils and crafting supplies!


Today I have another stenciled creation to continue along with our theme this month of "Stencil It".
I love using stencils to add texture, dimensions and interest to backgrounds.
I love using collage elements as well so being able to combine BPM Stencils and collage characters works perfectly for me with my creations!


Supplies:
Blank Page Muse Stencil: Hearts designed by Magda Polakow
Pam Bray Watercolour 6 x 6 Inch Paper Pack
Base card
Embossing Paste
Embossing Powders x 3
Heat Gun
General supplies: craft knife/scissors, ruler, spatula, double sided tape, glue
Embellishments of your choice

Instructions:


Start with a base card and a piece of patterned paper from the "Watercolour" 6 x 6 set OR any of the gorgeous paper pads designed by Pam Bray! Cut a piece of patterned card slightly smaller than your card base. Cut this piece in half diagonally as shown in the picture above and adhere to your card. You can multiple cards at once as you have a "spare" piece of patterned paper!


Lay your chosen stencil on the card front and apply the embossing paste over the whole stencil. Remove the stencil and apply embossing powders. Use multiple colours of powder and apply randomly over the embossing paste - apply each colour separately and shake off excess before applying each subsequent colour! Use your heat gun to emboss.


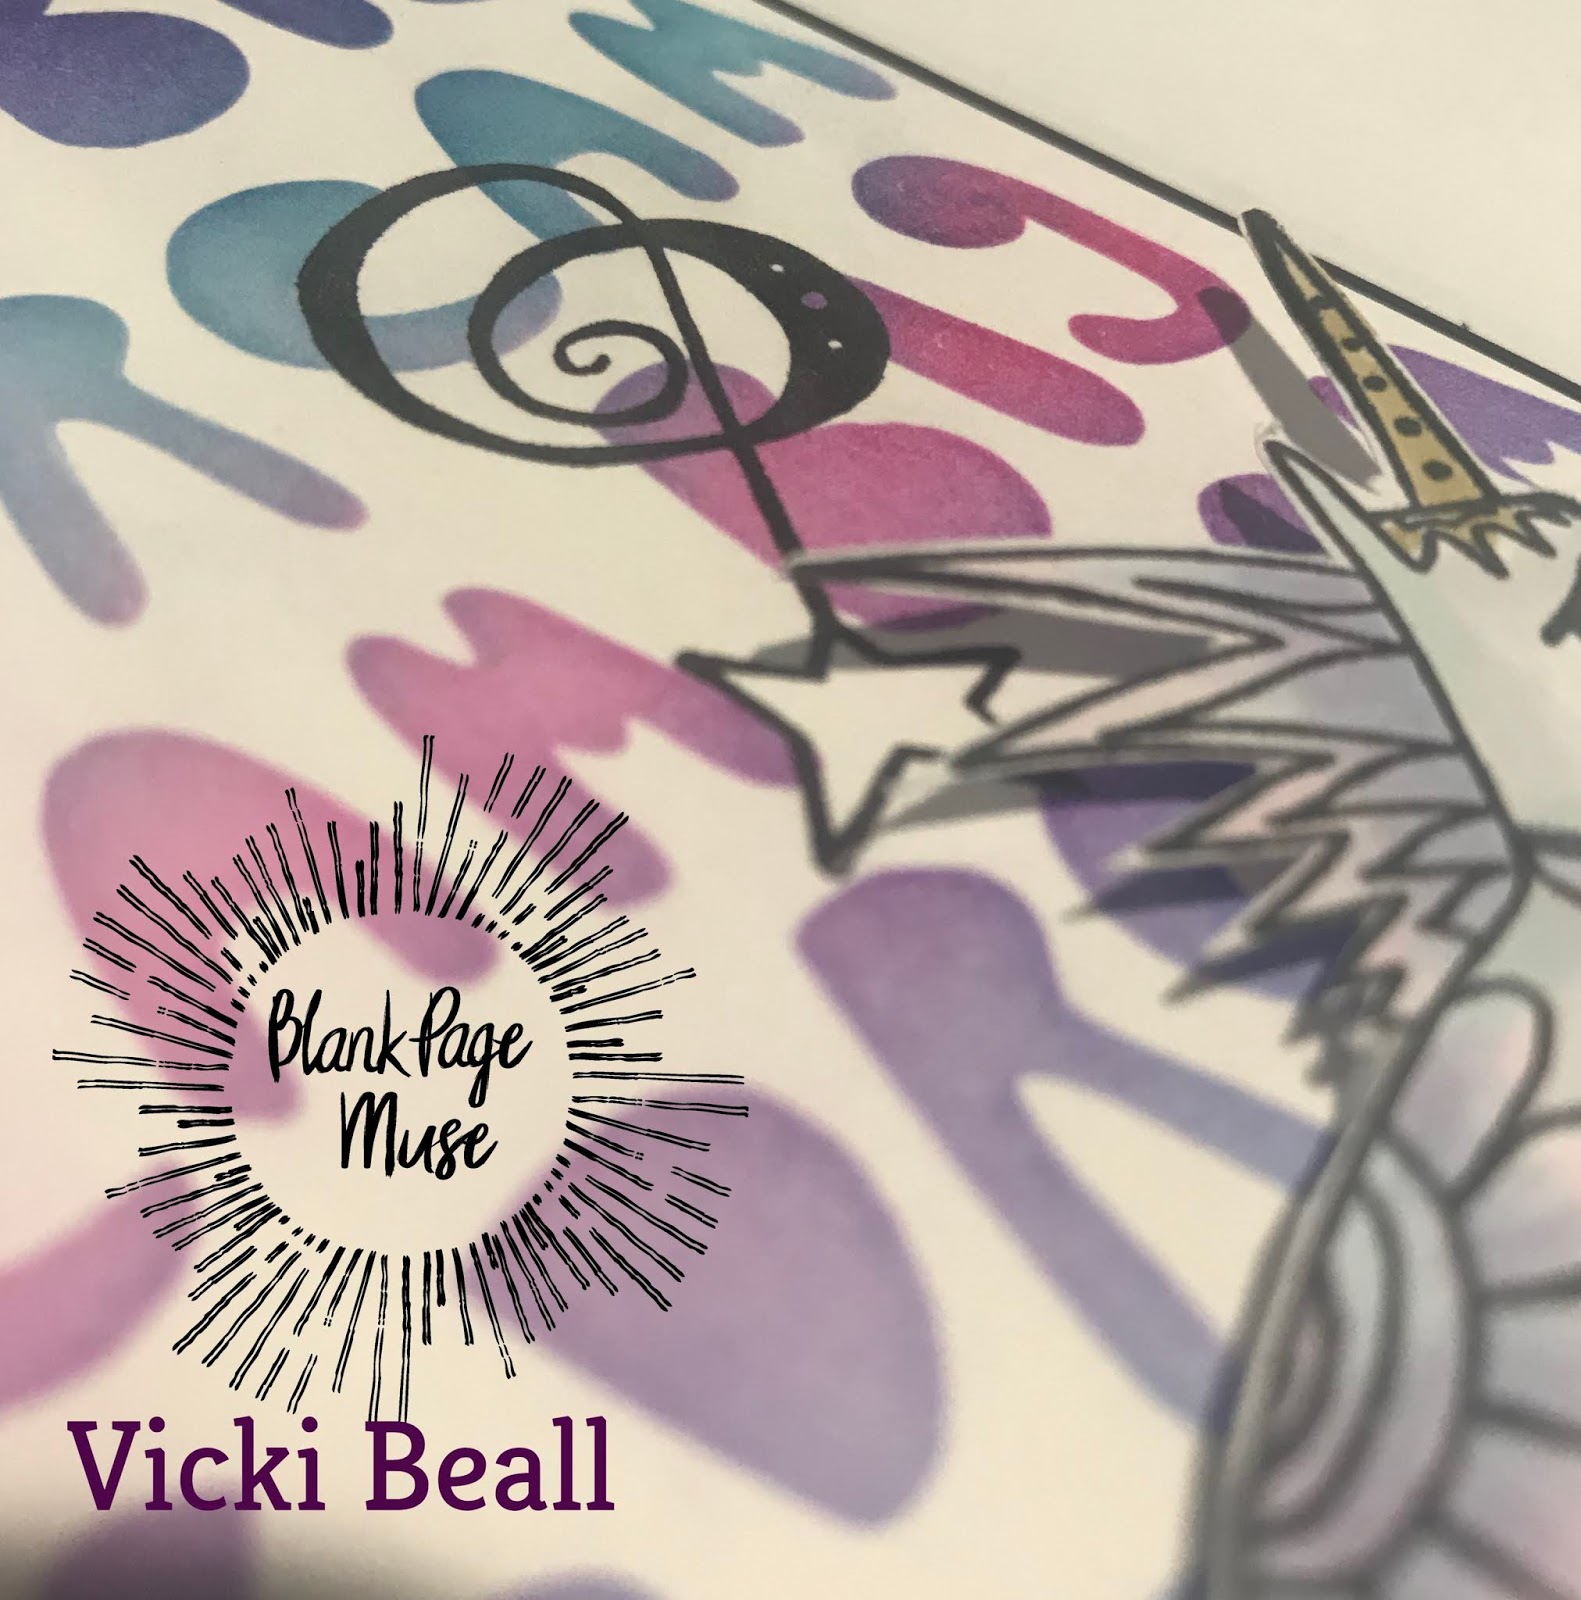
Add a focal collage element to the bottom corner along with any embellishments you like. Add a collage or a stamped sentiment and you have a card perfect for any occasion!


Thanks for joining me today and remember you do still have time to play along with our stencil themed challenge so why not whip something up and link up to our challenge!

Happy stamping!

Sharon


Don't forget to check us out at all of our social media sites
The Blank Page Muse- https://blankpagemuse.com/

Wednesday, May 27, 2020

Guest Designer Tracy Ware~Stencil It May~Mixed Media Play!

Hey guys!  It’s Tracy here, hoping everyone is doing well and staying healthy … and sane!  To be honest, some days are the greatest having my husband and youngest daughter home, and other days it’s quite distracting.  I have been getting a bunch of crafting done, and that’s really to maintain my own sanity!

Our May Challenge on the Blank Page Muse Blog is “Stencil It.”  I decided to venture out of my comfort zone and give mixed media a whirl.  Woooo, I tend to overthink it!  Anyone else experience that?  Sometimes I do it with my regular cards too, so I wasn’t surprised.  Well let’s take a look at my project.


I’ve been watching some videos lately, and got out my Distress Spray Stains and Distress Oxide Sprays and went to town on some mixed media paper.  I chose mixed media paper because it can tolerate a good deal of water without warping.  I don’t have too many colors of sprays, so I just worked with what I had.

Once my backgrounds were to my liking and dry, I applied some texture paste through a stencil over my ink.  Because the texture paste has water in it, the paste reacted with my already inked background and took on the color of the layer beneath, hence the greenish, yellowy colors.  I actually wasn’t sure what was going to happen since I don’t work with sprays and pastes very much.  I ultimately liked the outcome so I just went with it.


Since I had the stencil and texture paste out, I went ahead and added paste to a few backgrounds for later use.  Such a time saver!


While my texture paste was drying, I moved on to the focal elements of my card.  This flower is from the Scribble and Scratch Mixed Media Set 2, and these cute little bees are from the Heart of Nature Butterflies Bees Set.  I wasn’t sure if I was going to use both bees, but I went ahead and stamped both of them, along with the flower and clear embossed them.


I used Copic markers to add color to my images, and did a little bit of shading using colored pencils.


I also wasn’t sure if I wanted to use a yellow flower or a blue flower, so I went back and stamped another one and colored it.  It’s nice to have options!!  I colored those tiny open spaces from the scribbles with a Copic multiliner pen.  I also added some yellow Nuvo Drops to the middle of the flowers for interest, as well as texture.


Now that my cute little bees were colored, I remembered that I had some acetate wings.  I added those to my bees for even more interest!


I used dye ink to add some various stamps to the background of my card panel.  Among the stamps used were the Bubble Wrap and Sequin Waste Texture Art stamps, which can be seen in the top right and left corners.  I also used some Distress Crayons around the stenciled areas. Once all the background stamping was complete, I adhered the bee using foam tape for dimension.  Yes, I decided to use only one bee, but both flowers!!  The blue flower is glued directly onto the card panel, while the yellow flower was adhered using foam tape.  Very textural and dimensional!


I added a tiny sentiment to the panel as well as some additional color with Copic markers.  When complete, I mounted my card panel on to a black panel.


I hope you guys enjoyed the project.  Even though this style is way out of my comfort zone, I like it!  Maybe that’s because I don’t have to be so perfect in the design.  You just do what you like and not be so critical of yourself.  Gosh gracious, I am so very critical of myself and my work.  Thanks so much for hanging out with me on the Blank Page Muse Blog.  Hop over to Instagram and join us there too!  Be sure to tag us #blankpagemuse and #blankpagemuseblog so that we can see your awesome projects!  You can also find me over on Instagram @redsas.

Our June Challenge is going to feature an inspiration board!  Can’t wait to see what Kim has in store for us!  I hope you join us next month as well.

Until next time, stay awesome!

Tracy


Supplies Used:

Strathmore Mixed Media Paper
Distress Spray Stains from Ranger Ink and Tim Holtz
Distress Oxide Spray from Ranger Ink and Tim Holtz
Texture Paste from Ranger Ink
Number Stencil from Ranger Ink and Dyan Reaveley
Memento Tuxedo Black dye ink from Tsukineko
WOW Embossing Pad
Clear Embossing Powder from Ranger Ink
Copic Markers
Copic Multiliner (.3)
Prismacolor Colored Pencils
Nuvo Drops from Tonic Studios
Neenah Solar White 110lb Cardstock
Distress Crayons from Ranger Ink and Tim Holtz
Transparent Wings from Tim Holtz Idea-ology
Small Talk Stickers from Tim Holtz Idea-ology
Text Stamp from A Stamp In The Hand (background)
Tiny Squares from Rubbermoon (background)
Black 110lb Cardstock from Recollections
Lineco Neutral PH Liquid Adhesive
Foam Tape
Misti from My Sweet Petuna


Saturday, May 23, 2020

Guest Designer Samantha with Dandelion Wishes! Stamping and Watercolor Tips & Tricks!

Hello, hello! Samantha Ziegenfuss here. I'm so happy to be back on the blog sharing another tutorial with you today.

I have many favorite stamps Blank Page Muse stamps and one of them is the Dandelion Wishes with Butterflies set by Terri Sproul. I love it for both its beauty and versatility; I've used it to create everything from sympathy cards to gift tags. 

Today I'm using it along with a new passion of mine, watercolor painting, to create a clean and simple card set that is very easy to make. This would be a wonderful gift for any occasion; Mother's Day, a birthday, graduation, etc.

Let me show you!

To begin you will need the following:
The dandelion images, make a wish, and may all your weeds be wildflowers sentiments from the Dandelion Wishes with Butterflies Art Rubber Stamp Sheet by Terri Sproul


The You Are My Sunshine Sentiment Art Rubber Stamp


The Thanks sentiment from the Fall Rubber Stamp Sheet by Pam Bray


Four 4-bar cards (finished size is 3.5" x 5")

Four pieces of watercolor paper cut to 3.25" x 4.75" (I used 140lb cold pressed)

Four pieces of colored cardstock for matting cut to 3 3/8" x 4 7/8"

Waterproof ink (I used Versafine in Onyx Black)

Watercolor paints (I used a palette but you can use any kind; tubes, brush pens, Distress Inks, etc)

A watercolor paintbrush (I used a number 6 round)


First stamp your dandelions and sentiments to your watercolor paper. 


Here's a trick for lining up your sentiments as it can be a little tricky to get rubber stamps 100% straight.

What you can do is take a piece of acetate (In this photo I'm actually just using some plastic packaging from a box),lay it over your project, and stamp onto it. 

This will help you to determine if your stamp needs to be adjusted at all.

The ink can be cleaned from the acetate with water.


Now for the best part! 


Take your stamped watercolor panels and paint them by adding one color at a time. I did wet to dry; this is where you take wet paint and brush it onto dry paper.


When your first color is dry add a second. When the second is dry add a third and so on until you've achieved the look you want.


While you wait for your paper to dry adhere your colored cardstock to your cards. 


Once dry add your watercolor panels to your matted card bases and add a few sequins to each if you'd like.

That's all. 


Thank you so much for stopping by to check out my tutorial. I hope you have the best day. 

Until next time,
Samantha


Wednesday, May 20, 2020

Guest Designer Vicki Stencil It May! Peek & Link!

Welcome back!
Wow!! Where has the month gone???!!!?! I know many people are staying safer by staying home and still the time is flying and the days are blending. Thanks for coming by and we all hope you are safe and well and please find a little stamping and stencil fun as a colorful diversion!

Today we have a little cheer to share from our Guest Designer Vicki!

Here is a sneak peek and please do hop over to Vicki's blog to see more. Then come back and link up your stencil and hand stamped project, we LOVE to see what you create!


Find our link up at the top and the side of the blog.
Have an inky day!
Kim


Our sale is ongoing during these challenging days, thank you for supporting our small business!

Monday, May 18, 2020

Little Boy Imagination - Colorful Crowns and Pet Dragons

Greetings Chris here and I am excited to share this imaginative card I created using Blank Page Muse Stamps and stencils.  


I used the Crown Stencil to create a resist background.  When I added the watercolor mists, they bled into my watercolor paper softening all the crown edges!  When I looked at the crowns they reminded me of "crown" clouds and of a little boy sitting back and dreaming that each cloud looked like a crown and imagining himself as king!  and just like that I decided to add the pet dragon on a leash!   what little boy (or girl) doesn't dream of having a pet dragon on a leash????

BLANK PAGE MUSE SUPPLIES


Other Supplies
Watercolor Paper
Mixed Media Gloss
Tattered Angels Glimmer Mists 
Ink
Alcohol Markers
Chipboard Paper Doll
Sentiment Stickers
thread
Adhesive

Start by securing your stencil onto watercolor paper.


 Layer stencil with Mixed Media Gloss and let dry.  Any inks you add now should wipe right off the crowns.


Mist the background with Glimmer Mists.


You can see that the crowns show up really well.   Because I used the watercolor paper, some of the mists bled under the edges and softened the edges.  Once your background is dry, mat onto card stock and adhere to Card. 

Stamp baby dragon from Anime Fairies & Baby Dragons Fantasy Art Rubber Stamp Sheet Set .   Fussy cut dragon.  Color dragon as desired.


 Add dragon to background.  Add you little boy (or girl) and leash.  Add sentiment to finish you card!


 Follow us for more idea's!

The Blank Page Muse- https://blankpagemuse.com/


Pintrest- https://www.pinterest.com/blankpagemuse/boards/


Wednesday, May 13, 2020

Guest Designer Tracy Ware~ Sunflowers & Stencils!

Hi Blank Page Muse fans!  

How’s everyone doing?  How’s everyone holding up during this unprecedented time?  I will admit that I’m an introvert, so being at home has been great for me!  Our May challenge is Stencil It!.  So let’s take a look at my project.


So for my Sparkle and Shine, I opted to go with DecoFoil Metallix through a stencil.  It gives it great texture, and I love texture!
My main focal point of this card is a beautiful Sunflower Blossom.  I stamped the image with dye ink, and I colored the flower with Copic markers and Copic fine detail black markers.


When I was ready to assemble my card, I decided that I would like some black leaves.  I know this type of leaf is not a sunflower leaf, but that’s the beauty of art!  You can make it what you want it to be!
I glued the black leaves to the card panel while holding the sunflower in place so that I could get the leaf placement correct.


I used foam tape for the Sunflower Blossom to give it some dimension.  I hardly ever make cards 
without sentiments, so this was a challenge for me.  But leaving the sentiment off lends itself to using this 
card for whatever occasion might pop up.  I’m trying to make more “art” related cards without 
sentiments to add to my stash.


I hope you guys have enjoyed this project!  Thanks for joining me on the Blank Page Muse blog.  
Follow Blank Page Muse on Instagram, and tag us #blankpagemuse and #blankpagemuseblog. 
 You can also find me on Instagram.  

Until next time, stay awesome!


Supplies Used:

Sunflower Blossom from Blank Page Muse designed by Pam Bray
Momenta Tuxedo Black Dye Ink
Neenah Solar White 110lb cardstock
Miss Ink stencil
Decofoil Metallix gel from Thermoweb
Black cardstock 110lb
Copic markers
Leaf Canopy from Altenew
Lineco Neutral PH liquid adhesive
Foam tape


Monday, May 11, 2020

Dream Big...

Hi Everyone!

Firstly, I hope that where ever you are in the world today you are staying safe!


I hope that the ideas and tutorials you are seeing here at the Blog are keeping you occupied and feeling creative!

Today I am sharing a simple stenciled card because we have a fun **NEW** challenge this month and you need to grab your stencils to play along!


It's fantastic that there are now stencils available in the Blank Page Muse store so make sure you CLICK HERE and pop over and have a look and support BPM by placing an order!

Supplies:
Blanks Page Muse Stamps: Clara and Dream Big designed by Magda Polakow
Blank Page Muse Stencil: Dream Big designed by Magda Polakow
Plain White Card Base: textured square blank used for this creation
Kraft Card
Ink Pad: red ink used for this card
Sponge, scissors, glue, double sided tape
Extras: washi tape, diamantis, twine or string

Instructions:
Start by stenciling your card background using your stencil, ink pad and sponge.


Next stamp your main images onto Kraft cardstock and fussy cut. Edge your wording with the ink pad.


Add your elements to the card front - washi tape, stamped images and diamantis.


Edge around that card with the ink pad to add a "border". Use black elastic or twine to tied around the spine of the card if you wish.


I think this card is so quick and easy and can be adapted to any stencils and stamps available in the store so no excuses this month for not playing along with our challenge!


Thanks for joining me today! See you later n the month!

Happy Stamping!

Sharon


Don't forget to check us out at all of our social media sites
The Blank Page Muse- https://blankpagemuse.com/

Copyright Text

Blank Page Muse 2018 Sin City Stamps 2013