Thursday, August 30, 2018

Purple Artist Trading Coins

Hello all you Blank Page Muse fans. Cathy here with 3 more Artist Trading Coins. 
Don't know why I made 3 at a time but I do.They are just so fun to make!
 Can you believe tomorrow is the last day of August? 
Summer just went too fast for me!


Stamps Used:
Chicken mesh by Pam Bray
Corrugated heart by Pam Bray
Whimsical flower by Pam Bray
Art word by Pam Bray
Octopus with top hat from Octopus Time sheet
Faded page text by Terri Sproul
Artist Trading Coin back

Other Supplies:
100LB cardstock
Circle die
Black ink
Distress Oxide
Distress ink
Glue
Heat gun
White embossing power
Wiggle eyes
White cardstock
Copic Marker

Frist make the center of the Artist Trading Coin. Cut 2 circles from the 100LB cardstock. Glue the 2 circles together.
 Then take some purple colors of Distress Oxide and smooch them on the craft sheet. Then drag 3 different circles through it. Dry with heat gun or set aside to air dry.
 Start by stamping text with some Distress ink randomly on the background. Use the same color ink as the Distress Oxide so it blends into the background.
Next stamp chicken mesh randomly in black ink.
 Stamp flower on white cardstock and color center with Copic markers. Cut out and add to center of Coin. Edge Coin with black ink. Glue to one of the centers you made earlier.


 This one stamp the octopus with a top hat in the center with black ink. Glue it to one of the centers you made earlier.
Then you glue wiggle eyes to the octopus and edge with black ink. It is always fun to add some wiggle eyes.
 Last one. Stamp the text on the background with the Distress ink. Then stamp the heart in black ink in the center.
Then grab the ART word stamp and stamp and emboss in the middle of the heart. Edge with black ink. Glue it to the last center you cut out.

Last stamp the Artist Trading Coin back on pattern paper for all 3. Cut out and glue to all the 3 backs of Coins.

Thanks for coming by!
Please visit the following for more inspiration!

FB Fan Page-  https://www.facebook.com/groups/blankpagemuse/

Instagram Shop-  https://www.instagram.com/blankpagemuse/

Instagram Blog-  https://www.instagram.com/blankpagemuseblog/

Twitter-  https://twitter.com/BlankPageMuse


Pintrest- https://www.pinterest.com/blankpagemuse/boards/

Wednesday, August 29, 2018

The Flying Coin and Other Tales......

Hi Again Everyone!
Back for my second post for this month!
Are you enjoying the "ATCoins" theme we have going on at the moment?
It seems everyone has gone crazy for this new "fad" and I'm no exception especially as I now have a 2.5" die cut that I can use to go crazy cutting ATCoin bases - addicted? Yes!
Today I've created some ATCoins but instead of using them to trade I have used them as the main focus on journal pages!!! LOL Some are just too cool to give away!!
I was given a fab ATCoin collage sheet of "faces" and they were just perfect for teaming with the Blank Page Muse Stamps to create these fun and whimsical pages in my journal!
Hope you enjoy!
Supplies:

  • Blank Page Muse Stamps:
  • Feathered Wings
  • Dragonfly by Pam Bray
  • Dare to Fly Word Stamp
  • ATCoin Bases (2.5inches round) cut from gelli prints or patterned paper
  • Collage Faces: Art Tea Life sheet used for these creations
  • White Card
  • Archival Ink Pads
  • Tools & Accessories: scissors, glue, embellishments ie. muslin cloth, encyclopaedia wording, washi
  • Optional: embossing ink and powders or glitter glue
  • Journal page backgrounds or decorated tags, index cards etc.

Instructions:
Start by cutting your ATCoin bases from Gelli printed card or alternatively use patterned paper.


Stamp the Blank Page Muse "Feathered Wings" onto white cardstock using coloured ink of your choice - co-ordinate with your ATCoin backgrounds. Fussy cut the wings.


Cut the "Faces" from the collage sheet and adhere to your ATCoin backings.


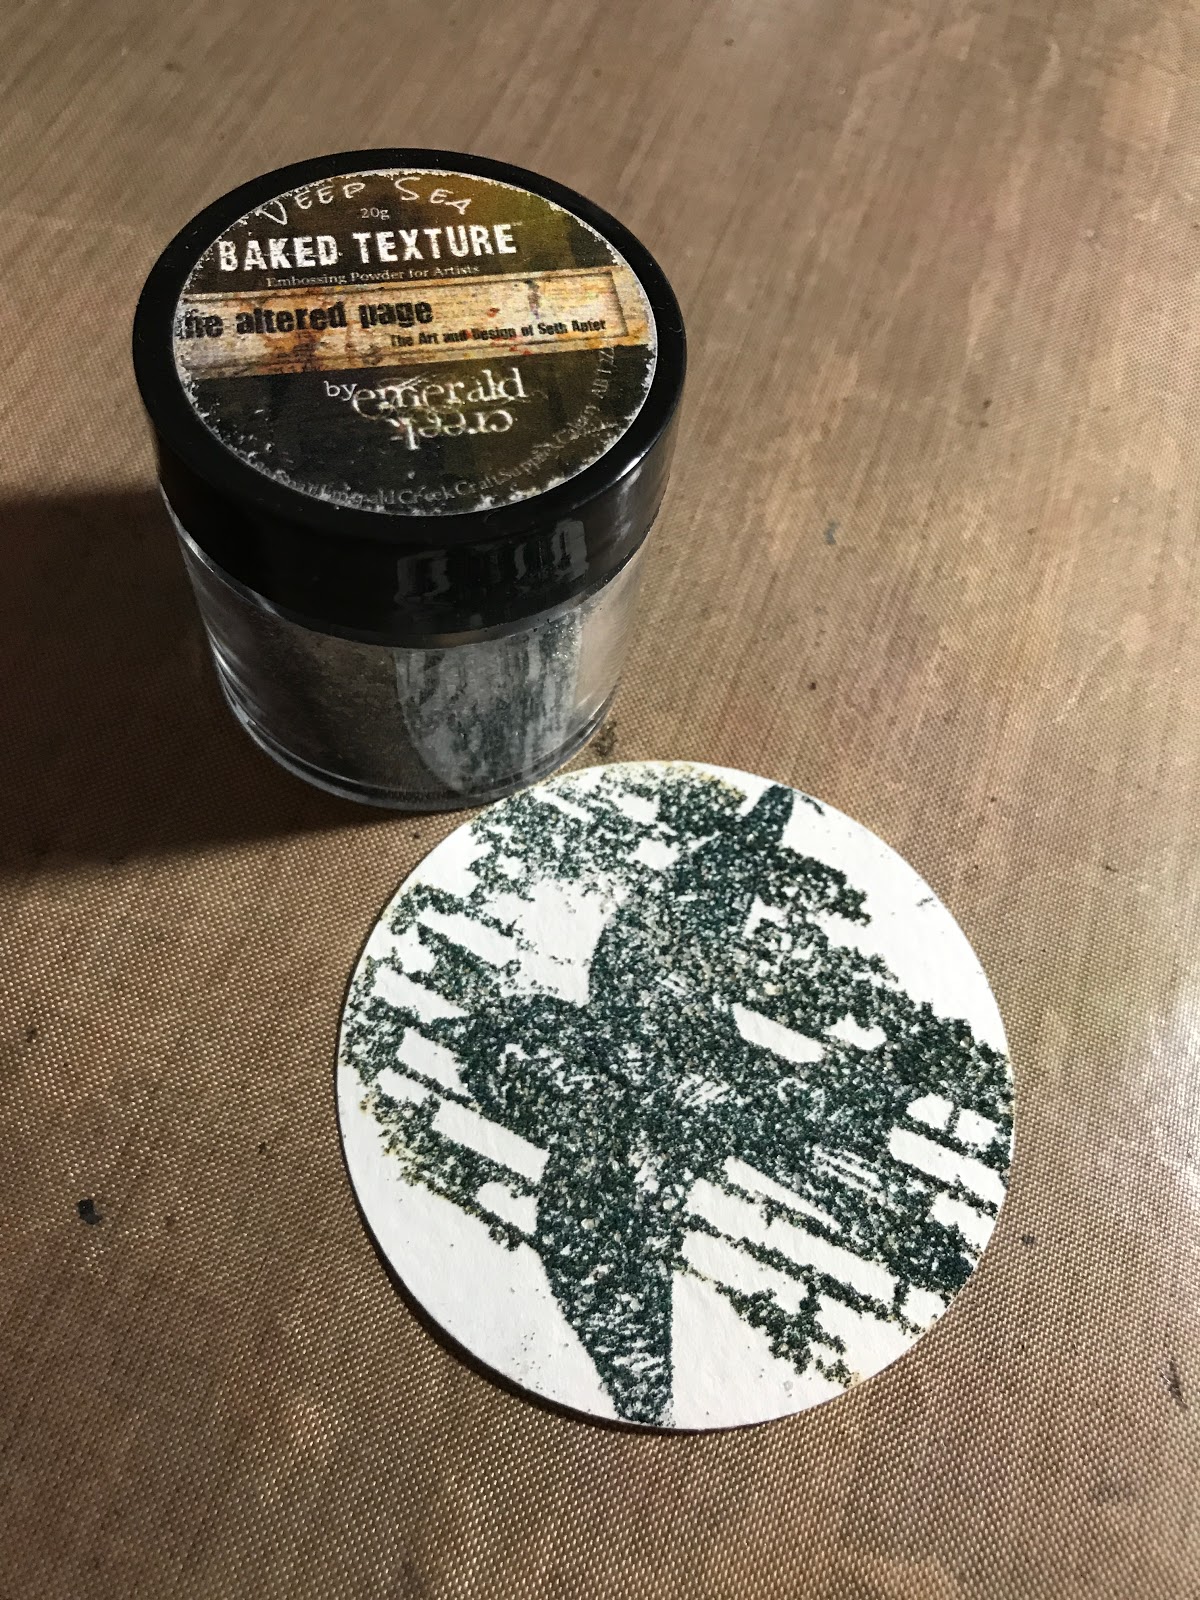
As an option you can cut your ATCoin backings from plain white card and embellish the edges with glitter glue or embossing ink and powder for a sparkly look!


Add the Feathered wings to make little "characters". These ATCoins are ready to embellish your journal pages!


The following steps show how I completed a couple of journal pages with the ATCoins:

You can also use your ATCoins to embellish altered index card and large tags - lots of possibilities!

Start with a background and choose one of your "character" ATCoins and some embellishments.


This "character" is reminiscent of the Greek God "Hermes" who is typically depicted with a winged hat - so instead of using the stamped wings as wings they were used to symbolise Hermes winged headwear! This ATCoin has been added to the page with muslin cloth, encyclopedia page with "Hermes" description and a few pink gemstones.


There are so many fab Blank Page Muse Stamps that you can adapt for this purpose: shown below is the Large Dragonfly stamp and another of the ATCoin characters ready to be adhered to another journal page!


Page background ready to add the coin - added washi tape, muslin cloth and the Blank Page Muse stamp "Dare to Fly" - perfect for the end look!


And the finished page with the dragonfly "character" as the main focal point!


Thanks for joining me again today!
I hope you like my little ATCoin Characters and you are inspired to try some for yourself!
Happy Stamping!
Sharon
PS Don't forget to check out all the links below for even more inspiration with Blank Page Muse Stamps!
The Blank Page Muse- https://blankpagemuse.com/

Saturday, August 25, 2018

Tropical Dreams Surfboard Mixed Media Tag

Hello all

I have a very summery tag to share using bright colors and the "New" surfboard stamp by The Blank Page Muse.


Products used by Blank Page Muse:
 Hearty Doodles - texture stamps.

Additional supplies: 

Stencil
Assorted Ink Pads
Assorted Mist Sprays
Embossing Powder
Modelling Paste 
Tag and extra cardstock 
Gems, pearls and other small embellishments.


Start of by using three different colored mist sprays on the tag as shown.


Apply a stencil mask using modelling paste and then sprinkle over the top with embossing powder.


Heat the powder until it has set and the modelling paste has dried. Next tack a mixture of texture stamps and stamp them randomly around the tag.


Stamp out the surfboard stamp and flip flops onto card and spray with inks to add colour. Once this has dried cut it out and adhere to tag.


Stamp out the sentiment onto card and ink before cutting out and adding to the tag.


Finish the tag off by adding a variety of embellishments. 

Thanks for coming by!
Please visit the following for more Inspiration:

FB Fan Page-  https://www.facebook.com/groups/blankpagemuse/

Instagram Shop-  https://www.instagram.com/blankpagemuse/

Instagram Blog-  https://www.instagram.com/blankpagemuseblog/

Twitter-  https://twitter.com/BlankPageMuse

Pintrest- https://www.pinterest.com/blankpagemuse/boards


Thursday, August 23, 2018

For the Birds Artist Trading Coins


Making these Artist Trading Coins is addicting!  
They're a perfect way to practice your stamping skills, to try out a new embossing powder or to just have fun and play! 
As a bird owner I love all things birdie!  So these bird coins were a must!

Blank Page Muse Supplies

Other Supplies
2 1/2 inch circle punch
Mixed Media Paper
Glimmer Mists
Embossing Ink
Brown Archival Ink


Punch coins using circle punch.

Stamp coin backgrounds with BPM Art Journaling 2 Stamp Set  with brown archival ink. .


Mist coins as desired to finish.


Let dry and your coins are all ready for trading!

Looking for more Inspiration?
Click the links below! The Blank Page Muse Shop https://blankpagemuse.com/ FB Fan Page https://www.facebook.com/groups/bla... Instagram - Shop https://www.instagram.com/blankpage... Instagram - Blog https://www.instagram.com/blankpage... Twitter https://twitter.com/BlankPageMuse Pintrest https://www.pinterest.com/blankpage...

Tuesday, August 21, 2018

Born to Stand Out Card

Hey There BPM Fans,

If you know a teen, then you know it can be difficult to find the right card for them. Whatever, the occasion, this is a sure a winner. It is simple, bright, and full of fun. Maybe just to brighten their day or as a pick me up during a difficult time. Let your special teen know they are not alone and you are in their corner.
Born to Stand Out Card

Blank Page Muse Stamps:   www.blankpagemuse.com
Art Journaling Mixed Media Stamps Set 1 Pam Bray Designs
Just Us Girls Line Figures Stamp Set
Flamingo Row Red Rubber Art Stamps by Pam BrayDesigns
         
Other Supplies:
  • black ink pad
  • white cardstock 
  • rainbow ink pad
  • clear mounting block
  • black marker
  • black cardstock
  • orange card base (5x7")
Directions:
1. Ink the striped background stamp with a rainbow ink pad and stamp onto white cardstock.  Make three impressions and carefully cut them out.

2. Next, adhere them to the middle of a orange card base.  Leave a narrow gap between each panel to create a split panel background with three distinct parts.

3. Stamp a feminine figure onto white cardstock and use a black marker to color it in to create a silhouette. Carefully, cut out the silhouette and adhere it between two of the rainbow striped panels.

4. Ink an encouraging sentiment stamp with black ink, stamp it onto white cardstock, and matte it with black cardstock.  Finally, doodle a simple narrow border around the card with a black marker.

A Closer Look:
 

            Blank Page Muse Shop http://blankpagemuse.com/
            Facebook Fan Page https://www.facebook.com/groups/bla...
            Instagram - Shop https://www.instagram.com/blankpage...
            Instagram - Blog https://www.instagram.com/blankpage...
            Twitter https://twitter.com/BlankPageMuse
            Pinterest https://www.pinterest.com/blankpage...

To learn more about our designer Karen, please visit her blog, Art & Soul.

Copyright Text

Blank Page Muse 2018 Sin City Stamps 2013