Showing posts with label sin city stamps. Show all posts

Monday, December 4, 2017

How To Create A Beautiful Vintage Christmas Card


Hi all
I have used the Steampunk'd Christmas Stamp Set to create a vintage Christmas card. You can use these stamps for more traditional Christmas crafts too. 
Product list
6 x 6 Card
8 x 8 Christmas papers
Paper Poinsettia Stickers
Banner Nesting Die
Red ink pad
Wooden Frames
Marker Pens

Start off by covering a 6 x 6 card blank with patterned paper. 
Then cut out a large rectangle from green pattered paper.
For the next layer, use a banner die and cut out a sheet of matching paper, Wrap red twine around the top and adhere to card.


Glue paper to the back of the wooden frame and adhere to card.
Stamp out the Santa stamp onto white card and colour in with markers.
Cut out the Santa and adhere to the wooden frame


Decorate with paper flowers and cut a sentiment out of the patterned paper.


Thank you for visiting


Sunday, December 3, 2017

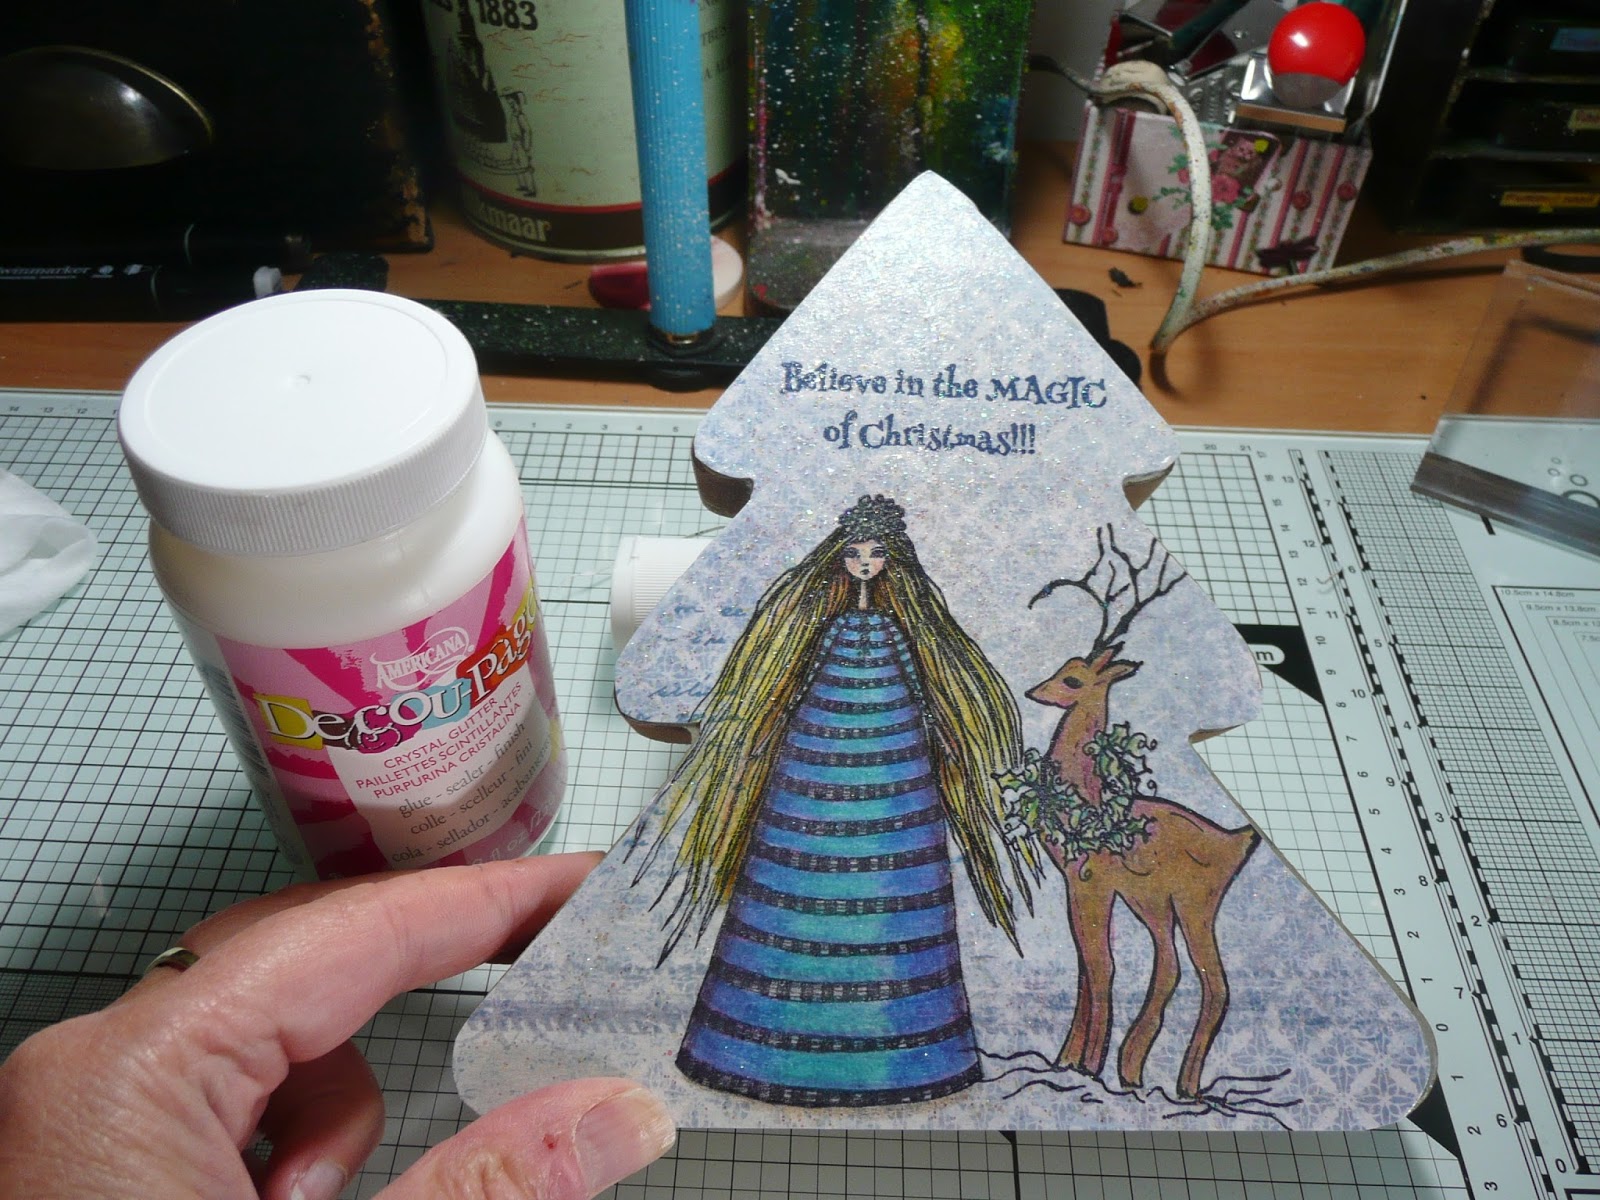
A Christmas Tree Tag Ornament

Hi all, Monique here, showing you how I made this home tag ornament for Christmas!

Supplies:

Sin City rubber-stamps used:
  Winter Reindeer ,
  Phoebe art doll
and the sentiment from the Country Vintage Christmas set.

Additional products used:
Wooden Christmas tree shape,
 Patterned paper,
Rhinestones,
 Metallic colored pencils,
Glistening Snowtex,
 Decoupage crystal glitter
, Craft Twinkles,
Glistening Snow Writer,
 Waterproof black and blue stamping ink


Step 1:Trace the shape of the tree on to patterned paper and cut it out.


Step 2 : Stamp the winter Winter Reindeer, using black ink, see pic


Step 3:Make a mask and cover the reindeer before stamping Phoebe art dolll, to make it look like the reindeer stands before Phoebe art doll. Use black ink.

 Step 4: Use blue ink to stamp the sentiment from the Country Vintage Christmas set.
 Step 5: Colour in the images, I used metallic pencils to get a shiny festive result.
 Step 5: Add Craft Twinkles to the patterned paper
 Step 6: Adhere the paper to the tree using decoupage glue with glitters in it.
 Step 7: Add snowtex to the ground and the glistening snow writer to the edges of the tree
 Step 8: Decorate the top of the tree using rhinestones. Let the snowtex and snow writer dry. The Snow writer will dry transparent to give an icey look.
 Here the finished result and some close ups.


For more inspiring paper-craft projects from the Design Team, be sure to visit us at the Sin City Blogand follow us on Facebook

Join the Sin City Fan Group. HERE

Tuesday, October 17, 2017

Altered Day of the Dead Tag

 
 Hello all
Check out this sugar skull tag created using Sin City Stamps. 

Red Acrylic paint
Blue Acrylic paint
White pearl paint
Gesso
White card
Shrine Tag
Flowers
Colored inks
Black archive ink


Coat the tag with gesso and then glue together.


Paint red and light blue with acrylic paint and then stamp around the top using the flourish stamp.


Stamp our the Sugar skull and flowers onto a white card and color in with inks before cutting out.


Glue the flowers around the sugar skull and then glue the stamped flowers around the frame.


Paint a large flower with acrylic paint and dry brush with pearl white paint. Glue to top of tag.


Dry brush whole tag with pearl white paint.

Thank you for visiting

We have a fan club too!

Thursday, October 12, 2017

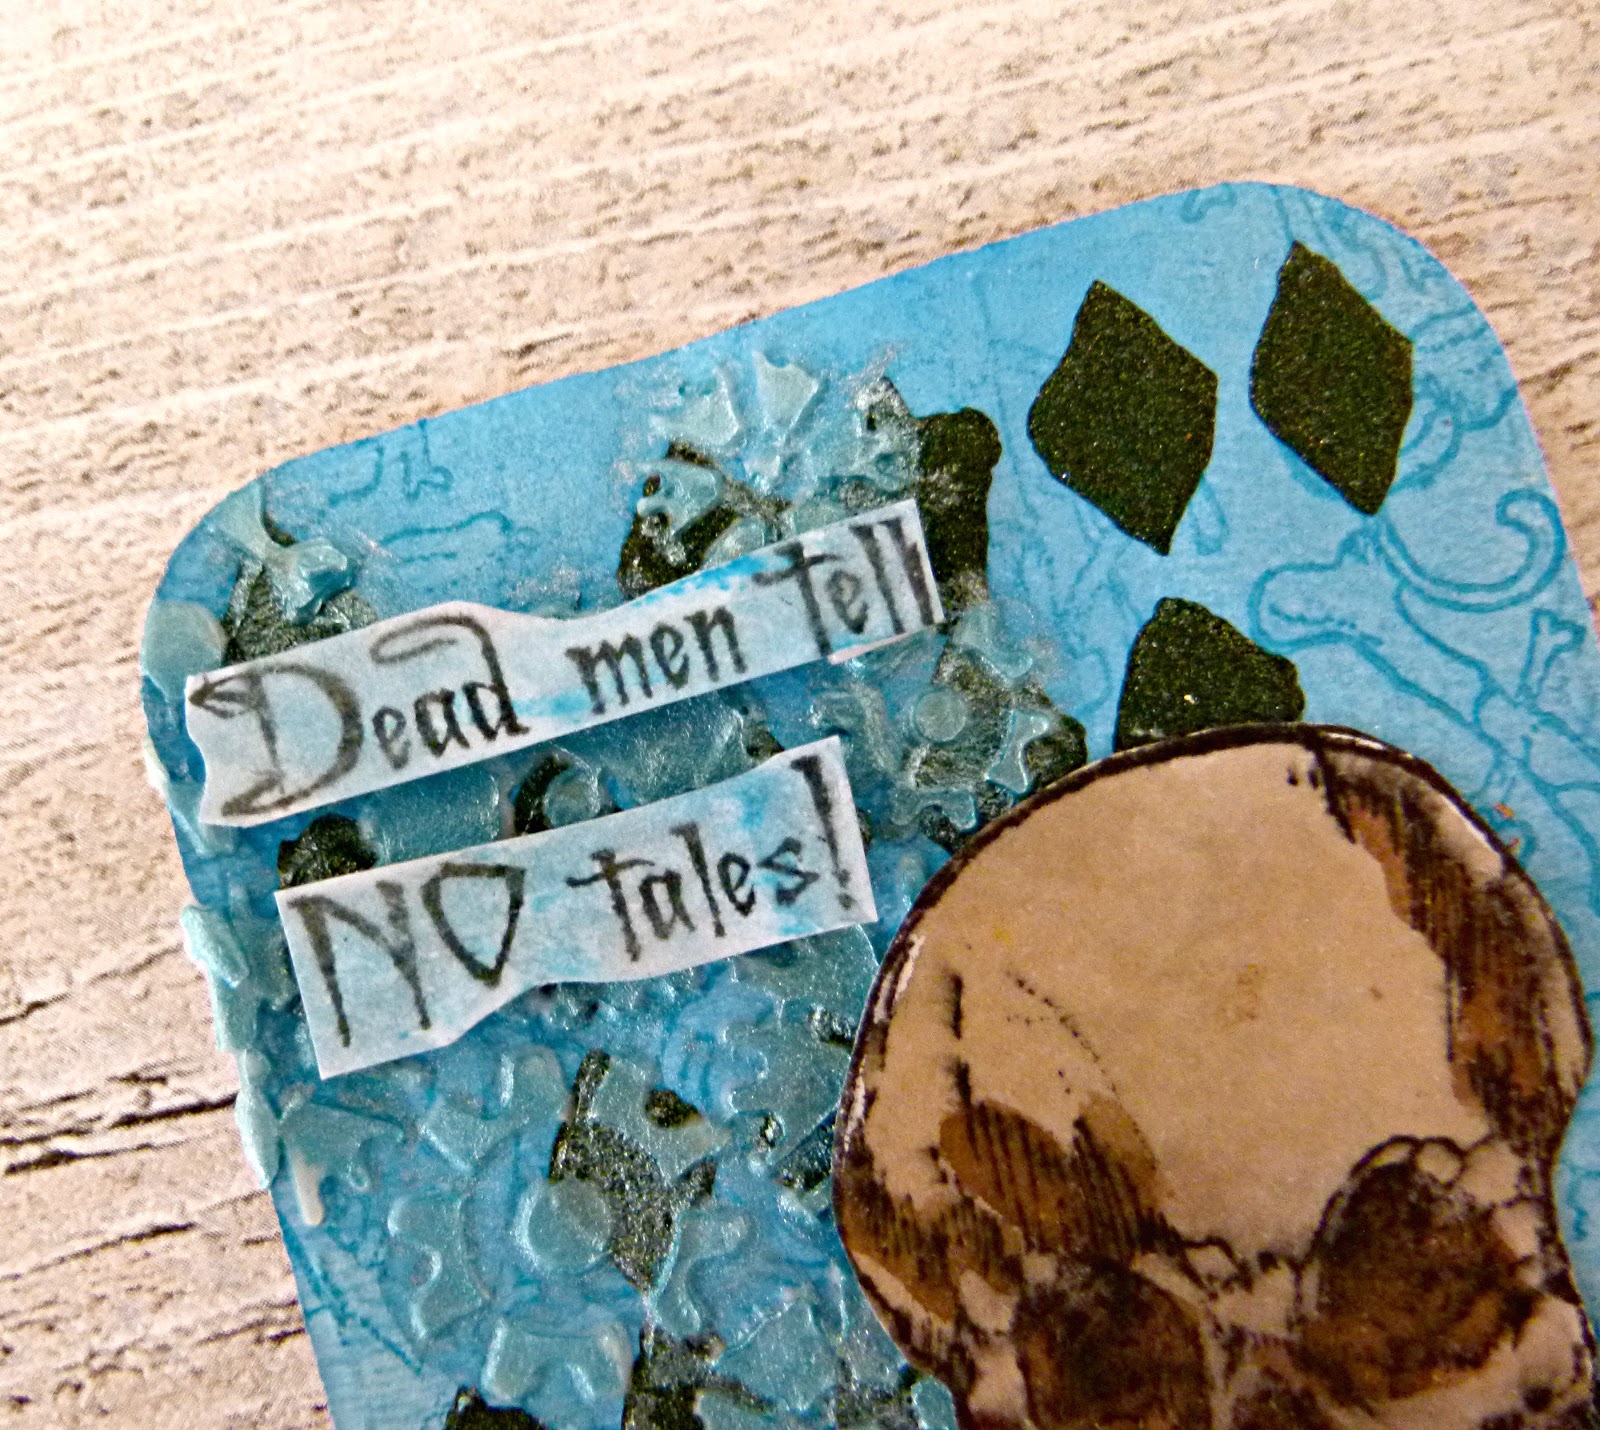
Dribonez ATC Set

Hi all

I have a quick make for Sin City stamps  using the new DriBonez set by Rick St Dennis.

Product list
Blank ATC's
White Card
Inks
Stencil
Mixed Mediums


                  Start off by spritzing a few blank ATCS with blue inks and leave to dry.
          Apply a stencil mask with green texture paste and leave it to set.

Stamp out the bones stamps onto the white card and color in.
 These were colored in using inks


Adhere some words to the ATCS


Create different designs by layering up different stencils with modeling paste.


For this ATC, I  used the grungy background stamps to create a pattern.


The skulls were colored in using sepia ink which gave them an old feel.


Be sure to visit our Fan Page for more inspiration, to share your own Sin City Stamps projects and to enter giveaways!

Wednesday, October 4, 2017

Sin City Stamps Occult In a Box: A Spooky Altered Matchbox

Hi all
I have a spooky "miniature" craft to share using Sin City Stamps!
Enjoy!

Supplies:
  1. Skeletons Halloween art stamp set  
  2. Halloween Bingo Stamp Set 
  3. Wildflower stamp set  
  4. Large matchbox
  5. Gesso
  6. White card
  7. Black ink
  8. Orange chalk paint
  9. Crackle paint
  10. Orange paint
  11. Purple paint
  12. Walnut stain or dark to light brown inks.
  13. Assorted Halloween charms and beads.

Prime your matchbox with gesso before painting with orange chalk paint.
Add crackle paint and then paint over with orange paint.


Stamp the center and sides of the box with the filigree stamp from the Skeletons Halloween Set.

Stamp out the bottles and wildflowers onto white card. 
Color bottles with walnut stain or a cold tea bag. 
Trim the tentacles off the wildflowers and glue behind the bottles.


Paint inside orange and the drawer in purple. Glue a pumpkin bead on the front.


Fill drawer with spooky things.

The Ouija board is from a dolls house miniature. 
The tarot cards can be printed off here and the rest of the bits are made from beads.


Thank you for visiting.
Don't forget to check out our fan group!


Tuesday, October 3, 2017

Halloween Decor

Hello every one, Monique here showing you how to make a Halloween Decor.


Supply list: 
  • Orange and black acrylic paint,
  • Black waterproof stamp-ink, 
  • Black ribbon, 
  • Piece of cardboard (from old box),
  • Frame and skull embellishment (or make them yourself using a mold and air dry clay) 
  • Gesso in black and white. 
  • Acrylic paint in white, light and dark brown, 
  • Metallic Luster in silver.
  • Paint brushes,
  • Glue.

Step 1:  Make the frame and skull using a mold and air dry clay. It will take a day to let for the clay to dry

Step 2: Cut a square piece of cardboard from a box and use a layer of white gesso to prepare it for painting. Add a layer of white gesso to the skull and black gesso to the frame. Let dry.
Step 3: Paint the cardboard square orange, let paint dry.
Step 4: Use the crackle stamp and black stamp ink to give the cardboard an aged look.
Step 4: Create a frame by using the top part of the skull fence stamp.
Step 5: Finish the background using the  Ornate  Metal look stamp
Step 6: Paint the frame black.
Step 7: Paint the skull using light and dark brown acrylic paint
Step 8: Give the frame some dimension by using white and grey acrylic paints on the raised parts of the frame.
Step 9: Add some silver wax on the frame
Step 10: Attache a ribbon on the back of the hanger.


Sep 11: Adhere the skull inside the frame and adhere the frame to the wall hanger.


To purchase the stamps for this project, please visit www.sincitystamps.com 
For more inspiring paper-craft projects from the Design Team, be sure to visit us at the Sin City Blog and follow us on Facebook.  Also, share your creations with us and join the Sin City Stamps Fan Page HERE

Copyright Text

Blank Page Muse 2018 Sin City Stamps 2013