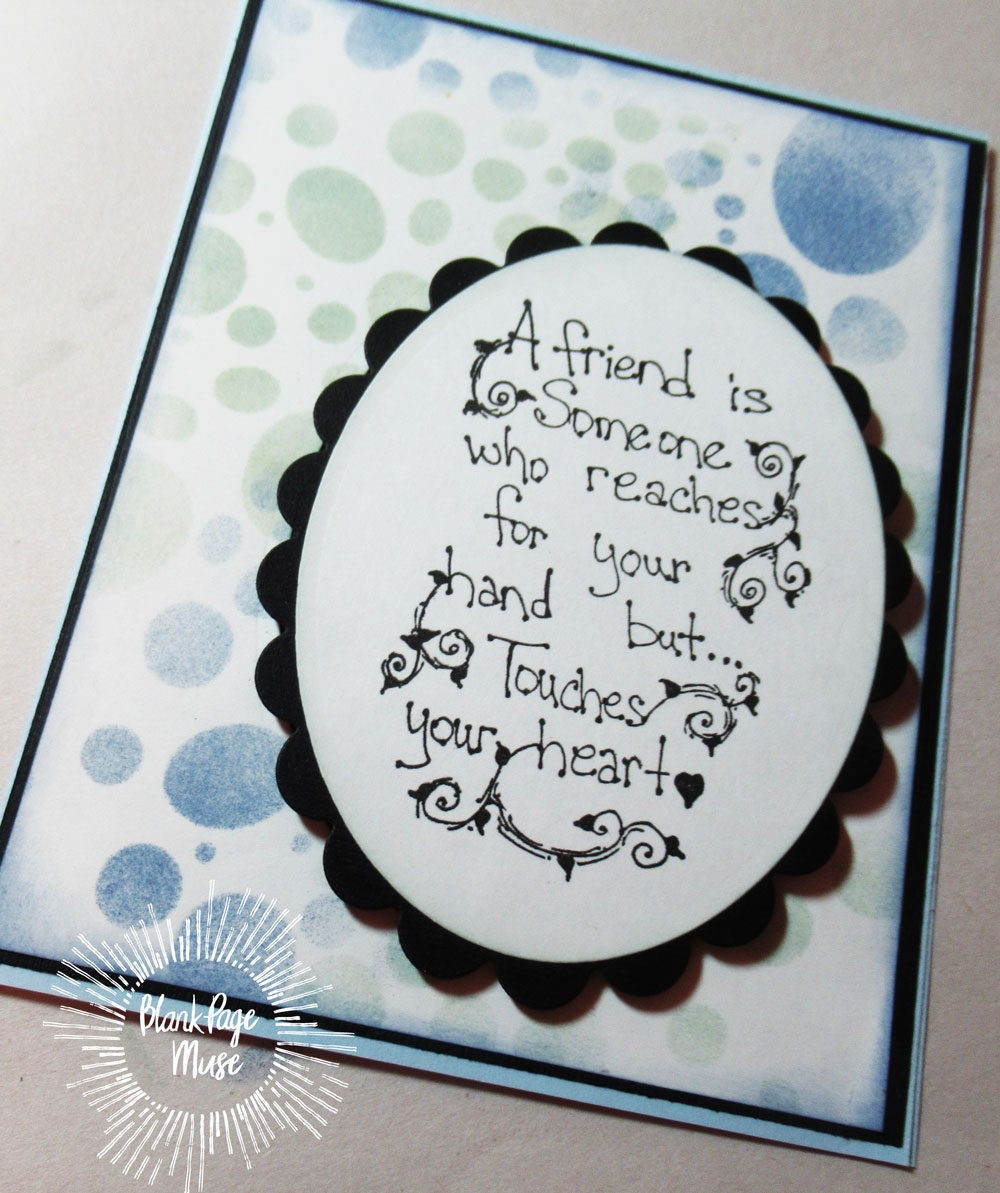
Hi everyone, Steph Ackerman here today using an assortment of stamps from Blank Page Muse to create 2 cards.
Welcome to the Blank Page Muse Blog! We hope you love these amazing projects created by our fabulous Creative Stamping Team. At Blank Page Muse, we are proud to offer red rubber stamps, clear stamps and stencils. I Brake for Stamps rubber stamps are available online in the same shop. Art rubber stamps are pressed to order in the USA. We are here to help break that blank page! Visit our sister shop IBRAKEFORSTAMPS.com
Friday, March 20, 2026
Beautiful Birdhouses
Wednesday, November 12, 2025
Waterfall card
Hi everyone, Steph Ackerman here today using some amazing stamps and from Blank Page Muse.
Monday, April 21, 2025
Where Flowers Speak, Friendship Grows
- Large Violet Stem stamp from Blank Page Muse
- Water-based ink pens (For this project, I used Altenew Artistry markers)
- Watercolor paper (I prefer Canson)
- Ink-blending brush
- Blue, Water Reactive ink (I used Distress Oxide)
- Paint Brushes
- Pattern paper (Your taste and preferences should dictate selection)
- White A2 Card base
- Boarder die (Your taste and preferences should dictate selection)
- Liquid glue
- Low-tack Tape
- Paper Trimmer
- Die cutting machine
- Stamping platform (I use a Misiti)
- Black embossing powder
- Heat tool
- Embossing ink
- Sentiment of choice
- Flat-back pearls
Process
- Using the watercolor paper and a paper trimmer, cut the paper to approximately 4.25" x 5.5".
- Place the cardstock into your stamping platform and secure it into place.
- Align the Large Violet Stem stamp into its final position
- Secure the stamp to the stamping platform using some low-tack tape.
- Close the lid and press firmly to ensure the stamp adheres to the lid.
- Double-check that it is secure because the technique to create the card requires a lot of repeated stamping.
- Choose a section of the stamp that feels comfortable to work with and use the Altenew Artistry marker to color only that portion of the stamp.
- Work with light, even strokes, making sure to only get the pigment on the raised section of the stamp.
- Make sure that there is good coverage.
- Stamp the image onto the cardstock.
- Use even pressure, making sure that the applied pressure is downward only to prevent potential stamp movement
- Clean any residual ink from the stamp with a paper towel.
- Using a damp, fine-tip brush and a light touch, pull the pigment from the edges of the stamped image towards the center of the image.
- Be sure to keep inside the lines of the image as you work.
- Take adequate time with this step to prevent smearing or bleeding.
- Allow to dry completely.
- Repeat the steps for other areas of the stamp.
- Save the fine detail or outlines for the final stamping.
- Using a die of your choice, cut out the boarders and align as shown to frame your focal image.
- Adhere into place with liquid glue
- Allow to dry
Assembly
- Secure the completed panel onto the stamping platform.
- Align chosen sentiment.
- Ink the sentiment with embossing ink and stamp the image, repeat if necessary for complete coverage
- Remove the panel from the stamping platform and apply the black embossing powder.
- Recover the excess powder.
- Heat-set the powder with a heat tool.
- Adhere the completed panel to the A2 card base with liquid glue.
The stamps I used can be found by following the links in the materials list, or you can find them with a quick search on www.blankpagemuse.com. Visit our social media sites for more stamping fun!
Monday, July 12, 2021
Friendship Cards
Hi everyone, Steph Ackerman here with 2 friendship cards.
Supplies:
Blank Page Muse Stamps -
A Friend is Someone...
Bubble wrap Texture
Blank Page Muse Stencil -
Pebble Path Stencil
Cardstock
Ink
Using the stencil, ink a panel of white cardstock with 2 shades of blue inks, moving the stencil around the panel.
Saturday, January 19, 2019
"Friendship"
Thank you so much for stopping and looking! I know we all hope to see you here again soon!
Visit and follow us for more inspiration:
Saturday, April 21, 2018
Creating Backgrounds - Go Confidently Card
If you feel intimidated by stamping backgrounds, fear no more. One stamp and an ombre ink pad are all you need. By using an ombre ink pad with multiple colors you can create a rich background full of depth.


.png)