Sunday, January 25, 2015

HOOT OWLS AND WAVY SQUARE STENCILS

Hello!  I have a card to share with you today using SinCity Stamps ~ Stamps and Stencils.
Is he the cutest owl or what???
SUPPLIES:


Cut a piece of watercolor paper to 5.25"x4".  Mix paint with gesso and apply it to the paper with a palate knife.  Let dry.

Ink around the edges with Distress Ink.  Apply stencil on top of paper and spray with brown ink.  My paper was on an uneven surface so some of the ink dripped under the stencil but I love how it looked!

I love how some of the green is showing through the stencil, and some of the brown ink followed the stencil pattern!  I bet if I tried to do it again, I couldn't.  But I want to!!  I splattered some white and black paints on top.

Now,I cut out all my stamps *I know I stamped after I stenciled but you get the point I hope??* and I stamped right on the paper.  I used the branch, owl and the word Hoot.

To finish him I did some coloring and added white sprinkles to his eyes.  Last was the bow.

Thanks so much for visiting today!!  And be sure to try some of these SinCity Stamps products.  You will LOVE them!!
xxDaniella

Saturday, January 24, 2015

Meet our New Design Team 2015

SinCity Stamps is proud to announce their newest Design Team
This team will be posting project on this blog three time per week with full tutorials. 


Please meet our team!

Terri Sproul - Team leader and head Designer
Terri Sproul is a CHA designer and a force behind the amazing stamps designs for Sincity Stamps Designs.  She has the pleasure of living in San Diego country with her husband of 17 years on top of a mountain, call Palomar Mountain.  


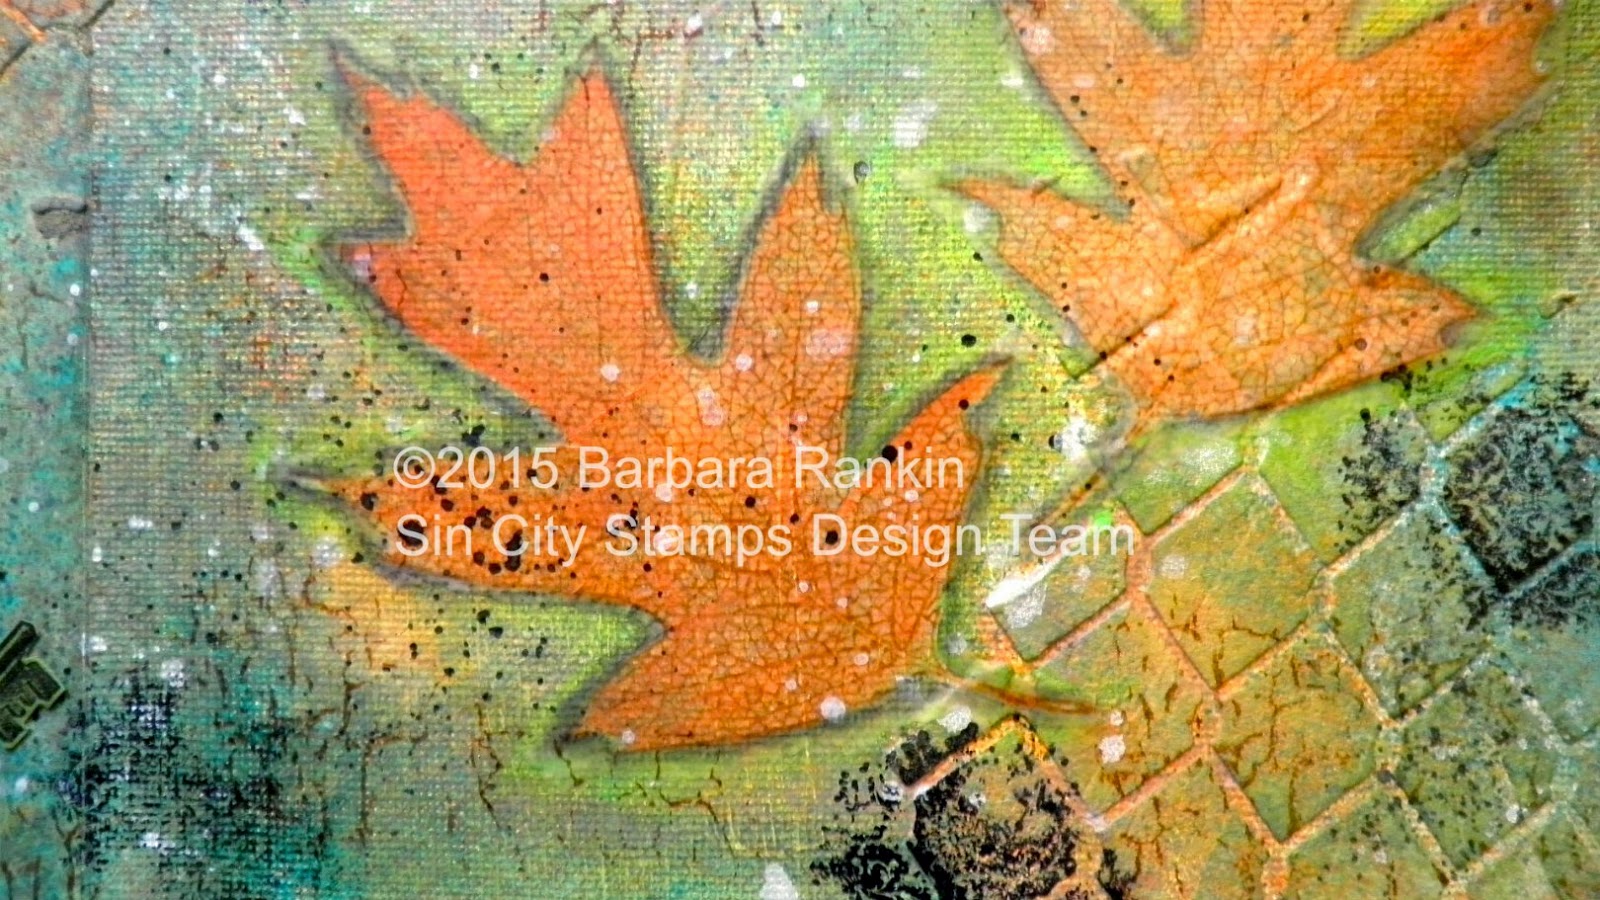
My name is Barbara Rankin, and I am a self-taught paper and mixed media artist, with my early beginnings making cards and gifts for family and friends.  I picked up my first rubber stamp in 1995, before the internet had so much inspiration to offer up-and-coming artists.  I love to learn, and I love to share what I have learned with others.  I love adding dimension to my projects, and just about everything I make has it in some form or fashion.  I am currently on two other design teams, Altered Pages and House of Cards.  I have been published in several paper and e-magazines, as well as a contributing artist in a book.  I have also been asked to make samples for display at CHA, as well as being a guest designer for Craftwell USA. I call Memphis, Tennessee, my home, which I share with my wonderful husband of 32 years and two adorable Yorkie sisters, all of whom make my life fabulous.  


I am a mother of 2 boys, a wife of 23 years and an artist living in Northern New Jersey.

Paper is my medium of choice, you can make or do anything with it! Inking it, Painting it, Using it for Transfers, Mixed Media, Card Making, Journal Making, Stuff Altering, Stamping, Coloring, and anything else that Sticks!!

My work has been published and featured in magazines and I have the honor of designing for amazing people.

I just enjoy the journey and I can't wait to see where it takes me next!
Lanette Erickson

Hello, my name is Lanette Erickson & I live in the mitten state with my husband & 2 amazing daughters. I've been a crafty person all my life & I've been a scrapbooker  for about 13 years. Scrapbooking took me to Mixed Media, Cards and Project Life...... So I guess I just love to create anything at this point. I've been told my style is Romantic and Clean & Simple but I try not to be boxed in by my style. I love to try new products, techniques and I’m always ready for a new challenge.


Hi I am Chris, Happily married to my high school sweetheart and proud mom to 3 precious (and sometimes precocious and rowdy) children. I LOVE scrapbooking and card making. I love adding stamps to my creations and getting inky.  I am super excited to be part of the SinCity Stamps Design Team!

I believe all things are possible with paper and good scissors. Add quality adhesive and things to write, draw and/or color with and BOOYAH...  We are having ourselves nothing but pure JOY and EXCITEMENT and EVERYDAY can be a HOLIDAY! (ha-ha).  I do a little bit of everything (smile), although my concentration as of lately has been towards, mixed media, art journaling. 
I am a practicing social media junky.. if there is an app. out there.. I've heard of it.. possibly used it or have had an account for it.  I believe #sharingiscaring and some folks get the best learning experiences from some of the things.
One can easily become an educated consumer with few inquisitive search clicks from the internet with help from pinterest, facebook, ustream, youtube and vimeo.


I am a finance director by day and a mixed media artist by night and weekend. I grew up in Springfield, Illinois and live in Cincinnati, Ohio with my partner and three dogs Otto, Tyler, and Cody. My mother is my greatest inspiration and taught me to always do what you love. I never knew that I had this deep connections and love for the art of craft. I started my venture into crafting back in November 2011 when making first Christmas card.  After making that first card, I realized that this was a passion that was untapped for me. I discovered that I am a mixed media artist who loves making homemade cards, tags, wall art, canvas pieces and more. 
My area of expertise is making unique cards and tags that possess a vintage touch and feel.  I would say the common theme in my work is distress vintage.  I have this desire to intentionally fade and give a marred look to my work to convey an antique or used look. 
If you ask me what inspired me to continue on in this craft it is the capability to escape from the world through my creative process and exploration. My motto is to never give up on your dreams and never say you can’t but prove you can.  I admire the late Steve Jobs and a quote of his that I do my best to live by daily~ “The only way to do great work is to love what you do. If you haven’t found it yet, keep looking.  As with all matters of the heart, you know when you find it.”   So for me I found it through being a mixed media artist and knowing what I create makes people smile!


Since childhood, I am happiest when I have paint and glue on my hands! Playing with new products and getting messy is time well spent in my book. I create a variety of mix media signs, cards, and altered art, and my creative style ranges from cute and fun to clean and simple which I sell in a local gallery called the Art MoB. My latest passion is art journaling, lettering, typography and collecting quotes. My grandest achievement so far, has been my being commissioned to paint a huge fiber glass bear which was auctioned off for charity in the end of the 2014 summer for $4,000.00. When I am not crafting I am photographing wildlife and hiking through our lovely North Carolina mountains. I am 55 years old, single and deliriously happy checking off my bucket list as I go along in life. My current mantra is "Going green in 2015 with the Arnold Grummer Papermaking team!" 

Friday, January 23, 2015

Steampunk Airship with Sin City Stamps

Hello Peggy here to show you my last posting for Sin City Stamps! Its been a great run with some great folks and Awesome product! I present: My Steampunk Nightlight! It can be hung or attached to the wall.. I love it!
Todays supplies: 
Chipboard Airship
Silver Cardstock
Patterned Paper
Stazon Ink Black
Crystal Lacquer
Chains, keys, gears, switches, bolts anything metal
Creativity!

I created a two inch molding out of chipboard around two pieces of a chipboard airship to create a 3d effect. I covered the outside of the ship with silver reflective cardstock. Below shows the stamps and metal pulled out for easy access and to help with the creative flow. 
I stamped my Sin City Stamps with Black Stazon Ink to create a back ground using four stamps. 
Next I placed my metal pieces in the order I wanted them to appear and began to adhere them with Crystal Lacquer.
This is my result below! I added a battery operated light for a glow and whalla! 


The top and bottom were covered with Graphic 45 patterned paper. I added a hook and chain for hanging. I used patterned paper to also create a floor to hold the light on the inside.
Ball chain was added.

That's it! I am very proud to have been on the Sin City Stamps Design Team for two terms and I wish all the best to Donna and her fabulous Sin City Stamps Creations!
Congratulations to the new team I can't wait to see what you come up with!
Warmly, 

Thursday, January 15, 2015

Courage Is ... Art Journal Page

Hey there, fellow stampers!  Today I am going to share my last post with Sin City Stamps for this term. But, the good news is, I am not going anywhere.  I am continuing my tenure with the design team for another term.  I guess they just cannot get rid of me!

I am going to work in my art journal again, and I want to share a few techniques with you that I have learned along the way.  I know this post is quite photo heavy, but I think it helps you to understand what I am trying to say.


I used a dabber bottle filled with white gesso and gave both pages a good coat, without trying to blend, but leaving ridges and dabber marks.  Allow this coat to dry.
On a sheet of deli paper, I stamped images from the various Sin City Stamps stamp sets, as follows:
Courage ...
Small Peacock Feathers
Leaves
Wings, Key and Lock, Wings of Love
Tear stamped images out and audition them on your journal pages.  If you want, you could take a digital picture to help you remember your placement.
Remove your images, and add modeling paste through the chicken wire stencil.

I tried to do the stencil where I have blank spots, not where my stamped images will be placed.
After the paste dries, spritz misters in Yellow Green, Turqouse, White, and Orange.   Use a baby wipe to remove and/or blend colors.
To tone down the brightness of the colors, I made a mixture of Burnt Umber and Titanium White Antiquing Cream, mixed with Retarder, to make a wash.  The photo below shows half of the page so you can see the difference.  It looks scary, I know, but the retarder gives you plenty of working time.
I painted it over the entire page and wiped off  with a baby wipe.  
Here is a closeup of the texture and depth of colors achieved with this technique, and you can see how fabulous the SCS stenciled image looks.
Next, I used the Matte Medium to adhere my stamped images to the pages.  As you can see, the deli paper practically vanishes into the background.
Die cut 5 different sizes of funky hearts from thin chipboard and cover with white gesso.
When dry, apply a base coat of red iron oxide to each heart.
Let that coat dry, then apply a coat of the crackle paste, varying the thickness for different sized crackles.

Paint each of the deli paper stamped images with intense block colors.  These are good to use for this because the colors are vibrant while still retaining transparency, allowing the stamped images to show through.
While waiting for my paste to crackle, I decided to stamp some stamped crackles directly onto my page with spiced chai ink.
 This is a background stamp, but by curling it up and stamping only portions of it, you get these nice, irregular crackles.  Just another reason to love your unmounteds!
close up of the stamped crackles
 I added some brown distress ink over each of the crackled hearts and adhered them around my pages.
 I added  a few more of my deli paper stamped images to some of the hearts.
 I decided I wanted the key hole to show up more, so I stamped it again onto a scrap of green card stock with black ink, fussy cut it, and adhered over the wings.
I used a charcoal pencil around my images and blended it with a blending stump to add dimension to each image and make them pop off the page.  Finally, I stamped the lace fragment randomly with black ink and added some paint splats with both white and black paints.  Following are some close ups of the pages.


Supplies:

Sin City Stamps:  Wildlife stamp set; Terri Sproul's Leaves stamp set; Sin City Wings stamp set; Chicken Wire Stencil;
Cottonwood Press Canvas Notebook
StazOn ink pads: Black, Blue Hawaii, Gothic Purple, Emerald City, Spiced Chai, Claret, Orange Zest
DecoArt Modeling Paste; Matte Medium; Crackle Paste; Misters:  Yellow Green, Turquoise, Orange, White; Burnt Umber; Titanium White Antiquing Cream
Golden Retarder
Charcoal pencil, blending stump

Albeit lengthy, I hope you enjoyed my project today, and I also hope you liked looking at the photos that I think really help you visualize the true depth of colors you can get from mixed media.

Thanks for stopping by, and have a wonderful weekend!

Barbara

Sunday, January 11, 2015

A MINI ART JOURNAL

Hi!  I have an art journal to share with you today.  It is a mini, so you can take it with you wherever you go.  It measures 4.5"x3" and is made with Mixed Media paper so it is ready for all of your artsy techniques.  I even decorated it a little, so jotting down ideas or experiences is super easy!  

This is a side view  The album is made with plenty of room for you to add tons of stuff to the pages. There is even a little pocket to put things in you want to add later.

A little glimpse inside shows some spray ink and stamping.  I made 3 "signatures" of 2 pieces of paper each to put inside, for a total of 12 pages. "Signature" is a book binding term for how you add the inside pages.

I made a tutorial to show you how I made this tiny journal.


Check out How to Make a Mini Art Journal. by Daniella Hayes on Snapguide.


Thanks so much for visiting!!
xxDaniella

Copyright Text

Blank Page Muse 2018 Sin City Stamps 2013