Showing posts with label glitter. Show all posts

Tuesday, January 29, 2019

A Valentine's Wish...


Hi Blank Page Muse Stamps Fans! 
Have you been enjoying this month's "Valentine's" themed creations and inspiration?
I'm sharing a mixed media semi vintage style card today - perfect for you to make for that someone special!

Supplies:

Blank Page Muse Stamp: "Make a Wish" from the Dandelion Wishes with Butterflies Set
Blank Page Muse Stamp: Vintage Style Man & Woman from the Romance Classic Couples Set
Black Base Card
Card 1cm smaller than the front of your base card
Old Book Pages
White Watercolour Paper/Card & Small piece white card
Heart Stencil & Texture Paste
Ink Sprays and/or Brea Reese Glitter Ink or like Product
Black & Pink Archival Ink
Gold "Smooch"
Watercolour Pencils and Water Brush

Embellishments: ink stained muslin cloth, corner charms, diamante
General supplies: glue stick, glue, spatula, heat tool to speed up drying process, scissors, double sided tape, mounting tape


Instructions:
Start by cutting your base card from black card or using a pre-made card base. Use your glue stick to adhere torn pieces of old book pages over your card front piece which is cut to 1cm smaller than your card front. Cover the entire front with the pages and then trim excess from sides of card.


Use a "love" themed stencil to apply texture paste to the card front. Note: I didn't cover the entire front - it looks more effective to "miss" bits!! The stencil used here was cut from a piece of acetate on a Cameo Silhouette. We all have our favourite stencils- this I one of mine! Allow to dry.


Once the texture paste is dry spray some pink ink spray and Brea Reese glitter ink and spread over the page by spritzing with a bit of water and "moving" the ink around on the card. Gold and Pink colours used on this card. Allow to dry.


To add a finishing touch to the card front "edge" the piece with gold Smooch or like product. Allow to dry. Remember you can speed up any of the drying processes carefully with a heat tool.


Stamp the Romantic couple onto watercolour paper with Black Archival ink. Stamp the "Make a Wish" wording onto plain white card. Cut around the wording and edge with Pink Archival ink.


Colour the Romantic Couple with watercolour pencils and a water brush and when dry fussy cut the image ready to use on the card front.


Use double sided tape or glue to adhere the card front to the card base. Gather all your stamped images and embellishments ready to arrange and adhere to the card.


Adhere all the elements to the card - use mounting tape to adhere the main Vintage Couple.


Happy Stamping!
Sharon
 Don't forget to visit us at all of these Social Media Sites for more inspiration:

The Blank Page Muse- https://blankpagemuse.com/

Saturday, January 12, 2019

Vintage Valentine

                                    Hello all Cathy here and ready to get 2019 rolling.
I have a shabby pink vintage Valentine card for you. I really like of the look of the shabby style for making vintage cards. You can grunge it up but then add a bit of color and then it becomes shabby vintage to me. I hope you will join in the fun and make a shabby vintage card with me.

Stamps Used: Faded page text 
                       Heart lock & key
                       Love
Other Supplies: Craft cardstock
                          Flower die
                          Heart die
                          Pink cardstock
                          Glitter
                          Twine
                          Brown & Black ink
                          Foam squares

Die cut flowers on the side of craft card stock.  In brown ink, stamp the  Faded page text  randomly  all over the background. Edge it with the same brown.
 Next take Heart lock & key and a darker drown ink and stamp randomly on the left side of the die cut flowers.
 Close up of the Heart lock & key on the craft cardstock.
Die cut a heart from pink cardstock. You can use a heart punch if you have a large one.
Stamp the Love saying onto the heart.
 Next get your card base ready to go. Wrap the pink twine around the left side of the craft cardstock you have stamped on. Tape it on the back to hold it in place.
Glue the craft cardstock on to the base of the pink card. Add foam squares to the heart and add it on top of the twine. 
 Lastly add some pink glitter inside the flower die cut.

This is a shabby vintage Valentine card for you.
Come join the fun here.

The Blank Page Muse- https://blankpagemuse.com/

FB Fan Page-  https://www.facebook.com/groups/blankpagemuse/

Instagram Shop-  https://www.instagram.com/blankpagemuse/

Instagram Blog-  https://www.instagram.com/blankpagemuseblog/

Twitter-  https://twitter.com/BlankPageMuse

Pintrest- https://www.pinterest.com/blankpagemuse/boards/


Sunday, December 30, 2018

Vintage Style HolidayCard

Hello all Cathy I have a vintage Holiday card for you today.
 For all the people you missed from your Christmas card list.
Stamps Used:
Holly & Berries branch
Pine Tree branch by Terri Sproul
Other Supplies:
watercolor paper
brown cardstock
pearl embossing power
distress ink
glitter
washi tape
ephemera
paper doll
 So start out with a 6X3 piece of watercolor paper. Stamp Holly & Berries branch with green distress ink randomly all over it.


 Color berries with red maker and add red glitter to them, Set aside to dry.
Next take brown cardstock and cut it to make a 5X7 card. Stamp Pine Tree branch by Terri Sproul with ink and emboss with white/snow pearl embossing power.  
Then layer the card up with some Christmas ephemera. Use glue stick to add to front of card.   
Add some washi tape on the bottom so the paper doll can stand on.

 Then your vintage style holiday card is done. Ready to send out to someone.

 Come join the fun at all these spots.

The Blank Page Muse- https://blankpagemuse.com/

FB Fan Page-  https://www.facebook.com/groups/blankpagemuse/

Instagram Shop-  https://www.instagram.com/blankpagemuse/

Instagram Blog-  https://www.instagram.com/blankpagemuseblog/

Twitter-  https://twitter.com/BlankPageMuse

Pintrest- https://www.pinterest.com/blankpagemuse/boards/

Thursday, December 13, 2018

Snowflake Card


Hello Cathy here with a snowflake die card for your holiday card making.
Stamp Used:
Let it snow with snowflakes

Other Supplies Used:
snowflake card die
blue cardstock ( I used 12x12)
white cardstock
blue and white glitter
glue
blank ink


 Start out with the blue cardstock.  Cut base card from die.
Then cut the snowflake for outside from white cardstock. Glue on front.
 Add blue and white glitter to the front.
For the inside the die set comes with a circle die. Die cut it from white cardstock to match the snowflake from the front. 
Stamp Let it snow with snowflakes on the circle.  Add blue glitter to snowflakes.
Here is what it looks like all open.

Come join the fun here.
The Blank Page Muse- https://blankpagemuse.com/

FB Fan Page-  https://www.facebook.com/groups/blankpagemuse/

Instagram Shop-  https://www.instagram.com/blankpagemuse/

Instagram Blog-  https://www.instagram.com/blankpagemuseblog/

Twitter-  https://twitter.com/BlankPageMuse

Pintrest- https://www.pinterest.com/blankpagemuse/boards/

Monday, April 11, 2016

Sweet Cupcake Card


Hi Chris here and today I am sharing this card I created for Sin City Stamps. To create this card I used
Sin City Stamps Supplies
Cupcake Die Cut Card
Other Supplies- Ribbon, McGill Tag punch, Tim Holtz Chipped Sapphire Distress Ink, Glossy Accents, WOW Glitter, Martha Stewart Glitter Flakes

I started by tracing to coordinaing cupcake swirl die cat to use as a guide for my glittering. 

I added my Glossy Accents along the traced lines and added my glitter in pink and green. Once that was complete I filled the rest of the "icing" in with Glossy ACcents and added my Martha Stewart Glitter. 

I lightly inked the cupcake "wrapper" using my Distress Ink. I stamped my greeting from Terri Sproul's Wish set onto my punched tag and added the tag and a ribbon to my card! The result... a cupcake that looks sweet enough to eat! 


Monday, November 2, 2015

Warm WIshes

Hi Chris Here sharing this cute winter-y card featuring these adorable penguin stamps from Sin City Stamps!

To re-create this project you will need:
Sin City Stamps: Penguins On Ice 
Patterned paper: TCP Studios
Embossing Folder: Darice
Cardstock: American Craft- Glitter Cardstock, Core'dinations White Gloves
Ink: Ranger Archival Ink -Jet Black
Water Brush
Distress markers :Wild Honey, Mowed Lawn, Squeezed Lemonade, Ground Espresso, Iced Spruce, Pine Needles, Fossilized Amber, Pumice Stone, Hickory Smoke, Black Soot, Tattered Rose, Tumbled Glass, Salty Ocean, Faded Jeans

Begin by stamping your image and coloring with Distress Markers


Next fussy cut out your stamped image and matte on glitter cardstock.  Take Patterned Paper and Emboss using embossing folder.

Matte embossed paper onto glitter card stock.


Add some pieces of torn White glove cardstock to create snow  banks.


Finish by adding your matted storm image.  Stamp inside of card with "Warmest Wishes" greeting. THis stamp sets even features some mini snowflakes to dress up your envelope.


Monday, April 20, 2015

Happy Birthday Banner Card


Hi Chris here today, and I want to share this cool card I made.  I love that it looks so sweet, but didn't take hours to make.  I used mostly white papers and embellishments and inked them all to match -- which is a great way to stretch you supplies! Plus I got to play with lots of ink and markers *grin* Sometimes you need a card that whips up in short amount of time, but still lets you play!!!

For this project I used
Sin City Stamps Alice 2
My Minds Eye patterned paper
Tim Holtz Distress Inks- Broken China, Spiced Marmalade, Scattered Straw, Tea Dye, Abandoned Coral
Tim Holtz Distress Markers - Old Paper, Tattered Rose, Tumbled Glass, WIld Honey, Barn DOor, Squeezed Lemonade, Evergreen Bough, Peacock Feathers
Ranger Archival Ink - Sepia
Pre-Made Banner - The Paper Studio
Sizzix Die #660220
Elmer Spray Adhesive
Colorbox Design Adhesives
Doodlebug Glitter
Card Base- The Paper Studio

I started by inking my background paper with my distress tool first with Broken China, and then with the Spice Marmalade.  I let the colors overlap slightly.  I left the center mostly free of ink to provide a bright area behind my stamped image.


I then die cut the "scroll" lattice using the Sizzix die and white paper, but decided the white didn't match the vintage-y style I was trying for so I gently inked the paper with distress ink.

I added the die cut to the lower right hand corner of my background piece, and then trimmed off any excess.  To adhere this delicate die cut I did break out the spray adhesive. 

I used the pre-made white banner and inked each banner to coordinate with my card.

I then attached the banner to the upper left hand corner of my card.

For the greeting I used Color Box Design Adhesives, which have adhesives on both sides of your design, making it super easy to add glitter.


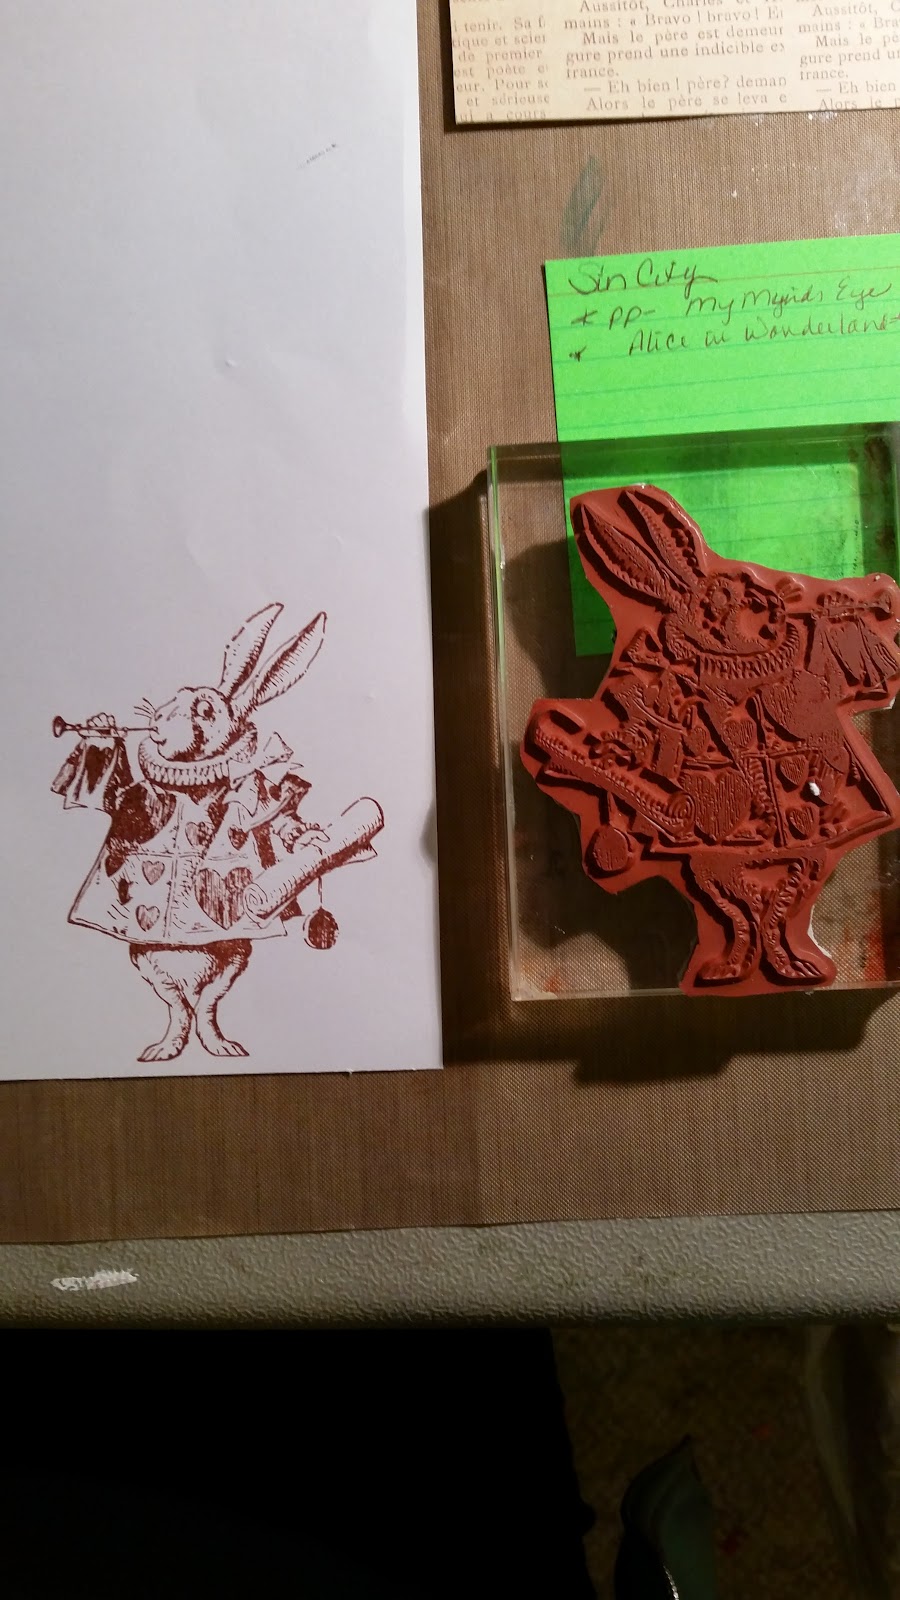
I then used these wonderful Alice Stamps from Sin City Stamps and have been dying to play with them.

I stamped the rabbit on to white paper using the Sepia Archival Ink.

 I then used my Tim Holtz Distress Markers to color him in.  Since I was going for a more vintage-y look I tried to stick with more muted colors.  To tone down the brighter colors  I added a bit of Old Paper accents to the areas colored with Squeezed Lemonade and some Evergreen Bough to the Peacock Feather areas. I then Fussy cut out my image. ( The image below show how bright the Squeezed Lemonade and the Peacock Feathers were before I toned them down.)


I added the stamped image to my card to finish off my card.

 I hope you decide to try some of these techniques.


Copyright Text

Blank Page Muse 2018 Sin City Stamps 2013