Showing posts with label romance classic couples. Show all posts

Thursday, February 18, 2021

Two Romantic Hearts xxx

 Hi BPM Fans!

Here we are approaching the end of another month! I hope you have been enjoying our month of "Romance" and have felt inspired by the DT creations!

Today I am sharing an idea for a romantic card - perfect for lots of occasions depending on what sentiment you use! Always great to have an idea for any occasion cards using the same stamp!


Supplies:
Blank Page Muse Stamp: Vintage Style Dancing Couple
Blank Page Muse Stamp: Heart from Scribble Hearts & Elements Set designed by Pam Bray
Blank Page Muse Stamp: Two Hearts One Love Phrase
Blank Page Muse Stencil: Hearts and Broken Hearts designed by Stephanie Eaton
Base Card
Card front covered with ink stained paper towel OR Patterned Paper
White Paint
Stamp Pad & Scrap Card
Glue or double sided tape, spatula and scissors 
Embellishments


Instructions:
Cover your card front with paper towel. I use the paper towel I have blotted excess ink sprays with. Alternatively use patterned paper or gelli prints cut to slightly smaller than your base card front. Use your stencil, white paint and a spatula to apply the stencil design randomly over the card front. Allow to dry.


Stamp your BPM stamps onto the scrap card using your choice of ink colour and your choice of card stock colour. I have chosen kraft card and a red ink pad to co-ordinate with my paper towel background. Have fun with different coloured inks for your main images no need to stick to just black! Fussy cut your stamped images.


Adhere the hearts, vintage couple and wording along with any embellishments to the card front. 


This card works well with any romantic wording/phrase stamps. Perfect for a wedding or engagement card or for your valentine/special person!


Happy stamping and creating and thank you for joining me again today!

Sharon


Don't forget to check us out at all of our social media sites
The Blank Page Muse- https://blankpagemuse.com/

Monday, February 10, 2020

A Patchwork of Love...and January's Challenge Winner!

Hi BPM Fans!!

We're already into another month for 2020! Can you believe it?

Our theme this month is using multiple stamps - hope you are going to play along with our challenge and show us how you can use lots of yummy rubber stamps on your creations! Use at least 3 real rubber or clear stamps, no digis.

I've made this romantic card - perfect for this Valentine's month! 
Remember way back when this was a technique for creating a card background with stamps? It's fun to play around with the "old" way of stamping haha - I always thought this was an effective way to create a background!

Hope you feel inspired to have a go!


Supplies:
White Card Base
Sticky Note Pad
Ink Pads & Sponge for adding Colour
Dark Coloured Ink Pad for Stamping

Instructions:
Use your sticky notes to create a "frame" in the middle of your card front as shown below in the picture.


Use your sponge or applicator and cover the exposed card with ink.


Using your choice of stamp and a dark ink pad stamp onto the coloured square.


Repeat the above steps over the rest of the card front changing your ink colours and stamps!


You will end up with a patchwork looking card front which is perfect on it's own or you can add a feature stamp to the front or even just a bold sentiment!


A main feature stamp was added to the card as an option to add more interest: Romance Classic Couples used for this card. Lots of possibilities for adapting your card to any occasion!


Thanks for joining me today - hope you will play along with our challenge this month - we can't wait to see what you create!
Make sure you pop back here to the blog to get some more inspiration from the DT!!!

Happy stamping!

Sharon


Love this seasonally wonderful romantic card by Sharon! 

Now for the winner of our January 2020 Challenge!!

#7 Vivian!
Vivian all of us love how you stamped this fun card! Congratulations!! Please email me at blankpagemuse(at) gmail (dot) com !


Don't forget to check us out at all of our social media sites
The Blank Page Muse- https://blankpagemuse.com/
Pinterest- https://www.pinterest.com/blankpagemuse/boards/


You can link up your new stamped creative project here or above under the Challenge tab above! Remember to use at least 3 clear or rubber stamps. No digi stamps. The stamps don't have to be ours but we'd love it if they were!


Tuesday, January 29, 2019

A Valentine's Wish...


Hi Blank Page Muse Stamps Fans! 
Have you been enjoying this month's "Valentine's" themed creations and inspiration?
I'm sharing a mixed media semi vintage style card today - perfect for you to make for that someone special!

Supplies:

Blank Page Muse Stamp: "Make a Wish" from the Dandelion Wishes with Butterflies Set
Blank Page Muse Stamp: Vintage Style Man & Woman from the Romance Classic Couples Set
Black Base Card
Card 1cm smaller than the front of your base card
Old Book Pages
White Watercolour Paper/Card & Small piece white card
Heart Stencil & Texture Paste
Ink Sprays and/or Brea Reese Glitter Ink or like Product
Black & Pink Archival Ink
Gold "Smooch"
Watercolour Pencils and Water Brush

Embellishments: ink stained muslin cloth, corner charms, diamante
General supplies: glue stick, glue, spatula, heat tool to speed up drying process, scissors, double sided tape, mounting tape


Instructions:
Start by cutting your base card from black card or using a pre-made card base. Use your glue stick to adhere torn pieces of old book pages over your card front piece which is cut to 1cm smaller than your card front. Cover the entire front with the pages and then trim excess from sides of card.


Use a "love" themed stencil to apply texture paste to the card front. Note: I didn't cover the entire front - it looks more effective to "miss" bits!! The stencil used here was cut from a piece of acetate on a Cameo Silhouette. We all have our favourite stencils- this I one of mine! Allow to dry.


Once the texture paste is dry spray some pink ink spray and Brea Reese glitter ink and spread over the page by spritzing with a bit of water and "moving" the ink around on the card. Gold and Pink colours used on this card. Allow to dry.


To add a finishing touch to the card front "edge" the piece with gold Smooch or like product. Allow to dry. Remember you can speed up any of the drying processes carefully with a heat tool.


Stamp the Romantic couple onto watercolour paper with Black Archival ink. Stamp the "Make a Wish" wording onto plain white card. Cut around the wording and edge with Pink Archival ink.


Colour the Romantic Couple with watercolour pencils and a water brush and when dry fussy cut the image ready to use on the card front.


Use double sided tape or glue to adhere the card front to the card base. Gather all your stamped images and embellishments ready to arrange and adhere to the card.


Adhere all the elements to the card - use mounting tape to adhere the main Vintage Couple.


Happy Stamping!
Sharon
 Don't forget to visit us at all of these Social Media Sites for more inspiration:

The Blank Page Muse- https://blankpagemuse.com/

Wednesday, January 23, 2019

Vintage Meets Modern Valentine's Card


 Hi everyone! Charlotte here, and today I have a Valentine's Card to share with you. With this card I combined vintage and modern using an image with a vintage feel along with a more modern and graphic background design. 

Blank Page Muse products used:

Other materials:
White card base
Scrap paper and repositionable adhesive, or masking paper
Stamp platform and/or stamping blocks
Small brayer
Black ink
Two shades of teal ink
Alcohol markers or other coloring medium of your choice
Scissors
Paper cutter with scoring blade, or other scoring tool of your choice

Instructions:
Begin by positioning the image stamp in your stamping platform. When I'm stamping directly onto my card base I like to stamp first onto a piece of acetate laid over it, so that I can be sure the position is correct before committing to stamping on the card.

Use black ink, ensuring it is safe for use with your chosen coloring medium, stamp the image onto the card base. When using a particularly large or intricate stamp it can be helpful to run a brayer over it to ensure that it stamps evenly and no areas are missed.
Stamp the image again, this time onto a piece of scrap paper or masking paper. Fussy cut the image out. If you are using scrap paper, apply a repositionable adhesive to the back to create a mask. 
Position the mask over the image on the card base. The mask will allow us to add further stamping around the image without getting any of it on the image itself. Masking is a great technique when making one layer cards like this one.
Using the "forever" sentiment from the Romance Classic Couple set, stamp repeatedly across the card base with a medium shade of teal ink. Continue until the card base is covered. For extra interest, use the small "forever" sentiment from Inhale... Exhale with a lighter teal ink in a few random places between the larger words.
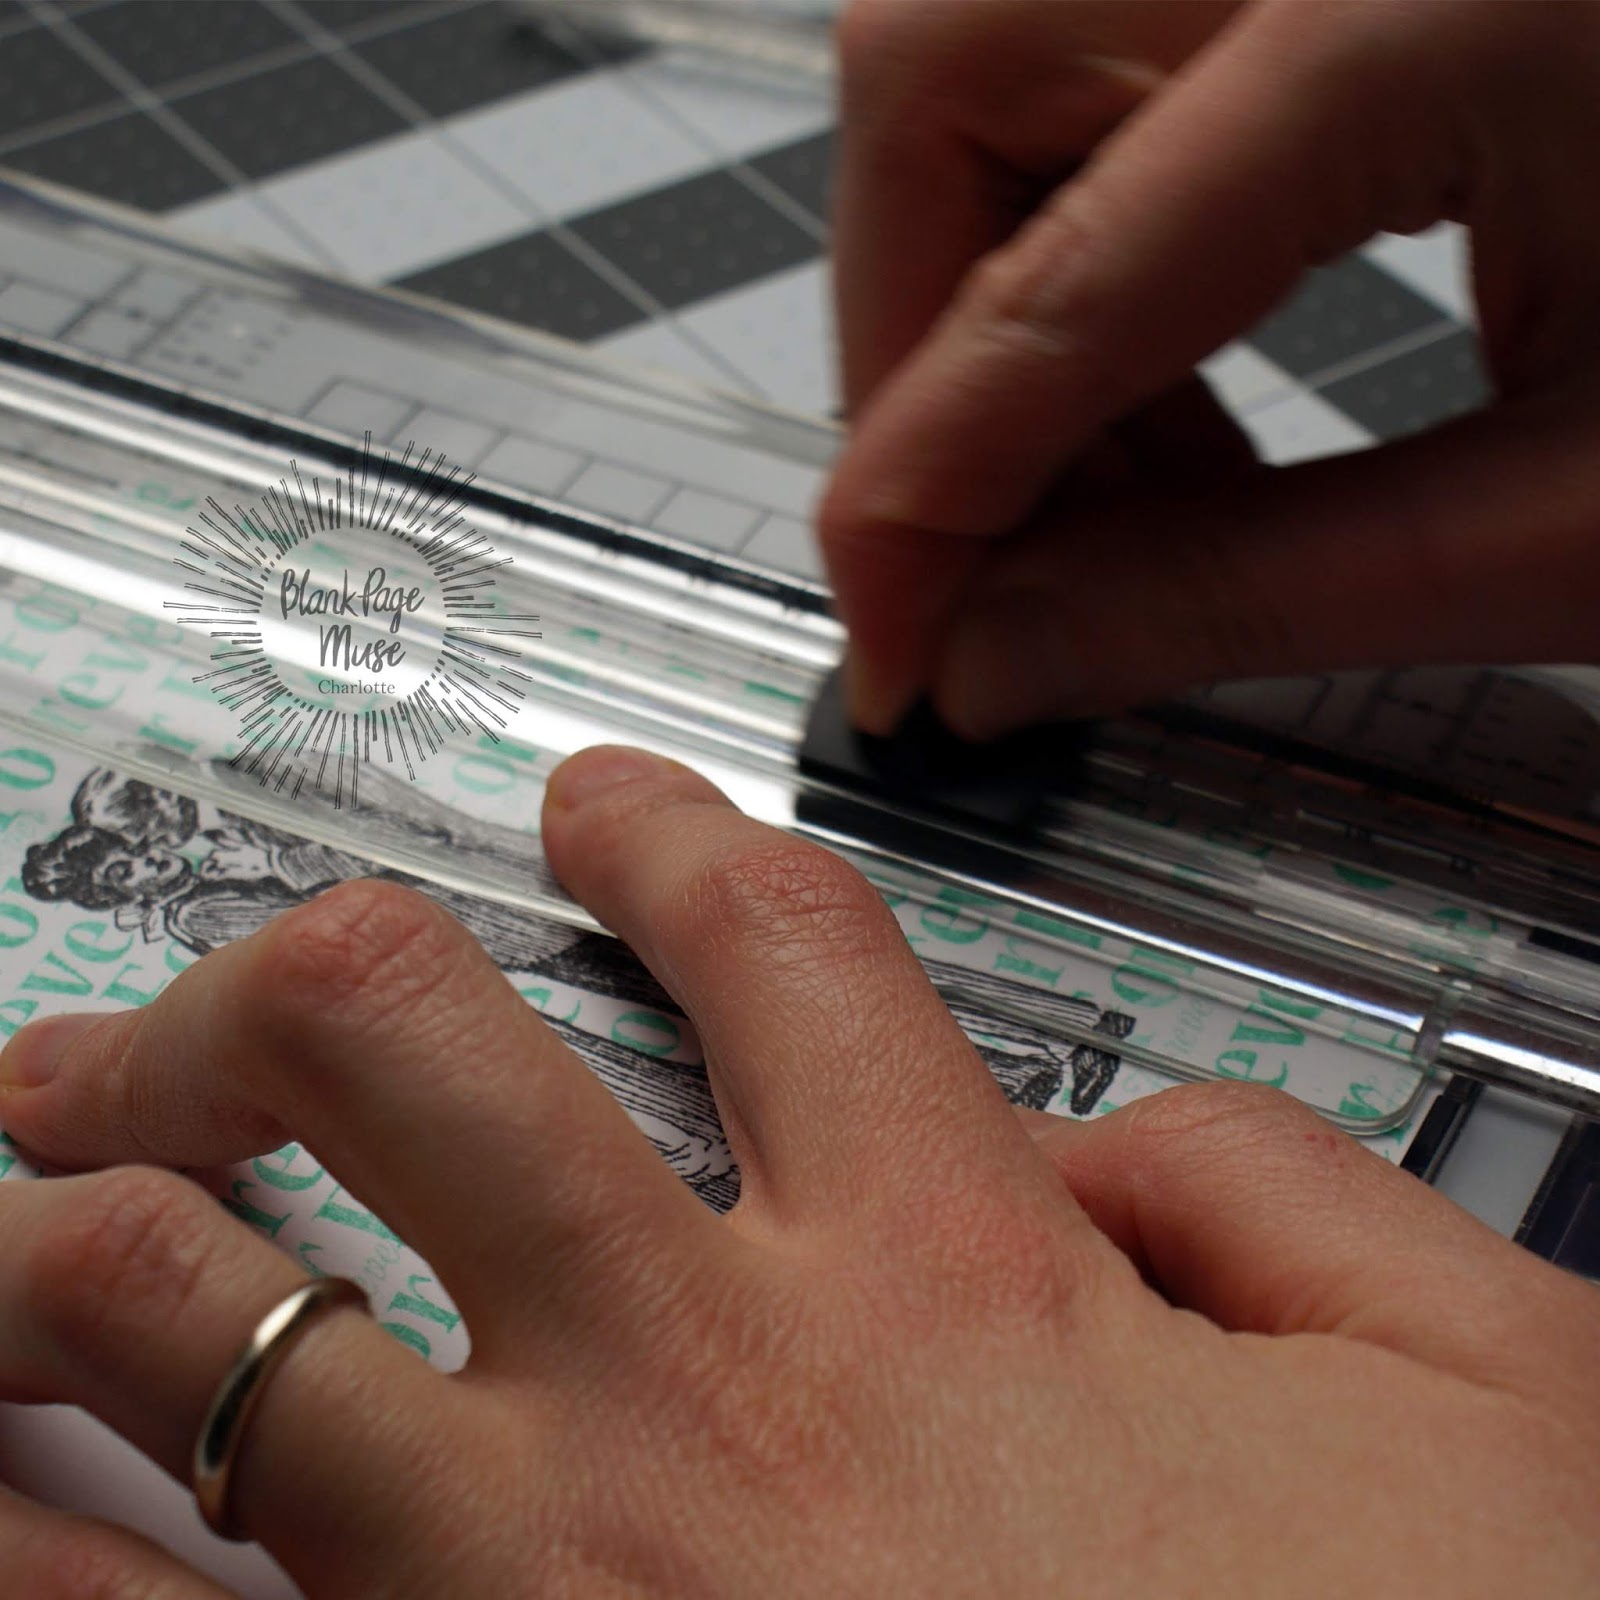
 Placing the card base into your paper cutter use the scoring blade to add a scored frame around the edges of the card. You could also use a score board for this.
Place the card base back in your stamping platform and position the larger sentiment centrally below the image. Stamp again, this time with black in, to create the focal sentiment of the card.

After removing the mask from the image, use alcohol markers (or other coloring medium of your choice) to add color to the image. As the line art of the image is so detailed it is not necessary to add detailed shading, though you can if you like.

I hope you enjoyed this one layer Valentine's card. Repeated stamping of a word or phrase can be a great way to add an interesting background to a card, and by masking the image it can remain all one layer making it easier to mail. Whilst I made this as a Valentine's card it could also work for an anniversary or even a wedding card. The technique could even be adapted to work for any occasion - how about switching to a "happy birthday" sentiment for a fun birthday card? 


Looking for more Inspiration?

Click the links below!


Tuesday, January 22, 2019

Walking Out in Dandelion Fields

Hello.  Gail here today with a vintage style card with a romantic feel. I  Love the sketchy look to this Classic Couple and I paired them with the beautiful Dandelion Bursts Background. 
Valentines Day is fast approaching and who wouldn't want a tall dark handsome to hold onto..........  


Blank Page Muse Stamps Used:
Other Supplies:
  • Brown base card
  • Grey-board
  • Pink paper
  • Glitter paper
  • Glitter Glue
  • Pop Dots
  • Distress Inks
  • Water-brush
  • White Gel pen
  • Archival ink - Potting Soil


Start by stamping the Dandelion Bursts Background with Potting Soil Archival ink on a piece of greyboard.  This is actually some packaging that came with some crafty item.  I cut the image out using the stamped frame as a guide.


I stamped the Classic Couple on a piece of pink paper and coloured with distress inks and a  waterbrush.  Add some details with a white gel pen and fussy cut everything out.


Back the Dandelion Bursts Background panel with red glitter paper and add some red glitter glue to the centers of the dandelions.  Mount this all onto the base card..


Add pop dots behind the couple to give them some dimension and adhere them onto the card.


Thanks for dropping by.  Hope you get some time today to get inky.  Hugz


Blank Page Muse Shop http://blankpagemuse.com/
            Facebook Fan Page https://www.facebook.com/groups/bla...
            Instagram - Shop https://www.instagram.com/blankpage...
            Instagram - Blog https://www.instagram.com/blankpage...
            Twitter https://twitter.com/BlankPageMuse
            Pinterest https://www.pinterest.com/blankpage...

To see more from Gail visit her blog

Thursday, January 3, 2019

Kiss Me Like you Mean It

Hi!

Stephanie here!
I’m so excited to share my first make with BPM stamps, a sweet Vintage Valentine.  Let me tell you I’m in love with the amazing detail in these stamps. This card would be perfect for your significant other. Let’s get started!


BPM Supplies:


Other Supplies:

Green gold embossing powder
Embossing heat gun
Over-sized kraft tag
Foam dots
Watercolor paper
Watercolor Paint
Waterbrush 
Ink pads in Plum and Coffee Colors
White soft mixed media crayons
Acrylic block- for stamping
Stamping platform
Washi Tape

Directions:

1. Fold the large craft tag in half. Color with white mixed media crayon and blend with your fingers.


2. Randomly stamp the card with a couple stamps from the Correspondence, Pen, Ink and Postage Stamp sheet. I used a Coffee ink pad to fit into the vintage theme I was going for.


3. Stamp using plum ink and the Foxglove Flowers stamp.


4. Again using the coffee ink and a stamping platform, stamp the Romantic Couple onto the watercolor paper.


5. Paint the stamped couple with a wash of color. Next trim and add adhesive dots to the back to create a little dimension.


6. Add some washi tape to ground the couple. Stamp "Kiss me like you mean it" quote onto watercolor paper scrap using coffee ink. Mount the couple above the washi "floor" and add quote at the bottom. I added a few adhesive dots to the back.


7. To finish the card by adding another bit of fun dimension- use the embossing powder with the foxglove flowers and edging on the card.


I hope you enjoyed the card as much as I enjoyed creating it! 


Looking for more inspiration? Check out the links below!

More projects by Stephanie


Copyright Text

Blank Page Muse 2018 Sin City Stamps 2013