Friday, July 26, 2019

Fan Art Friday - End of July Mermaids & Mailart!

Hi everyone!
We are still showcasing cards made by our fans from the show.


If you see one of your cards featured here at anytime...please let us know
(we want to give you credit!)
If you share the blog post that features your card, 
(on Facebook or Instagram)
we will enter you in to win a grab bag stash of stamps for that month! 

The following stamps were used in the creation of these cards:


Don't see your card? It might be here....


Anne Squire had lots of fun creARTing loads of Happy MailArt!


Penguins on Ice


Don't forget to follow us for more inspirations!

Thursday, July 25, 2019

Just Us Girls Journaling

Hi Again Blank Page Muse Stampers!
Hope you are all enjoying our colourful month of inspiration!
I decided to create some "journaling" cards which are great for making notes and recording your thoughts!
And to make it quick and easy I've made them with only minimal supplies - perfect for those on a budget and also perfect for using up your bits & pieces of left over card and paints!
You can also adapt this style to your bullet pages and journals!
Hope you have fun!
Supplies:
Blank Page Muse Stamp Set: Just Us Girls
Blank Page Muse Stamp Set: Art Journaling #2
Index Cards 6" x 4"
Acrylic Paint 3 colours
Old Gift/Credit Card
Black Card
Embossing Ink and Fine White Embossing Powder
Black Archival Ink
Tools: glue, double sided tape, heat gun, scissors
Instructions:
Gather your index cards, paint and gift card.

Place "blobs" of paint along the left hand side of the card at the top.


Use the old gift card to drag the paint from the top to the bottom. You should have enough paint on the gift card to paint another index card. Allow to dry.


While the paint is drying stamp the "Just Us Girls" onto black card using your embossing pad. heat emboss with fine white embossing powder. Fussy cut the gals!


Using you Black Archival Ink stamp your choice of wording from the Art Journaling #2 stamp set directly into the index cards. Use the little cross to act as "bullet" points for your notes and jottings!


Use double sided tape or glue to adhere your fussy cut gals to the side of the card where they stand out on the bright coloured paint!


Try playing around with other Blank Page Muse Stamps and colour combos and hae fun creating these cards!


Use your journal cards on their own, in your journals or diary - have fun with them!


Happy Stamping
Sharon
Don't forget to check us out at all of our social media "haunts"!!!
The Blank Page Muse- https://blankpagemuse.com/

Wednesday, July 24, 2019

Cards with Matching Envelopes

When I make cards, I always like to include matching envelope inserts. 
You can do this by stamping your own as I did here, or using gift wrap or a magazine page....
Its always looks so nice, don't you agree?


 Stamps used:

Other supplies:
  • Colored paper
  • Black cardstock
  • Card base
  • Black pigment ink pad and assorted colored ink pads
  • Zig glue pen
  • Deco Foil


 As seen in the photos above, its quite easy to make a envelope insert template.
You just trace your envelope onto a piece of cardstock, cut, fold and done!

Trace your template onto a piece of colored paper. Don't cut on the traced lines just yet. 
Stamp on the that paper first. Then cut on the lines, fold and adhere inside the envelope just below the envelope adhesive. 


Stamp some flowers onto scrap paper. Use the Zig pen as detail. It goes on blue and become clear when ready for the foil. Press the foil down over the glue and then pull up to reveal some shiny goodness! Cut these out and use as seals for your envelopes. 

Stamp some white cardstock with the Petals and Flowers stamp and cut out. 
Randomly stamp your card background.
Assemble your cards with cutouts.


Add some foil detail to your card too!


Thanks for coming by, I hope you enjoyed my card!

Looking for more inspiration?
Click the links below!


Monday, July 22, 2019

Snail Mail Envelopes

Hello! Isn't it fun to receive colorful snail mail? My postman, who is a big burly guy,  always wonders what is in those colorful packages and I tell him glitter and girly stuff!

Today on the blog, I have some colorful and quick snail mail envelopes that you can create with Blank Page Muse red rubber stamps, they stamp the best!!


Supplies -
Flamingo Row
Correspondence Pens, Ink and Postage
Unicorn Wishes
 5" x 7" white envelopes
Distress Oxide Inks in several colors
VersaFine Clair Ink - Nocturne

To create all three of these envelopes, start with laying out the stamps and then stamping with VersaFine Clair ink leaving an area for the recipients' address. Then using DO inks and a blending tool add random bits of color to the envelope.

  Front of the envelope

 
Back of envelope


Check out the links below for all of your red rubber stamp needs at Blank Page Muse and follow us for lots of very cool projects!

The Blank Page Muse Stamps - https://blankpagemuse.com/


Sunday, July 21, 2019

Tri-Fold and Seal Stationary

Hello!  Susie here with another Snail Mail project!

Did you ever have a pen pal? My cousin Rebecca was my pen pal for a while when I was a tween and I distinctly remember the stationary I used.  It was a tri-fold that you wrote on one side and then closed and sealed to mail.  It was more than a postcard but less than a card & envelope set.  It brings back happy memories that I want to recreate today.

Time to play...


Supplies:
Flower on Stem Art Rubber Stamp my Terri Sproul SC0033-10
Watercolor paper
Permanent, waterproof black ink- Ranger Archival was used for this project
Pigment inks - ColorBox Blends from Clearsnap were used for this project
Paintbrush
Water
Purple Tape
Stamping platform
Scoreboard
Craft mat

Begin with a piece of watercolor paper that measures 8.5"x 5.5". Score it along the long edge @ 2.5" and at 6.5" creating 3 sections. The middle section becomes the front of the tri-fold stationary. Then add a 2.75" piece of  the purple tape where the address would go.


Place it on the stamping platform with the 2.5" section at the bottom and positioned the flower stamp so that it would slightly overlap the Purple Tape. Stamp with black waterproof permanent ink.


Next stamp the flower on a separate piece of paper and trim this out so that it can be used as a mask.  Once it was in position, cover the front of the tri-fold with a light application of Golden ink, using a pouncing motion and an applicator to create a mottled coverage.
 Before removing the mask and the tape, ink around the edge of the tape to create a more solid border for the address box.


Watercolor the flower with Melon, Frog and Leaf inks.
 I love this flower stamp!  It is such a beautiful image of a dogwood flower!


I also inked along the edges and the score lines before folding it up and adding a seal.
  (Do you recognize the faux postage stamp I shared in my last post?)


And that is all there is to it!  A quick and easy idea to build up your stationary reserves!  I like to use watercolor paper but this could just as easily have been created using any cardstock.  You can get (2) tri-folds out of each standard piece of 8.5"x11" cardstock.  And don't forget to create some coordinating seals to use!

Thanks for stopping by and I hope you find some time to play today!
Susie


Looking for more inspiration?
Click the links below!


Saturday, July 20, 2019

Watercolor Flowers

Greetings! Chris here and I am excited to share this quick and easy card I created with distress inks and Blank Page Muse's Big Bold Blossoms Flowers & Sentiments Art Rubber Stamp Sheet Set by Daniella Hayes.


To recreate this card simply stamp your blossoms from Blank Page Muse's Big Bold Blossoms Flowers & Sentiments Art Rubber Stamp Sheet Set by Daniella Hayes onto water color paper and color with distress or watercolor inks.  Stamp sentiment to match to mood of your card!

Look for more inspiration and follow us!

The Blank Page Muse- https://blankpagemuse.com/


Friday, July 19, 2019

Fan Art Friday

Thanks to those of you that came and helped make our time 
a successful one!

Family owned and operated, Kim and Phil

We will be showcasing the cards you made at our make & take booth over the next couple of weeks as part of our Fan Art Fridays. 

If you see one of your cards featured here at anytime...please let us know
(we want to give you credit!)
If you share the blog post that features your card, 
(on Facebook or Instagram)
we will enter you in to win a grab bag stash of stamps for that month! 

The following stamps were used in the creation of these cards:


Michelle Frae Cummings teaching the Make & Take.


If you recognize a card you made...don't forget to let us know!

Be sure to follow us for more inspirations!


Wednesday, July 17, 2019

Faux Postage Stamps

Hello!  Susie here with my very first project for Blank Page Muse!

I have a little bit of a fascination for postage stamps so I thought I would take a crack at creating my own faux stamps. Nature is a common theme in postage stamps and a quick perusal of my stash produced a hummingbird stamp.
Time to play...


Supplies:
Hummingbird on Branch from the Inhale...Exhale Art Stamp Sheet Set SC87
Watercolor paper
Postage stamp die
Permanent, waterproof black ink- Ranger Archival was used for this project
Pigment inks - ColorBox Blends from Clearsnap were used for this project
Paintbrush
Water
Washi tape
Stamping platform
Pen - permanent black ink, superfine tip
Xyron Sticker Maker
Craft mat


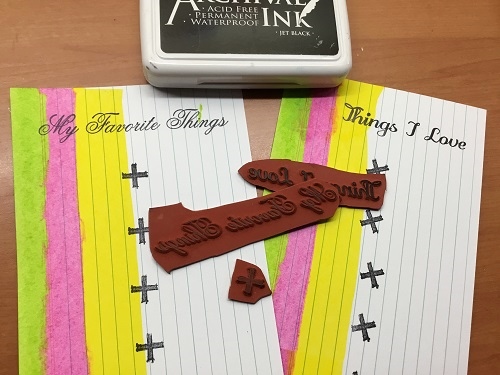
Use a stamp platform to stamp the hummingbird onto a piece of paper with waterproof with permanent black ink.


Die cut a piece of watercolor paper with a postage stamp die from my stash.  Remove the die cut and   positioned the frame so that you can see the hummingbird through it, then use magnets to hold it in place.


Replace the die cut stamp in the opening so that it covers up the previously stamped hummingbird.


The die cut stamp was also embossed so there was a slightly raised area in the center.  I used washi tape to mask off the edges.


Re-ink the stamp with black, waterproof permanent ink and proceed to stamp the hummingbird.


Remove the washi tape to reveal the hummingbird image centered on the postage stamp die cut.


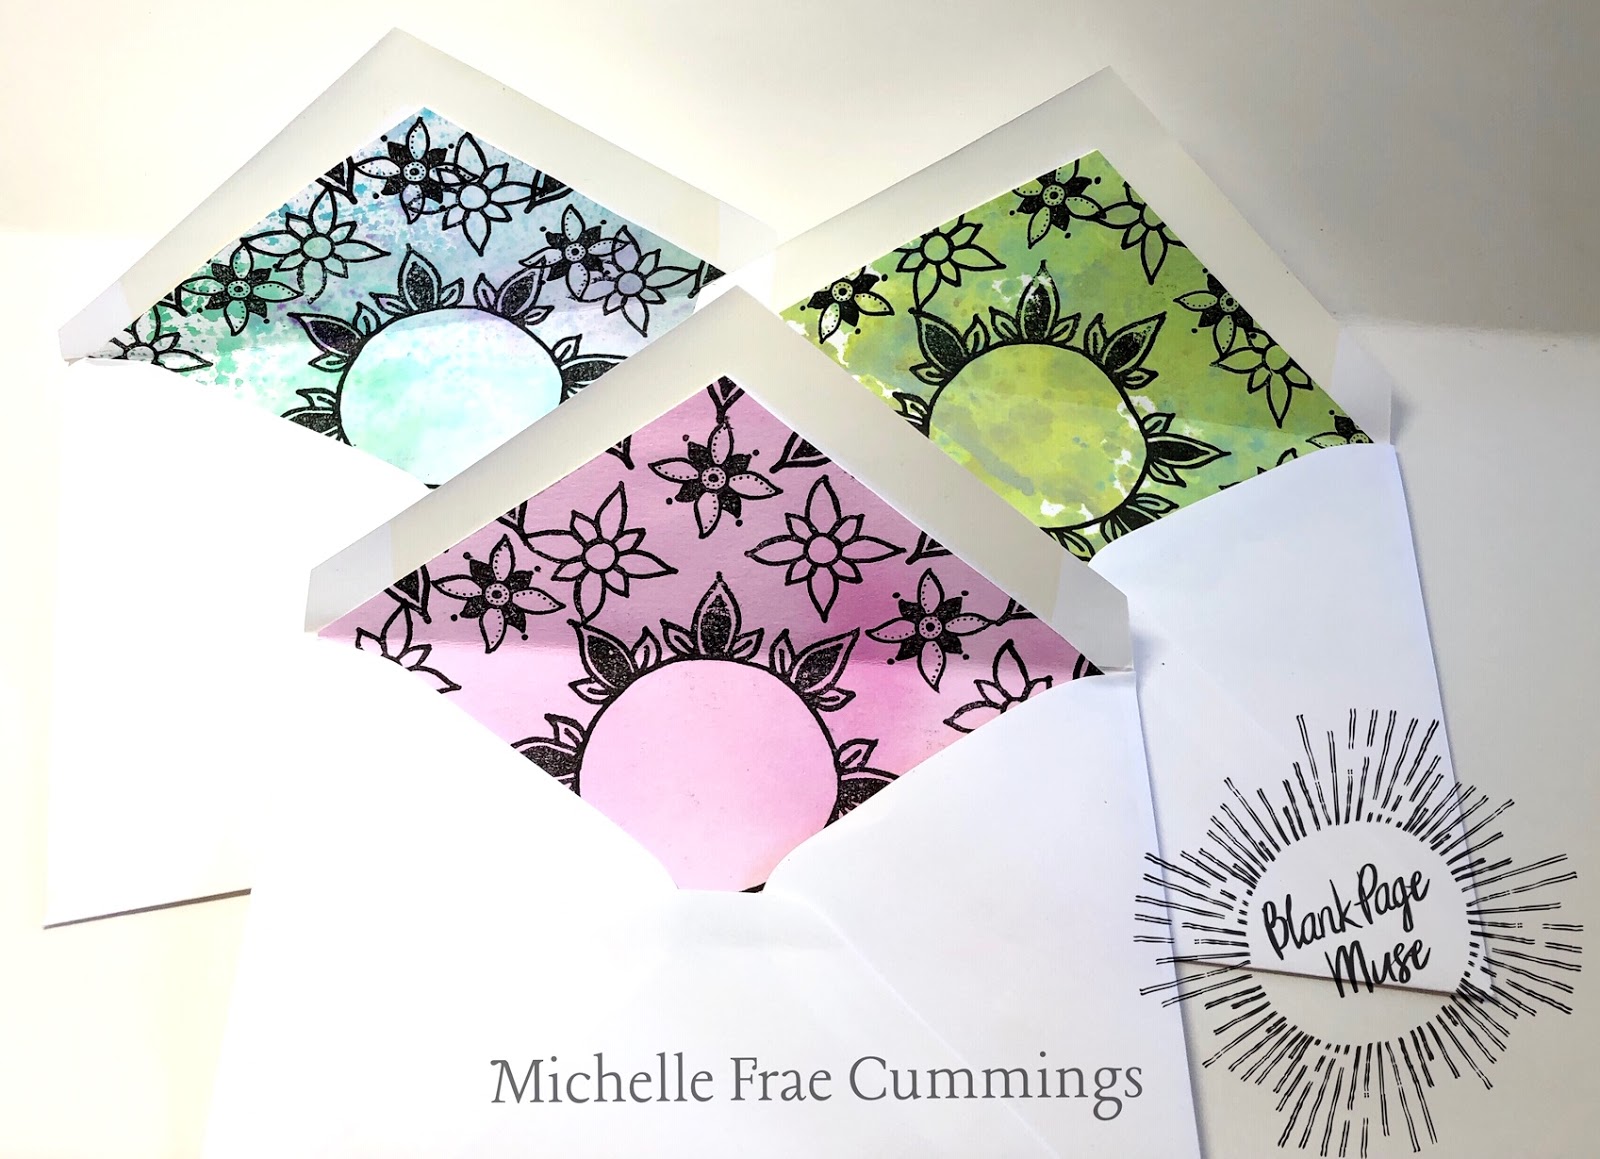
Next, add a rainbow array of inks onto your craft mat. Use this as a palette to custom mix your colors.


Use a permanent black ink pen to add USA and 15 cents.


Finish them off by adding adhesive to the back of each stamp with a sticker maker or double stick tape.


I love the way they turned out!  I can see using these as embellishments on cards, ATCs, and mini albums!

Thanks for stopping by and I hope you find some time to play today!
Susie


Looking for more inspiration?
Click the links below!


Copyright Text

Blank Page Muse 2018 Sin City Stamps 2013