Showing posts with label Big Bold Blossoms Stamps. Show all posts

Sunday, October 13, 2019

Bible Verse Pocket Card

Greetings!   I was recently asked to create decorations for a Ladies Day event at church.  The invitation had poppies on them and the organizer really wanted to bring in the poppy theme!   and I thought I can do that!  So I am sharing this  quick idea for using your Blank Page Muse stamps to create Bible Verse Pocket cards.  I was able to create about 110 of these in a few hours!  While the bible verse are from another set, they could be easily printed from your printer.

Supplies
Archival Ink
Watercolor Paper
Kraft Card stock
Distress Inks

To create these in bulk, I started by pre-cutting my watercolor paper (3 3/4 x 2 3/4 inches) and Kraft Card stock mats (3 x 4).

Stamp the poppy from  on both edges of card.


Using 2 colors of distress ink Paint flowers with water color brush.  IT IS OK TO GO OUTSIDE THE LINES.  Paint quickly and roughly.


 Stamp or print verse over stamped images and mat to finish.


Saturday, July 20, 2019

Watercolor Flowers

Greetings! Chris here and I am excited to share this quick and easy card I created with distress inks and Blank Page Muse's Big Bold Blossoms Flowers & Sentiments Art Rubber Stamp Sheet Set by Daniella Hayes.


To recreate this card simply stamp your blossoms from Blank Page Muse's Big Bold Blossoms Flowers & Sentiments Art Rubber Stamp Sheet Set by Daniella Hayes onto water color paper and color with distress or watercolor inks.  Stamp sentiment to match to mood of your card!

Look for more inspiration and follow us!

The Blank Page Muse- https://blankpagemuse.com/


Saturday, May 11, 2019

Ink Swiped Birthday Card

Make a quick birthday card by adding simple ink swiped coloring.


Charlotte swiped three shades of purple ink across her card base before stamping with a bold flower  birthday sentiment in black ink.
She then finished the card by adding black Nuvo Drops.


Looking for more Inspiration?
Click the links below!

The Blank Page Muse Shop
https://blankpagemuse.com/
FB Fan Page
https://www.facebook.com/groups/bla...
Instagram - Shop
https://www.instagram.com/blankpage...
Instagram - Blog
https://www.instagram.com/blankpage...
Twitter
https://twitter.com/BlankPageMuse
Pintrest
https://www.pinterest.com/blankpage...

Sunday, April 7, 2019

No Line Coloring Mother's Day Card

 Hi everyone! Charlotte here, and today I am sharing a striking Mother's Day card that uses a  no-line coloring technique.

Blank Page Muse products used:
(Available individually - Lotus Line Drawing Flower)

(Shop now and save! Use code BPMDtCharlotte2019 to save 15% off your total order!)

Other materials:
Watercolor card
Stamp positioning tool or acrylic block
Pale pink ink - I used Spun Sugar Distress Ink
Watercolor pencils
Clear glitter brush pen
Scissors
Mother's Day sentiment
Anti-static powder tool
Embossing ink
Ivory Pearl embossing powder
Clear pink iridescent glitter adhesive strips, narrow
Foam squares

Instructions:

First stamp the large lotus flower image onto a piece of watercolor paper using the pale pink ink.

Use watercolor pencils to add color and shading to the lotus flower. Start by using the lightest shade to map in the shadow areas.

Once the shadow areas have been ascertained, use the darkest shade to define the shadow areas.

Continue adding color to each flower using the medium watercolor pencil. Work in flicks to help the colors transition from one to the other. Then use the lightest shade to finish coloring the pencil. Repeat the process for as many layers as are required to provide the desired depth of color.

Use a clear glitter brush pen, or alternatively a plain waterbrush or paint brush dipped in water, to soften and move the pigment laid down with the watercolor pencils. This will blend the color smoothly. Work with one petal at a time, starting in the lightest areas and moving towards the darkest areas to prevent muddying.

Allow the image to dry completely then carefully fussy cut it out, right to the edges of the coloring, using a pair of scissors. Set the fussy cut image aside and work on the card base. 
Use an anti-static powder tool on the black card base then stamp the chosen Mother's Day sentiment with embossing ink. Add Ivory Pearl embossing powder and heat set. Add a narrow clear pink iridescent glitter adhesive strip to each edge of the card, slightly inset to create a frame.

Back the flower with dimensional adhesive and carefully adhere into place on the card base.
I hope you enjoyed my blog post! No line coloring can be tricky, but flowers are very forgiving for the technique. I hope you'll give it a try, and I look forward to seeing what you make!

Looking for more Inspiration?


Click the links below!


Wednesday, September 19, 2018

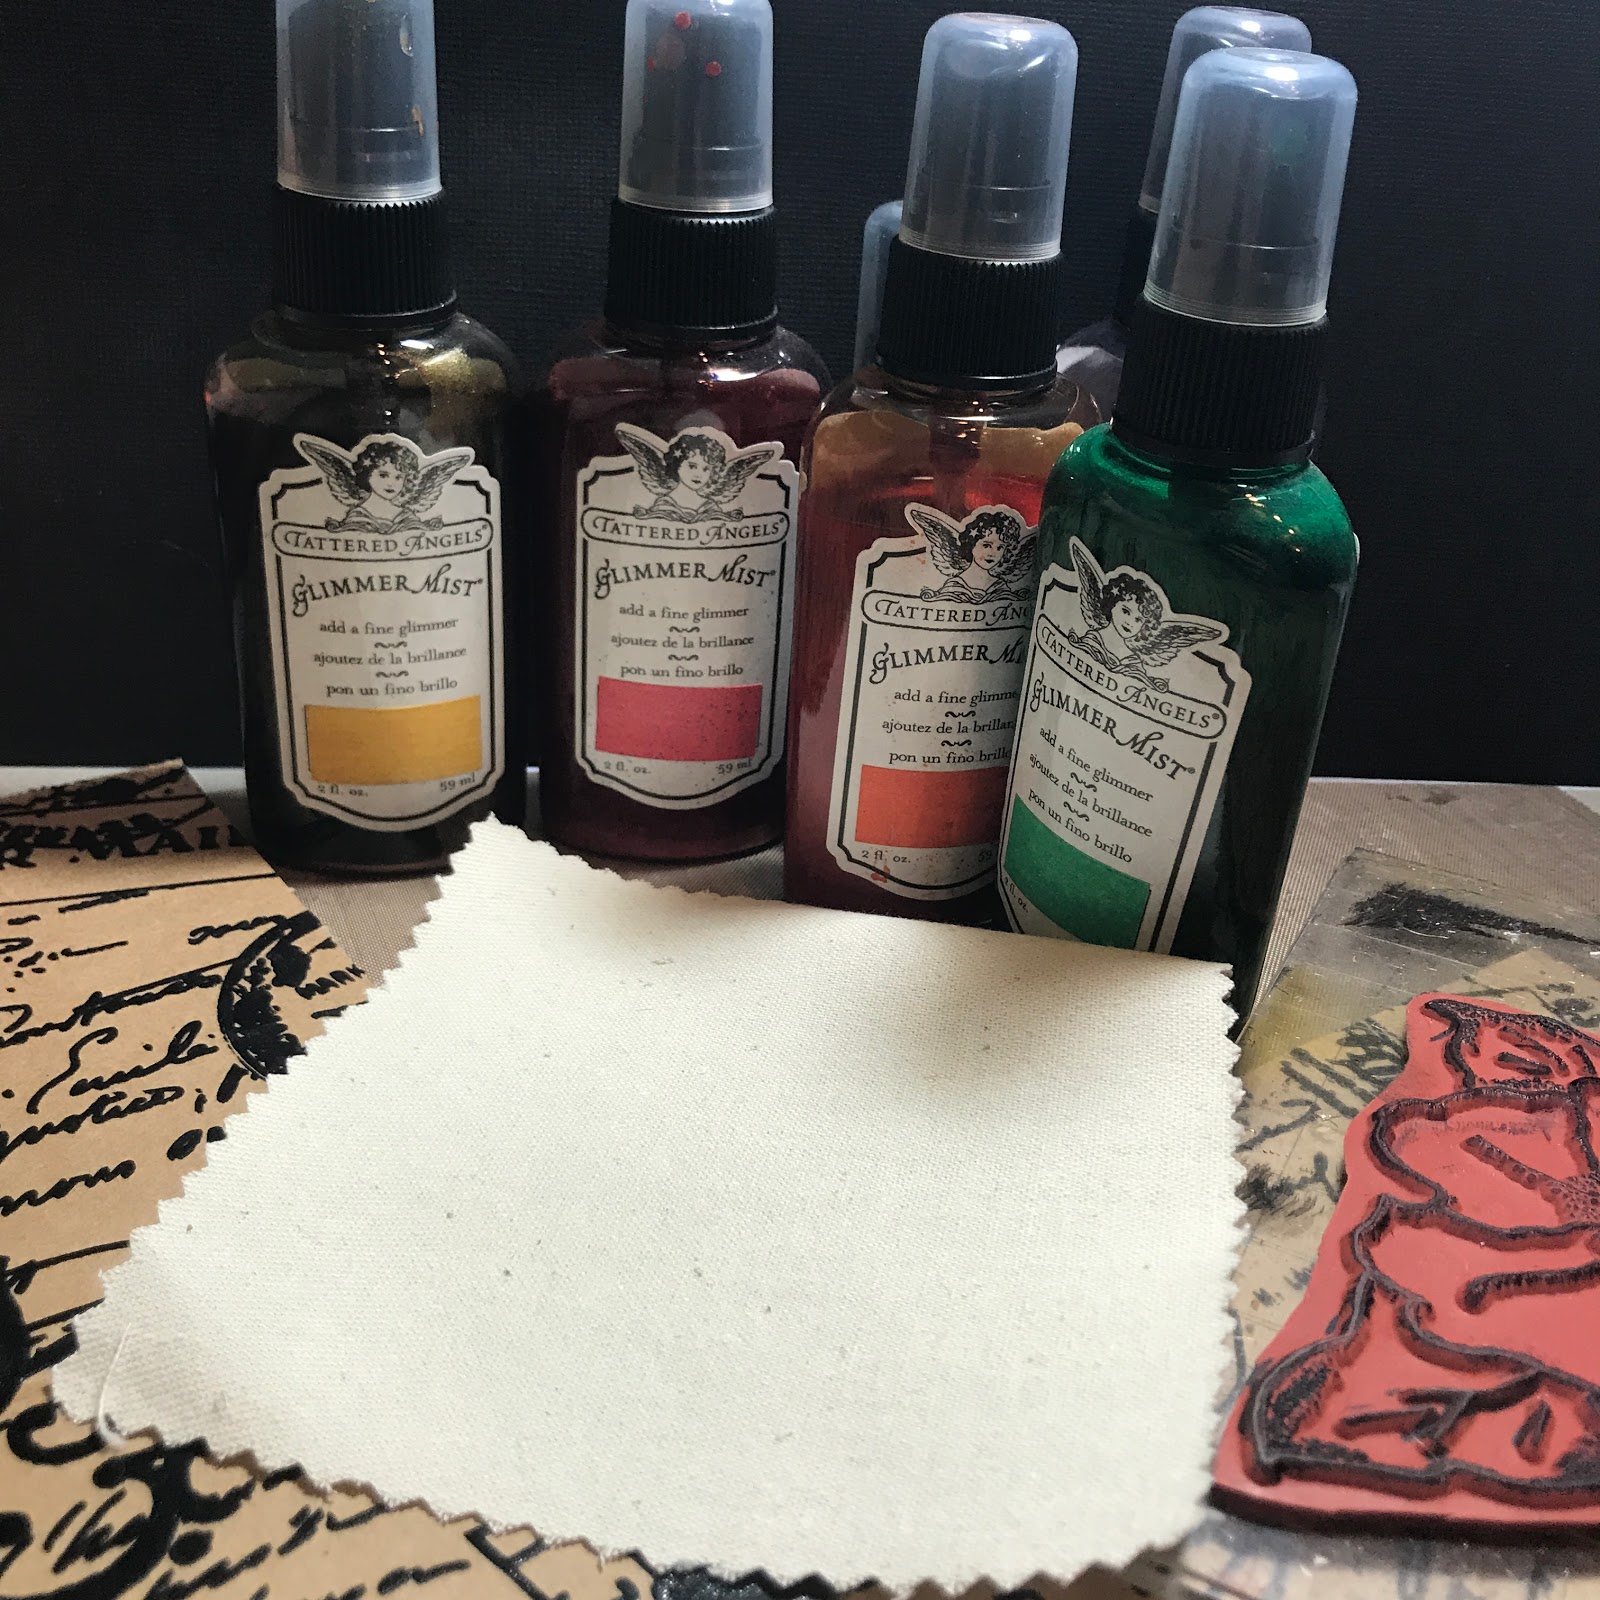
Beauty Mounted Canvas Art

Fall colors are starting to pop everywhere around us! 
 This stamped canvas was the result of my curiosity about what happens if I stamp on canvas...  


Blank Page Muse Supplies

Other Supplies
Canvas 
Pinking Shears
Printed Cardboard
Glimmer Mists
Brads
Metal Charm
Cardstock
Archival Ink

Start by cutting some cardboard into 6 x 6 square and a 4 1/2 inch square of canvas.  
pinking shears on edges of canvas. 


Stamp Bold Blossoms and sentiment onto canvas with archival ink,


Stamp image again to create a mask. 


Stamp image over mask to add additional flowers. 


Paint flowers with Glimmer Mists. Let dry.  Mat onto cardstock and add brad to edges. 


Background
Mist background with Glimmer Mists.  Continue to layer colors as desired. 


Adhere matted canvas to cardboard and finish with metal charm.   I hope you are inspired to get stamping!


Follow us 
The Blank Page Muse- https://blankpagemuse.com/


Sunday, July 26, 2015

SPLATTER FLOWERS

Hello and thank you for visiting today!!  I have a super fun project to share with you!  I call it "Splatter Flowers"!


SUPPLIES:


I started by covering the page with shell stencils and molding paste.  When it was dry I started splattering my colors.  I started with yellow Twinkling H2O's and let them dry.  I moved on to a light green and let it dry.  Then, I made concentrated areas of color on 4 sections of the paper.  I used 2 shades of blue, pink and purple.  I stenciled first so the colors would flow unevenly and mix together in fun and interesting ways!


The bottom left was too much on the stencil and I didn't like how it looked.  So the other 3 areas were not concentrated on a whole stencil.  I made sure that it was only on the edge or side of a stenciled shell, leaving white areas inside.  I LOVE how they look!  I cut the 4 sections apart so they were card sized and stamped a flower on each.


WOW I LOVE THIS SO MUCH!!!  I actually thought I would like this flower least because the leaves wouldn't be green but I was so wrong!!  I like this one best!  The abstract look is fabulous, the texture from the stencil is amazing and the splatter is awesome!!


My second favorite is the blue flower.  Actually, I love this one too!!  So hard to pick just one!!  This is my new favorite effect to make.  I know it will be used on art journal pages, canvases and more cards.  I hope I find tons of other uses for this effect because it is not only beautiful, it is sooo fun to do!  Splattering is always fun, isn't it???


I hope you try this super fun project for yourself!  I can't wait to see what you make!

Sunday, June 21, 2015

3 DESIGNERS AND 3 VIDEOS WITH 1 STAMP SET

Hello and thank you so much for visiting today!  I have a super fun post to share!!

Terri SproulBarbara Rankinand Myself have all made Mixed Media Cards,using my Big Bold Blossoms Stamps!  And we all made videos to go with them!  Is that awesome or what??

And because we did this awesome thing, there is a special coupon!
40% off everything in the store!!  SUPER AWESOME!

This is the card Barbara made~

This is the card Terri made~

And this is the card I made.

Here are the links to our videos too.

 I hope you enjoy the videos and get AMAZING things from the store with that super coupon!
xxDaniella

Sunday, June 7, 2015

SIN CITY STAMPS YOUTUBE CHANNEL

Did you know Sin City Stamps has their own Youtube Channel?  They do!  

I made 2 videos for the channel.  2 people asked Terri Sproul and I, how they cut the stamps out.  So I did a video about it.


The second video is how I use my Big Bold Blossoms stamps.  Just a fun video about the stamps and how I mount them and stuff like that.


I hope you enjoy these videos and find them educational in some way :) 
  Thanks so much for visiting!!
xxDaniella

Sunday, May 10, 2015

A DELIGHTFUL BOUQUET OF BIG BOLD BLOSSOMS!

Hello!  Today I am sharing an art journal spread I made, with my new "Big Bold Blossoms" Stamps From Sin City Stamps!

Supplies:


First, I stamped 3 of my flower stamps several times on white cardstock and cut them out.

Next I painted the Radiant Gel paint on my art journal pages.  I waited about a minute and sprayed a little water on it.  When you lightly wipe off your water with a paintbrush, you get both brush strokes and water drop marks.  I've only done this with acrylic paints.  How cool is that for the background!

Now I painted my flowers with Twinkling H2O's.  I used 3 different orange colors, 1 yellow color and 2 green colors.  I love how shimmery these are!!  And mixing the colors is so smooth and delightful!  These are so fun to work with!!

Because it was overcast and rainy I had to take the pictures inside and you can't see all of the sparkle :(  The Twinkling H2O's have Mica in them and they sparkle like crazy!  The Radiant Gels are iridescent paints and shine!!  I will try to remember to take a better picture to show you how shiny this is!

Thanks so much for visiting!  I really hope you check out all Sin City Stamps has to offer, and while you there you can get a set of my stamps!  There are 8 large red rubber stamps for just $20!
xxDaniella

Sunday, April 26, 2015

BIG BOLD BLOSSOMS STAMPS

I am so excited to share with you a card I made with my new stamps "Big Bold Blossoms"!!  Sin City Stamps makes the best red rubber art stamps!  I am so excited to be a part of this amazing company!!

Sin City Stamps has a HUGE sale going on right now~Buy 1 Get 1 FREE!! until 4/29/15


Supplies:


I cut my papers and sprayed ink through this stencil.  I kept turning the stencil so the lines would cross each other.


Then I stamped and colored!!  I am soooo happy with the size of the stamps!!

Don't forget about the sale!


You can buy a stamp set you have been wanting to get, and get mine free!  My "Big Bold Blossoms" set is only $20 for 8 big stamps!

Thank you so much for visiting!  Please let me know what you think about my stamps!!
xxDaniella

Copyright Text

Blank Page Muse 2018 Sin City Stamps 2013