Showing posts with label envelopes. Show all posts

Friday, February 5, 2021

You Octopi My Heart

I just love making little candy envelopes!

 I found the template by searching online for printable candy boxes.
 Not only is this perfect for candy but will work for little toys and other small gifts. 


Rubber stamps used:

Additional items needed:
  • Imagination
  • Scissors
  • Alcohol markers 
  • ink- Palette, hybrid acid free
  • Cardstock
  • Craft Foam
  • Beacon's Craft glue 3 in 1
  • Washi tape

So for this project I really just wanted to play with the heart. I'm still new to stamping so I don't have lots of hearts to choose from. I used some washi tape to block around the stamp.
It kind of worked, maybe.... It really didn't matter since I was going to be cutting it out later. ☺


 Pro tip Keep a wet paper towel at your desk when stamping
 to clean the ink off before it dries. 


I glued my stamped paper to craft foam and then trimmed away the excess.


Now is the time to add the washi tape to your candy envelope. Then grab your Beacon's craft glue 3 in 1 (or any glue that works with foam and paper) Glue everything in place and your done!


Hope you enjoyed my little candy envelopes. 
If you have any questions feel free to message Lasheet and if you choose to make your candy envelopes tag her and Blank Page Muse. 
Thank you, happy crafting!! ♥


Looking for more Inspiration? Click the links below!
The Blank Page Muse Shop https://blankpagemuse.com/


Monday, July 22, 2019

Snail Mail Envelopes

Hello! Isn't it fun to receive colorful snail mail? My postman, who is a big burly guy,  always wonders what is in those colorful packages and I tell him glitter and girly stuff!

Today on the blog, I have some colorful and quick snail mail envelopes that you can create with Blank Page Muse red rubber stamps, they stamp the best!!


Supplies -
Flamingo Row
Correspondence Pens, Ink and Postage
Unicorn Wishes
 5" x 7" white envelopes
Distress Oxide Inks in several colors
VersaFine Clair Ink - Nocturne

To create all three of these envelopes, start with laying out the stamps and then stamping with VersaFine Clair ink leaving an area for the recipients' address. Then using DO inks and a blending tool add random bits of color to the envelope.

  Front of the envelope

 
Back of envelope


Check out the links below for all of your red rubber stamp needs at Blank Page Muse and follow us for lots of very cool projects!

The Blank Page Muse Stamps - https://blankpagemuse.com/


Saturday, June 29, 2019

A Boho Woman's Mail Art!

Hello BPM Stampers!!! 
I'm back for another creative make to finish off the month!

Today I've decorated an envelope and it's nice & quick & easy so no excuses for not having a go!
A perfect way to send your postcards that you may have played along with this month here at the blog!
Supplies:
Blank Page Muse Stamps: Boho Celestial Star Girl
Envelope - any size
Chalk Paints & White Gesso
Black Archival Ink Pad & Distress Ink Pad
Markers/Pencils/Smooch Metallic Paint etc.
Spatula
Instructions:
Start with an envelope of your choice and use a spatula to "smear" different colour chalk paints - cover the front and back if you like!

Before stamping the main image use the spatula to smear a thin layer of Gesso to the bottom left corner to dull the coloured paint and allow the image to be more prominent. Allow to dry before stamping! Use the Black Archival Ink and stamp the Boho girl in the bottom corner.


Use the Distress ink in a soft tone to stamp one of the "flowers" from the Petals & Flowers stamp set to form a border around the edge of the envelope. You can do the same to the back of the envelope as well if you like! Use a few markers to highlight some of the stamped Boho Girl along with some metallic "Smooch" to highlight her jewellery. Allow to dry.


Hope you enjoy!
Sharon
Don't forget to check us out at all of our social media "haunts"!!!
The Blank Page Muse- https://blankpagemuse.com/

Saturday, February 11, 2017

Just Clownin' Around with Print & Paint...


Hi Sin City Stamp Fans!!!


Today I am sharing a few different printed and decorated items!! When I have my Gelli Plate out I like to do "extra" prints to save for later and to also make it worthwhile getting all the paint out and making a mess LOL!! So you will see some printed envelopes, tags and cards - hope you enjoy the process!

Supplies List:
  • Sin City Stamps (of course!): Steampunk Circus Stamp Set 
  • Ink Pads
  • Embossing ink, embossing powder plus a heat gun
  • Color pencils
  • Gelli Plate
  • Paint - use your favorite colors!!
  • Roller (brayer)
  • Tags, envelopes, index cards, really anything you want to print on and create with!
  • Mark making bits & bobs ie. old credit card, old lids, bubble wrap etc.
  • Embellishments like fibers, muslin, feathers etc.
  • And of course scissors, glue, tape etc.

Her we go with the process - and remember no right or wrong and I am certainly not an expert with my Gelli Plate - I have lots to learn and today I have just used a really simple technique and added to the "pattern" afterwards!!


1. Gather up a few supplies - but as you will notice with me I always "add" as I am going because I remember something else in my "stash" that would work with what I am doing! I bet that happens to everyone!


2. Printing! This is really simple - just put some "blobs" of your fave color combo on your plate and spread it with your roller to cover the whole area. Love how this looks when it's all "smooshed" out!


3. Add your items to the plate - below I have a row of tags plus an envelope. I love to use my roller to help pick up the paint because it cleans off the roller and also decorates the back of my items!! You can add a sticky note to the front of the envelope to leave a gap for addressing if you wish! Now if you are a waste not want not gal and want to get the most from your paint grab another two envelopes, or whatever you have at hand and pick up the excess left on the plate - you still get a great print to work with!


4. Next step - once everything is dry of course is to add some images and other "marks" to the items you have printed. Picture below shows images stamped direct to each item.

You can play around with arranging the stamps to see how they will look/fit when stamped. In the pictures below both black archival ink has been direct printed to the pieces and also embossing ink and white embossing powder to decorate. The little stamps in the set are great for using to make borders and fill gaps!


For these items use an old credit card and small round lids with black paint to decorate the pieces and add more dimension along with a scrap of bubble wrap and white paint.


5. To also "decorate" some of the items with colored stamped images stamp on white card in black archival ink, color with pencils or any color medium, cut out and use as desired!!


6. Images have been added with the embellishments to the items. Lots of wording/quote stamps in this set so you can cut out the "wording" stamps and edge them with some color or with a black sharpie.


Don't you love the colors on the tag? The bird stamp was colored to match, then the coordinating feathers added along with some fiber to each tag top and the stamped wording to finish off! I love the white stamped border at the bottom. 


Below is an index card printed in yellow and reds with the cute kids stamp and "Clownin' Around" wording along with a piece of scrap muslin cloth.


The envelopes are perfect as they are although on the bottom envelope you can stamp some gears/cogs with pink and purple ink just to add a bit more pattern. I love these envelopes!


I think the clown below is my fave image from the stamp set - a bit of fun!! Add some cloth, cotton wound around your fingers and the "clown" word stamp from the set.


Hope you have enjoyed this process! I still have some printed items that I will be able to grab when I am in need of a quick background or base card for creating at short notice! I think that is the beauty of the Gelli Plate - nice and quick and you can get quite a production line going!

Thanks for stopping by!

Here's our quick links to find even more inspiration and to grab your own Sin City Stamps:
Sin City Stamps Store
Sin City Stamps Facebook Group
And you are here at "The Blog" but make sure you keep checking back - even better "follow" us so you don't miss any of the Inspiration Team posts!!

Happy Crafting
Sharon

Monday, May 12, 2014

Stuff THIS Envelope!

Hey, there!  This is Robin Redd, (a.k.a. RockinReddRobin!)  

 I’m here to share with you the Envelope Template from Green Sneakers.

I made a few different ones so you can see some versatility you can get from using the template,
 this, along with all the other Sin City Stamps Design Team member’s ideas. 
I used a square paper doily for my first sample.   
This, just so happen to be the same exact size as the template 
so I didn’t have to trim it down to size.
I placed the center piece of the template down and folded in the sides.
Don’t you love this elegant look?!


I made a pretty “Love” card to go inside using the stamp from the Wildlife stamp set.
I used black embossing powder for the word, Love.
This is an old trick I’ve used for years.   
Normally, I would pick a pretty picture from a magazine, 
line a seascape or garden scape and make an envelope.   
But I found these large images make a striking statement on your envelope.

 
I used a piece of a Project Life card for an address label.  Any blank label will work.
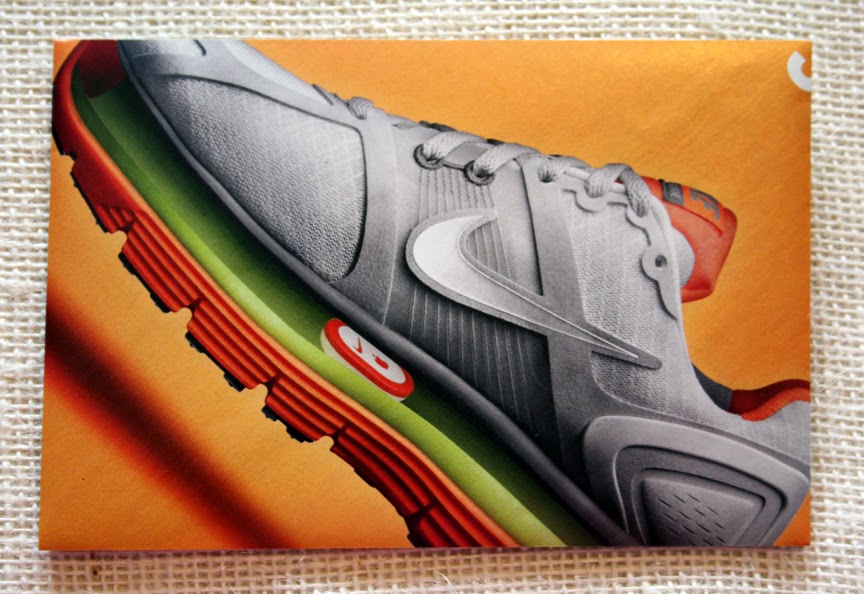
Here is another envelope with the large image from a magazine.  
 I’m centering the portion of the ad that I want on the front of the envelope.


 I love this one, too.  
 I used a piece of sketch paper from a sketch pad, 
torn out the envelope and dry embossed the flap of the envelope. 
  
You can cut out the envelope, 
but I like the way Green Sneakers shows how the template is made to use with NO scissors. 
  
The torn edges really add elegance to this envelope.
Watch the Green Sneakers video to see 
how we make these envelopes with no scissors.  Pretty tricky!  
With this envelope, I used a page from a large book.   
I stamped the wild life scene from the Wildlife stamp set. 
I colored the stamped image in with Prisma Color Colored Pencils.  
 I framed it with a white Sharpee pen.
 
I hope I’ve inspired you to create something today!

Until next time…


Copyright Text

Blank Page Muse 2018 Sin City Stamps 2013