Showing posts with label Dribones. Show all posts

Sunday, April 15, 2018

Unleash Your Weird Art Journal Page

Hello all

I am back with an art journal page using the color theme for April's Challenge. 
Black and red made me want to use skulls, so I did.


Stamp sets used

Stencils
Black gesso
Red Paint
White Paint
Brayer
Black ink pad
Red ink pad
Marker pens


Start the page off by drawing the words onto a plain sheet using a marker pen,
 then coloring them in.


Cut out the words and put them to one side for now.


Use the Grungy Cobwebs Background stamp and use it over a blank page. Next use a brayer to roll red paint over a stencil and then use the stencil like a stamp across the page.


Add the next stencil using black gesso


Spray the whole page with black mist spray and leave it to dry. Next add white paint to the background by rolling it over a stencil.


Add the words to the page and then stamp out a few skulls from the Dribonze set and the Halloween On a Shelf set. Cut them out add add them around the page to finish.


Join us for more inspiration....

Monthly Creative Challenge Rules https://blankpagemuse.blogspot.com/...
The Blank Page Muse Shop http://blankpagemuse.com/


Monday, October 23, 2017

Skully Tags..

Hi Everyone!!
How are you all enjoying this month of Halloween????
Even though we really don't celebrate Halloween here in Australia I just LOVE creating spooky Halloween themed things!!!

I just love tag art and these are really quick and easy to make - so if you are running behind with your Halloween decoration you can whip these up in no time!


You may have seen another of my Blog posts using these collage labels and the skulls - I've used the same elements.
I was so lucky to have these collage labels made especially for me to use with this fantastic skull set - Sandy at Art Tea Life @ Etsy customised the labels with the skull/bone theme I wanted!
You really need to grab this set from the store "Dribonez Skulls & Bones Borders" - a great set by artist Rick St Dennis and beautifully made by Sin City!!


All you need to do to create these tags is print your labels on kraft paper and tear out and layer and adhere over a base tag - a glue stick works perfectly and is quick to dry. Trim around the edge to remove the over hanging bits. Re-punch the hole at the top and add some string.
Stamp the large skulls onto kraft paper and fussy cut and adhere to the front of the tag with a piece of muslin cloth which has been sponged with Distress ink to give an aged look.
To finish sponge all around the edge of the tag to age as well.

All done - perfect & easy!!

Have fun!

Happy Halloween!

Sharon


Sunday, October 15, 2017

Skully Tea Bag Gift Holders....

Hi Spooky Sin City Fans!!
Today I'm sharing another creation for this month of Halloween!
I've created some fun "tea bag" gift holders - hope you enjoy the process!


Supplies:
  • Collage Labels: Custom Labels used for this project by Art Tea Life@Etsy
  • Black Card 10cm x 25.5cm folded into 3
  • Black Archival Ink
  • Kraft Paper
  • Muslin Cloth
  • Distress Inks: Brushed Corduroy & Tea Dye (any aged/brown colours will work)
  • Cobweb Stencil or your favourite Halloween style stencil
  • White Paint or Texture Paste
  • General supplies: scissors, glue, double sided tape, spatula, sponge

Instructions:
First step is to cut your base holder to size using the black card. For this tutorial the cut size is 10cm height by 25.5cm width - folded into 3 (each third 8.5cm). As shown in picture below diagonally cut the last panel to make the flap for the tea bag to slip in. Note: you can make any size folder to fit any size teabag or even a gift card!


Next step is to use your stencil and white paint or texture paste and sponge over the facing side of the black card. This cobweb stencil is a Silhouette File cut on a Cameo Silhouette from Acetate. Any style of spooky stencil will have the effect! Set aside to dry. Once dry fold into three and glue the flap over. 


Next stamp your skulls and bones from the "Dribonez Skulls & Bones Border Set" with black Archival Ink onto Kraft paper. Stamp a range of the designs - they all work perfectly with this little project!


Print labels onto Kraft Paper. I was very lucky to have the lovely lady from ArtTeaLife make me some custom labels especially for these creations because I couldn't find the exact wording I wanted on any collage labels!!!


Fussy cut your stamped images and tear the labels from the collage sheet to give an aged worn look.


Use a sponge to "stain" the scraps of muslin cloth to age them and start to arrange the cloth, labels and stamped images on the front of the folded holders.

 Glue everything to the front of the folder and you have some cute spooky and gruesome little gifts!!!


Thanks for joining me again!
Hope you keep popping back each day for more Halloween inspired creativity by the DT!!
Remember to join us at our Facebook Group for more fun and sharing!
Sharon


Thursday, October 12, 2017

Dribonez ATC Set

Hi all

I have a quick make for Sin City stamps  using the new DriBonez set by Rick St Dennis.

Product list
Blank ATC's
White Card
Inks
Stencil
Mixed Mediums


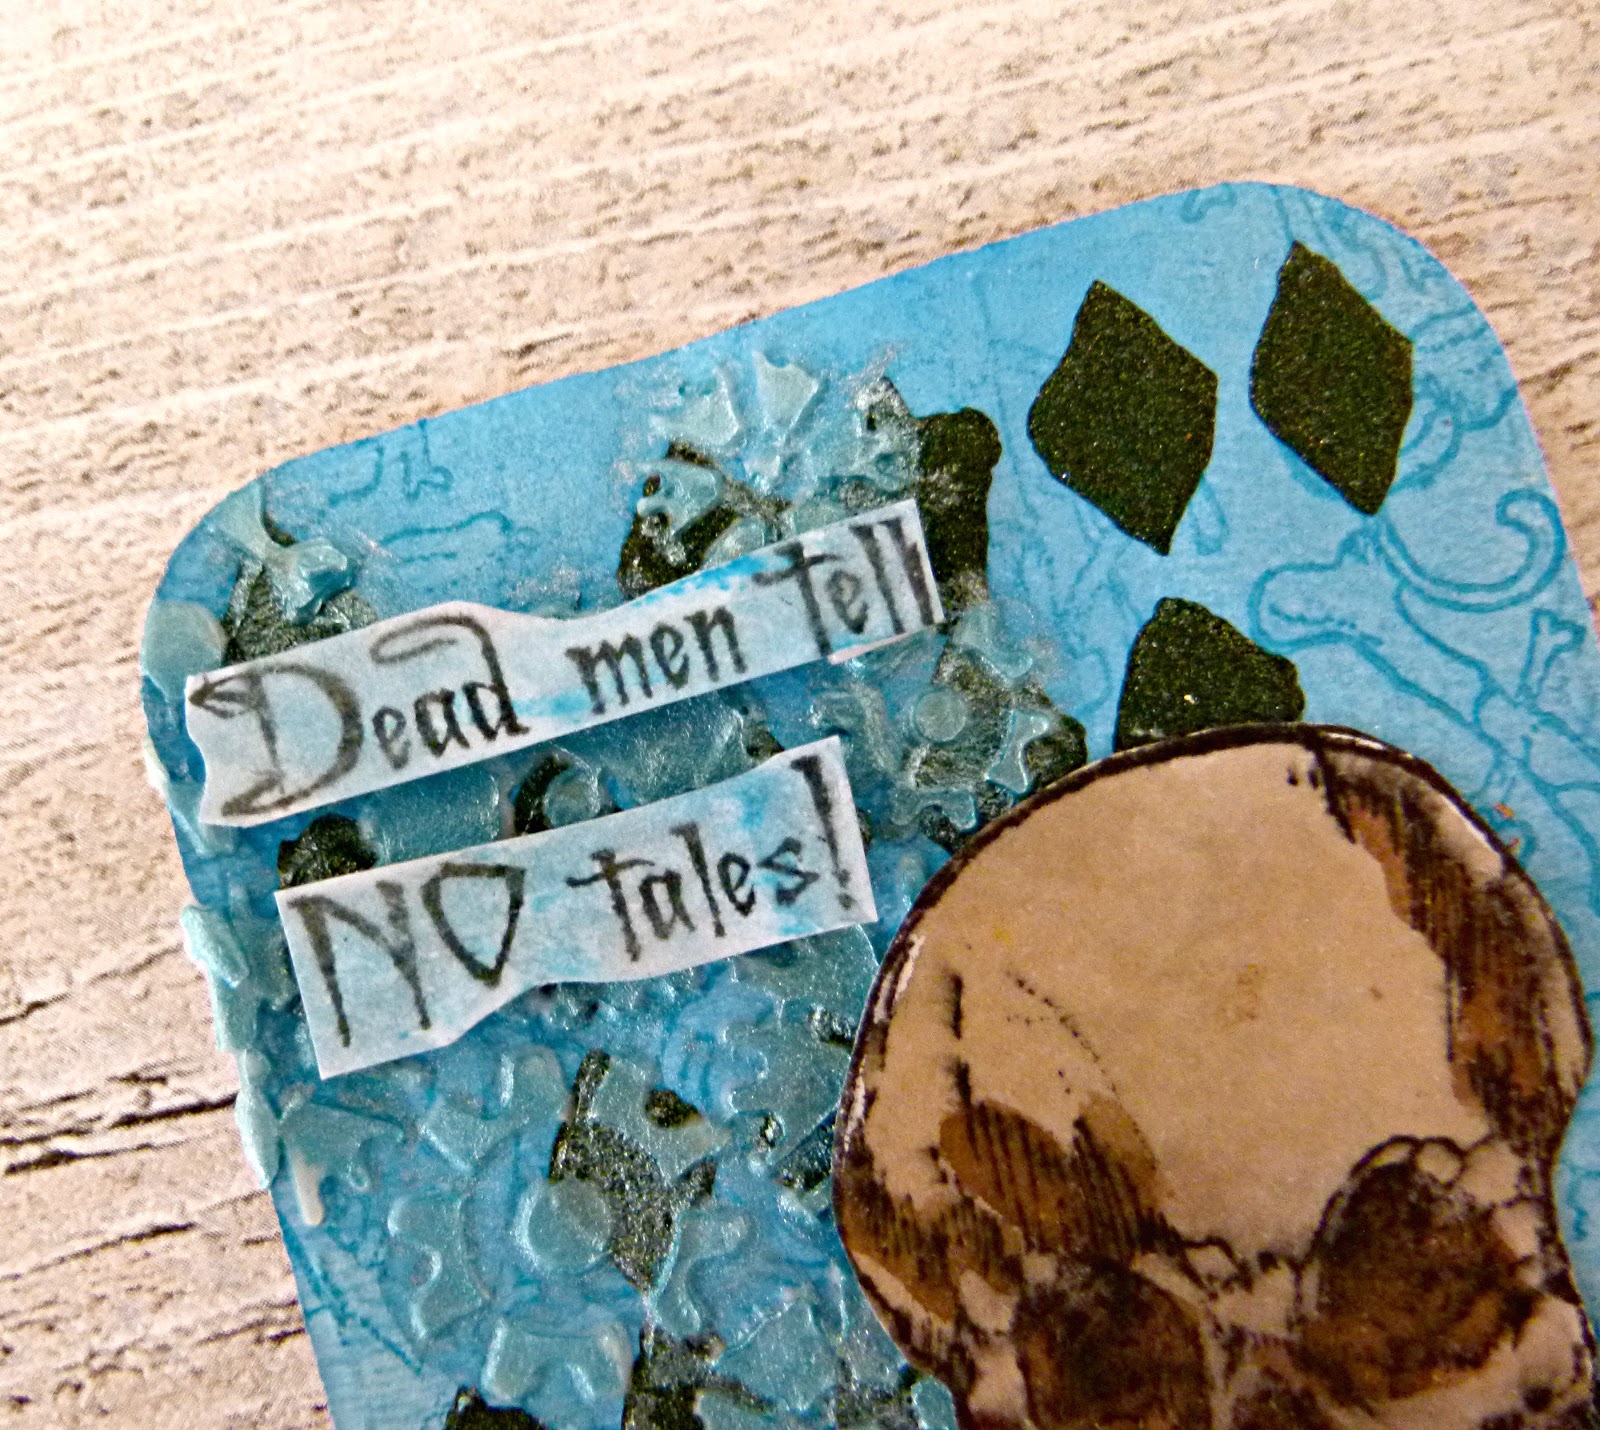
                  Start off by spritzing a few blank ATCS with blue inks and leave to dry.
          Apply a stencil mask with green texture paste and leave it to set.

Stamp out the bones stamps onto the white card and color in.
 These were colored in using inks


Adhere some words to the ATCS


Create different designs by layering up different stencils with modeling paste.


For this ATC, I  used the grungy background stamps to create a pattern.


The skulls were colored in using sepia ink which gave them an old feel.


Be sure to visit our Fan Page for more inspiration, to share your own Sin City Stamps projects and to enter giveaways!

Saturday, October 7, 2017

Happy Halloween! Cards by Jenn

Hello, Sin City Stamps Fans!!
 It's Jenn with you today and I am going to show you how to create these Happy Halloween cards using Sin City Stamps designed by Rick St. Dennis!!
 Halloween is such a fun holiday for everyone, so why not get creative and make some cards!!

For this project, I used the DriBonez stamp set designed by Rick St.Dennis for Sin City Stamps.  

Start by creating your backgrounds. For this, you will need:
  • Dribonz Stamps,
  • Heavy cardstock, 
  • Black archival ink,
  • Distress inks,
  • Watermarking ink, 
  • Clear embossing powder, 
  • A heat tool.
For the first card, use the border stamp and watermarking ink to create border. 
Coat with clear embossing powder and activate with a heat tool.
Stamp distress inks one at a time onto a craft mat and spritz with water. Next dab your white cardstock in each and dry with a heat tool in between. Add a bit more ink and water to your craft mat, and use a paintbrush to add splatters of the same colors. Dry with a heat tool completely.


On another sheet of cardstock stamp the three skulls in black archival ink. Next use a 1" circle punch to cut each skull out. Set these aside. 


For the second card, repeat the background process. Use black archival ink to directly stamp the skull and add a sentiment.

 Add a hollowed out circle and sentiment to the first card.

 Use double sided tape to adhere the backgrounds to black cards either pre-made or folded cardstock, your choice! And there you have it, colorful, handmade Halloween cards!
Thanks so much for joining me today! I hope you are inspired to get creative and make some fun Halloween cheer for your friends and family too!!
 Until next time, Jenn

Be sure to visit our Fan Page for more inspiration, to share your own Sin City Stamps projects and to enter giveaways!


Wednesday, September 27, 2017

Skull Gift Card Holder


Friends, it will soon be time to start thinking about Halloween treats and gifts for those special goblins in your life.  I have designed a gift card holder using Sin City Stamps.

Supplies:  
  Sin City Stamps: DriBonez Skulls and Bones
                            Background Grunge
  Splat stamp
  Embossing Powders: iron and green
  Brown Ink
  Die cut of gift card holder
  Foam tape
  Craft card stock

Step 1:  Die cut gift card holder out of craft card stock.  Emboss skull and bones image using iron colored embossing powder at bottom.


Step 2:  Using the Grunge Background stamp set emboss boarder with green embossing powder.


Step 3:  Emboss the skull with iron embossing powder.


Step 4:  Cut out Skull.


Step 5:  Using splatter stamps, distress entire holder. 


Step 6:  Assemble gift card holder.


Step 7:  Using foam tape, pop up the skull to holder front.


We hope you enjoy making this quick and easy Halloween project.  Please share your creations with us on Sin City Stamps fan group Facebook page.

X

Thursday, September 21, 2017

Romantic Halloween Card "Skellie Love"

Hello all, MOnique here showing you how to make this Halloween card using the masking technique
Supply list:
Sin City Stamp sheets:

White Cardstock
Black cardbase
Metallic lustres in Copper and Gold
Black waterproof stampink
Ink pads in several colors
Masking paper
Scissors


Step 1: Make impressions on the white cardstock using the octopus lady and the skeleton.
 Stamp them again on the masking paper and cut them out.
Step 2: Cover the impressions of the lady and the skeleton with the masks, then stamp the tombstone and the tree.
Step 3: Stamp the border of the Dribonez set next to the tomb.
Step 4: Make an impression of the owl.
Step 5: Add a flower in the corner.
Step 6: Color the stamps.
Step 7: Use colored inks to create a background.
Step 8: Use black ink to distress the edges.
Step 9: Add metallic lustre on the embossed borders of the card
Step 9: Add foam tape on the back of the stamped cardstock
Step10: Adhere the stamped scene to the card base.


I hope that you have enjoyed this project and are inspired to get stamping!!
Please follow us on our Facebook Fan Page Here and share your work with us!
To purchase your stamps head over to Sin City Stamps online store!
Until next time! Thanks!

Copyright Text

Blank Page Muse 2018 Sin City Stamps 2013