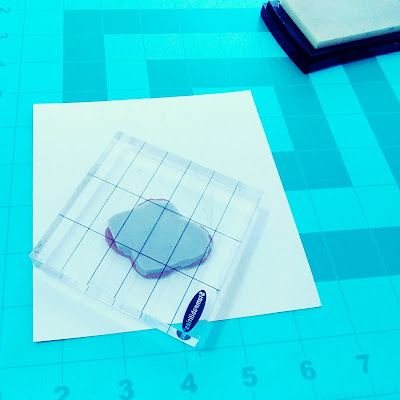
Hello, hello! Samantha here, back to share another project with you.
Emboss resist ink blending is one of my favorite card making techniques. It's almost magical to see the embossed image start to become more and more defined as you layer the ink on. BPM stamps are awesome for this technique as they stamp incredibly well.

For this card you will need the following:
- The linked circles stamp from the
Hearty Doodles stamp set by Katie Lamb
- The Dream Big Dreams sentiment stamp
- Green A2 sized card base
- Black cardstock panel cut to 5 1/4" x 4"
- White cardstock panel cut to 7" x 7"
- Black cardstock panel cut to 2 7/8" x 2 5/8"
- White cardstock panel cut to 2 3/4" x 2 1/2"
- Black ink
- Pink, blue, and yellow inks for blending
- Sticky embossing ink pad
- Clear embossing powder
To begin you will need to take your linked circles stamp and stamp it repeatedly all across your large white panel, using the embossing ink pad. Make sure you overlap the images frequently. This mimics the look of a full background stamp.
Cover your stamped panel in clear embossing powder and set with your heat tool.
Start by applying your yellow ink over the panel. I like using a large USPS envelope as a craft mat when I do my ink blending.
Next blend in your blue ink.
Finally use your pink ink and blend in any remaining white spaces.
Trim your panel down to 5 1/8" x 3 7/8". Don't throw your scraps away! I'm going to show you how to use them to make another card in a different blog post.
Layer your embossed panel onto the large black panel and then adhere to your card base.
Ink your sentiment stamp up in black ink. I am so impressed with the way these stamps ink up. There's never any ink beading.
Stamp onto the small white panel and then adhere that to the small black panel. Attach to the center of the card and you're done!
I hope that you will be inspired to make a similar card of your own. Thank you so much for taking the time to read my tutorial. I hope you have a wonderful day. Until next time!
~Samantha
Looking for more inspiration?
Click the links below!
The Blank Page Muse Shop
Facebook Fan Page
Instagram- Shop
Instagram- Blog
Twitter
Pinterest


Oooooooohh!!! Samantha this is such a beauty!!! I LOVE your style girlfriend! ��������
ReplyDeleteThank you so much, Jess!!!!
DeleteBeautiful....fabulous background for sure!
ReplyDeleteThank you! I'm so happy with it 😀💚
Delete