Showing posts with label Samantha Ziegenfuss. Show all posts

Saturday, December 28, 2019

Bear on Sled Holiday Ornament

Hello, hello. Samantha here with the second style of holiday ornament to share with you.
Be sure to use code BPMDtSamantha2019 to save 15% off of your next order!


To begin you will need:
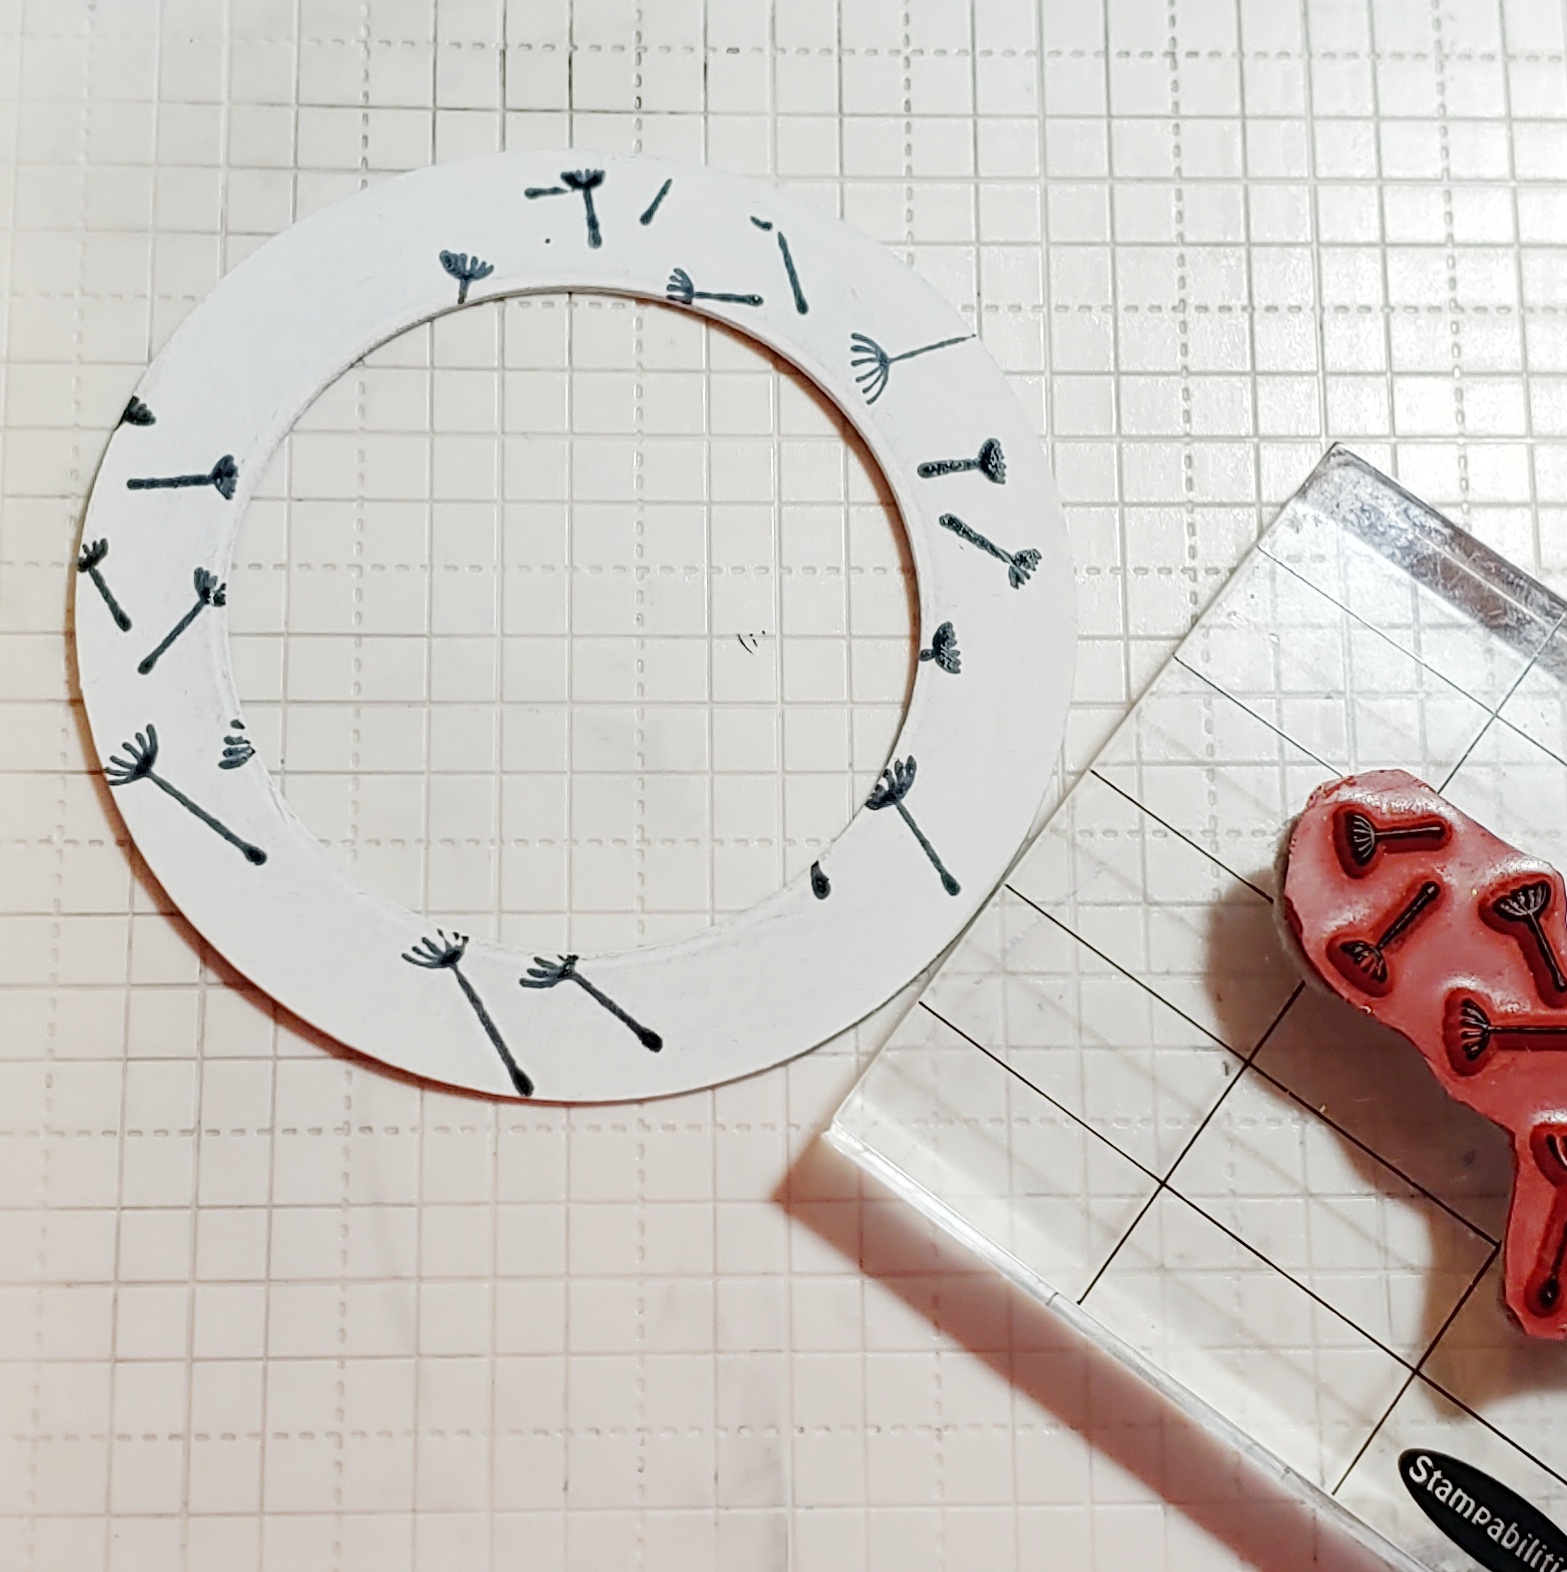
Use hot glue to adhere your ribbon to your circle. Glue the frame over top.


Use glue and shaped glitter to create the look of snow along the bottom third of the ornament.


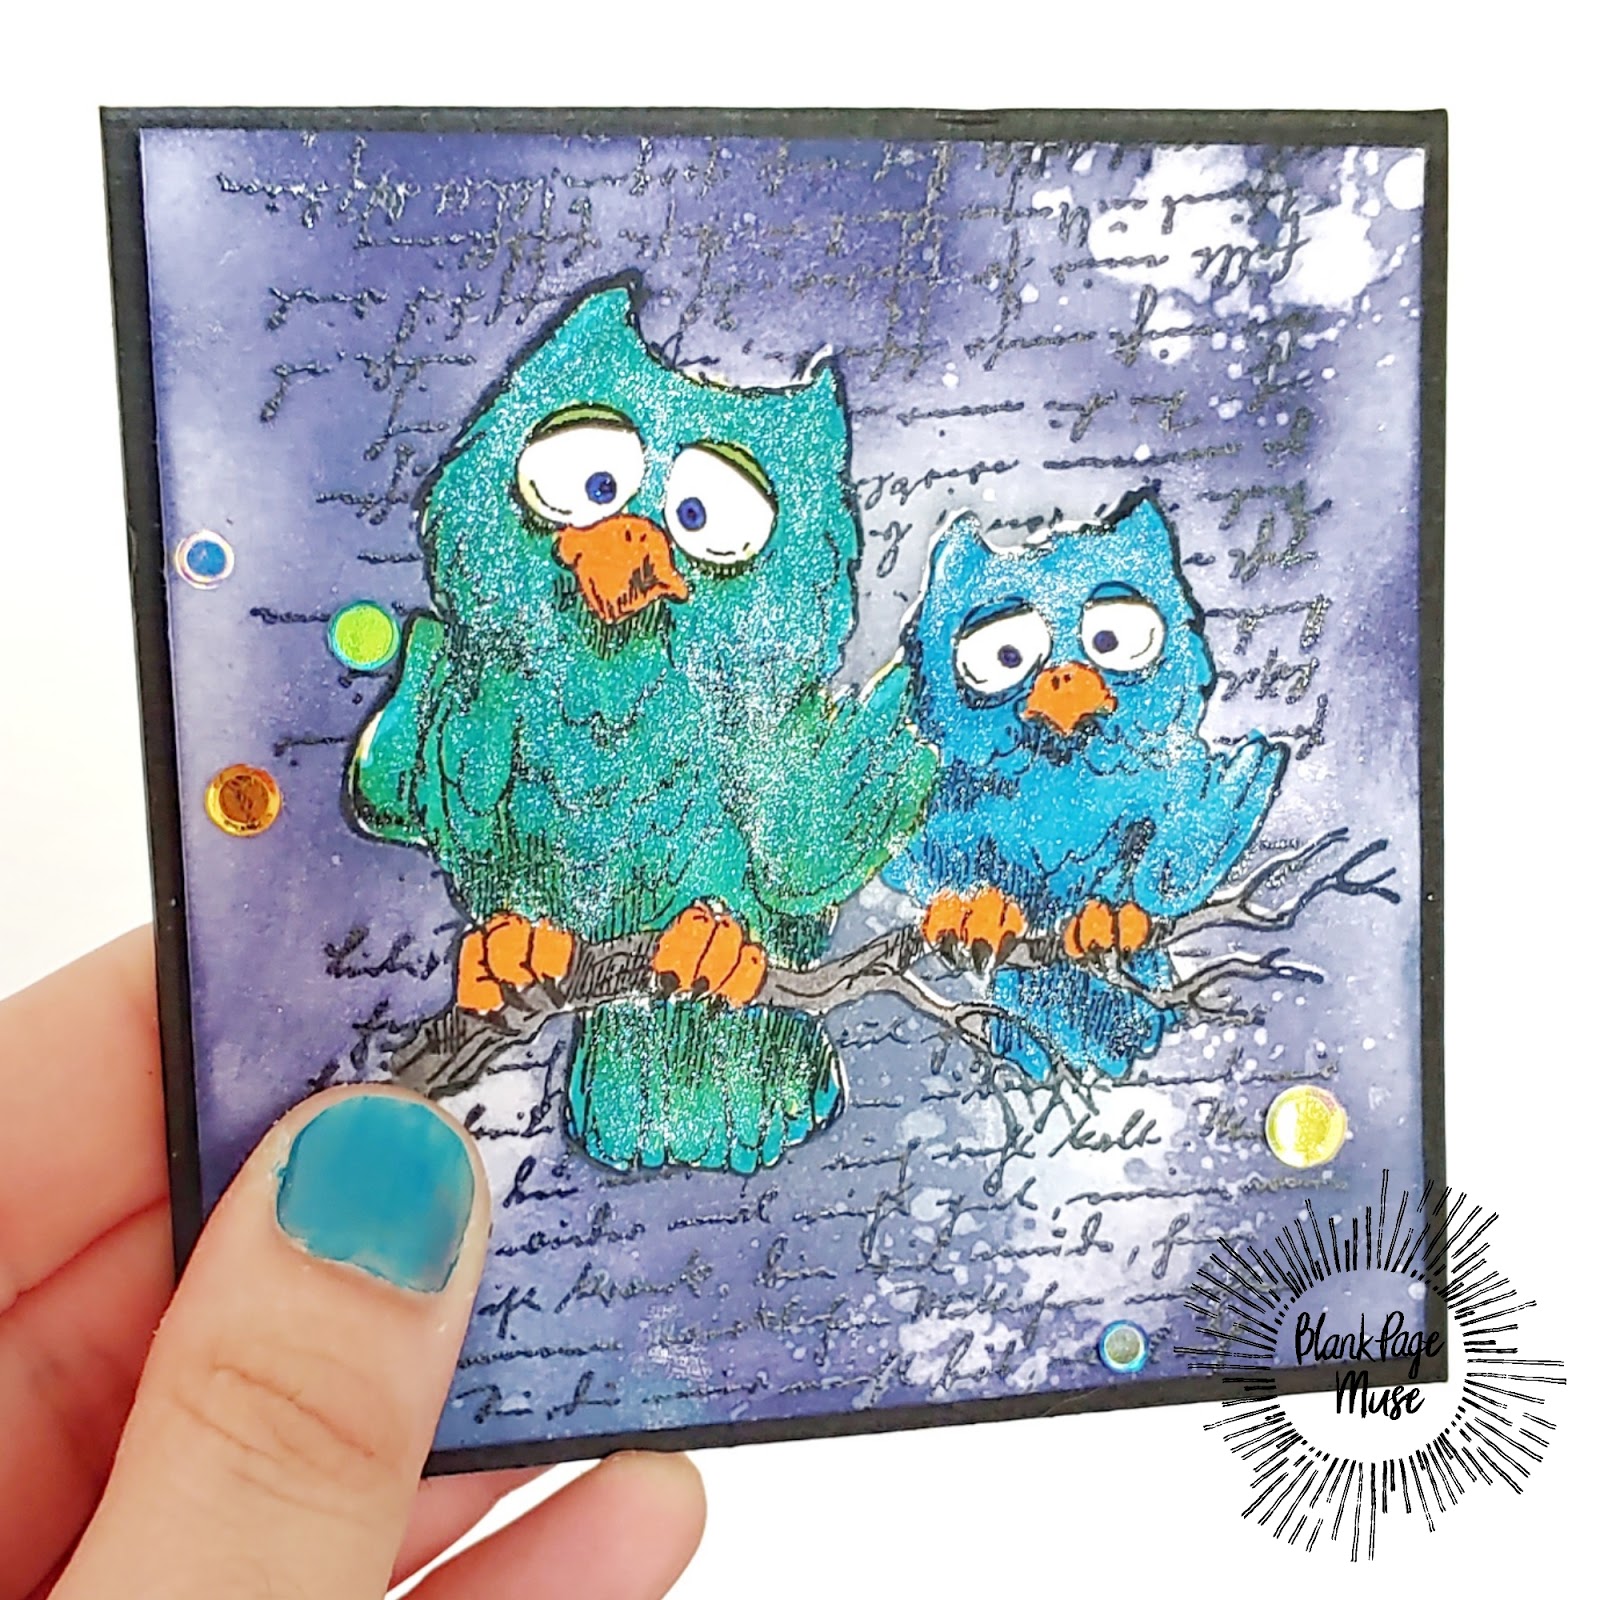
Stamp the sledding bear on white cardstock, color and fussy cut out.


Place foam adhesive to the back of the fussy cut image and attach to the ornament.


That's all! Easy and cute.
Thank you so much for stopping by. Make sure you head on over to the BPM Facebook Fan Group to share what you were inspired to create.
Until next time,
Samantha

Looking for more inspiration?
Click the links below!

The Blank Page Muse Shop

Facebook Fan Page

Instagram- Shop

Instagram- Blog

Twitter

Pinterest

Sunday, December 15, 2019

Cabin in the Snow

Hello, hello. Samantha here and today I am showing you an idea for getting more use from your Blank Page Muse stamps.

Use code BPMDtSamantha2019 to save 15% off of your next order


I wanted to use the beautiful House with Trees Sketch Style Art Rubber Stamp to create a winter scene but I felt like the trees on either side of the house were a bit too full to bring my vision of a winter wonderland to life.

Determined to make it work I soldiered on, stamping the image to white cardstock and coloring it in; making sure to give the windows a warm glow. While I fussy cut the image out inspiration struck. I chopped the trees out of the image by simply snipping them away with my scissors.


I created a starry night sky on a white cardstock panel using Distress Oxide inks, water, and white paint splatters.

I created my snow filled background and foreground by cutting white cardstock with a hill border die, inking along the edges in a blue ink.

I layered my snowy hills and my cabin onto the ink blended cardstock panel and added the entire thing to a teal, A2 sized card base.

I opted to stamp my sentiment to the inside of the card so as not to detract from the beautiful scene on the front.


For this I used the Let it Snow with Snowflakes Word & Image Art Rubber Stamp and a basic black ink.


Thank you so much for stopping by. Take a look at your BPM stamps and see how, just by altering various elements, you can use them in new and wonderful ways.

Until next time,

Samantha

Looking for more inspiration?

Click the links below!

The Blank Page Muse Shop

Facebook Fan Page

Instagram- Shop

Instagram- Blog

Twitter

Pinterest


Wednesday, December 11, 2019

Shaker Holiday Ornament

Hello, hello. Samantha here with  the first of two fun and easy holiday ornaments to share with you.
Be sure to use code BPMDtSamantha2019 to save 15% off of your order!


You will need the following:


Cut two of the chipboard circles into frame shapes using a basic circle die. Paint the frames and chipboard circles with gold paint. Keep one of the circle and frame pairs for later.


Stamp and heat emboss the ice skating stamp onto your circle. 


After using hot glue to attach a ribbon line the outer edge of the circle in foam tape and the inner edge of the frame in double sided adhesive. Remove the backing from the double sided adhesive and adhere your acetate. Fill the well created by the foam tape on the circle with gems, sequins, beads, or anything else you'd like.


Press the frame onto the foam tape and that's it.


Thank you so much for stopping by. Make sure you're subscribed so that you won't miss style 2 of my holiday ornaments. 
Until next time,
Samantha

Looking for more inspiration?
Click the links below!

The Blank Page Muse Shop

Facebook Fan Page

Instagram- Shop

Instagram- Blog

Twitter

Pinterest

Wednesday, October 30, 2019

A Little Birdie Told Me

Hello, hello! Samantha here with another quick and easy card to share with you all today. It's no secret that the bird from the Flower & Bird Sketches Art Rubber Stamp Set is one of my all time favorite stamps. That's why I reach for it as often as I do and I hope that my love for it will inspire you.
Remember to use code BPMDtSamantha2019 to save 15% off of your next order!


For this card I stamped my bird onto white cardstock with black ink. I colored it in using alcohol based markers but decided that it was too dark. So I colored over the marker with crayons! Regular old Crayola crayons.
Next, completely experimenting, I applied odorless mineral spirits over the crayon and it blended. So super cool. I did a bit of stamp surgery to the "A little birdie told me..." Phrase stamp and stamped it below the bird.


I layered the panel to a card base on which I'd adhered a background die. Then I added some feather die cuts to cover a huge boo boo.
Remember that mistakes are really just opportunities for embellishment!


Easy enough, right? Make sure you check out the video I did featuring this gorgeous bird stamp and don't forget to subscribe to the blog!

Until next time,
Samantha


Looking for more inspiration?

Click the links below!

The Blank Page Muse Shop

Facebook Fan Page

Instagram- Shop

Instagram- Blog

Twitter

Pinterest

Saturday, October 26, 2019

Dandelion Wishes Shaker Gift Tag

Hello, hello! Samantha here with a fun project to add to your gift bags that will leave everyone wishing for more.
Remember to use code BPMDtSamantha2019 to save 15% off of your next order!


For this project you will need the following:


 Take your chipboard circles, paint them white, and die cut one to create a frame.


Stamp your circles with the dandelions from the stamp set.


Line the base piece with foam tape and tuck your baker's twine underneath. 
Adhere your acetate to the back of your chipboard frame. 
Fill the well created by the foam with sequins, glitter, etc.


Thanks so much for stopping by. Make sure you head on over to the BPM Facebook Fan Group to show us what you were inspired to create!
Until next time,
Samantha

Looking for more inspiration?


Wednesday, October 9, 2019

What a Hoot

Hello, hello. Samantha here with a card that's "owl" you'll ever need. I love making open ended cards that can be used for any occasion and that is what inspired this one.


For this project you will need the following:


Stamp your owls to your white cardstock. Cover with masking paper.


Stamp your letter stamp down the length of the white cardstock with black embossing ink. Cover in clear embossing powder and heat set.


Using blending inks of your choice blend over the cardstock. I used Distress Oxide inks in Chipped Sapphire and Faded Jeans. I also added a few droplets of water to the cardstock.

Remove the masking paper and color the owls in with a coloring medium of your choice. Place your craft foam on the back of your cardstock and adhere to your card base.

Optional; add sequins and brush over owls with a clear shimmer pen.


Easy and effective. I hope you will give this a try yourself. Head on over to the Facebook fan page and show us what you were inspired to create.
Until next time,
Samantha


Looking for more inspiration?

Click the links below!

The Blank Page Muse Shop

Facebook Fan Page

Instagram- Shop

Instagram- Blog

Twitter

Pinterest

Saturday, September 28, 2019

Pumpkin Princess Halloween Wand

Hello, hello! Samantha here with a fun Halloween surprise you can easily make with your favorite ghouls and goblins. Sometimes we want to do something a bit less sugary for Halloween and while this project won't cause cavities it's still pretty sweet.


You will need the following:


Let's begin. Stamp the pumpkin stamp onto white cardstock and color it in with orange colored pencils. Totally optional but I chose to use a bit of Gamsol to blend my coloring a bit.


Fussy cut your pumpkin and transform it using one of the fun Jack-o'-lantern faces, black pigment ink, and clear embossing powder. Much less messy than actual pumpkin carving!


Trace your jack-o'-lantern onto black cardstock and cut out.


Wrap your tulle loosely between your thumb and forefinger. Cinch tightly in the center. Cut the looped ends.


Glue the center of your tulle to the back of your jack-o'-lantern with hot glue.


Wrap a paper straw in washi tape of your choice and adhere ribbons to the top using hot glue.


Here is a close up photo showing how I glued the ribbons to the straw.


Attach your jack-o'-lantern with hot glue to the top of your paper straw and glue the black cardstock behind it so that the straw is sandwiched in the middle.


That's it! Pretty easy. Head on over to the shop to check out this fun stamp set and don't forget to stop by the Facebook fan group to share your art. You could win a prize!

Until next time,
Happy haunting,
Samantha

Looking for more inspiration?

Click the links below!

The Blank Page Muse Shop

Facebook Fan Page

Instagram- Shop

Instagram- Blog

Twitter

Pinterest


Thursday, September 19, 2019

Butterflies and Kitties Photo Brag Book

Hello, hello. Samantha here to share my latest project with you; a super cute brag book featuring some of the beautiful butterflies from the Dandelion Wishes with Butterflies Art Rubber Stamp Sheet by Terri Sproul. I love having physical photos and what better way to share them than with a fun and unique brag book?


To create this project I created my brag book and pocket folder. I stamped the butterflies all over the pocket folder.


Then I stamped the butterflies onto white cardstock, fussy cut them out, and used them to decorate the photos of my cats in my brag book.


Thanks so much for stopping by to check out my project. I hope you like it. Make sure you head over to the Blank Page Muse Facebook Fan Group for Fan Art Friday!

Until next time,
Samantha

Looking for more inspiration?
Click the links below!

The Blank Page Muse Shop

Facebook Fan Page

Instagram- Shop

Instagram- Blog

Twitter

Pinterest

Wednesday, September 11, 2019

PMS

Hello, hello! Samantha here with a quick and easy project for you. One of the things I love to make are snarky cards and that is why this PMS stamp was right up my alley.


Let's get started. For this card you will need:


Using your sticky embossing ink pad stamp the Dandelion Bursts stamp onto your white cardstock and heat set with gold embossing powder. Mask along the border using your low tack tape.


Using your blue inks do some basic ink blending on your panel.


Remove the low tack tape. Trim your cardstock so that a .25" border will exist all along the stamping. Finished size will be 3.75" x 5.25". Adhere to your card base.


Using a shade of blue ink stamp the PMS stamp onto white cardstock. Cut into a sentiment strip and glue to the bottom of your card.


Pretty easy, right? I absolutely love this card and I hope it will inspire you. Make sure you head on over to the shop to check out all the great snarky stamps that Blank Page Muse has to offer. How many can you find?

Until next time,
Samantha

Looking for more inspiration?
Click the links below!

The Blank Page Muse Shop

Facebook Fan Page

Instagram- Shop

Instagram- Blog

Twitter

Pinterest


Copyright Text

Blank Page Muse 2018 Sin City Stamps 2013