Hi everyone! Charlotte here, and today I am sharing a pretty, one layer card that uses masking in order to utilize just a portion of a background stamp. This is a really fun technique which can be used to make your stamps even more versatile.

Small Fairy With Wings (also available as part of the Inhale... Exhale set)
Dandelion Bursts Background by Michelle Frae Cummings (also available as part of the Dandelion & Iron Works set)
Other materials:
White card base
Scrap paper and repositionable adhesive, or masking paper
Repositionable tape
Scissors and craft knife
Stamp platform
Scrap paper and repositionable adhesive, or masking paper
Repositionable tape
Scissors and craft knife
Stamp platform
Embossing powders in black and ivory
Scrap acetate
Embossing ink
Anti-static powder tool
Scrap acetate
Embossing ink
Anti-static powder tool
Distress Inks in Spun Sugar, Milled Lavender, and Seedless Preserves
Paintbrush
Sentiment stamp
Black ink
Glitter gel pen
Paintbrush
Sentiment stamp
Black ink
Glitter gel pen
Instructions:
Begin by stamping the Dandelion Bursts Background onto a piece of scrap paper. Trim around the edges up to the lines, then use a craft knife to carefully cut out the center. Ensure that the area that is cut away is the desired area for the finished design. Set the mask to one side.


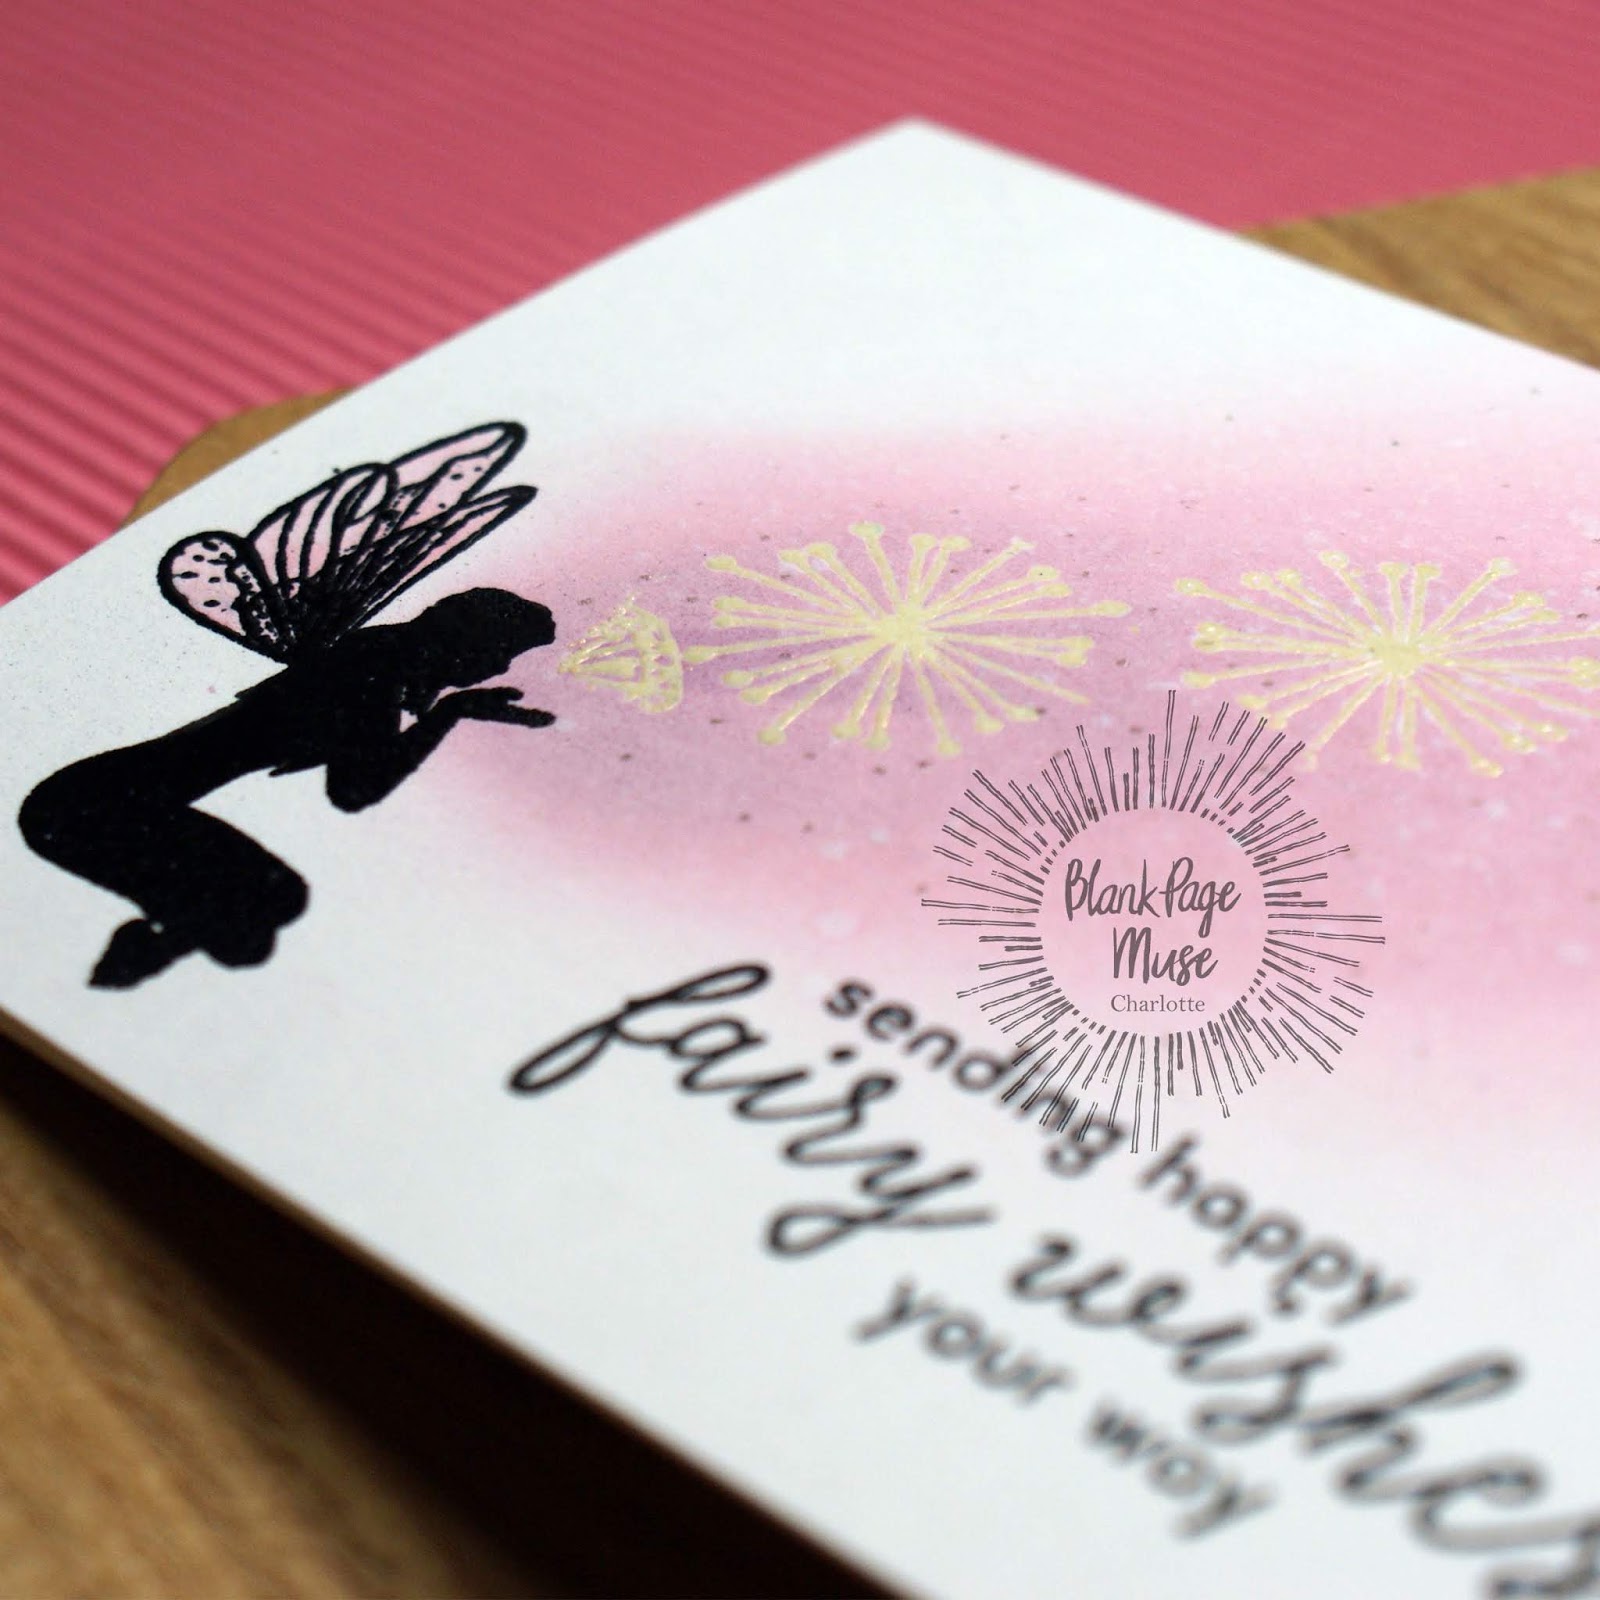
Treat the A2 (4 1/4" by 5 1/2") white card base with an anti-static powder tool, then stamp the Small Fairy With Wings into the lower left corner using embossing ink. Add black embossing powder and heat set.


Place the card base into the stamp platform. Using the acetate as a guide, assess the correct positioning of the Dandelion Bursts Background. Place the acetate over the card base and stamp onto it, to check the stamps positioning. Apply the mask to the card base in the correct position, and use repositionable tape to hold it in place.

Treat the card base again with the anti-static powder tool, then stamp the Dandelion Bursts Background with embossing ink. Add ivory pearl embossing powder and heat set.

Remove the mask and add colour with ink blending, using Spun Sugar, Milled Lavender and Seedless Preserves Distress inks. Concentrate the darkest colors closest to the fairy's hand, and fade out through the lighter colors to white. After the ink blending is finished, buff away any ink from the embossing using a soft cloth or dry tissue.

Press the Spun Sugar Distress ink onto an acrylic block or other non-porous surface. Using a little water and a paint brush pick up some of the color and paint the fairy's wings.

Stamp the desired sentiment onto the card base, then finish off the design with some dots of glitter gel pen. Concentrate the dots so that they are more tightly clustered closer to the embossed dandelions, and sparser further away.

I hope you enjoyed my blog post! This is a very fun way of using the masking technique to get more mileage from your stamps. I hope you'll give it a try, and I'd love to see what you make if you do!

Looking for more Inspiration?
Click the links below!
Aww, such a pretty card! I love your masking technique too!
ReplyDelete