Showing posts with label Dream Big Dreams. Show all posts

Saturday, May 1, 2021

Dream Big Dreams!

 Hi BPM Fans!

Here we are in another new month yet again - this year is flying by!


Today I am sharing a Summery card to match our "Beachy Vibes" blog theme this month! 
Of course here in Australia we are coming into Winter and not Summer but I'm still happy to create something that makes me feel warm!

I've combined stamps designed by Pam Bray with some beachy collage squares I came across in my "scraps" container and thought they all worked well together!

Hope you like my card!


Supplies:
Blank Page Muse Stamp:
White Card & Ink Sprays 
Scrap Kraft Card
Black Ink Pad
Square Base Card
Beach Themed Collage Squares - Alternatively cut squares from Beach Themed Patterned Cardstock
Embellishments
General: scissors, glue

Instructions:
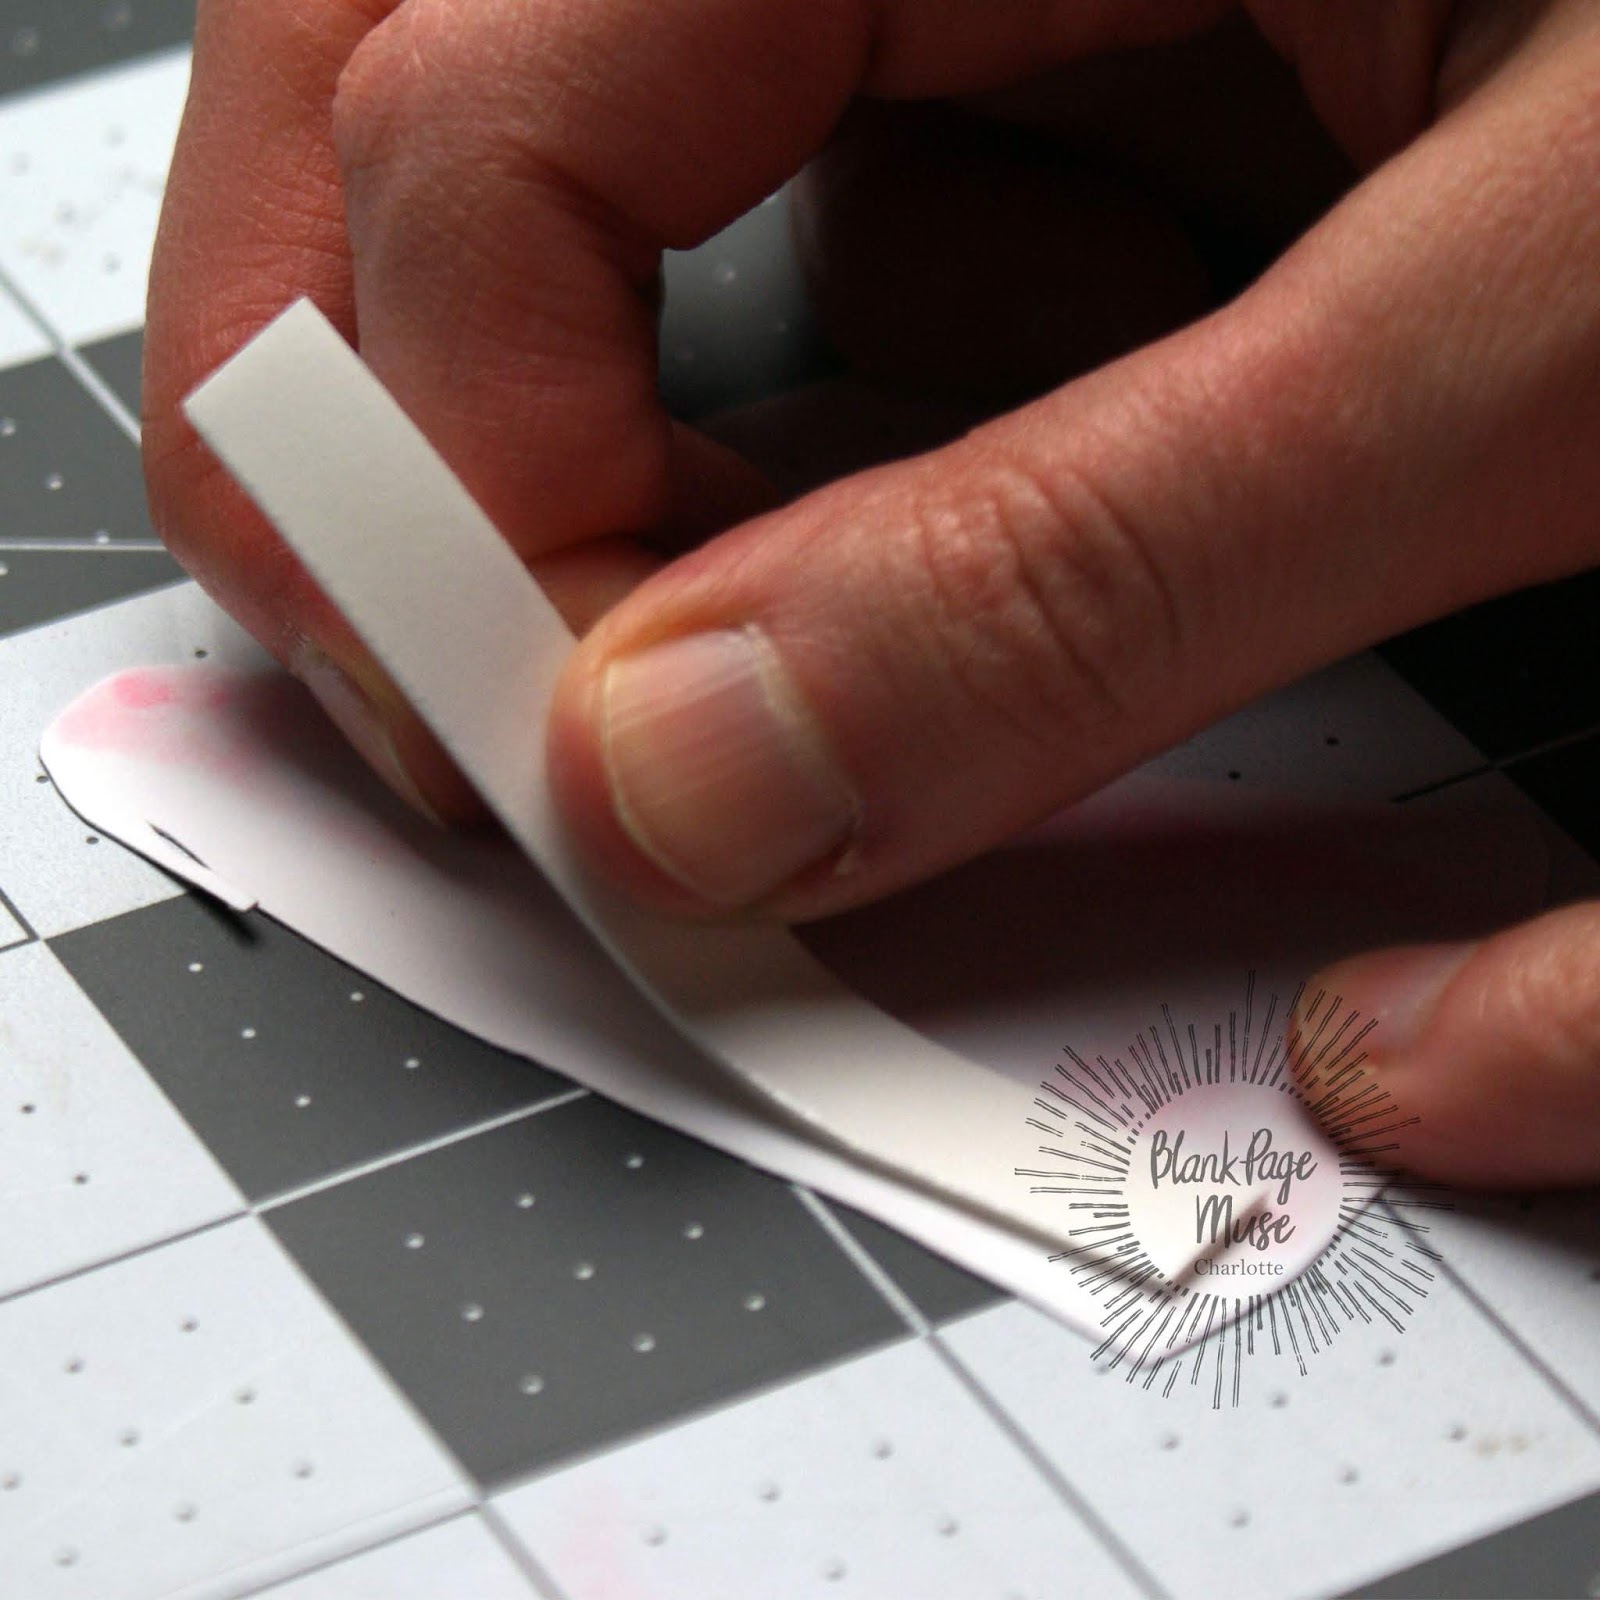
Start by stamping the surfboard stamp onto white cardstock that has been sprayed with coloured ink sprays and fussy cut. Stamp the sentiment on kraft card and tear out.


Add some glitter glue to the flowers on the surfboard for some added sparkle!


Arrange six collage squares onto one side of the card and adhere. Adhere a piece of hessian to the opposite side.


Add some muslin/gauze scraps along with the surfboard and the sentiment stamp - adhere all the elements.


If you want to add any other beachy embellishments you can. To change the "occasion" of your card add a sentiment that matches - makes a versatile card!


Thanks for joining me today!

Happy Stamping!

Sharon

Don't forget to check us out at all of our social media sites
The Blank Page Muse- https://blankpagemuse.com/

Monday, May 11, 2020

Dream Big...

Hi Everyone!

Firstly, I hope that where ever you are in the world today you are staying safe!


I hope that the ideas and tutorials you are seeing here at the Blog are keeping you occupied and feeling creative!

Today I am sharing a simple stenciled card because we have a fun **NEW** challenge this month and you need to grab your stencils to play along!


It's fantastic that there are now stencils available in the Blank Page Muse store so make sure you CLICK HERE and pop over and have a look and support BPM by placing an order!

Supplies:
Blanks Page Muse Stamps: Clara and Dream Big designed by Magda Polakow
Blank Page Muse Stencil: Dream Big designed by Magda Polakow
Plain White Card Base: textured square blank used for this creation
Kraft Card
Ink Pad: red ink used for this card
Sponge, scissors, glue, double sided tape
Extras: washi tape, diamantis, twine or string

Instructions:
Start by stenciling your card background using your stencil, ink pad and sponge.


Next stamp your main images onto Kraft cardstock and fussy cut. Edge your wording with the ink pad.


Add your elements to the card front - washi tape, stamped images and diamantis.


Edge around that card with the ink pad to add a "border". Use black elastic or twine to tied around the spine of the card if you wish.


I think this card is so quick and easy and can be adapted to any stencils and stamps available in the store so no excuses this month for not playing along with our challenge!


Thanks for joining me today! See you later n the month!

Happy Stamping!

Sharon


Don't forget to check us out at all of our social media sites
The Blank Page Muse- https://blankpagemuse.com/

Wednesday, February 20, 2019

Big Dreams

 Hello, hello! Samantha here, back to share another project with you.
     Emboss resist ink blending is one of my favorite card making techniques. It's almost magical to see the embossed image start to become more and more defined as you layer the ink on. BPM stamps are awesome for this technique as they stamp incredibly well.

 
     For this card you will need the following:

  • The linked circles stamp from the
    Hearty Doodles stamp set by Katie Lamb
  • The Dream Big Dreams sentiment stamp
  • Green A2 sized card base
  • Black cardstock panel cut to 5 1/4" x 4"
  • White cardstock panel cut to 7" x 7" 
  • Black cardstock panel cut to 2 7/8" x 2 5/8"
  • White cardstock panel cut to 2 3/4" x 2 1/2"
  • Black ink
  • Pink, blue, and yellow inks for blending
  • Sticky embossing ink pad
  • Clear embossing powder


     To begin you will need to take your linked circles stamp and stamp it repeatedly all across your large white panel, using the embossing ink pad. Make sure you overlap the images frequently. This mimics the look of a full background stamp.


     Cover your stamped panel in clear embossing powder and set with your heat tool.


      Start by applying your yellow ink over the panel. I like using a large USPS envelope as a craft mat when I do my ink blending.


      Next blend in your blue ink.


     Finally use your pink ink and blend in any remaining white spaces. 


Trim your panel down to 5 1/8" x 3 7/8". Don't throw your scraps away! I'm going to show you how to use them to make another card in a different blog post. 


     Layer your embossed panel onto the large black panel and then adhere to your card base.

     
     Ink your sentiment stamp up in black ink. I am so impressed with the way these stamps ink up. There's never any ink beading.


     Stamp onto the small white panel and then adhere that to the small black panel. Attach to the center of the card and you're done!


     I hope that you will be inspired to make a similar card of your own. Thank you so much for taking the time to read my tutorial. I hope you have a wonderful day. Until next time!
~Samantha

Looking for more inspiration?
Click the links below!
The Blank Page Muse Shop
Facebook Fan Page
Instagram- Shop
Instagram- Blog
Twitter
Pinterest


Monday, January 7, 2019

Adding Dimension to Part of an Image


 Hi everyone! Charlotte here, and today I'm excited to share my first post for Blank Page Muse. I'm showing a way to add simple dimension to your card by popping up just a portion of an image. This pretty doll stamp seemed a perfect choice for the technique, but many stamps could work for it.


Blank Page Muse products used:

Other materials:
White card base
White card snippet
Stamp platform and/or stamping blocks
Black ink
Pale pink ink
Alcohol markers or other coloring medium of your choice
Scissors
Dimensional adhesive

Instructions:
Begin by placing the white card base into your stamping platform, and position the Dream Big Dreams sentiment stamp as well as the front facing doll image from the Phoebe Art Doll set. I like to first stamp onto a piece of acetate to make sure they're positioned correctly before stamping onto the card base.


Ink up with black ink (make sure it's safe to use with your chosen coloring medium) and stamp the correctly positioned stamps onto the card base. Stamp the doll image again onto a snippet of card separately from the card base.

Using a small acrylic block (or if, like me, you don't have one you can use the lid of an ink cube instead) stamp the flower cluster from the Phoebe Art Doll set with a pale pink ink repeatedly across the card base. It doesn't matter if it overlaps the image as the pale color of the ink will be hidden after the image is colored. Again, make sure the ink is safe for use with your coloring medium.

Using your coloring medium of choice start coloring the doll image. I used alcohol markers, but you may prefer colored pencils, paints, etc. For the image on the card base color everything but the dress. Then for the separately stamped image just color the dress. Feel free to color outside the lines of the dress, as you'll be cutting it out anyway.

Once the coloring is completed carefully fussy cut out the dress of the extra image.

Apply dimensional foam tape or foam squares to the back of the dress. The sleeves of the dress are very narrow, but try to get at least some of the adhesive behind them to give stability.

Remove the backing from the dimensional adhesive and carefully line the dress up over the image stamped onto the card base. When you are sure the position is correct, press down firmly.


 Thank you for checking out my post! I hope you liked the card and I'd love to see what you make with this technique. It's a great way to add interest to an image.


Looking for more Inspiration?

Click the links below!


Copyright Text

Blank Page Muse 2018 Sin City Stamps 2013