Thursday, February 12, 2015

Queen of Hearts Tag!!!!


  Happy Friday fellow stampers... I am so excited to share my very first DT (Design Team) project for SinCityStamps.  With it being so close to Valentine’s Day I wanted to incorporate some form of a heart into my project.  For my first project I decided to make a tag and use two wonderful stamp sets that can be purchased from http://www.sincitystamps.com. 
 I hope you enjoy my first project and it was so much fun to make.  Below you will find step-by-step instructions on how to make your very own Queen of Hearts Tag.
Supplies List:
  • facade (surface): #10 and # 8 size manila tags
  • distress ink: gathered twig
  • distress spray stains: gathered twig and barn door
  • markers (distress marker colors): vintage photo, antique linen, tumbled glass, brushed corduroy, barn door, old paper, spun sugar, black soot, weathered wood and victorian velvet
  • archival ink: jet black
  • glitter: distress glitter fired brick
  • embellishments: crinkle ribbon, mini gears, jump ring, word token, brads, metal corners, heart charm.
  • idea-ology: label letters and trimmings
  • die cut: Sizzix Alterations - Window & Window Box # 658780
  • paper: Kraft-Core nostalgic collection - core'dinations color brown
  • adhesives: glossy accents, double sided tape and pop dots
  • tools: craft sheet, mister, heat tool, scissors, ink blending tool, ripper, sanding block, stamp pads, stamp cleaner, vagabond and sewing machine
  • stamps used: Alice Art Rubber Stamp Set and  Metal Madness Stamp Set

Step 1: The first step in this project is to determine the background; which is the base to any project for me.  First start by taking a plain #10 manila tag and cover it with a coat of distress ink.  I chose to use gathered twig but any color can be used when completing this effect.

Step 2: Now that you have the background of the tag started lets then create the water drop effect onto the surface of that.  Take a water mister and squirt water into the palm of your hand.  Then flick the water onto the tag.


Once you have splattered the tag with water take a heating tool and dry the tag.  This will give you a really cool splatter effect.  If you still have water splotches on the tag you can use a rag (or paper towel) to blot it off the tag.


Step 3: Then take the Sizzix Alterations Window & Window Box die (#658780) and cut out the window using a piece of brown Kraft-Core core’dinations cardstock.  If you don’t have this die you could make a frame to then use when completing this project.
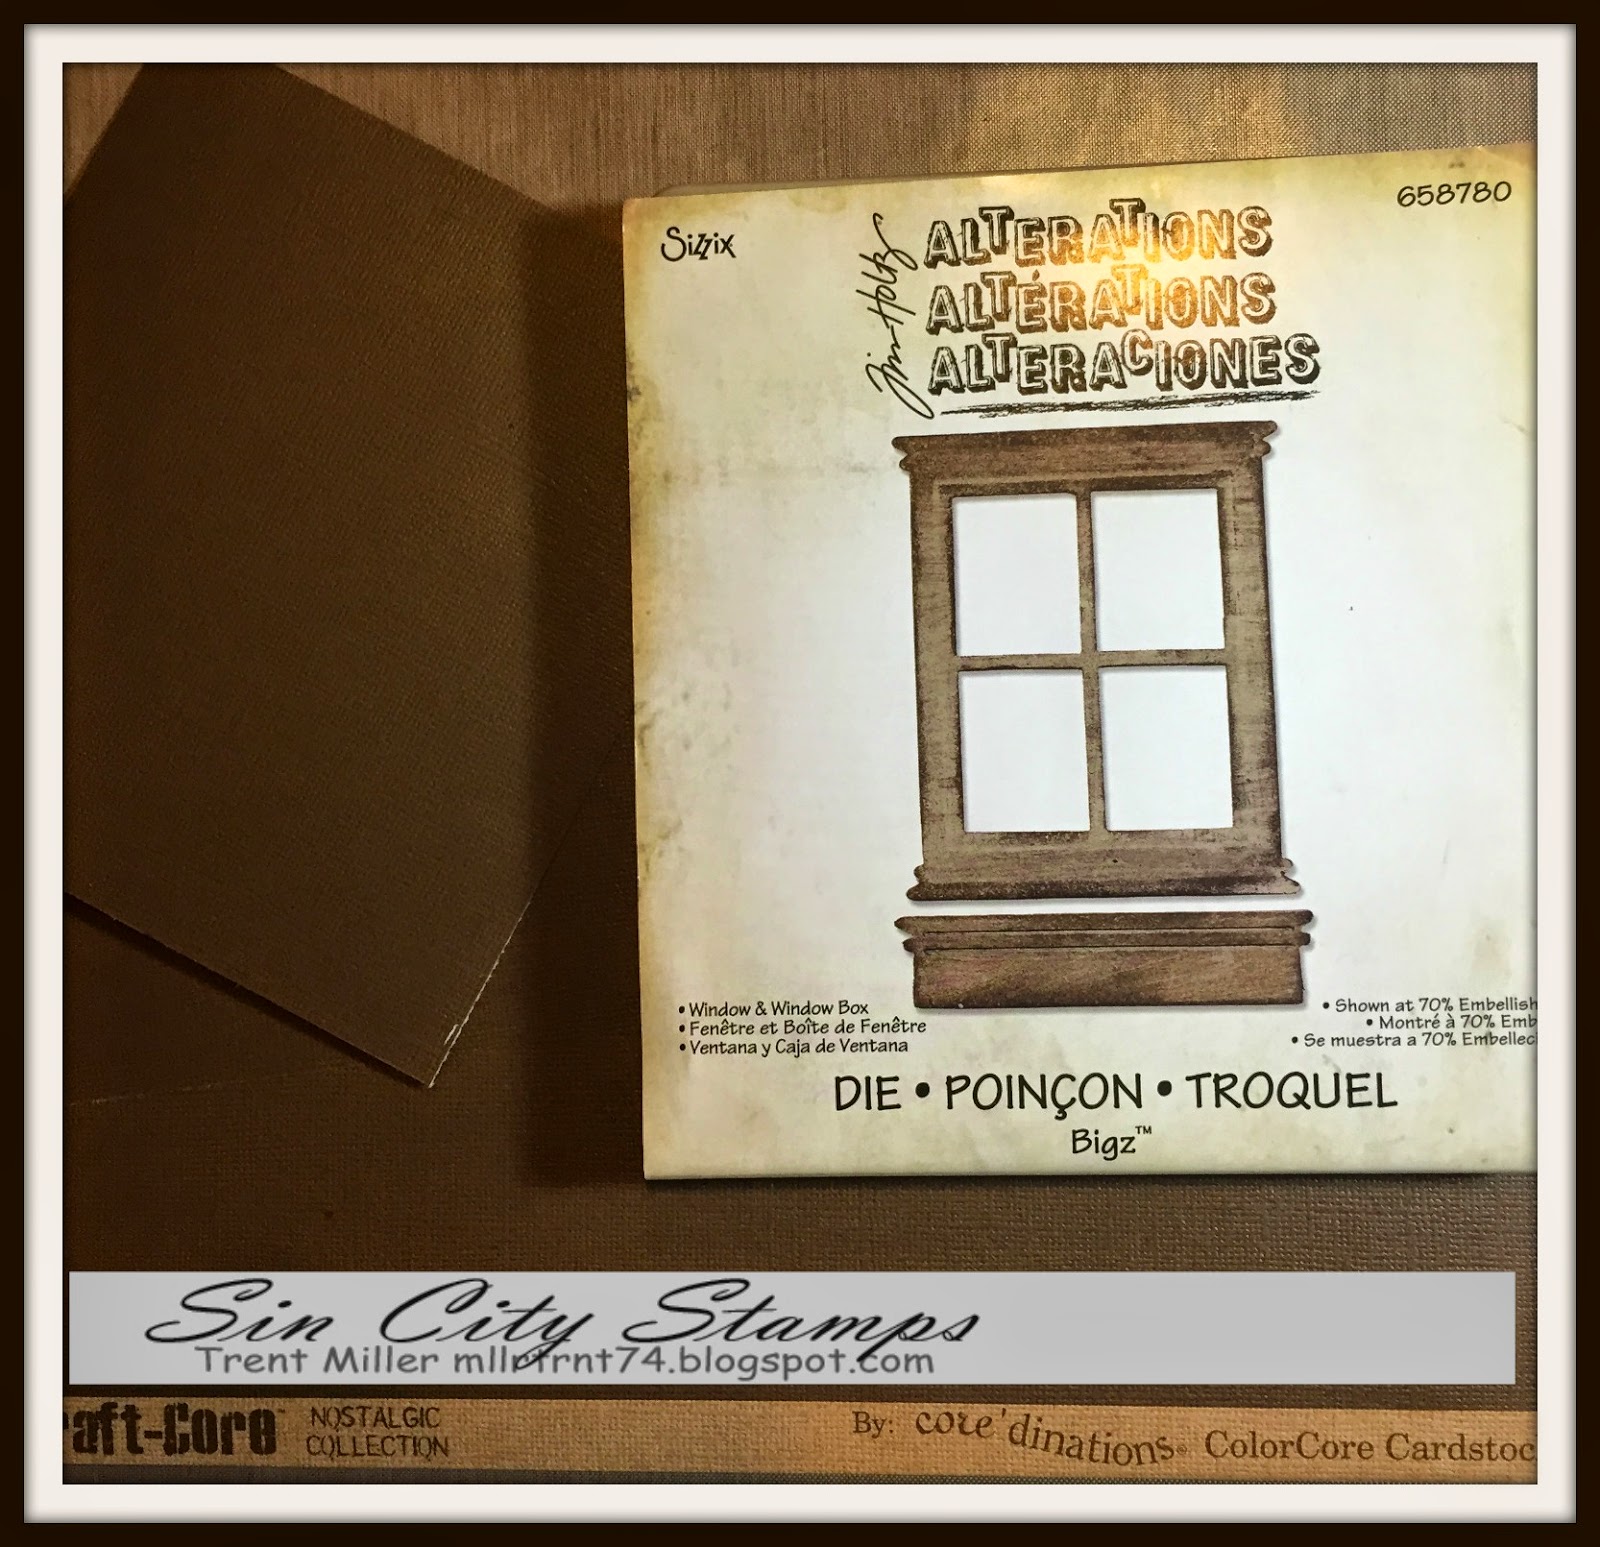
Now, let’s cut the paper to be a size of 5in X 5in and sand the paper with a sanding block to achieve a worn look and feel.
Take your die cut and cut out the die. 
Step 4: Now we will take the #8 size manila tag and from the Alice Rubber stamp set you will use the Queen of Hearts stamp.  Using black archival ink stamp cover the stamp with ink and then stamp this onto the tag.
Step 5:  In this step we are going to fill-in areas of the stamp by using markers.  Using the markers color in the stamped Queen of Hearts to achieve the color effect you want.  For this project I used various distress marker colors to achieve the look I wanted.


Step 6: Now we will cut the tag down to fit in behind the window frame.  Attach this to the window with double sided tape.  With a paper distresser rough up the edges of the frame and I then applied some embellishments to finish framing out the stamped image.
Step 7: We are going to go back to the #10 tag that you completed with the splatter effect and using the background stamp from the Metal Madness set stamp, stamp it on to the tag.   I also then stamped using the metal madness border stamp on the bottom and top of the tag.
You will see that I stamped this off center.  This is so that I could run a piece of ribbon down the left side of the tag as an accent.
Step 8: We are now going to run a piece of trimming down (ribbon) the tag.  I dirtied up the trimmings with gathered twig distress ink.  To apply it to the tag use double sided tape.  I then ran a simple stitch through the trimmings to further anchor it on the tag (this is not required).
Step 9: Take the stamped Queen of Hearts and place it in the center of the tag as shown below.  Use pop-dots to apply it to your tag.
Step 10: Using the heart and diamond stamps from the Alice Art rubber stamp set apply them to the bottom of the tag. 
Step 11: Take glossy accents and apply that over the top of the stamped heart image on the tag.
Step 12: Then use distress glitter fired brick and apply that over the top of the heart and dry with your heating tool.
Step 13: Finish off the tag by roughing up the edges with the paper distresser and then apply distress ink to sides of tag to dirty up the edges.
Add more embellishments to further complete your project to your satisfaction.

Step 14: Final step was to take some crinkle ribbon and color it using Distress spray stains.  When coloring the ribbon gently mist water on ribbon and then spray ribbon with distress stain. Then dry with heating tool.
I then dirtied the ribbon with gathered twig and attached to the top of the tag and completed it off with an embellishment.

Thanks for checking out my project and if you don’t have the metal madness or Alice Art stamp sets in your stash be sure to add them.  These are must haves and great additions for anyone’s craft stash.
Check out the store today there are such great stamps, stencils and products that you can chose from that will be great additions to your home.

Wednesday, February 11, 2015

Grungy Love for Him

Hello All Lanette Here!

Today I am going to share a sweet grungy card that I made for my husband. After all Valentines day is up fast!

Plus it was a great reason to get a little ink on my hands :)

Lets start by taking a look at my finished card, then I will show you how I made it :)


Sin City Supplies Used: Rosette Hearts Plate of Rubber & For Him Plate of Rubber

Other Supplies Used: Martha Steward - Embossing Powder. Core'dinations Cardstock. Vellum. Bo Bunny Bling. Tim Holtz Distress Ink. Top Boss Embossing Ink. Versa Ink Pad. Embossing Folder. Foam Tape.

Now lets look at my process......

I started by building my base using the beautiful background stamp in the Rosette Heart Collection. I used gold embossing powder to make my image POP!


I continued stamping and embossing all the elements of my card.  A boarder and flower from the Rosette Heart Colletion and my title from the For Him Collection. 

** Tip for fine embossing I always use my Versafine Stamp Ink and My foam stamp pad... as you can see its well loved!


After everything was embossed I pulled out some Distress Ink to add a bit of color.  Plus I just love the way the embossing  resists the ink!


.....A bit of RED :)


....A touch of BROWN :)


Next it was time to trim and fussy cut all my cards elements. Here is a look at the flower pieces I cut out. After I cut them out I layered them with a bit of foam tape and added a bit of bling to give my card some dimension.


Finally it was tome to assemble...

I added some few layers of card stock and just a bit of stitching and my card was done! I hope the hubby will like it :)


Thank you so much for stopping by today!

I hope that I have inspired you to have some inky fun of your own!

After all time flies! You gotta get inky when you can!

Remember to like us on Facebook and stop by the store for all your stamping needs!!

As always feel free to stop by my blog Stacks of Scraps anytime!

Sunday, February 8, 2015

TERRI SPROUL INSPIRED ART JOURNAL PAGE

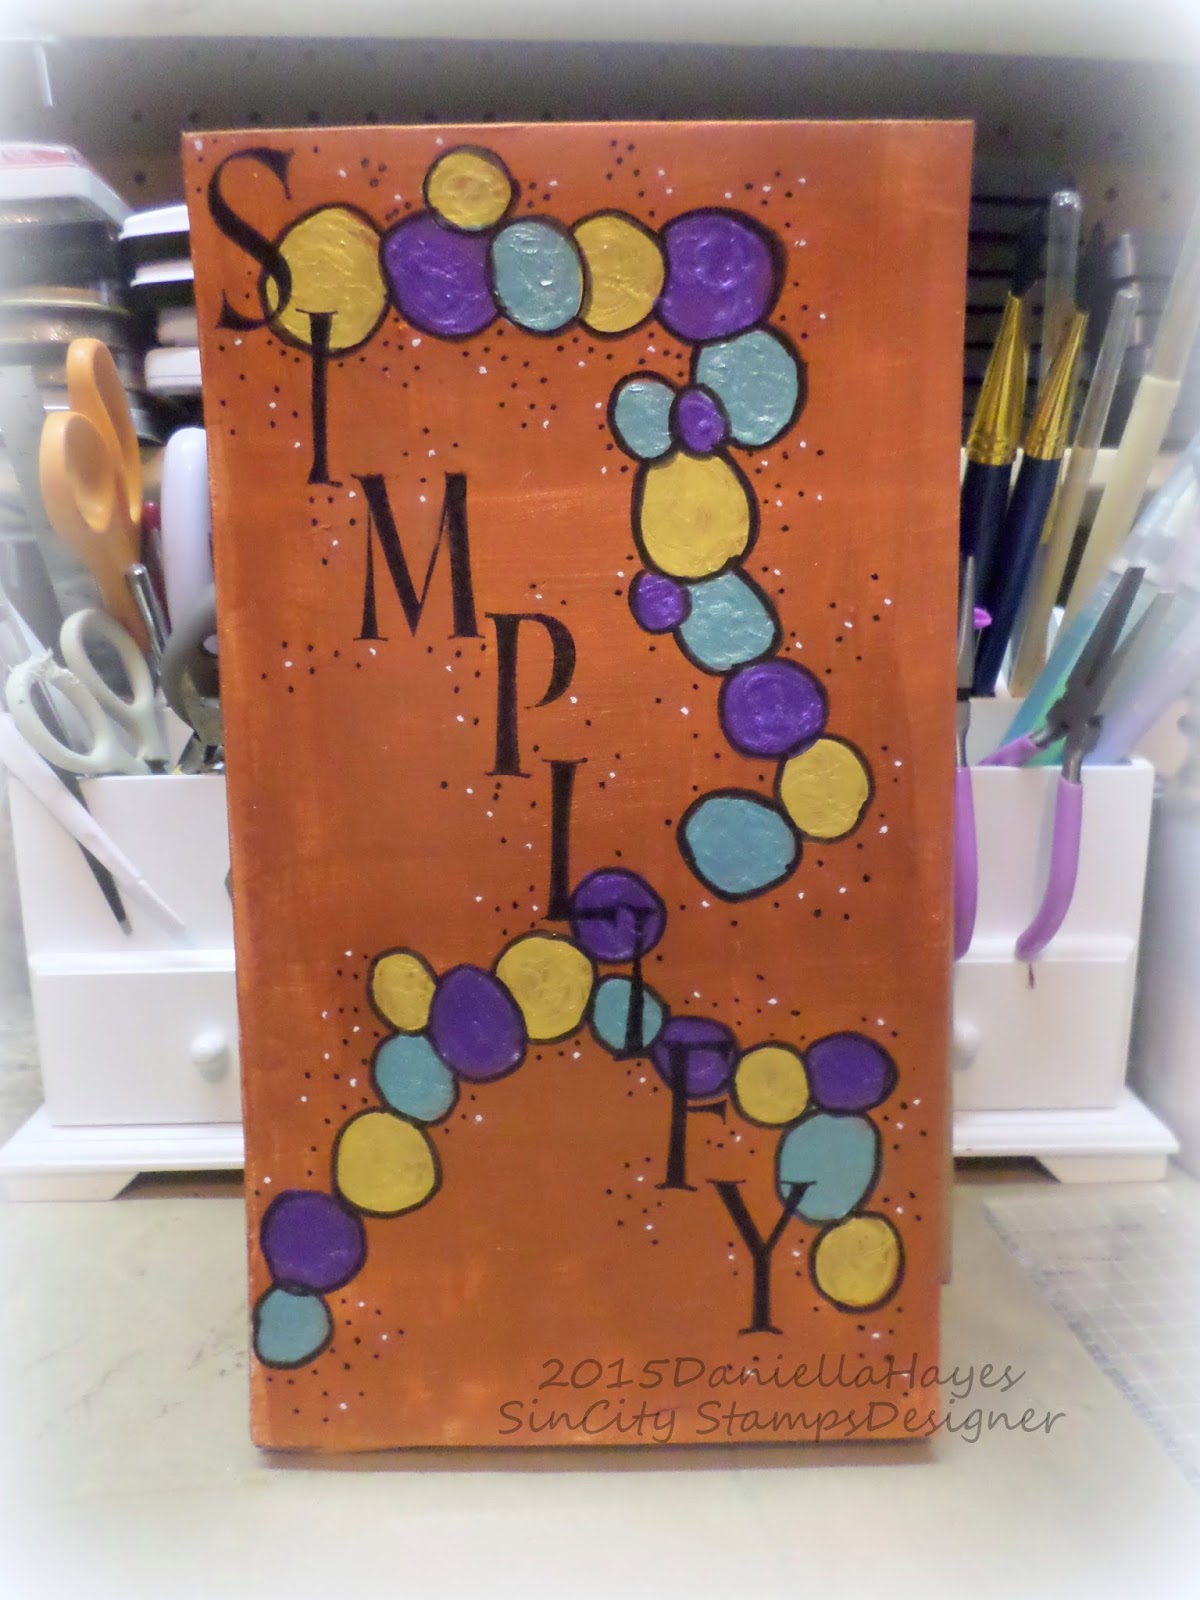
Hello!  I am sharing an art journal page today that I made for SinCity Stamps.  I follow along with Terri Sproul's Facebook group "All Things Terri Sproul", where she shares art journaling and mixed media art techniques.  Her first prompt in her new journal was her word for the year.  I too have a new journal and a word for the year so I decided to play along!  My word is SIMPLIFY.
Supplies:

I started by painting my background bronze and letting it dry.  I also got my other 3 paints ready for the next step.

Next I painted my circles. 


Then I outlined them with black marker.  I wasn't sure I liked how this was turning out at this point.


But when I added the stamps I LOVED it!!  A few little tiny dots of black and white filled it in perfect, I think!

Thanks so much for visiting!  I hope you check out SinCity Stamps and Terri's show!

What's YOUR word for the year?

xxDaniella

Thursday, February 5, 2015

Blooming Butterflies Canvas


Tamiko here with my first post for Sin City Stamps..  Woohoo!  My process was pretty long.. so I am going to just jump right in.  I hope you enjoy!

It wasn't until cutting my sheet of stamps called Bingo from the Art Rubber Stamp Line, that ideas began to flow, of how I would use portions of this set.  The cling rubber was already applied so it is was easy to just cut.. and place on an acrylic block or just stamp freely as I often do!  

Here is my canvas.  


A few of my supplies included:


  • Plate of Rubber- Bingo
  • Cottonwood Canvas Board
  • Faber Castell Gelatos
  • Workable Fixative
  • Matte Medium
  • Wet napkins
  • brush
  • few gel pens for details/lines
  • Faber Castell Big Brush Pitt Pen
  • Napkin
  • Tissue paper
  • Gesso
  • ink pads
  • dabs of acrylic paints


I started out picking some of my favorite gelatos and building a background on my canvas board.

I then rubbed then into the canvas.. Decided I wanted them to blend a little more so I added white gelato.  To tone down the colors,  I kept a wet napkin nearby to moisten my fingertip.and rub everything in.. I also clean my fingertip between color changes.  Very important.. Especially if the colors you have if combined.. give you brown.. when you DON'T want it.. :)


I also framed it with my black gelato.  Then I sprayed a workable fixative on it. so I could continue to layer and not lose my colors, due to additional wet medium being applied...


I stamped my butterfly sentiment on it and it didn't come out like I wanted.. So when in doubt.. GESSO IT!! :)  Gesso is your friend!!


Looking Better already!!  I added more gelatos to get color back. and decided.. that workable fixative.. didn't work so well for me after all on this project!  Or maybe I was using it wrong?  Either way.. I knew I had to change something.. Add tissue!


I knew I wanted some texture so I used some tissue paper in my background.  I applied some matte medium and smoothed it out. I also placed the matte medium on top as well.


I added more gesso because .. I just wasn't pleased again!  ::thinking third try is a charm:: (fingers crossed) Then I decided.. I still  really want to use my butterfly quote.  so then I saw a napkin nearby and decided I would also use that!


The napkin was 3ply and with a small tear. I was able to separate all 3 layers.  I fussy cut the flower and butterfly I needed for my canvas board.


OooO Lala.. pretty


Here comes the matte medium! I applied it not only to the napkin, but the whole picture!


Then I decided to add a little acrylic over my corner to stamp on top of.  Then my image was fine!  I used a few gel pens to do some line work on images through my piece.  I love how it twinkled!

I want to thank you for coming by!  It's FRIDAY, which means it's the weekend baby!  Enjoy it.. and come check out Sin City Stamps and CREATE SOMETHING!! 

Wednesday, February 4, 2015

Time Flies

Hi everyone, Sandee here with my first blog post for Sin City Stamps and I am so excited to be joining up with such a wonderful group of talented artists!

I love to make whimsical cards and my mind was flying around ( pun intended! ) with all sorts of ideas to create a birthday card using the Art Rubber Stamp Line :
TIME  ( the clock ) and Anime Fairies ( the wings ).


I began with one of my handmade papers that I created with my Arnold Grummer Papermill kit. I love all they texture you get with handmade paper and the soft deckle edging. For a finishing touch I inked along the sides of the paper using a Sharpie Marker.

Next I stamped the wings from the  Anime Fairies and enhanced the design with my white Signo pen and my Sakura glitter pen. I like the way small touches can really bring out the details in these lacy wings.

Next, I stamped the clock face from the TIME stamp onto a white piece of handmade paper and began layering it over scalloped circles. The black one was in my stash and I added some white dots with Signo pen and the white piece I cut out from my Cricut. ( Paper Trimmings, p. 25, 2.25" ) After adhering all my layers with my Helmars Tacky Glue I added some Ranger's Glossy Accents over the face of the clock and let it dry.

Thank you so much for visiting with me today!

Monday, February 2, 2015

Love Vanquishes Time


Hi, Chris here sharing my first reveal for Sin City Stamps. 

For this project I used the following supplies:

Sin City Vintage Fashion Stamps
Tissue paper
 Archival Ink (black)
Distress Ink (Antique linen)
Cardstock
Letter stickers
Embossing Folder
Lace Heart Doily
Black lace
Baker's Twine
Decoupage 
Sandpaper

To create this card, I started with a White cardstock card base (10x7 ).  I cut out a card base "top" in black and adhered to the card base. 

I then stamped the watch from the Sin City Vintage fashion on a cream colored tissue paper.  I stamped multiple images.  (the folds won't matter or show up. )


I then tore the tissue paper into pieces and adhered to a piece of white cardstock (to create the card background) and to a chipboard heart using decoupage.  After the pieces were dried I trimmed off the excess paper and sanded the edges.  I attached the cardstock background piece to the card. 


I then Embossed a 4 x 6 piece of cardstock.  I slightly sanded the embossed piece and then matted the embossed piece onto black cardstock, and attached diagonally onto the card


I cut the inside heart out from the white heart doily and then inked the doily with Distress Ink.


 I attached the heart on the left side of the card trimming off half of the heart for use on another project. I then added the letters to the heart and backed the heart with black lace and added to the card.  I added a baker's twine bow to the heart to help soften the bold black and red tones. 


Hope you enjoyed this card and technique!  Here is another picture of the final product! 


Copyright Text

Blank Page Muse 2018 Sin City Stamps 2013