Showing posts with label Rosette Hearts. Show all posts

Thursday, March 16, 2017

The Butterfly Garden Scrapbook Page


Hello all
Today you are going to learn how to create this mixed media scrapbook page.

Products used:


Brusho ink or watercolors
Ink Misters in green,
Adhesive
Water mister
Gesso
Various trims
Paper doily
Photograph 
label maker
Woodlands 8 x 8 paper pad
Colored paper


To create the background first cover the center in gesso and leave to dry. 
Next spritz water onto the page and then flick green brusho powder over using a paint brush. 
Use the textures from the Art Journal set and stamp around the page randomly.


Select your photo and mount onto patterned paper leaving a cm or 1" border around it. 
Take a couple of the sheets from the 8 x 8 pad and chop them up into strips. 
Arrange them over each other so that the layers overlap each other and spritz a doily with green ink and tuck behind the picture before gluing everything into place.


Gather an assortment of trims and cut them up into different lengths and place them beside the paper layers and glue down. Create a title using a label maker and use strong glue to hold the title in place.

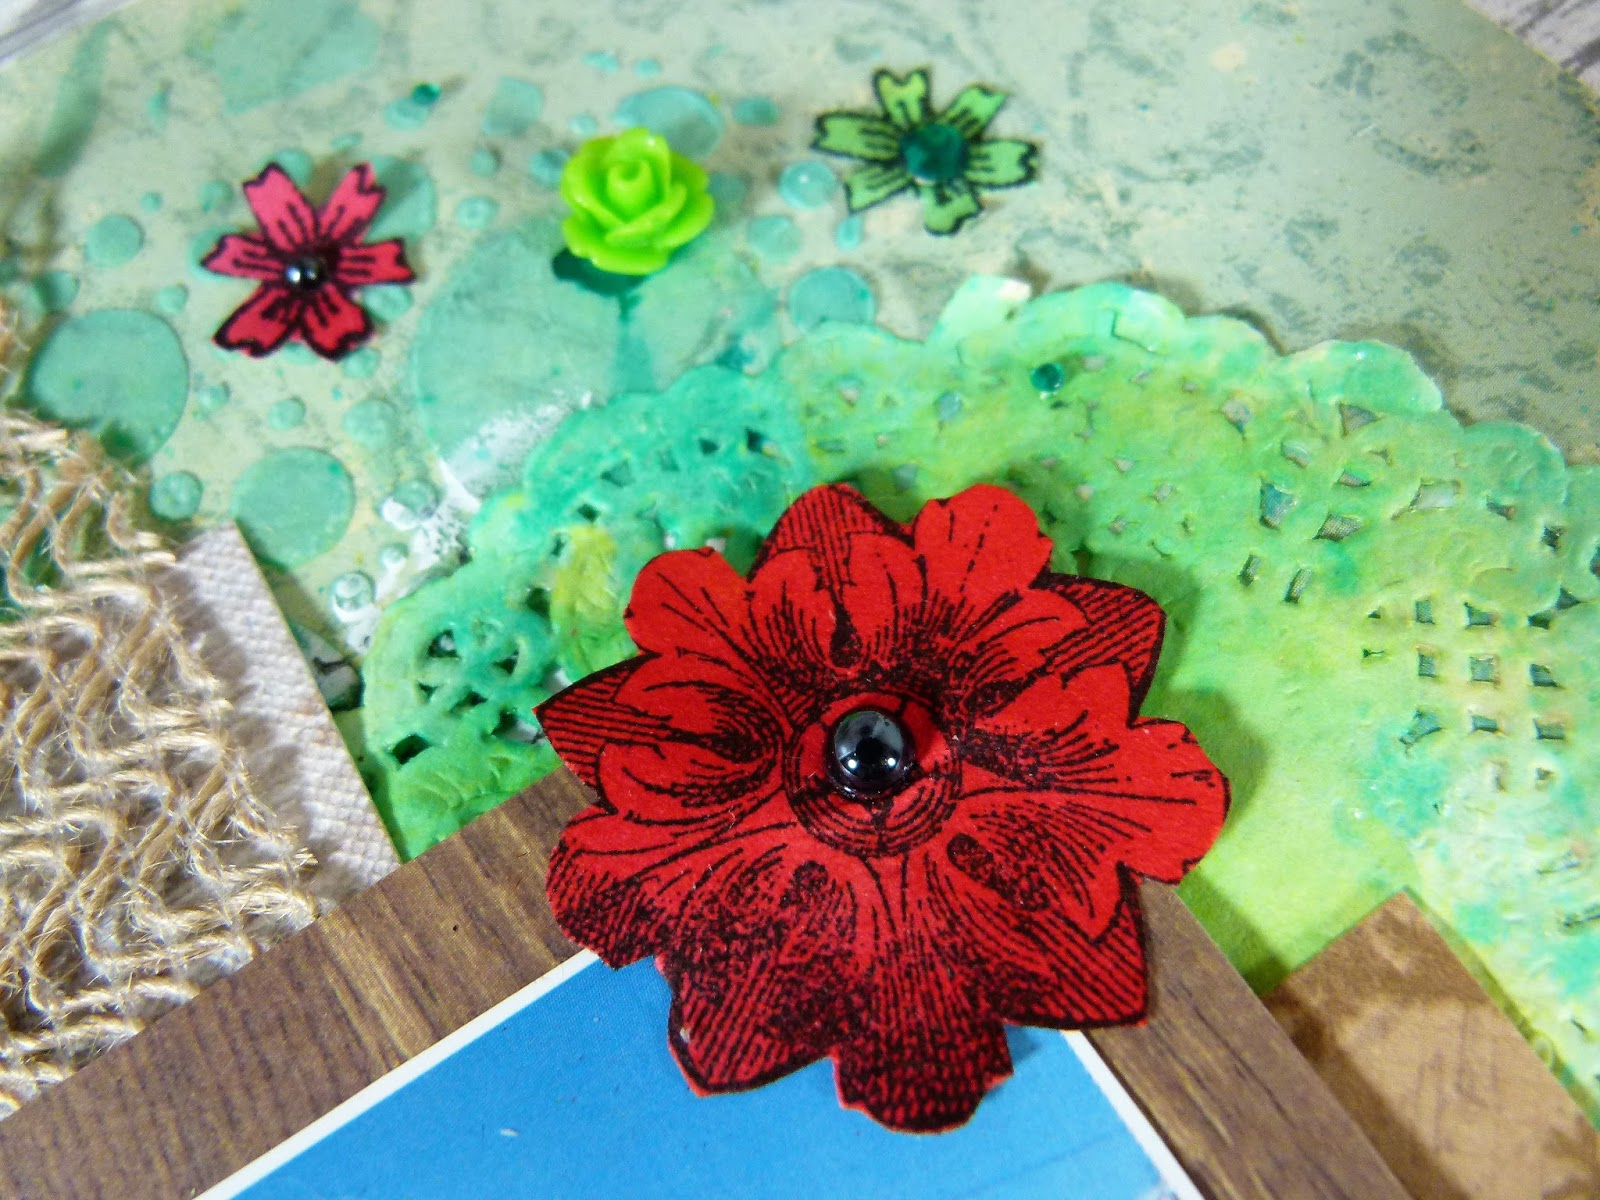

Using the flowers from The Day Of The Dead and Rosette Hearts set, Stamp them onto colored paper and cut them out. Dot the flowers around the layout and glue pearls into the centers.


Finish of the layout by adding a few more flower clusters.

Thank you for visiting

Wednesday, May 27, 2015

A Bit of Sass!


Hello All Lanette Here!

Today I am up sharing a sassy little tag backed full of fabulous color!

Before we get started  lets take look at my finished tag, then I will show you how I made it! :)


Sin City Supplies Used:  Rosette Heart Boarder, Dressforms, Art Journal 3

Other Supplies Used: Art Anthology Colorations & Sorbet, Staz On Ink & Faber Castell Pitt markers, May Arts Ribbon, Tulle, Vellum & a Button.

Now lets look at my process.

I started by adding a bit of color to my background....


To add a bit of texture to my background I just flipped my tag and dabbed it in the over-spray that was still on my craft mat.


 After my first lay of color was dry I added a bit more to my background using a stencil and a lighter color of Colorations spray.


Next I stamped one of the fun Dressform images, using stazon ink.


Then I stampeded the same Dressform on another paper and fussy cut the corset out.
** I did go back and use gold instead of red.


 Next I attached a bit of tulle using my tint attacher.


 A bit mor stamping using the fabulous Rosette Heart Boarder.


 Next I added a bit more movement to my backgrond using a Pit Marker and a flourish stamp from the  Art Journal 3 rubber plate.


Finally to add a bit of texture and sparkle to my tag I used some Art Anthology Sorbet through a stencil.


Put that all togther and add a fun verse stamp from the Art Journal 3 rubber plate and you have one Sassy Little tag!


And just a few details for fun!


Thank you so much for stopping by today!

I hope that I have inspired you to have some inky fun of your own!

Remember to like us on Facebook and stop by the store for all your stamping needs!!

As always feel free to stop by my blog Stacks of Scraps anytime!

Wednesday, April 22, 2015

A bit of Wonderland


Hello All Lanette Here!

Today I am going to share a page out of my Art Journal. I love my journal because there is no rhyme or reason for it, its only purpose is for me to get a bit of color on my hands. Which really is my happy place. :)

So first,  lets start by taking a look at my finished page, then I will show you how I made it! :)


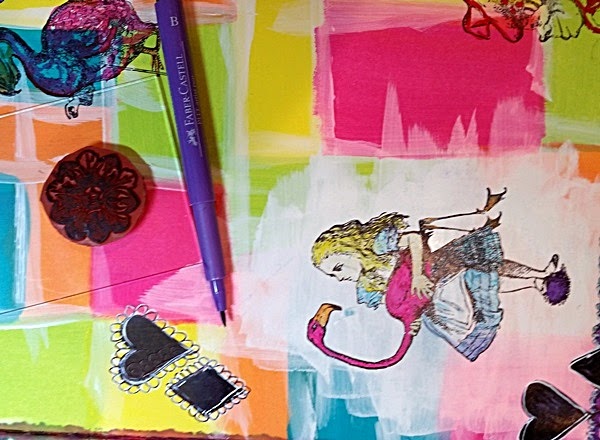
Sin City Supplies Used:  Alice Art Rubber Stamps & Rosette Hearts

Other Supplies Used: Art Anthology Gesso, Dylusions Paint, Faber Castell Pitt markers, White Uni Ball Pen,

Now lets look at my process. Using a bit of foam I started painting squares and rectangles. I just kept picking colors and moving around the page, again no rhyme or reason.


 Here is a look after I finished making my squares and rectangles, not perfect but pretty!


Next I decided I wanted to add a image of Alice to my page. So I added some gesso to make the perfect spot for her.


I just love adding a bit of Wonderland to my Art Journal!


 A bit of doodling and a bit more stamping....


 Next it was time to color and a dd a few more stamps. I added a bit more color using my Pitt Markers and Rosette stamps.


  Lots of doodling and a bit of coloring and that's it a pretty page to share! Easy peasy no rhyme or reason just some colorful fun!


And just a few details for fun!


Thank you so much for stopping by today!

I hope that I have inspired you to have some inky fun of your own!

Remember to like us on Facebook and stop by the store for all your stamping needs!!

As always feel free to stop by my blog Stacks of Scraps anytime!

Wednesday, March 25, 2015

Mixed Media Madness!!


Hello All Lanette Here!

Today I am going to share a mixed media collage, My first one ever!!!

Lets start by taking a look at my canvas, then I will show you how I made it :)


Sin City Supplies Used: Rosette Hearts Dress forms plates of Rubber.
(Plus a bit of trimmings from a plate I'll show you the trick later)

Other Supplies Used: Beacon 527, Quick Grip & 3 -in-1 Adhesives, Liny Stamp Gang Mists. Inka Gold Rub, Prima Glitter & Beads. LOTS of  Chipboard & random trinkets from my stash.

Now lets look at my process......

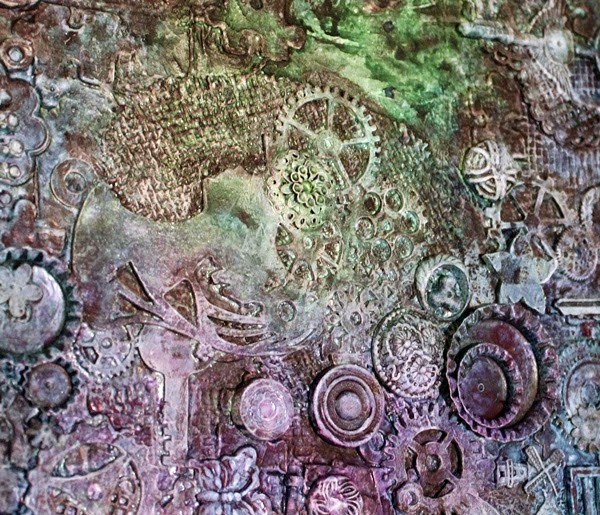
I started by building my canvas by gluing random chipboard pieces, metal trinkets and buttons to an old canvas.


After my glue was dry I covered everything with 2 coats of gesso.(That's why I was able to reuse a canvas I had given up on.)
 

While my gesso was drying I took some time to mount my stamps. and I had a fun idea! 


Finally it was time to start laying down some color!!!


Next I went back and added a bit of gesso
and Inka Gold to highlight some pieces.
 
 
After that layer was dry, it was time to add a bit of
stamping, glitter, trinkets and beads to finish of my canvas,
 
 
 Which brings us back to......


I may still go back and add a quote but for now I'm pretty happy with my canvas.
I've been wanting to try this technique forever :)

Now just a few details just for fun!


Here you can see the extra detail 
the random stamping adds to my project.


Thank you so much for stopping by today!

I hope that I have inspired you to have some inky fun of your own!


Remember to like us on Facebook and stop by the store for all your stamping needs!!

As always feel free to stop by my blog Stacks of Scraps anytime!


Sunday, March 22, 2015

TERRI SPROUL INSPIRED "ORGANIC LOOK" ART JOURNAL PAGE

If you didn't already know, Terri Sproul has a free art journal/canvas show every Tuesday night.  Check out her Facebook group All Things Terri Sproul to get all the details!  It is her birthday this week, so she isn't having a show.  HAPPY BIRTHDAY TERRI!!!

This art journal page I made for SinCity Stamps was inspired by Terri's show last week.  The show was called "Organic Look".

SUPPLIES:
Just as Terri showed on her show, I started by applying masking tape on my pages and covered them with Gesso.  The maksing tape gives the background the beginning of the "Organic Look" because it is irregular, like nature.

Because I didn't have large stamps for the flowers on my pages, I did some messy writing on the gesso, to take up space and write down something I wanted to remember.  I added India Ink to my Fineline Applicator and wrote on the page.


Then I painted over the writing with Halo Pink Gold and Pearl Turquoise.  I added glazing medium to the paints, painted them on and wiped them off with a baby wipe.  You really see the masking tape texture when you use glaze.

*sorry for the slight glare.  It's hard to not get a glare with metallic paints*

Like I said, I didn't have big stamps like Terri had, but I had a plan!  What if I took the tree branch from the "Hoot Owls" set and stamped it several times, making the look of a bush.  Then, I could turn the branch over and make some leaves and swirls at the bottom.  AND THEN, I could add the roses from the "Rosette Hearts" set and it could look like rose bushes!!  OH MY HECK!  This was going to be the most awesome thing I've ever made or the worst.  SO I just went all in, and got....

AWESOME!  I am so in love with this!  My vision is a total success!

I painted the flowers with Pearlescent Magenta and Metallic Gold in the centers.  WHAT?  Perfect! 


 But how to get that "Organic" look Terri talked about???  Flower Soft of course!!  I used Tombow Mono Multi Adhesive and a Fineline applicator to add glue, and sprinkled Flower Soft on top.


What do you get when the Flower Soft dries?  Awesome times 5million!!!


Here is a close up of my rose bushes with Flower Soft on the stems and leaves.   


Don't you just love when a project comes together like this?  I love when this happens.  You get an idea and that idea sort of takes over.  Like it has a mind of it's own.  I love the excitement and the slight fear you get at the same time.  But when it turns out better than you expected it is priceless!!

I hope you let the art take you on a journey of excitement today!  You will love the results!
xxDaniella

Copyright Text

Blank Page Muse 2018 Sin City Stamps 2013