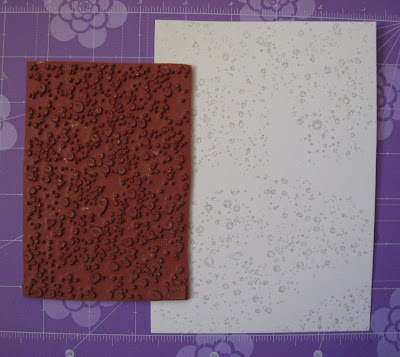
Raindrops Waterdrops Rubber Stamp Sheet Set
3 Assorted Beach Grass Stamps
Open Weave Fishnet Background Stamp
Nautical 2 Stamp Set
Spiral Snail Shell Stamp
(Shop now and save! Use code BPMDtKaren2019 to save %15 off your total order!)
Other Supplies:
water color paper, ink pads (blue, green, pearl, embossing), clear mounting block,
water spray bottle, embossing powder (clear / glitter / blue), seahorse embellishment, heat gun, Glossy Accents Clear Gloss Medium, clear micro beads, card base (5x7")
Directions:
1. Use embossing ink to stamp the small water droplet image over the background. Apply clear glitter embossing powder, return the excess to the jar, and heat set.


2. Stamp the medium bubble cluster with pearl ink randomly across the background. Vary the angle of the bubbles and occasionally have some extend off the edge of the paper. Apply clear gloss medium to a random selection of bubbles. Set aside to thoroughly dry.

3. Apply numerous shades of blue and green inks directly onto a craft mat. Mist generously with water. Place the watercolor paper face down pressing gently. Continue to press and lift the paper until the desired amount if color is reached. Reapply, ink and water to continue to add more layers of color.


any ink mist that may be clinging to the slick embossed surfaces.)
4. Use an ombre ink pad to add a border of net along the lower edge.


5. Stamp sea weed grass in the lower corners using blue ink. Mask any bubbles that have clear gloss medium over them in order to protect them from blue ink.

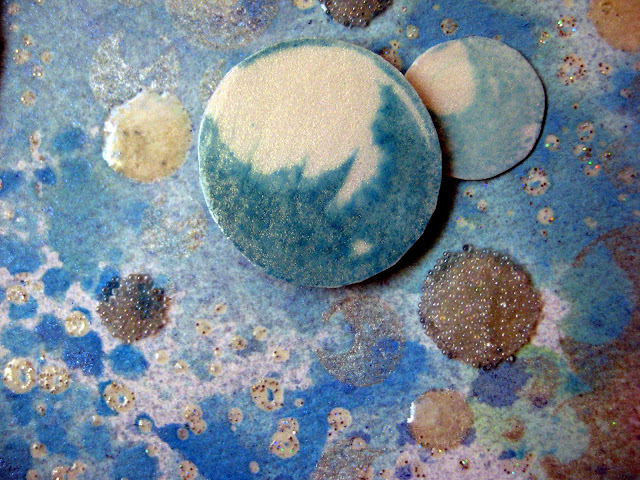
7. Stamp different size bubbles onto white card stock. Without re-inking, stamp the bubble image again to create a second and third generation impressions. Each new impression will be a lighter shade which will create the appearance of depth within the project. Apply clear gloss medium to each bubble. After thoroughly dry, carefully cut out each bubble.


9. Adhere a chipboard sea horse to the upper left side of the card. Attach the bubbles randomly with foam tape.


A Closer Look:


Facebook Fan Page- https://www.facebook.com/groups/blankpagemuse/
Instagram Shop- https://www.instagram.com/blankpagemuse/
Instagram Blog- https://www.instagram.com/blankpagemuseblog/
Twitter- https://twitter.com/BlankPageMuse
Pinterest- https://www.pinterest.com/blankpagemuse/boards/


This is beautiful Karen!! I love all your colors and use of techniques!
ReplyDeleteWow...Gorgeous creations,love the technique and background effect....thanks for playing ATG on Through the Craft Room Door, hope to see you next
ReplyDeleteHugs
Rituparna DT, TTCRD
Great tutorial .Love the end result of your work .beautiful underwater scene .Thanks for sharing with us here at http://ttcrd.blogspot.com/
ReplyDeleteGood luck with your entry
Shirley-Anne DT
Oh my goodness!😍 I love this!
ReplyDeleteLove your card and fantastic bubbles!
ReplyDelete