Showing posts with label water drops. Show all posts

Monday, March 4, 2019

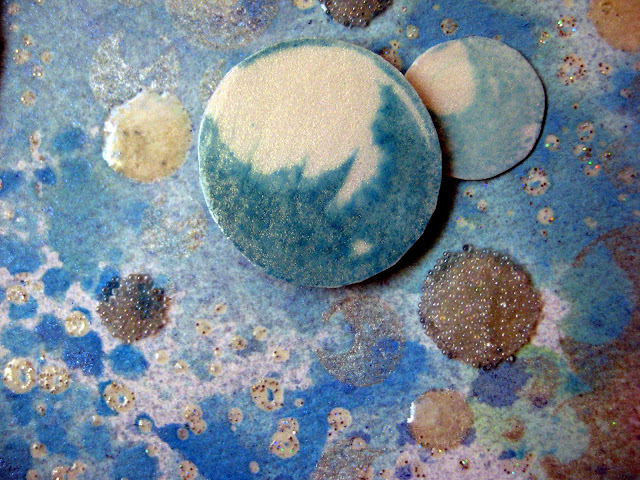
Bubbles Under the Sea Card

Let's create an underwater bubbly paradise. If you are intimidated by creating inky backgrounds, this is the perfect place to start because whatever you create with texture stamps and watercolors or sprays, it will look wonderful. It's great because you can't really mess it up. Let's dive in!

BPM Stamps:
Raindrops Waterdrops Rubber Stamp Sheet Set
3 Assorted Beach Grass Stamps
Open Weave Fishnet Background Stamp

Nautical 2 Stamp Set
Spiral Snail Shell Stamp

(Shop now and save! Use code BPMDtKaren2019 to save %15 off your total order!)

Other Supplies:
water color paper, ink pads (blue, green, pearl, embossing), clear mounting block,
water spray bottle, embossing powder (clear / glitter / blue), seahorse embellishment, heat gun, Glossy Accents Clear Gloss Medium, clear micro beads, card base (5x7")

Directions:
1.  Use embossing ink to stamp the small water droplet image over the background. Apply clear glitter embossing powder, return the excess to the jar, and heat set.

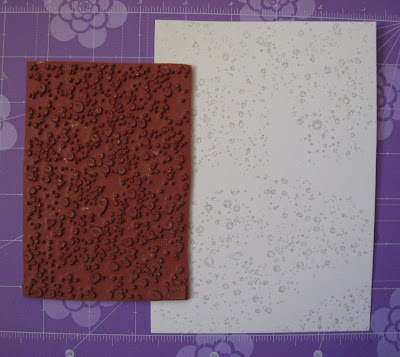
 

2.  Stamp the medium bubble cluster with pearl ink randomly across the background. Vary the angle of the bubbles and occasionally have some extend off the edge of the paper.  Apply clear gloss medium to a random selection of bubbles. Set aside to thoroughly dry.

3.  Apply numerous shades of blue and green inks directly onto a craft mat. Mist generously with water. Place the watercolor paper face down pressing gently. Continue to press and lift the paper until the desired amount if color is reached. Reapply, ink and water to continue to add more layers of color.
 
(When complete, dab the paper with a tissue to remove
any ink mist that may be clinging to the slick embossed surfaces.)

4. Use an ombre ink pad to add a border of net along the lower edge.


5.  Stamp sea weed grass in the lower corners using blue ink. Mask any bubbles that have clear gloss medium over them in order to protect them from blue ink.


6.  Spray blue mist over the background to add a variety of small splatters. Set aside to dry.

7.  Stamp different size bubbles onto white card stock. Without re-inking, stamp the bubble image again to create a second and third generation impressions. Each new impression will be a lighter shade which will create the appearance of depth within the project. Apply clear gloss medium to each bubble. After thoroughly dry, carefully cut out each bubble.

8.  Adhere the stamped bubbly background to a blue card base leaving a narrow border.

9.  Adhere a chipboard sea horse to the upper left side of the card. Attach the bubbles randomly with foam tape.

10.  Stamp seashells with embossing ink, apply blue embossing powder, and heat set. Cut out the seashells and apply to the lower edge of the card using foam tape.

11.  Apply liquid adhesive randomly to some bubbles and add transparent micro beads to the wet adhesive.


A Closer Look:


The Blank Page Muse- https://blankpagemuse.com/
Facebook Fan Page- https://www.facebook.com/groups/blankpagemuse/
Instagram Shop- https://www.instagram.com/blankpagemuse/
Instagram Blog- https://www.instagram.com/blankpagemuseblog/
Twitter- https://twitter.com/BlankPageMuse
Pinterest- https://www.pinterest.com/blankpagemuse/boards/

To see more projects by our designer Karen, please visit her blog Art & Soul.

Monday, February 25, 2019

Dare To Be Different Art Journal


Hello all
I have a mixed media art journal page to share today and there is a tutorial for you to follow. 


Blank page Muse Stamps:

Ranger Archival Inks
Acrylic Paint


Apply acrylic paints to the page and leave a little white space.


Stamp a few texture stamps around the edge.
Add the chain link texture along the edges but apply ink to a larger area so it over laps a little.
Add the water droplets texture at random along with a few swirls.


Stamp out the vines and skulls onto card stock using different coloured inks and cut them out.
Stamp them again onto the sections of the page you would like to glue them, this is so you don't have to cut out the small intricate parts. Go over the fine details with matching marker pens to highlight the detailed parts.
Cut out the skull and glue them onto the stems, You can add any small image to these so you could use flowers if you don't like the skulls.
Finish with a quote 


The Blank Page Muse Shop http://blankpagemuse.com/
That's Crafty  UK And Worldwide here http://www.thatscrafty.co.uk/blank-page-muse.html

Friday, February 15, 2019

Flutter of Butterflies Art Canvas

Hello all
I was in an artistic mood so i created a canvas 
I have a step by step tutorial if you would like to have a go too. 


Stamps- 
Ranger Archival Ink Geranium
Colourcraft Brusho Acrylic Spray Bronze
Various inks
Craft Consortium Essential Craft Papers Vintage Emporium
Stencil Girl Scales Stencil


Start off by stamping a few textures around the edges of the canvas.
Next apply a stencil mask to the center.


Spray with the bronze acrylic ink and allow first layer to fully dry.
Flick on yellow ink and allow to drip down the canvas, dry with heat tool.
Next drip on dark red ink and drip it down the canvas, allow it to mix a little with the yellow before drying it off.


Stamp over the Chain Link Background Stamp using red Archival Ink.


Stamp the butterflies of all sizes onto the vintage newsprint paper and cut out.
Adhere to canvas from large to small using 3D foam pads.
Finish off by stamping out a sentiment onto card and adding to canvas.

The Blank Page Muse Shop http://blankpagemuse.com/
That's Crafty  UK And Worldwide here http://www.thatscrafty.co.uk/blank-page-muse.html

Tuesday, September 4, 2018

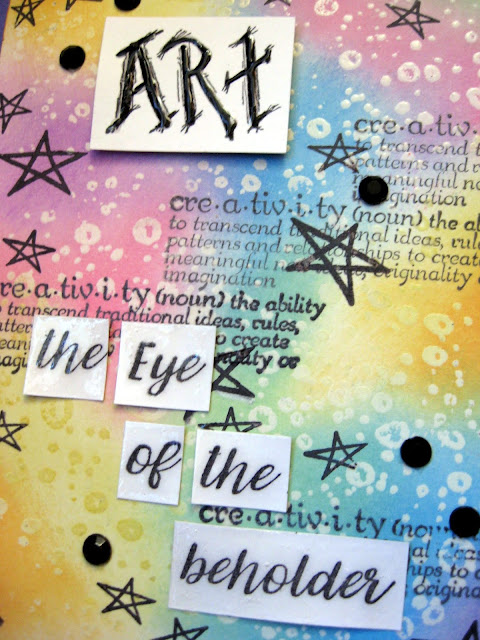
Eye of the Beholder Card

This month's challenge theme is "Color Layering"  My layers include stamping the definition in permanent black ink.  Then I used embossing ink with clear embossing powder to create the splattered pattern in the background. I gently blended oxide inks to add color and make the embossing pop. I hope you enjoy my tutorial!


Stamp Supplies:
Creativity Definition Word Phrase Rubber Stamp by Terri Sproul
Art Journaling Mixed Media Stamps Set 1 Pam Bray Designs
Waterdrops Background Rubber Stamp
Art sentiment stamp - Soulful Dolls Art Rubber Stamps Sheet by Cathy Frailey

Other Supplies:
  • black ink pad
  • embossing ink
  • clear embossing powder
  • heat gun
  • Oxide Inks (pink, tangerine, yellow, pistachio, lt blue, lavender)
  • ink blending tool
  • star stamp
  • clear dimensional paint
  • black gems
  • liquid adhesive
  • clear mounting block
Directions:
1. Stamp a text or definition back ground stamp randomly with black ink onto white cardstock. Use embossing ink to stamp waterdrop background. Apply clear embossing powder and heat set.


2. Apply a variety of colored inks using an ink blending tool to carefully shade and blend the colors over the stamped designs.


3. Use black ink to stamp a scattered an arrangement of various sized star images.  Apply the background to a cardbase.

4. Stamp the sentiment onto white cardstock and cut around each word. Assemble with
foam tape and apply clear dimensional paint over each individual word.  Finally, use liquid adhesive to embellish the design with a random scattering of black gems.

www.blankpagemuse.com
Follow us on Facebook and Pinterest.
Join the Blank Page Muse Fan Group...HERE
Instagram - Shop
Instagram - Blog
Twitter


To learn more about our designer Karen, please visit her blog, Art & Soul.
Thanks for visiting us today!

Monday, April 23, 2018

Seas the Day Sunny Canvas


Hi There! 
     Jenn here today sharing my relaxing beachy themed canvas! 
I just love the difference you can make with stamped images. This canvas without that beautiful Blank Page Muse Sun Stamp just wouldn't have the same personality!! 
For me, the beach is an inspiration. I love the colors, the sounds, the sand.
 Creating beautiful projects inspired by it are some of my favorites!

Copyright Text

Blank Page Muse 2018 Sin City Stamps 2013