To make this card project I chose the
Dress Forms stamps that can be purchased from http://www.sincitystamps.com. I hope you
enjoy this project, below you will find step-by-step instructions on how to
make your very own.

Supplies List:
- facade
(surface): 8.5” x 11” cream card stock, 8.5” x 11” brown card stock, a
couple sheets of garment district 6” x 6” paper pieces.
- distress
ink: gathered twig
- distress
markers: worn lipstick and frayed burlap
- archival
ink: black
- embellishments:
mini corners, metal corners and ruler ribbon
- adhesives:
glossy accents, double sided tape and pop dots
- tools:
craft sheet, scissors, ink blending tool, ripper and sewing machine
- stamps used: Dress Forms Stamp Set
Step 1:
Let’s start out by selecting our card stock, stamps and patterned paper.

Step 2:
First start by taking the brown card stock and cutting it to a size of 10”
by 7”.
Step 3: Second
take the cream card stock and cutting it to a size of 4.75” by 6.75”
Step 4: Now take the patterned paper and cut it to set
in as the background on the tag. We will then lay out the paper onto the card stop to
figure out the back ground layout.

Step 5: Next is to take the cut out
pieces of paper and rough up the edges with the paper distresser and dirty up
the edges with gathered twig distress ink.
Then apply them to the cream card stock with double sided tape.
We will use the sewing machine to add some stitching to
the card to add dimension (this is not required).

Step 6: Then we will take one of the dress form stamps and using black archival ink stamp this onto the card stock in
the upper left corner of the cream card stock.

Step 7: Now we are going to start adding in dimension to the card by adding some ribbon. I chose to use
ruler ribbon and attach it using double sided tape. I then used the sewing machine to add a
jagged stitch into the ribbon on one side and a simple stitch on the other side.

Step 8:
Now using more of the cream card stock we are going to use another dress form
stamp and with black archival ink stamp that on to the card stock. Then using a marker I colored in corset of
the stamped dress form using worn lipstick distress marker. I then colored in the base using frayed burlap.
Then using scissors cut that out the stamped image and place that onto the
card using pop-dots.
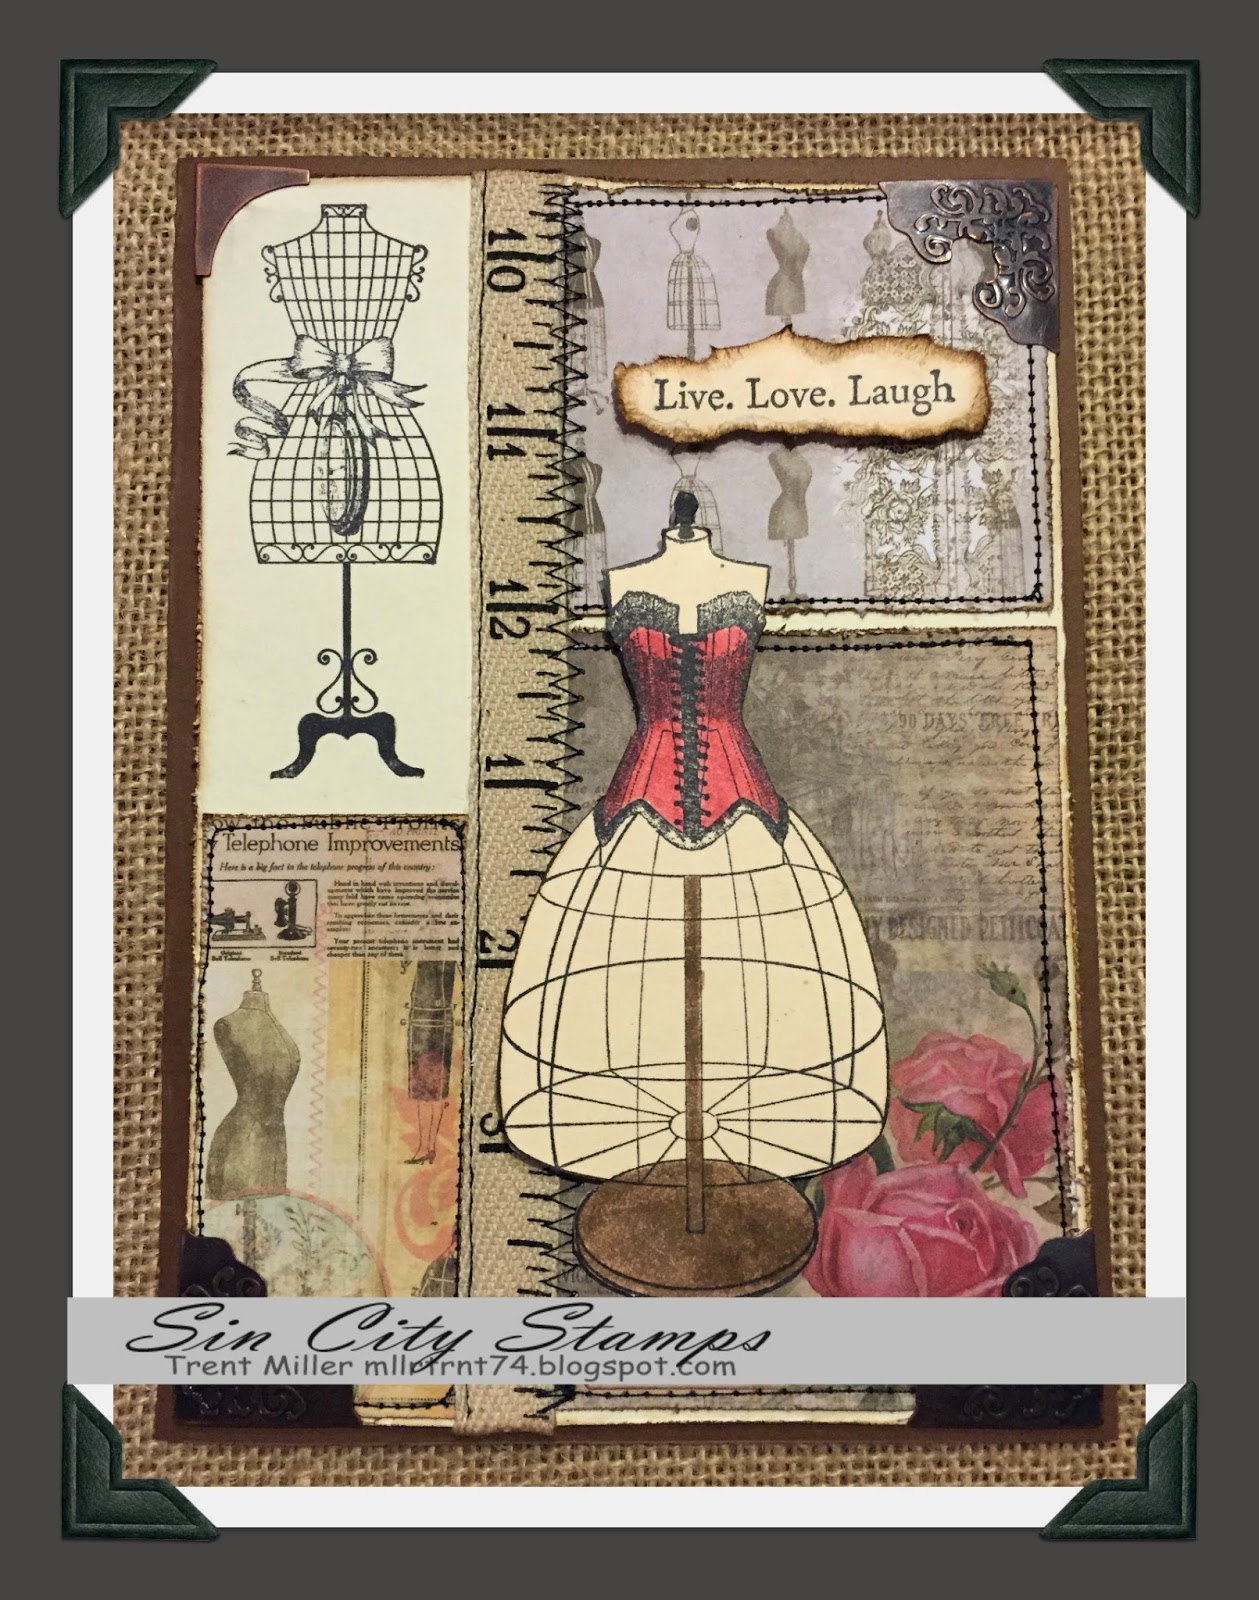
Step 9: We have the back drop done and we will finish the card off by using embellishments
to the corners. I then took one of the word sayings from the stamp set and placed that on the card. I placed this onto the brown card stock that we cut to be 5” by 7” card.
Step 10:
Final step is to dirty up the edges and we are all done. Here is a picture of my finished piece.
Thanks for checking out this fun card project and if you
don’t have the Dress Form Stamp set in your stash be sure to add them.
Check out the store today there are such great stamps,
stencils and products that you can chose from that will be great additions to
your home.
Trent-TMCreative


