Showing posts with label masculine cards. Show all posts

Wednesday, September 13, 2023

How to Create a Funny Masculine Card

Greetings! Chris here today I am excited to share this funny masculine card I created for my dad's birthday!  As the oldest daughter of an avid fisherman (with no sons), my dad and I spent lots of time fishing over the years.  While we don't get to fish together as much as we use to, I know he will love this card.  because what else do kids do but wait for dad to find the fish and then steal their spot!  


To create this card I paired the Fishing Spot stamp set from I Brake for Stamps with papers from  the Cyan Consortium 6x6 inch sheets Paper Pack designed by Pam Bray.  


After stamping my image onto stamping paper, I colored my images with watercolor markers and a water brush. You can see below how the image comes to life. 


I matted the colored stamping and sentiment onto my Cyan Papers .
I then cover my card base with a map tissue paper.  

I added a scrap of burlap and then layered my images to complete my card. 

I hope you are inspired to get creative with your stamps and papers from Blank Page Muse and I Brake For Stamps.  Don't forget to use my discount code BPMChris. 


Be sure to follow us at 

The Blank Page Muse- https://blankpagemuse.com/


I Brake for Stamps-https://ibrakeforstamps.com/


FB Fan Page-  https://www.facebook.com/groups/blankpagemuse/


Instagram Shop-  https://www.instagram.com/blankpagemuse/


Instagram Blog-  https://www.instagram.com/blankpagemuseblog/


Twitter-  https://twitter.com/BlankPageMuse


Tuesday, June 6, 2023

How to Create a Scenic Masculine Birthday Card

 I always seem to be short on masculine cards.


  So today I am excited to share this masculine birthday card I created with the Asleep on the Deck stamp from I Brake for Stamps.  This stamp creates beautiful masculine cards! Start by stamping the  Asleep on the Deck stamp from I Brake for Stamps onto a Kraft card base with archival ink. 


Use watercolor markers and a water brush to color your image as desired. 
I love the watercolored images on Kraft as it creates a very subtle color effect. 


Matte your image on a coordinating cardstock and die cut a birthday greeting to finish your card. 

I hope you are inspired to get creative with your stamps and papers from Blank Page Muse and I Brake For Stamps.  


Be sure to follow us at 

The Blank Page Muse- https://blankpagemuse.com/


I Brake for Stamps-https://ibrakeforstamps.com/


FB Fan Page-  https://www.facebook.com/groups/blankpagemuse/


Instagram Shop-  https://www.instagram.com/blankpagemuse/


Instagram Blog-  https://www.instagram.com/blankpagemuseblog/


Twitter-  https://twitter.com/BlankPageMuse


Pintrest- https://www.pinterest.com/blankpagemuse/boards/


Monday, August 16, 2021

Steampunk Card

Hi everyone, Monique here with another Steampunk post, this time in a more traditional way :-)

If you ever want to make a masculine card, the steampunk theme always works. Well I think so anyway, the traditional steampunk colors will give the card a masculine look even if there are no machines, or men in top hats included. For this card I used brown in different shades. I didn't add a sentiment, because I like to have some cards ready to use for any occasion. As soon as I know where I need a card for, the sentiment is all I have to add and it is ready to send.


supply list:

Blank Page Muse stamps used:

Knock On Wood SC 0031-00

Steampunk Circus

Octopus Time Steampunk Art SC 91

Art Journal SC 0021 by Terri Sproul

Craft cardstock card base

white cardstock

Archival ink in Jet Black, Sepia and Vintage Photo

Masking paper

Gear dies 

Distress inks in browns, black and broken China

Deco art Metallic Luster in Copper Kettle and Brilliant Turquoise

foam tape


For detailed instructions see video:


here a closer look


Thank you for stopping by and have a great day! I'd love to have you follow/subscribe on my YouTube channel


Tuesday, October 8, 2019

Vintage Cards for any Occasion

Hello!! Kelly here with some Vintage Card for any Occasion. I like having cards around to use with a blank inside, then I can pick the card that best suits the person I am giving it to and for the occasion. These cards are easy to make and will fit many celebrations.


Blank Page Muse stamps used
Lady and Man Clock with Writing
Classic Car Front
Handmade By 

Other supplies used -
Bingo embossing folder
Flourish embossing folder
White embossing powder
Black embossing powder
Distress Oxide inks - Bundled Sage, Worn Lipstick, Antique Linen
Distress Ink - Vintage Photo, Ground Espresso
White cardstock
Black cardstock
Washi tape
VersaFine ink - Nocturne
Kraft card and envelopes

Start these cards by running a piece of white cardstock through the embossing machine with the Bingo folder and the Flourish folder. Then color the Flourish cardstock with Bundled Sage ink, set aside. Color the Bingo cardstock with Vintage Photo, set aside. Darken the edges of the Bingo Card with Ground Expresso.

 
Stamp the Classic Car on to white cardstock with black embossing powder and heat set. With the white embossing powder stamp the Lady and Man Clock with Writing onto white cardstock and heat set then ink with Worn Lipstick. Cut out both images and set aside. 


Assemble the pieces and see how they will fit together. For the Bingo Car, layer black cardstock behind the bingo card then put down a strip of coordinating washi tape along the bottom of the card front and attach the bingo card layer to the front. Using foam tape add the Classic Car to the bottom left of the card.


For the Flourish card, cut out a black circle to fit behind the Clock image and another piece of black cardstock for the back of the flourish design layer them onto the kraft card front.


When finished, stamp Handmade by: on the back of each card.


Check out our other projects here - 
The Blank Page Muse- https://blankpagemuse.com/


Sunday, January 20, 2019

Love Letters

     Hello, everyone. I'm very happy to be sharing my card with you all today. My inspiration came from the huge box of letters I have that were written to me by my grandfather in the years before he passed away. 
    
 For this card you will need: 


 Trim down your off white cardstock to 4" x 5.25". This well give you a nice border around the panel.


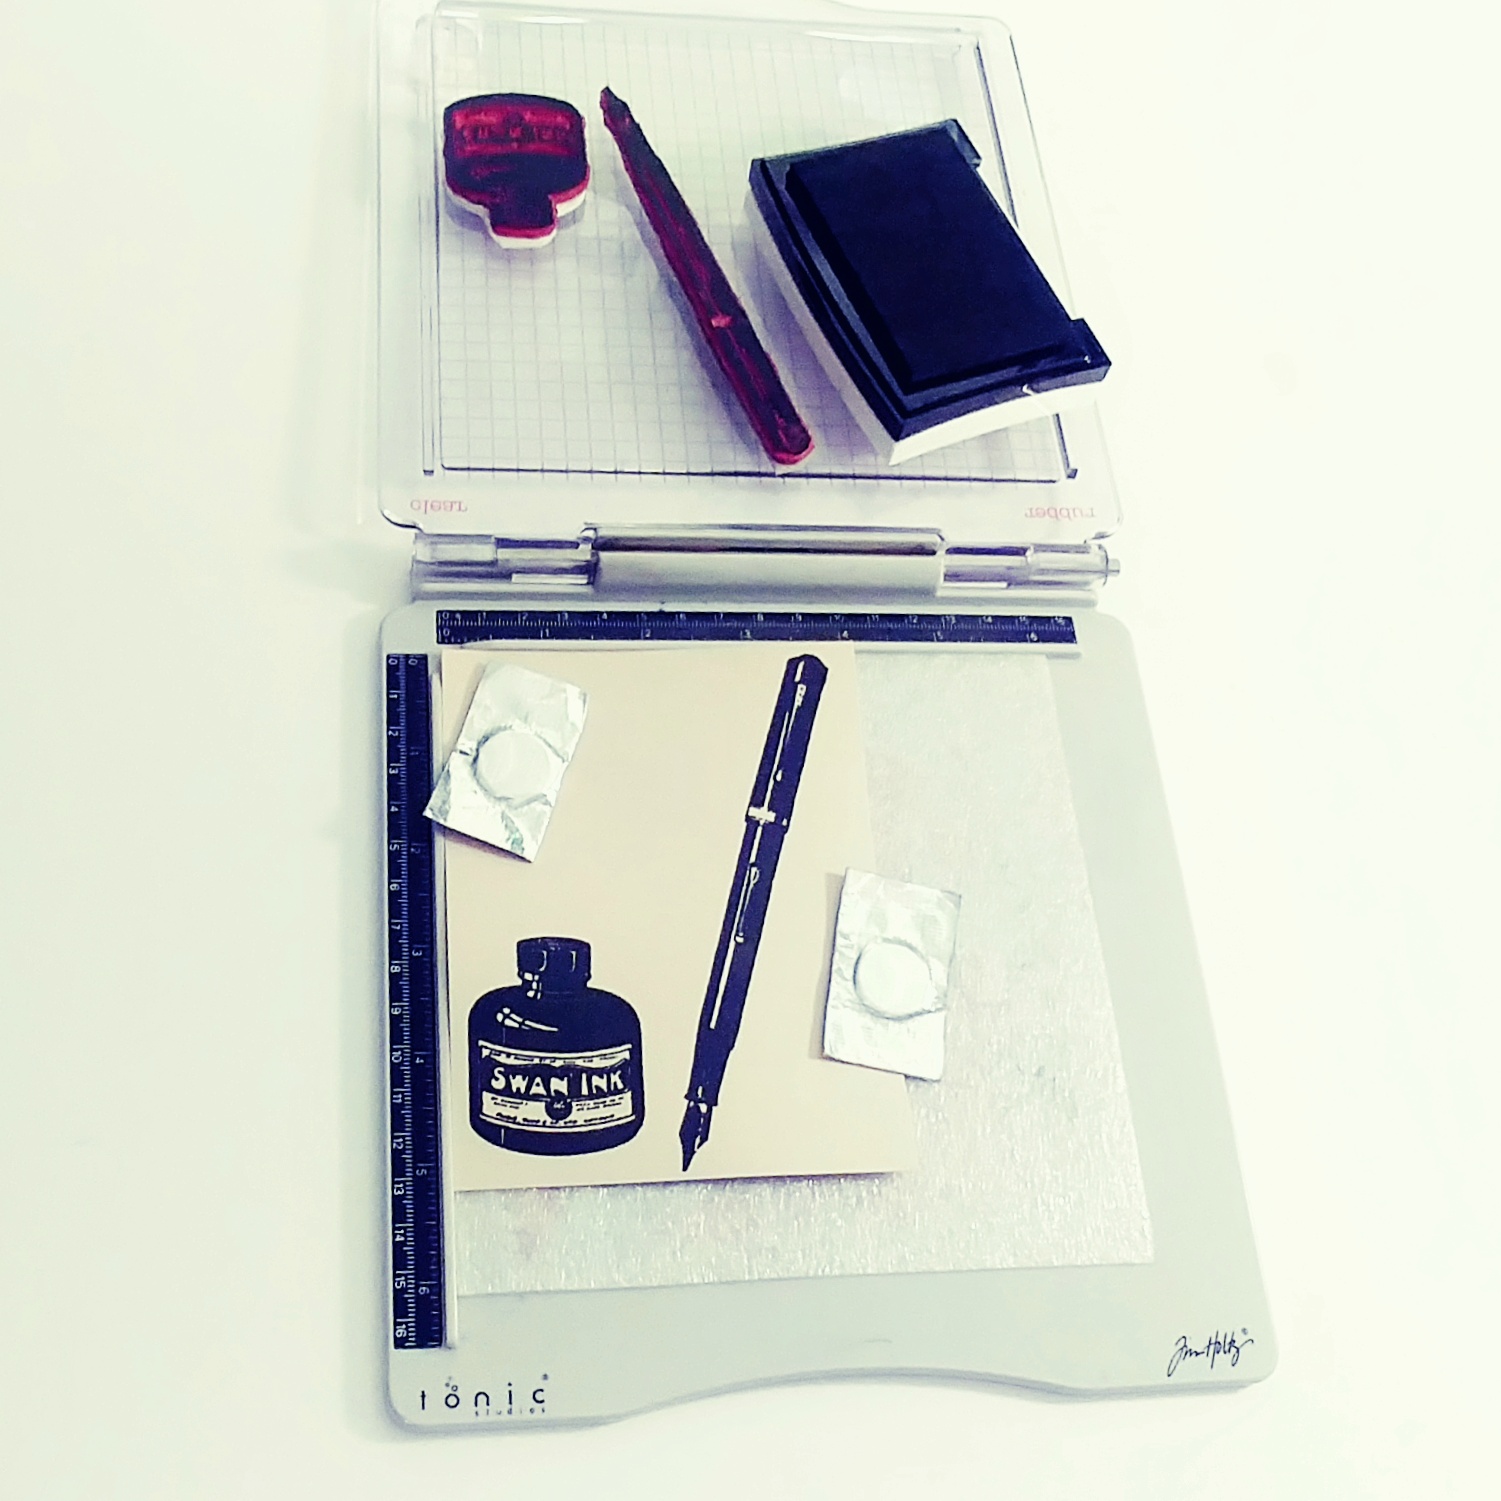
Next take the fountain pen and ink bottle stamps and ink them up with black pigment ink. You may want to stamp them several times to get more vivid images. Cover them with clear embossing powder and set with your heat tool.


     Create masks for the pen and ink bottle. I used a sheet of notebook paper and covered the back with repositionable adhesive. Cover your pen and ink bottle with the masks.


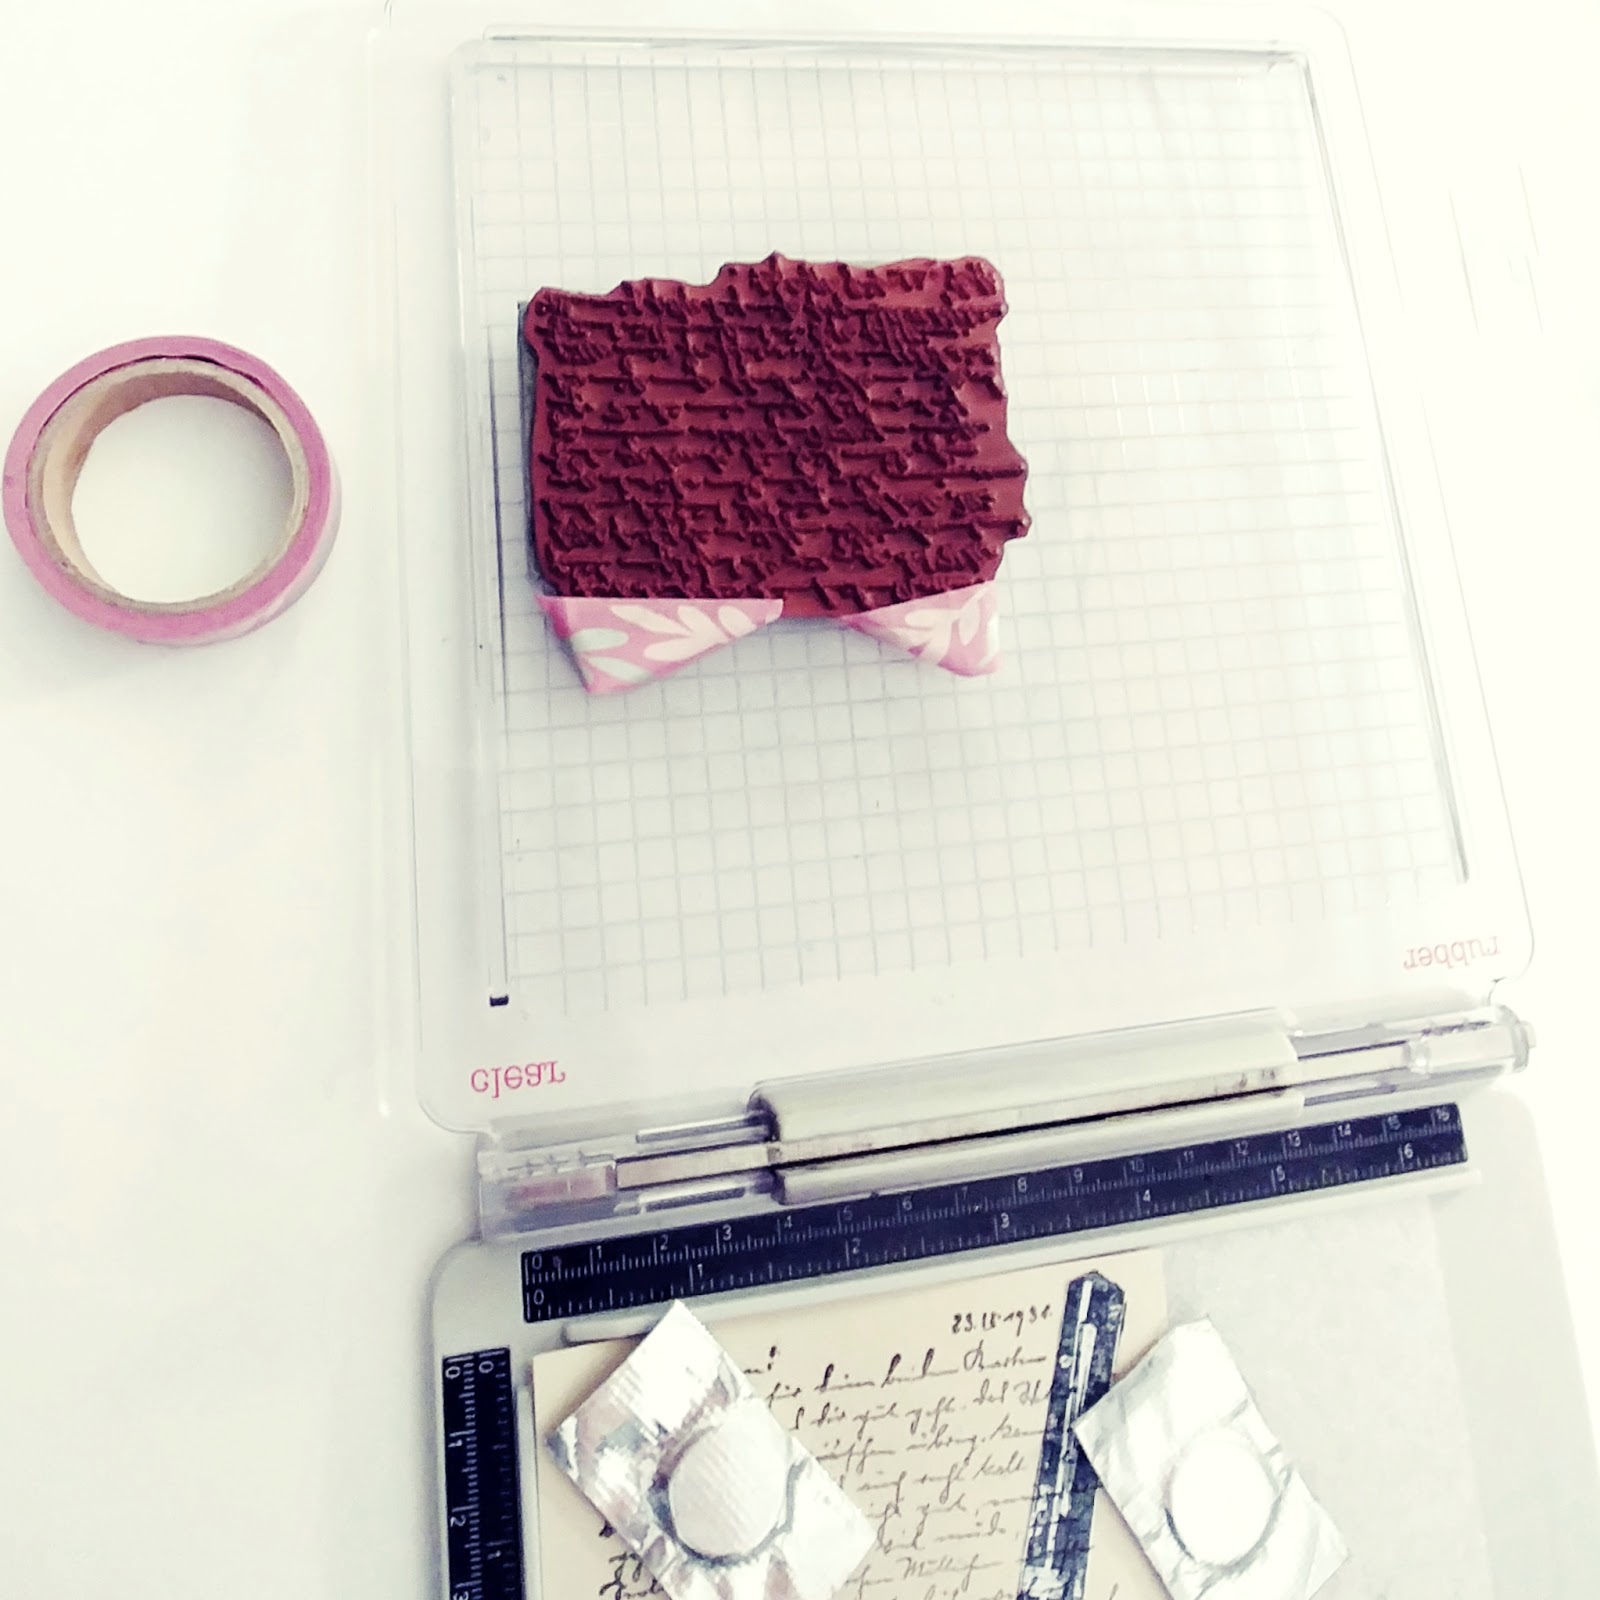
    Since the letter stamp is going to extend along the entire length of the off white panel you will need to cover the closing of the letter with low tack tape while you ink the stamp up with your black ink. After inking remove the tape.


     Move your stamp down so that it will not overlap the first stamped image but will extend to the bottom of the off white panel. You will cover the opening of the letter with low tack tape (unless you are better at precision inking than me in which case you can omit the tape all together) and ink your stamp with black ink. Remove the tape and stamp.


     After removing the masks,  your card should look like this.
I love how the pen and ink are sitting over the letter.


     Go along the edges of the card to create a aged, distressed look.


     Using red ink stamp one of the hearts from the Hearty Doodles stamp set onto the upper left corner of the panel.


     Layer the panel onto a black A2 card base and you're done.
I think that this would be a perfect masculine card.
Thank you so much for taking the time to read my post. I hope that it will inspire you!
~Samantha


Looking for more inspiration?
Click the links below!
The Blank Page Muse Shop
Facebook Fan Page
Instagram- Shop
Instagram- Blog
Twitter
Pinterest

Wednesday, November 14, 2018

Silhouette Tree Card

This is the perfect card to make ahead of time and keep in your stash. This bare tree stamp is especially versatile and by simply changing the color scheme you can achieve a more feminine appeal. The possibilities are limitless!


A Closer Look:
By leaving space along the lower edge, you can add the appropriate sentiment as required.  When you need a last minute card, you can simply convert it to a "Thank You" card, "Get Well Soon" card, or "Happy Birthday" card.  I find this design to be especially useful as a "With Sympathy" card. 


BPM Rubber Stamps:
Silhouette Style Bare Tree Art Rubber Stamp

Other Supplies:
  • black ink pad
  • watermark pen
  • embossing powder (yellow & orange)
  • heat tool
  • black card stock
  • copper ribbon
  • leaf embellishment
  • gold card base (5x7")
Blank Page Muse Shop http://blankpagemuse.com/
            Facebook Fan Page https://www.facebook.com/groups/bla...
            Instagram - Shop https://www.instagram.com/blankpage...
            Instagram - Blog https://www.instagram.com/blankpage...
            Twitter https://twitter.com/BlankPageMuse
            Pinterest https://www.pinterest.com/blankpage...
   
To see more from our designer Karen, visit her at Art & Soul.
Thanks for visiting!

Friday, July 7, 2017

Create Quick Backgrounds - Dare to Be DIFFERENT Card!


Hey Sin City Fans,
Karen here to show you how I created a quick card background with minimal supplies.  It can easily be embellished for either a masculine or feminine card. I stamped onto a discrete pattern paper rather than a solid color. This is a great trick/tip, that in my opinion, is not used often enough. Stamping onto pattern paper creates extra dimension with little effort.  I used a single stamp to make the background by repeatedly stamping onto a faux distressed paper.


Supplies:
1. Inhale Exhale Stamp Set (Sin City Stamps)
2. Art Journaling 2 Stamp Set (Sin City Stamps)
3. Burgundy & White Cardstock
4. Black Pigment Ink
5. Clear Acrylic Mounting Block
6. Black Embossing Powder
7. Heat Gun
8. Grey & Tan Ink
9. Ink Applicator
10. Butterfly Embellishment
11. Black Rhinestones


Directions:
1. Mount the stamp on a clear acrylic block and load the stamp with black pigment ink. Stamp the image overlapping the edge of the paper. Before each new impression, invert and re-position the stamp making sure to leave varying amounts of empty space.


2.Create a fainter impression by stamping the image without re-inking the stamp to create a Second Generation image. This will add to the depth and interest in the background.


3. Stamp the sentiment onto white cardstock, apply black embossing powder, and heat set.


4. Tear the top & bottom edges to create a long narrow strip. Gently apply tan and grey ink to the torn edges using a sponge applicator.

5. Attach the stamped brick paper to a 4x5" cardbase and trim to fit. Next, apply the torn strip to the lower portion of the card so that the sentiment is in the lower right corner.

6. Adhere a butterfly embellishment to the upper left corner.  Apply black rhinestones to form the body. Attach dimensional foam tape under the body only, and then carefully, bend the wings upward to create a more realistic appearance.

A Closer Look:
So when you need a quick card and don't have time to create an inky background masterpiece, remember to check your scrap box for a bit of paper that you could use to makeover. 
A Closer Look:

To purchase the stamps for this project, please visit www.sincitystamps.com
For more inspiring paper-craft projects from the Design Team, be sure to visit us at the Sin City Blog and follow us on Facebook.  Also, share your creations with us and join the Sin City Stamps Fan Page HERE.

Thanks for visiting!

Saturday, July 1, 2017

A Real Classic

Hi Chris here today and I am excited to share this masculine card that is just perfect for Dad!  I have to admit I was inspired by my uncle,  He recently restored a pickup truck and it is gorgeous!  (and I am not really into that stuff hehee!)

To recreate this card you will need the following supplies:

Sin City Stamps Classic Spark Stamp Set 
Card base
Card stock - white, red (or whatever color you want for your car)
Black Archival Ink
Silver Sharpie
Letter stickers
Brads


Step One:
Stamp Diamond Background onto Card Base.

Step Two:
Stamp Classic Car onto Red cardstock and onto white cardstock.


Step Three:

Fussy cut both cars.

Cut top off of red car and adhere red car onto car stamped on white image.

Step Four:
Draw a Red outline around card.

Step Five:
Add "DAD" greeting with letter stickers

Step Six:
Stamp "A Real Classic" greeting

Step Seven:
Add Car to card.  Finish card by adding silver brads on four corners. Color mirror with silver sharpie.

Hope you are inspired to get stamping!

Copyright Text

Blank Page Muse 2018 Sin City Stamps 2013