Showing posts with label Scrapbook Page. Show all posts

Friday, November 24, 2017

Creating Brick Background

Hi Stamping Friends,

Today's focus is on creating your own background paper.  My nephew celebrated his second birthday with a fire truck theme party.  The brick background stamp created the perfect matting paper for my main photo.  When you don't have the perfect patterned paper to match your photos, make your own.  Let me show you how.

Supplies:
1.  Brick Wall Section Art Rubber Stamp by Terri Sproul (Sin City Stamps)

http://sincitystamps.com/brick-wall-section-art-rubber-stamp-by-terri-sproul-sc24-3/
2.  Black ink pad
3.  Dye ink pads (red, maroon, rust)
4.  Ink blending tool
5. Water spray bottle
6. non-stick craft mat

Directions:
1. Use black ink to stamp the brick image repeatedly onto white cardstock making sure to overlap the edge of the paper. To make a second generation image, don't re-ink the stamp and just re-position it and press it to the paper again. You may even apply a third generation impression. With each impression the intensity of the design lightens. Re-ink the stamp and continue to fill the background with first & second generation impressions leaving occasional empty spaces.

2. Swipe a red ink pad across a non-stick craft mat and mist lightly with water until you see small beads of ink forming.

3.  Next, place the stamped brick panel face down onto the wet beads of ink. Press down gently and move the paper around until all the ink is absorbed.

4.  Continue repeating the process with two other shades of red ink until you are satisfied with the blend of colors.

5. Use an ink blending tool to help blend the wet ink and cover any white areas.  Then add a hint of rust ink to the brick background panel.

6. Finally, matte the main photo and adhere it to the upper left side of the layout.

Happy 2nd Birthday Colin!
You can find the brick stamp image at www.sincitystamps.com
For more inspiring paper-craft projects from the Design Team, be sure to visit us often at the Sin City Blog and follow us on Facebook.

Join the Sin City Fan Group. HERE
Thanks for visiting!

Saturday, June 17, 2017

How To Create Bright and Fun Scrapbook Pages

Hello all
Today I am going to show you how  to create bright and fun layouts with Sin City Stamps!

Product list

12 x 12 white card stock
12 x 12 patterned paper
Stencils
Modeling paste
Washi tape
Black ink pad
Dark Yellow ink pad
Trims


1)  Start adding colour to the background using powdered inks. Apply water before sprinkling them over the page.
2)  Use the Journaling and Hearty Doodles stamps to add a layer of texture to the background.


3) Mix some of the powdered ink with modeling paste and apply with a few stencils to the page.


4) Stamp a few rows of arrows  using the stamp from the journaling set.

5) Cut up a few strips off patterned paper and adhere to page,

6) Add a few strips of washi tape and trims.

7) Mount photo on to cardstock and trim to fit. 


8) Apply a little more modeling paste over the layers.

9) Decorate page with embellishments.


Thank you for visiting, don't forget to stop by our Fan Page for more idea's!

Wednesday, June 7, 2017

To the Moon..How to Create your own ephemera using Sin City Stamps!

Hi Everyone! Jenn here
Today I have a romantic layout created with Sin City Stamps to share with you.

The Sin City Stamps used here are from The beautiful Fairies and Blossoms 2 set.
One of the coolest techniques you can do with stamps is using them as ephemera. There are only a few steps to do this and in the end you have beautiful ephemera to embellish your projects!
Sin City Stamps are great for this because the detail is extraordinary!

Here is how it is done.....................................................
1. Stamp chosen images in either black or any color of your choice.
2. Use clear embossing powder and heat to seal the image.
** Other options for this step:
Clear ink such as versamark and a colored embossing powder
Colored ink other than black with clear embossing powder. See photo example below.

3. Fussy cut your image and there you have it! A beautiful piece of ephemera!
**Tip** for a stronger piece adhere your stamped cardstock to a thicker paper or chipboard before fussy cutting.

4. Adhere to your project.
To add pops of interest to your projects, slip these pieces under flowers or adhere on top!


For this layout background.............................................................................
1.Start with a 12x12 sheet of kraft cardstock.
2. Using a 12x12 sheet of patterned cardstock, cut down to 11x11 and adhere to kraft cardstock.
3. Use a distressing tool to tatter edges to create a bit more of a vintage look. DO not worry if you tear in spots, it just adds to the look.
4. Lightly add a tea colored distress ink around outside.

5. Use a stencil and texture paste and apply to layout for your background.
6. Stamp in complimentary colors randomly in an oval shape. This will be your focal area.
7. Splatter paint ink randomly in complimentary colors.
8. Build your focal area using scraps of paper, paper straws, pre-made stamped embellishments from above tutorial, and flowers.

9. Add some splatters of white gesso on entire layout with a piece of paper covering your focal photo.
10. Add sentiment such as the to the moon one pictured.

Thanks so much for joining me! I hope that you are inspired by this and it helps you create some beautiful embellishments!
Please join us on our Facebook at Sin City Stamps Fan page and share your creations with us!


Monday, April 3, 2017

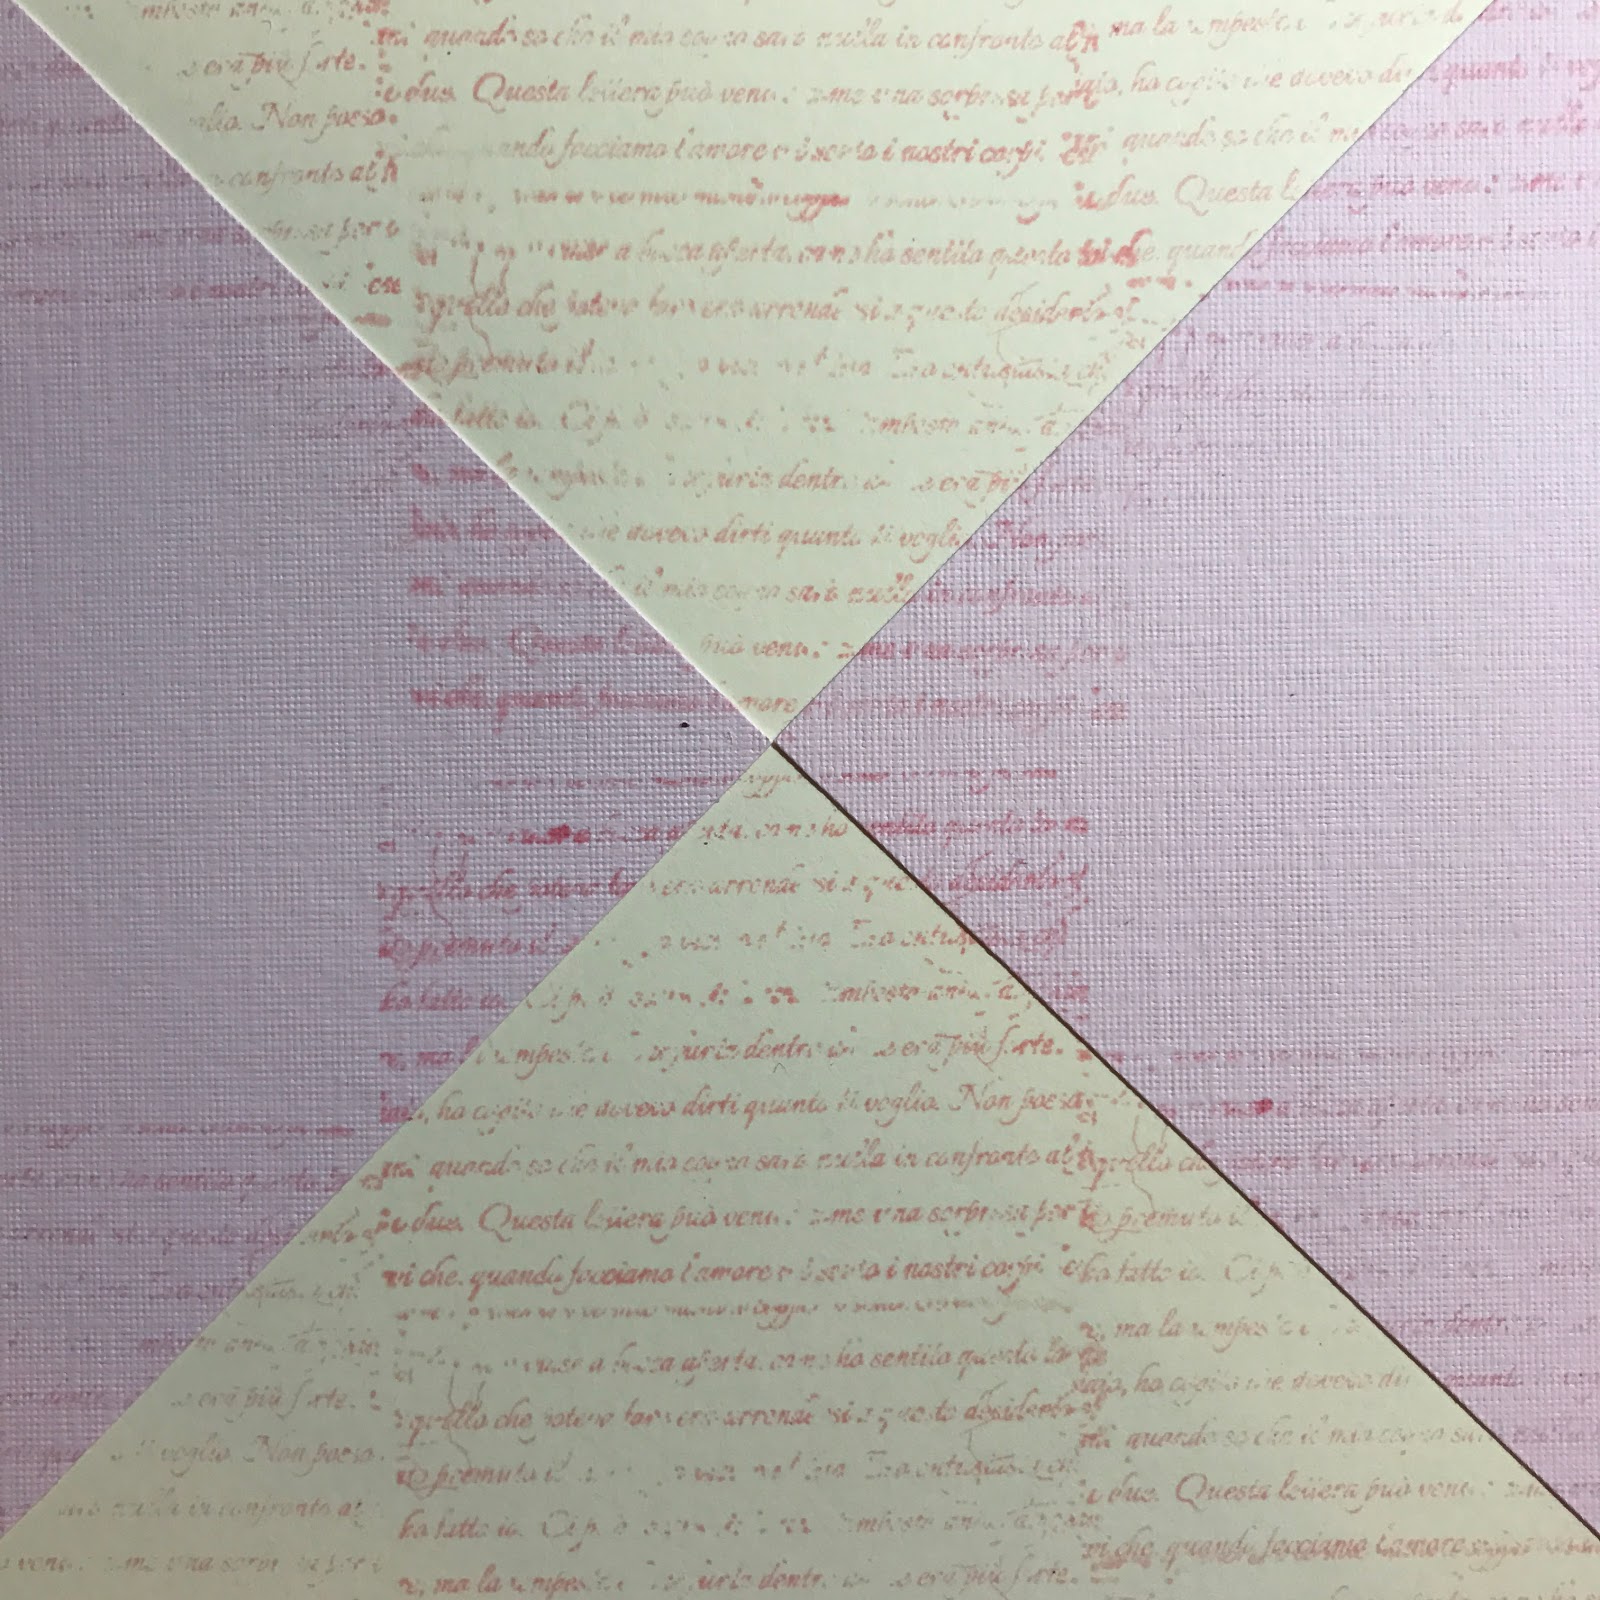
Sweet Baby Pink Layout


Hi Chris here I today I am super excited to share this so sweet baby page 
I created for a baby album I am working on!  
This layout was very simple and oh so soft and pretty.  
Supplies Needed
Ivory Cardstock
Pink Ink
Pink Marker

 1. Start by stamping the Blossoms from the Sin City Stamps Fairies and Blossoms 2 stamp set onto ivory cardstock and cut out the blossoms. 

2. Mask off diagonal  areas with scrap card stock. 


3. Stamps script from the Sin City Stamps Art Journaling #2 to fill all of the unmasked areas. 


4. Add dots along edge of masked areas with coordinating marker. 


5. Remove cardstock masks to reveal base of your layout. 


6.  Add stamped greeting from Sin City Stamps Art Journaling #2 and add cardstock photo mat.  Accent with cut blossoms to finish off your layout.

 When you are complete you have this super sweet baby layout!

Thursday, March 16, 2017

The Butterfly Garden Scrapbook Page


Hello all
Today you are going to learn how to create this mixed media scrapbook page.

Products used:


Brusho ink or watercolors
Ink Misters in green,
Adhesive
Water mister
Gesso
Various trims
Paper doily
Photograph 
label maker
Woodlands 8 x 8 paper pad
Colored paper


To create the background first cover the center in gesso and leave to dry. 
Next spritz water onto the page and then flick green brusho powder over using a paint brush. 
Use the textures from the Art Journal set and stamp around the page randomly.


Select your photo and mount onto patterned paper leaving a cm or 1" border around it. 
Take a couple of the sheets from the 8 x 8 pad and chop them up into strips. 
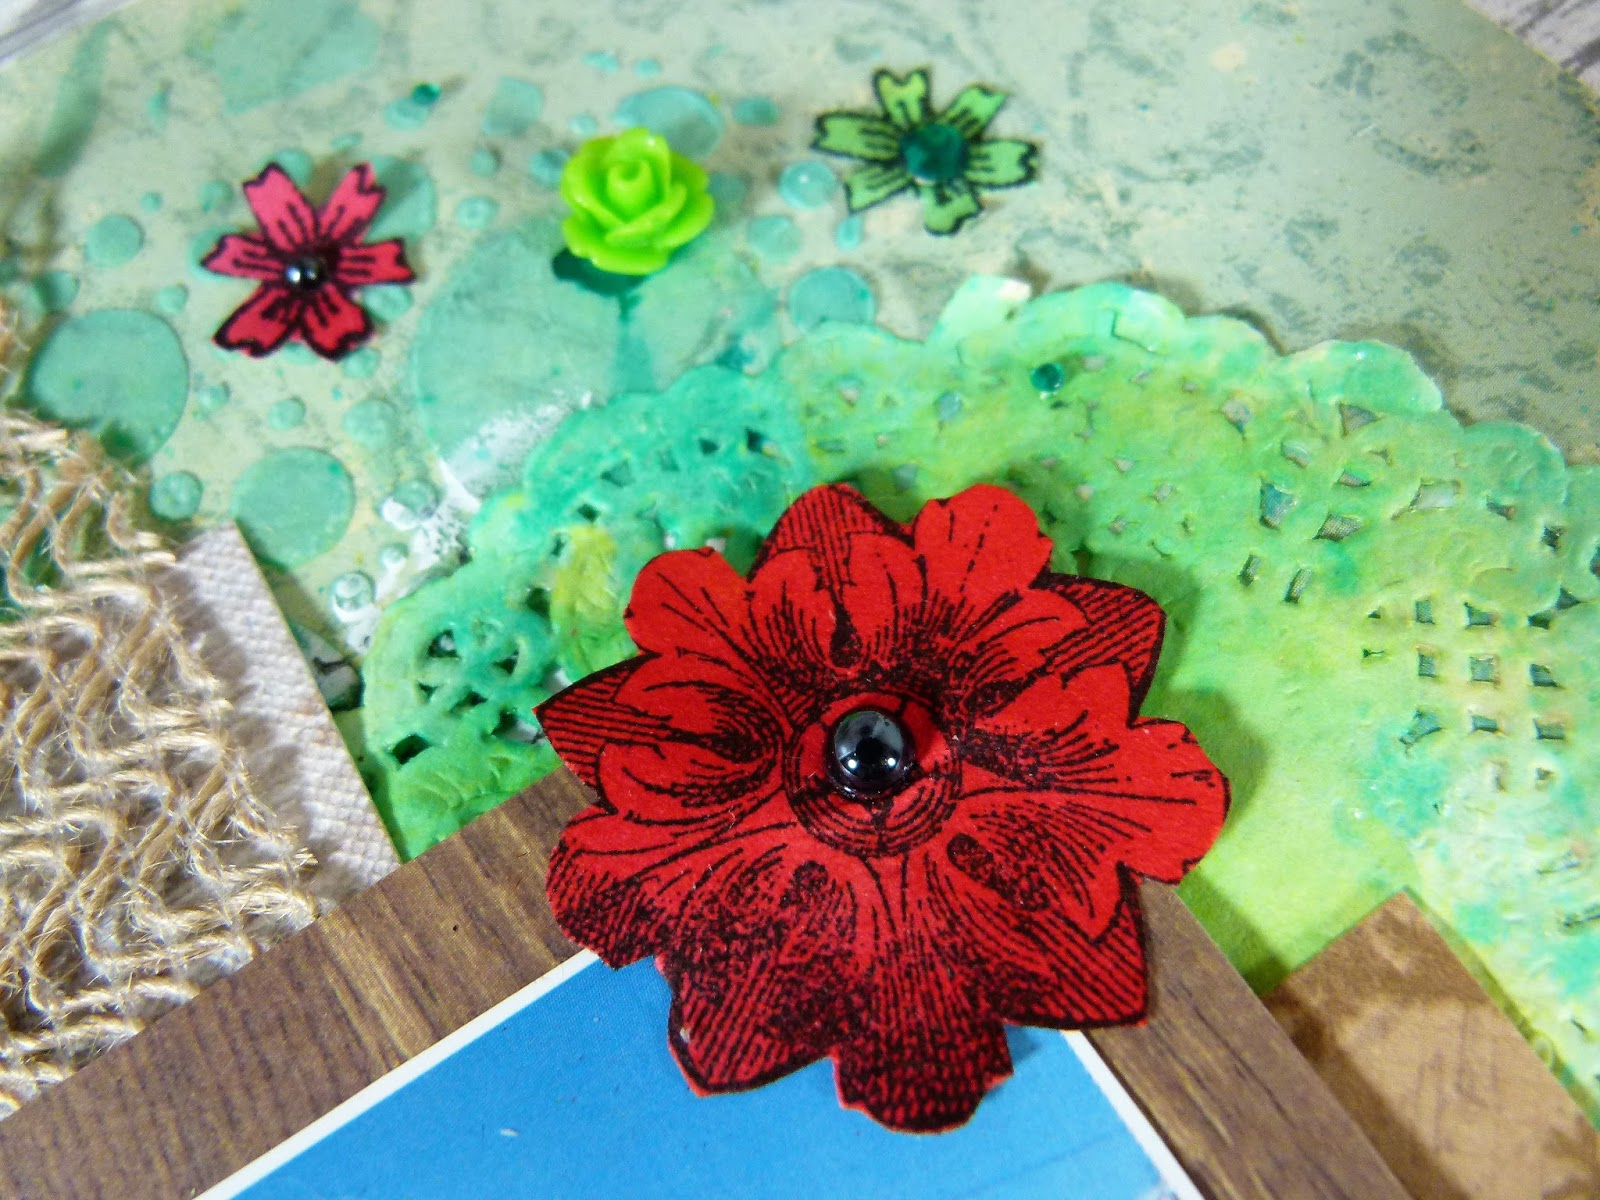
Arrange them over each other so that the layers overlap each other and spritz a doily with green ink and tuck behind the picture before gluing everything into place.


Gather an assortment of trims and cut them up into different lengths and place them beside the paper layers and glue down. Create a title using a label maker and use strong glue to hold the title in place.


Using the flowers from The Day Of The Dead and Rosette Hearts set, Stamp them onto colored paper and cut them out. Dot the flowers around the layout and glue pearls into the centers.


Finish of the layout by adding a few more flower clusters.

Thank you for visiting

Wednesday, February 12, 2014

Mixed Media 1st Design Team Post


Hello Everyone..  This is my 1st post on the Sin City Stamps Blog.  I'm so very excited to be part of this Design Team.

When I received my box of goodies my mind just went blank (figures)… Then luckily my daughter asked me to put together a design for her to give to her grandmother.  This is a very old photo from her modeling days and it was a favorite photo… only request I needed to use yellow, pink and blue in it…  

I did a video of the process you can see below.


Here are some close ups


I usually take photos step by step and I apologize that I didn't - I got so into the zone and using the amazing chip board and goodies from Sin City Stamps that I forgot to do it - so happy that I video taped the process.

Products Used

Chipboard:   I used the gear from the Die Cuts - Clock Die Cuts set
Pan Pastels - Magenta & Permanent Green
Sofft Art Sponge
Domino Love Charm

Other products used:
Scrapbooking Paper
Handmade White Paper
Art Anthology Sorbet - Honolulu Blue
Art Anthology Velvet - Blah
Faber Castell Gelatos - White & Blue
Prima Flowers
Golden Fiber Paste
Stencils
Twine
Doily
Cheese Cloth
Washi Tape

Below is a sneak peak for my next Design Team post.


Copyright Text

Blank Page Muse 2018 Sin City Stamps 2013