Hey Ladies,
Come along as I show you how to use a lovely lacy background stamp and a stencil to create an original embellishment. My stencil was not bought but was actually an image cut by an electronic die cutting machine. Usually, one keeps the silhouette and throws away the exterior frame so keep this technique in mind next time you use your cutter.
Supplies:
1. Art Journaling #2 Rubber Stamp Set (Sin City Stamps)
2. 5x7" card base
3. clear acrylic mounting block
4. black & pink ink pads
5. stencil
6. white, pink. & black cardstock
7. bracket frame die & die cutting machine
8. small heart & number two
9. 1" circle punch
10. pink glitter glue
11. pink heart gems
12. black mini gems
Directions:
1. To create the background, load the stamp with pink ink. Re-ink the stamp, carefully align the image, and stamp. Repeat this process until the entire piece of cardstock has been covered.

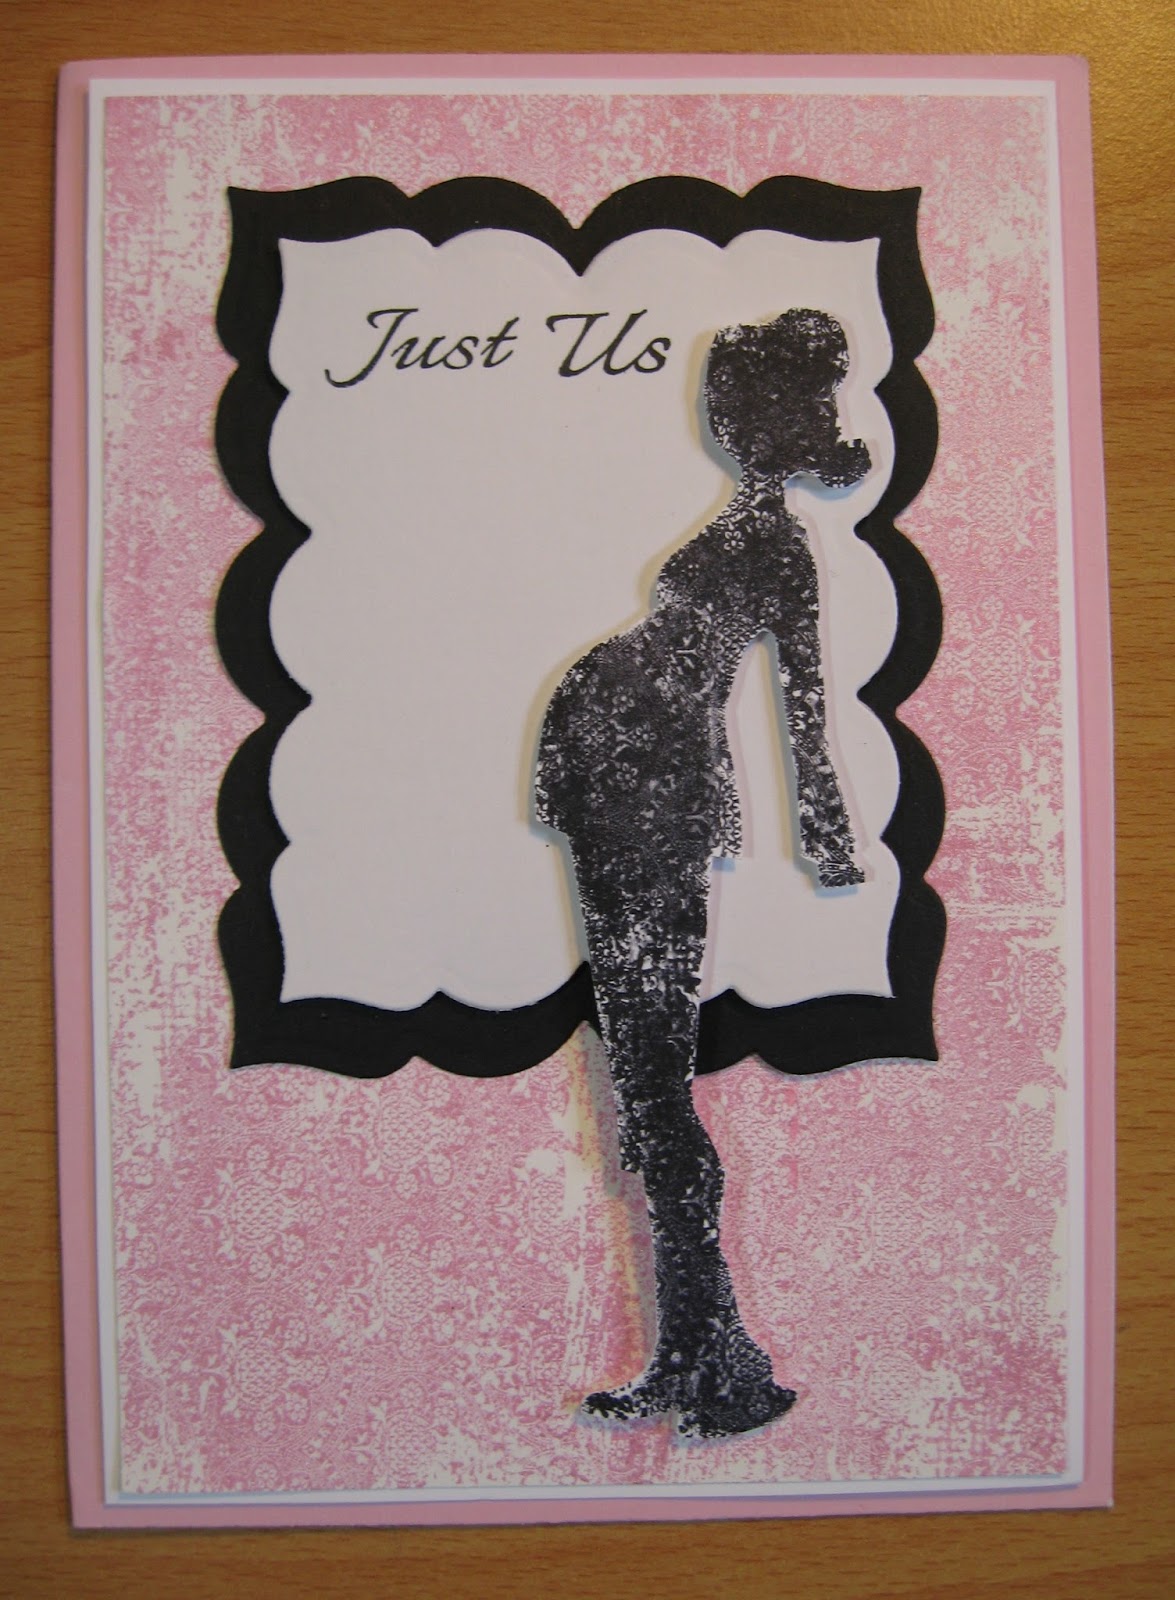
2. Secure the stencil to white cardstock with temporary adhesive. Use black ink to load the stamp and place over the stencil applying firm pressure. Re-ink the stamp, carefully align the image, and stamp. Repeat this process until the entire stencil opening has been covered. Remove the stencil and cut out the design.


3. Use a die cutting machine to cut a bracket edge matting of white cardstock and a larger matte of black cardstock. Layer the mattes centered on the upper portion of the background but do not adhere them yet.

4. Stamp the sentiment with black ink on the upper left corner of the white matte. Attach the stenciled image using dimensional foam tape on the right side of the matte. Next, matte the stamped pink background with a narrow border of white cardstock and adhere it to a pink card base.
5. In order to create flourishes that will appear to emerge from underneath the matte,
use a pencil to mark the corners of the position of the topper on the card front. Then remove the topper temporarily in order to stamp flourishes. Use black ink to stamp flourishes in the upper right corner and lower left corner. Finally, adhere the topper to the cardbase.

6. Attach a number two to a 1" black circle and adhere it under the sentiment with dimensional foam tape. Lastly, apply glitter glue over the number two.


A Closer Look:


To purchase the lovely stamp set for this card, visit www.sincitystamps.com
For more inspiring paper-craft projects from the Design Team, be sure to visit us at
the Sin City Blog and follow us on Facebook.
Share your creations with us and join the Sin City Stamps Fan Page HERE.
To learn more about our designer Karen, please visit her blog, Art & Soul.
Thanks for visiting!