Showing posts with label faeries and blossoms. Show all posts

Friday, February 1, 2019

Believe in Magic

Hello everyone! Jess here with you today, and I'd love to share with you my latest DT inspiration! I am inspired by magic. When I think of magic, I instantly envision shimmering fairies in flight. I hope you will join me today! Come along, put on your crafting wings!

Products used:
CCB: Tattered Angels Glimmer Mist: Golden Grape
Prima Marketing Color Bloom Spray LE: Golden Oregano 
Ranger Archival Ink Pad: Black 

Begin by laying down a nice coat of clear gesso. Then spray your card surface to create a gorgeous and shimmery background.
This makes those lovely stamps POP! 
Such a beautiful stamp! Begin by randomly stamping your flower images all over your surface.
Using different kinds of flowers always makes any project more fun and interesting.
These stamps are so gorgeous and detailed I just had to show them off!
Just look at how intricate that stamp is! Isn't it lovely the way the ink shines along it's many deep beveled edges, cuts, and grooves?!
As you can see these come in various sizes with various prints. They are beautiful!
I was finally able to get my hands on some Seth Apter textured embossing powders, thanks to BPM! and look just how fantastic it looks on this card! So much depth and dimension. 
For a finishing background touch, add some white paint splatters. 
Add some flair to your stamped images by distressing the edges with black ink and a blending tool, then curl the edges. This effect makes it appear as if the viewer is looking in on a different world. 
Don't get me wrong, having foam dots are nice but, when your in a crunch and can't find any in your stash. Don't worry, place your images directly to your card surface using tacky glue and recycled cardboard. 
Thank you so much for stopping by today! I look forward to seeing you right here next time!
 Here are some close-ups!


Looking for more Inspiration?
Follow the links below!
 

Friday, January 26, 2018

Make A Wish


Hi Everyone, Jess here today.

I have a major love for things with wings.  I put wings on almost everything.  I fell in love with this stamp from the Fairies and Blossoms 2 set.  This would make a great card for several occasions and can come together very quickly.

Product List:
Fairies and Blossoms 2 set
Embossing Folder
Cardstock
Black Archival Ink
Word Stickers
Black Pen
Glitter Pen
Coloring Sticks

Stamp your image twice and fussy cut out one of them.  Color in your image using your color sticks. 


Cut and color the wing from your second image. 

 Bend just the edge and glue onto your fairy.
Emboss your card and using your sparkle pen highlight the raised areas. 
Adhere your colored cardstock onto of your embossed piece, add your stamped image, 
and choose your sentiment.  
The only thing that takes a bit on this card is coloring your image.
 I like to stamp a bunch, so just sit and color.  
Enjoy!


Monday, October 9, 2017

Magic Night - Halloween Gift Bag

Hi Ladies,
Even without any Halloween Stamp Sets I was still able to create this spooky gift bag.  Using texture stamps, lines of text, & vintage keys, I created this creepy background.  The next time you think you don't have the design you need, spend a bit more time looking at stamps beyond their obvious uses.  You may be surprised at how creative you can become.


Supplies:
1. Fairies &  Blossoms 2 Rubber Stamp Set - Fairy Poem Sentiment Word Art
2. Hearty Doodles Art Rubber Stamp Set - background grunge circles.
3. Dress Forms Steampunk Rubber Stamp Set - Vintage Keys Small Border Rubber Stamp
4. Circle punch
5. Gold spray mist
6. Chipboard witch's hat
7. Black, purple, green ink pads
8. Chalk
9.  Mounting block
10. Glitter glue
11. Plain gift bag
12. Gold stars & ribbons
 
Directions:
1. Use a circle punch to cut a 2.5" circle of white cardstock and position it in the upper right area of the background paper. Carefully, hold it still while applying yellow chalk lightly around the circle. Next, remove the circle mask to reveal a glowing aura around the moon.


(Punch a gold glitter circle and attach it over the chalk circle with foam tape.)


2. Use black ink to repeatedly stamp a script background making sure to overlap the edge of the paper. To make a second generation image, don't re-ink the stamp and just re-position it and press it to the paper again. You may even apply a third generation impression. With each impression the intensity of the design lightens. Re-ink the stamp and continue to fill the background with first & second generation impressions leaving occasional empty spaces. (sample below: 1st - 3rd generation stamping)


3. Stamp the sentiment using purple ink in an open white space.  Create more variety to the background by randomly stamping a texture stamp using purple ink making sure to overlap the edge of the paper.
 

4. Use black ink to stamp a candelabra in the lower right corner.  Add a chipboard witch's hat to the left of the sentiment.

5. Add more layers by repeatedly stamping a cluster of keys in opposite corners.  Use the multi-generational stamping technique to add depth to the background. 

6. Next, randomly stamp some lime green texture impressions.  Gently apply black chalk around the edges of the stamped artwork to create an eerie haze.

7. Finally, add glitter glue to the candle flames and apply a few splashes of gold mist.  Embellish with small gold star stickers and attach the stamped artwork to a plain gift bag. Carefully, trim away any overhanging paper and tie a coordinating ribbon to the handles.


A Closer Look:

To purchase the stamps for this project, visit www.sincitystamps.com

For more inspiring paper-craft projects from the Design Team, be sure to visit us at the Sin City Blog and follow us on Facebook.  Join the Sin City Fan Group. HERE

To learn more about our designer Karen, please visit her blog, Art & Soul.
Thanks for visiting!

Wednesday, July 19, 2017

Cute Fairy Cards..One Stamp two ways

Hi Sin City Friends! It's Jenn here today! I want to share two whimsical fairy cards I created using Sin City Stamps!
For this project One stamp was used two ways to create two completely different looks! The stamp used is from the Anime Fairies & Baby Dragons set.
Other products used:
Chalk ink stamps
paper flowers
script stamp
cardstock in various colors
black blank cards and envelopes
bling stones
watercolor pencils
shimmery spray ink (used instead of water)
clear embossing powder
For this set of cards I used the little fairy once and then watercolored it in. The other was stamped over a script stamp. The fairy stamp was stamped using three different inks. The wings were stamped with chalk ink in Spring Pansy. The body was done in chalk ink in Turquoise Gem.The upper body and hair was also a chalk ink in Sycamore Green. Both were stamped on white watercolor paper.
A script stamp and black archival ink were stamped over the fairy. Be sure that your chalk ink is completely dry before this step to prevent any smudging. Cut off as much excess as you like from around the outside. Distress around edges with a distressing tool. Use chalk ink again around edges in the same colors used for fairy.


Next use the same script stamp on a piece of colored cardstock (green for this project). Choose two other colors of cardstock for layering that coordinate with your stamped image and one another. Cut each a bit larger and then stack together using sticky tape or a tape runner.
Then adhere the stack to either black cardstock cut to size or use a premade blank card as I did.
Add a sentiment stamp and some paper flowers plus a little bling. I also used the envelope and stamped the same fairy image and sentiment.
For the water colored version, the same steps are used with the added step of water coloring your stamped image. Also the black card was stamped with the script stamp as a background using the same chalk inks.
And there you have it! A lovely set of cards to show how one stamp can be used two different ways to create two looks. Of course there are endless possibilities in the world of stamping! these are just two of my favorites! I hope you enjoyed this project and tutorial! as always thank you for your support of Sin City Stamps!
I will be here again soon with more fun projects!! For more inspiration visit our fan page here!.

Wednesday, June 7, 2017

To the Moon..How to Create your own ephemera using Sin City Stamps!

Hi Everyone! Jenn here
Today I have a romantic layout created with Sin City Stamps to share with you.

The Sin City Stamps used here are from The beautiful Fairies and Blossoms 2 set.
One of the coolest techniques you can do with stamps is using them as ephemera. There are only a few steps to do this and in the end you have beautiful ephemera to embellish your projects!
Sin City Stamps are great for this because the detail is extraordinary!

Here is how it is done.....................................................
1. Stamp chosen images in either black or any color of your choice.
2. Use clear embossing powder and heat to seal the image.
** Other options for this step:
Clear ink such as versamark and a colored embossing powder
Colored ink other than black with clear embossing powder. See photo example below.

3. Fussy cut your image and there you have it! A beautiful piece of ephemera!
**Tip** for a stronger piece adhere your stamped cardstock to a thicker paper or chipboard before fussy cutting.

4. Adhere to your project.
To add pops of interest to your projects, slip these pieces under flowers or adhere on top!


For this layout background.............................................................................
1.Start with a 12x12 sheet of kraft cardstock.
2. Using a 12x12 sheet of patterned cardstock, cut down to 11x11 and adhere to kraft cardstock.
3. Use a distressing tool to tatter edges to create a bit more of a vintage look. DO not worry if you tear in spots, it just adds to the look.
4. Lightly add a tea colored distress ink around outside.

5. Use a stencil and texture paste and apply to layout for your background.
6. Stamp in complimentary colors randomly in an oval shape. This will be your focal area.
7. Splatter paint ink randomly in complimentary colors.
8. Build your focal area using scraps of paper, paper straws, pre-made stamped embellishments from above tutorial, and flowers.

9. Add some splatters of white gesso on entire layout with a piece of paper covering your focal photo.
10. Add sentiment such as the to the moon one pictured.

Thanks so much for joining me! I hope that you are inspired by this and it helps you create some beautiful embellishments!
Please join us on our Facebook at Sin City Stamps Fan page and share your creations with us!


Monday, April 3, 2017

Sweet Baby Pink Layout


Hi Chris here I today I am super excited to share this so sweet baby page 
I created for a baby album I am working on!  
This layout was very simple and oh so soft and pretty.  
Supplies Needed
Ivory Cardstock
Pink Ink
Pink Marker

 1. Start by stamping the Blossoms from the Sin City Stamps Fairies and Blossoms 2 stamp set onto ivory cardstock and cut out the blossoms. 

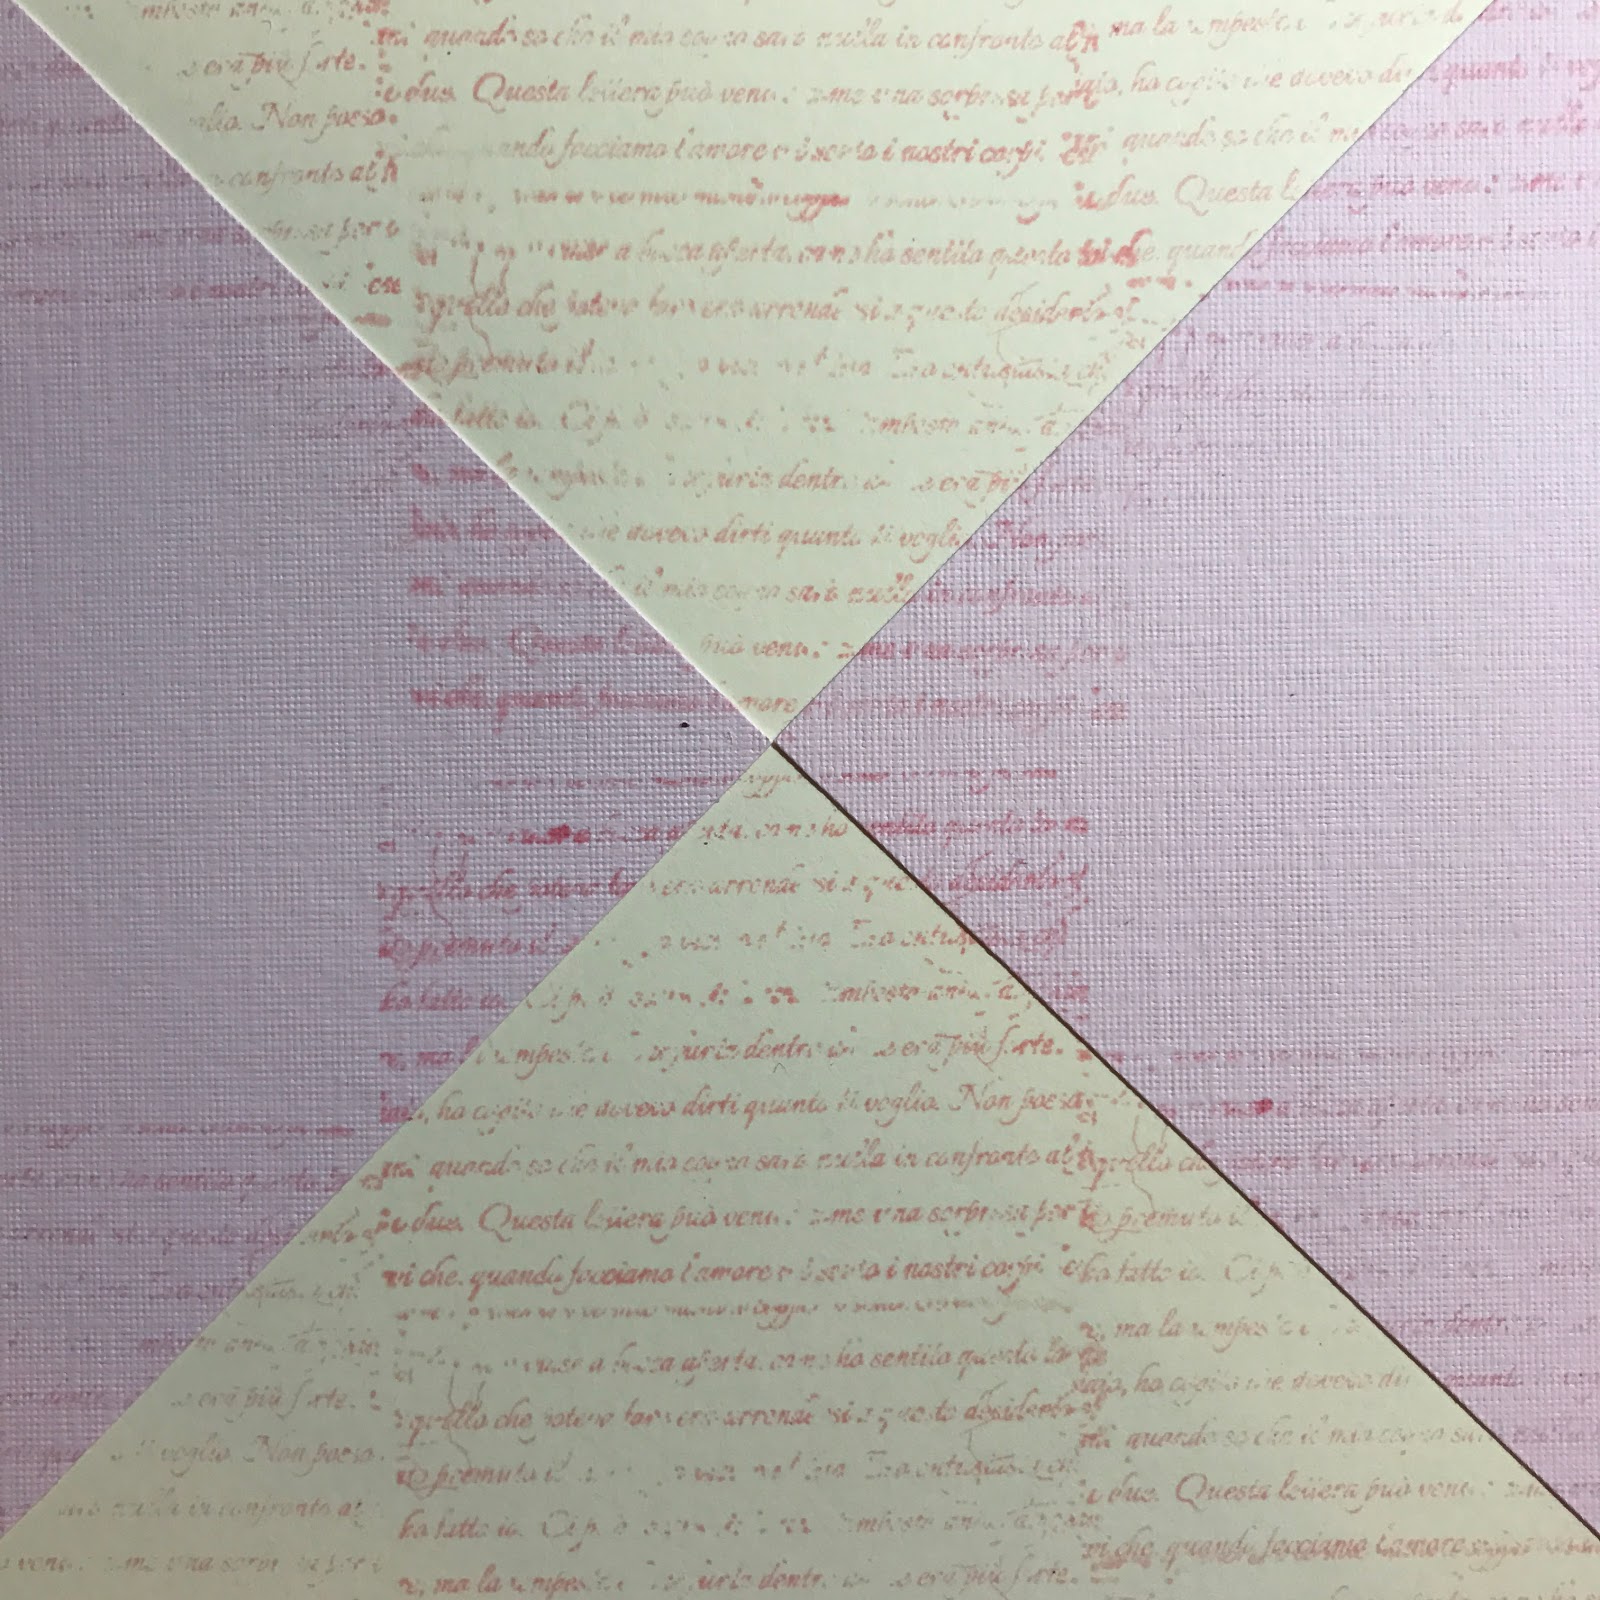
2. Mask off diagonal  areas with scrap card stock. 


3. Stamps script from the Sin City Stamps Art Journaling #2 to fill all of the unmasked areas. 


4. Add dots along edge of masked areas with coordinating marker. 


5. Remove cardstock masks to reveal base of your layout. 


6.  Add stamped greeting from Sin City Stamps Art Journaling #2 and add cardstock photo mat.  Accent with cut blossoms to finish off your layout.

 When you are complete you have this super sweet baby layout!

Copyright Text

Blank Page Muse 2018 Sin City Stamps 2013