Showing posts with label #Aster Creepy Cute Kid. Show all posts

Sunday, June 28, 2026

Oh darling mini slimline card by Cathy N

 Good morning, Cathy here with a mini slimline card for you today.


                                                                     Stamps Used:

                                                                      Oh darling

                                                                     scribble swirls

                                                                     Aster creepy cute kids


                                                                    Stencil Used:

                                                             butterflies and flowers 


* Start off by stamping scribble swirls inside the butterflies and flower stencil. 

* Take a blending brush and blend the over stamp so you make a flower image.


* Stamp girl and color in with copic markers. 

* Cut out.

* Stamp saying and cut out and color with the same inks used for the flowers.

* Add saying to bottom of card the add girl.

* Add all to a black card base.


Thursday, March 25, 2021

You are Made of Stardust Card

 Hi everyone! Tonya here this month with my take on the Azalea Creepy Cute Kid Art Rubber Stamp. I know this rubber stamp is suppose to be creepy but I thought wouldn't it be cute to turn the girl into a magical fairy. So lets get started.


Supplies

Blank Page Muse: Azalea Creepy Cute Kid Art Rubber Stamp

MISTI Stamping Tool

Various Plain and Patterned Cardstocks

Butterfly Printable 

Watercolor Paper 

Watercolor Paint Brush

Colored Pencils

Inks and Watercolors

Foam Pop Dots

Diecut Machine

Spellbinders: Wreath Diecuts

Momenta: Stars Diecuts

Stars and Clear Sequins

Metallic Thread

Paper Cutter

Scissors 

Beacon Adhesive: Zip Dry Adhesive


Placed the stamp onto the MISTI Stamping Tool, inking the stamp with a black waterproof ink and stamp onto a piece of watercolor paper.
I used an assortment of watercolors and inks to watercolor the girl image.
Use colored pencils to add highlights to the girl's face and clothing.


Fussy cut a butterfly and add clear glitter glue and let dry.
 I had wanted to use the whole butterfly but it didn't look right so I cut off the bottom half of the wings.


Adhear those to the backside of the girl.


I already had a 4 1/4"x4 7/8" card base folded in my stash so I cutout the Stars and placed a piece of patterned cardstock to go behind the stars diecut.
Adhere all to the front of the card base. 
Cut and matte the wreath diecut.
Next wrap with metallic thread around before gluing to the card base.
Place foam pop dots to the back of the girl, along with stars and clear sequins to finish off the card.
 There you have it! 
As always if you have questions about this project please let me know.


Also if  you aren't following Blank Page Muse on their social medias you can find them on:

The Blank Page Muse Shop https://blankpagemuse.com/


Thanks for stopping by, hope your day is wonderful and enjoy creating!


Friday, September 18, 2020

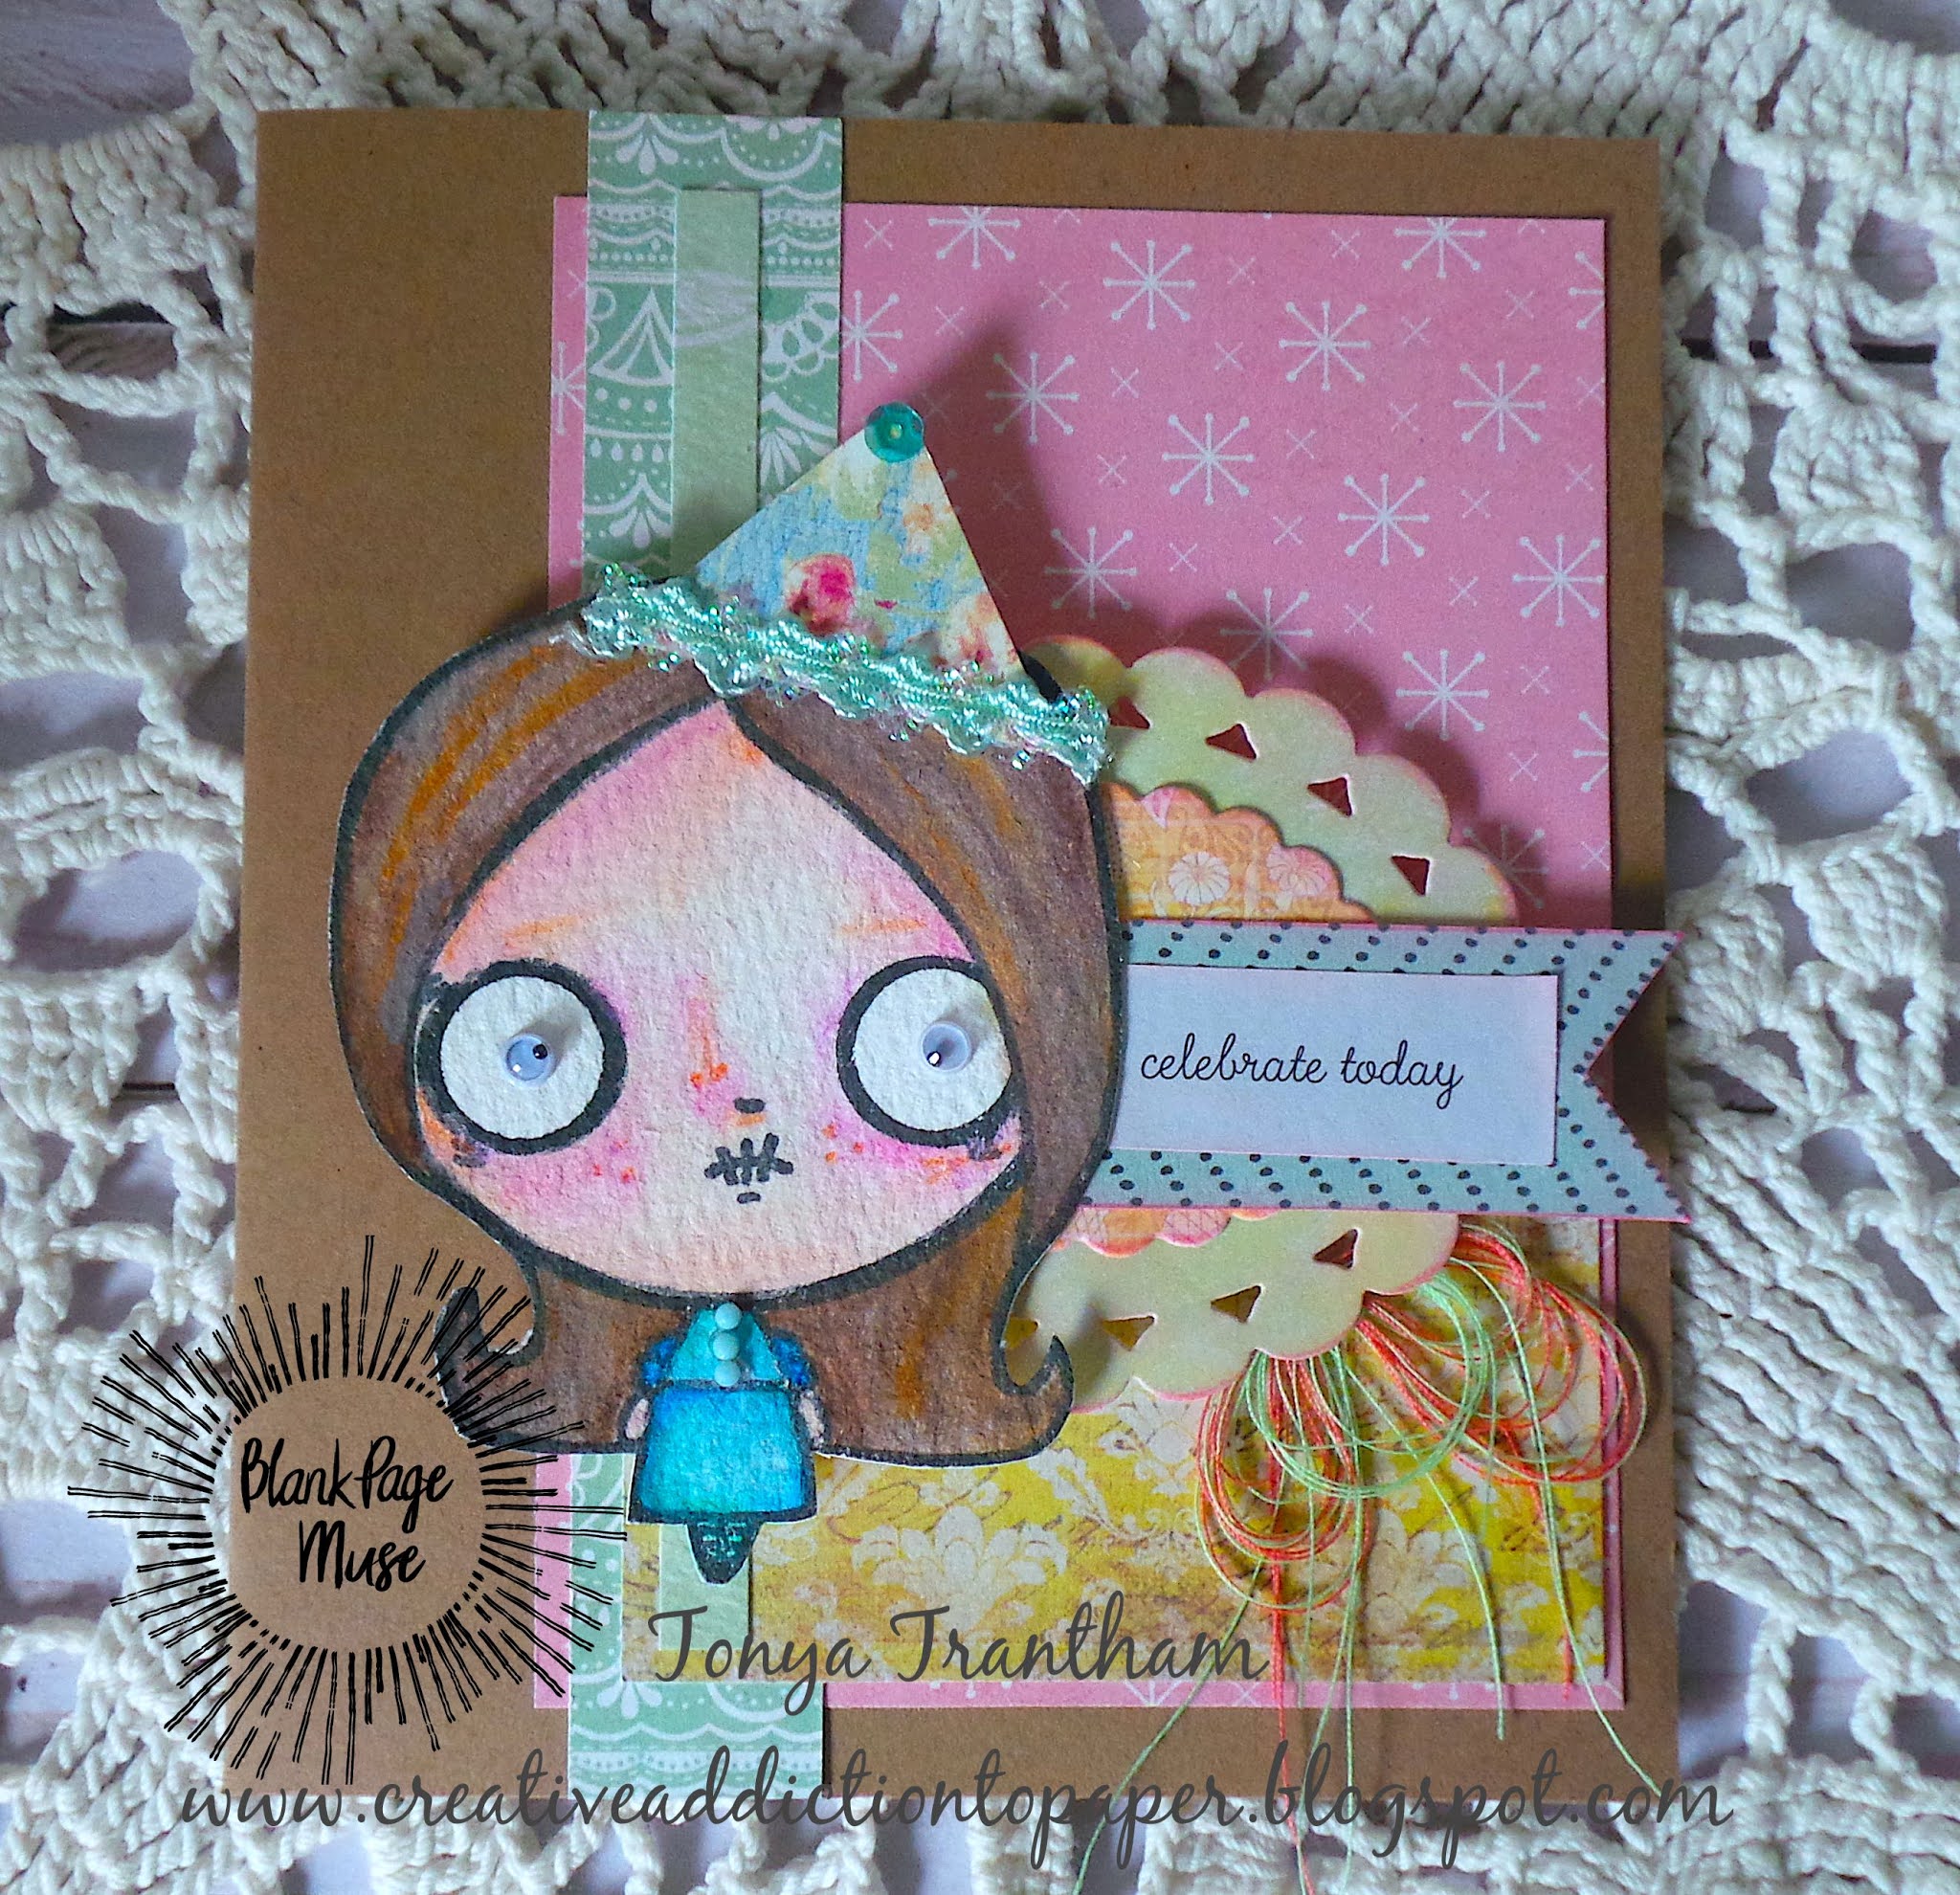
Celebrate Today Card

Hi everyone! It's me, Tonya and I am here to share a quick and easy card I create using the Aster Creepy Cute Kid and Life is Short Rubber Stamps and leftover scraps from previous projects. 
I started by cutting and folding a piece of kraft cardstock, 4 1/4"x5" to create the base for the card. I layered and adhered scraps of patterned cardstock to the base. From my stash of diecuts I glued on top of each other added Foam Pop Dots to the back before placing on the card.


I printed from my computer the "celebrate today" sentiment. I cut out a banner, adhered the sentiment on top and added to the card.  I stamped the Aster Creepy Cute Kid and Life is Short Rubber Stamps onto a piece of watercolor paper. I watercolored, used colored pencils on the girl and fussy cut the girl out. I cut a party hat from a piece of scrap cardstock, adhered to the stamped image along with trim and a sequin to the hat. I also added googly eyes and mini gems to the eyes and the dress before adding foam pop dots and placing on the card.


I finished the card by gluing several thread bows to the underside of the diecut. As always if you have any questions about this project please let me know. If you aren't following Blank Page Muse on their social medias you can find them at the links below.


Watercolor Paper
Watercolors
Paint Brush
Black Ink
Colored Pencils
MISTI Stamping Tool
Kraft Cardstock
Paper Cutter
Scissors
Gems
Beacon Adhesive: Zip Dry Adhesive
Googlie Eyes, Trim, Sequin, Thread
Various Patterned Cardstocks
Foam Pop Dots
Printed Sentiment from Computer


Thanks for stopping by, hope your Friday is wonderful and enjoy creating!


Copyright Text

Blank Page Muse 2018 Sin City Stamps 2013