Thursday, June 5, 2014

Presenting The Wizard of Oz and New Stamp Sets

Hello everyone.  Barbara here with my first post for June.  Today, I want to show you one of the new chipboard book products and matching stencils and die cuts from Sin City Stamps.  This is the Tin Man Chipboard Book, and I knew I had to have it as soon as I saw it.  I've had this Graphic 45 paper collection sitting around waiting for the perfect moment to use it, and here it is.  Sin City Stamps is releasing 18 new stamp plates, and three of them are from The Wizard of Oz, and all of them will be available to purchase next week, beginning 9 June.  So, I decided to get my book ready so that when I get the stamps, I can "go to town" working in my book.  I have posted pictures of the new stamps at the end of my post, but first, lets look at the book.
Supplies used:


Sin City Stamps Tin Man Chipboard Book; Lion Die CutLion StencilScarecrow Stencil;  Scarecrow die cut TIn Man Stencil; Tin Man die cut Girl Stencil; Girl with Dog die cut

Graphic 45 8"x8" Magic of OZ paper collection

Core-dinations card stock

IMAGINE Crafts/Tsukineko IrResistible Bronze Texture Spray; Memento Luxe Peanut Brittle;

Derwent Inktense Blocks

Black gesso

Ruby Slippers and Tiara glitter glue

Metallic rub-ons Kit #1

Rays embossing folder


Directions:


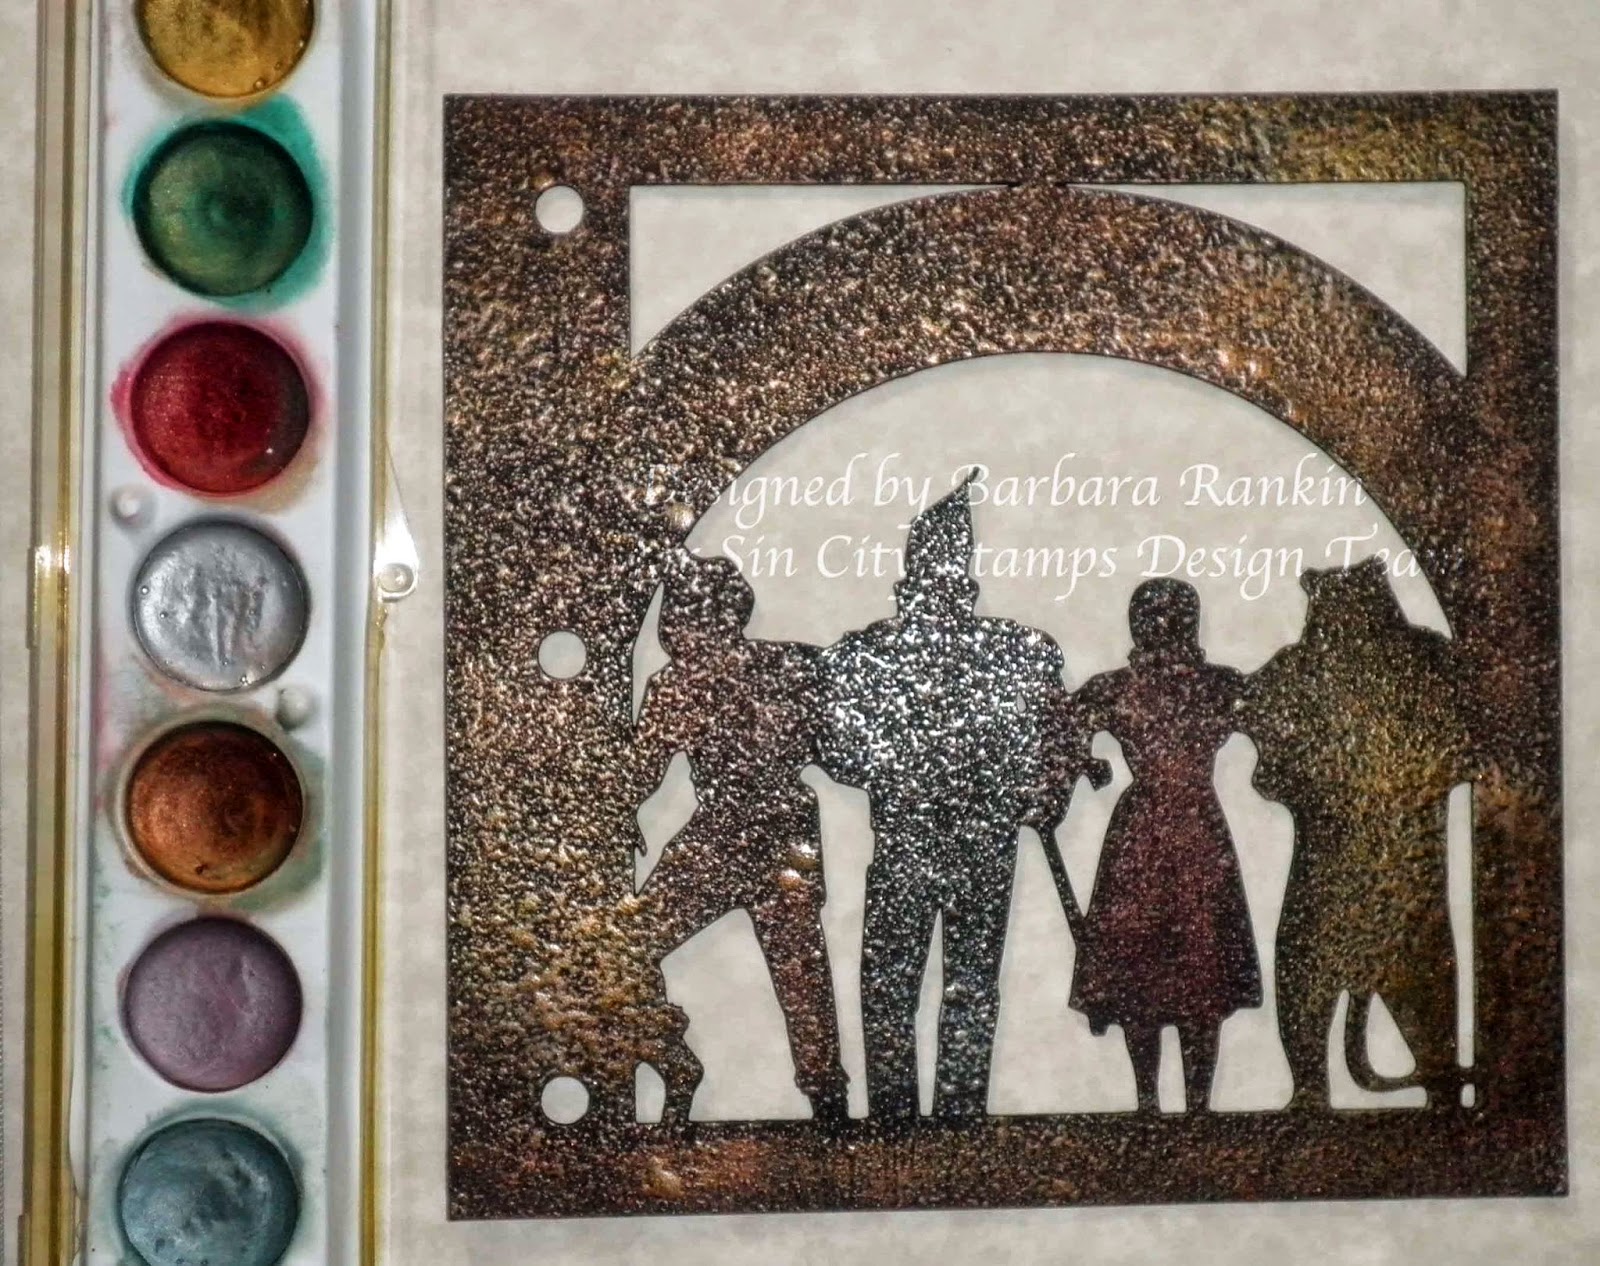
In order to determine how I want to color my chipboard cover, I first needed to decide what paper I wanted to show through the cut out portion.  So, I chose Poppy Fields as my background.  In this picture, you can see all the chipboard pieces you get with your book.  Don't you just love them?

Next, I used black gesso to paint the front cover and only around the edges on the back cover.

Spray front and back of cover with Bronze Texture Spray, allowing sprayed side to dry before turning over to spray the opposite side.


Apply metallic rub-ons in various metal colors over the entire book cover, front and back.  It may not be obvious in the photos, but I used a copper color on the scarecrow, silver on the tin man, red on Dorothy, and gold on the lion.  A mix of copper, gold, and silver were applied all over the remaining areas.  It looks fabulous in person and really brings out the texture from the Goosebumps spray.
Here is a closeup of the texture achieved with the Goosebump, and how awesome it looks on this high quality chipboard.
Cover inside back cover with 5-5/8" square of Yellow Brick Road paper, edged with Peanut Brittle ink.  Punch binding holes before moving on.
Cover outside back cover with 5-5/8" square of Emerald City paper, edged with Pistachio ink.  Punch binding holes.
Now that I have my book covers prepared, I then trimmed various papers and card stock to 5-⅝" square, punched holes in each, and set my prepared book and pages aside. 

Here is what you get when you order the stencils and die cuts. This one is the Girl Stencil and matching die cuts. The die cuts come solid and in outline form. Can you see the possibilities with these?  Let me show you a few ideas I have come up with.
Remove cut out bits from one of the die cuts and set aside.  Paint a second, complete die cut with white gesso and let dry.
I first applied color using Inktense Block colors and a water brush.  I allowed it to dry, then came back and applied Neon ink pad colors in Electric Blue and Electric Green (dress), Memento Luxe Peanut Brittle (hair, basket), and StazOn Jet Black to the dog.  I did not worry about going over the lines at this time.
Another option is to use a paper piecing technique. Here, I show where I have used print paper for her dress and shoes.  I also removed her face from the outline image, as it will be adhered over the painted image. You could do this entirely, or add it to your painted piece, as I have decided to do.
Emboss Rays onto tan card stock with embossing folder, sand high spots and add Rusty Hinge ink.
Adhere Dorothy to page, as shown.
Here, I just wanted to show you how the stencil matches the die cuts exactly.  What does that mean to you?  Well, for one thing, you could apply color directly through the stencil onto your page, or apply it to your die cut, coloring each section individually, if you prefer.  The possibilities are endless with these products.
Now, how about those chipboard die cuts that came with the book?  Well, as I said before, this is high quality chipboard, and it stood up to my abuse using lots of water with my Inktense blocks and other wet media, such as the glitter glue I also added to it.
And here's a look at the entire page.  Isn't is just fabulous with those die cuts and chipboard accents?  I am so loving these products.
And here is a closeup of Dorothy, where I gave her basket a bit of a "weave".   You see, you can have so much fun decorating these.  I even gave a "spark of life" to little Toto by giving him that ever so necessary white dot to his eye.  
Well, this is very much a work in progress.  I had hoped to have a few more pages done, but my allergies got the better of me and I was, as they say, a bit under the weather.  However, my book is ready to accept all of those new stamps that Sin City has coming out.  And without further adieu, here they are!!


 Well, are these stamps just awesome?  I want them all.  If you are still here with me after all this, then thanks for sticking with me.  I had a lot of news to share, and I hope you enjoyed my WIP today.  Please stop back next week to see what I have added to my book, and any other creative activities I can come up with.


Thanks for stopping by, and be sure to visit the Sin City Stamps online store for all of your art stamping needs.


Have a wonderful, creative weekend!!!


Barbara

Wednesday, June 4, 2014

Holiday & Special Occasion Envelopes by Linda Hess

Every so often the urge will hit to clean/organize my studio to see what I actually have in there.  This project is the result of one such clean up.  I found papers and inks and stamps galore in the cabinets and drawers and cubbies.  The thought came to me that my stamp collection would be best organized by season and/or theme.  From that my thoughts went to a project using the Kreate-a-lope envelope maker from Green Sneakers (www.greensneakers.com).  Wouldn't it be great to make envelopes for each occasion?  How extra special would that make a card or package??  Let's find out.

I began by pulling some papers from my extensive stash.  I placed them one at a time on my Helix cutting mat.  Following Step 1 for the Kreate-a-lope, I placed the sizing template on my paper and cut around it using an Exacto knife.
.
Each is flipped over and then folded following the Kreate-a-lope guidelines.  Nice crisp edges can be achieved by using a bone folder. 
 
Now to design 3 special envelopes.
 
CHRISTMAS ENVELOPE:  The green polka dotted paper was too perfect for a Christmas themed envelope.  I used Color Box Fluid Chalk in red to color the edges.  Use a glue stick to seal the edges of the envelope closed.  Rub with bone folder to assure it is sealed.

 
Using the "window" as a mask the front of the envelope was also stamped in red. 
 
A reindeer stamp and Ancient Page Pine dye ink pad form a festive border around the edges. I used a gold Pentel Brush Marker Pen to outline the edges and then gold filigree corners are added. 

 A Christmas heart stamped & embossing powder (heat to set) completes the envelope.
 
"TIME IS TICKING" ENVELOPE:  The edges are sealed.  I used some beautiful gold filigree corners  (Starform Outline stickers #1225  www.ecstacycrafts.com) to decorate the front.  The left side is stamped with the Angelic Pocket Watch (www.sincitystamps.com) and embossed with gold.  Heat to set.  Detail with Copper Pentel Metallic Brush Pen
Turn the envelope over.  Repeat the Angelic Pocket Watch on the lip of the envelope.  Heat to set.  Sometimes simple is best :-)
 
SPRING ADVENTURE ENVELOPE:  Super simple!  The edges are sealed with a glue stick.  Use the "flourish" stencil (www.sincitystamps.com) and eggplant Color Box fluid chalk to decorate the front and back flap.  Position the stencil so that it leaves enough room for an address.  Detail with a Green Pentel Metallic Brush Pen.  DONE! 
Seriously....that is all there is to creating a beautiful handmade envelope.  So go dig through your own craft supplies, visit some of the websites, and bask in the compliments from your family & friends.


Monday, June 2, 2014

~Pony Express~ Sin City DT Post created by WildHeart Art~


~Pony Express~
Vintage Style Envelope

 I just LOVE this fun envelope template by Green Sneakers called Kreate-A-lope!
I had a "Vintage" Style in mind for this envelope, using Tim Holtz's"" craft resist collage papers. They offered the perfect look for this idea! And  I finished off the design with stamps from Sin City Stamps!
~Supplies~
Kreate- a -lope  Template by Green Sneakers
Tim Holtz Craft Resist "idea-ology" collage papers
Glue tape
Decorative scissors to cut edges
Sin City Stamps-Butterflies
Stamp pad in Archival Black and Sepia
Cream colored card stock for the address label
Glitter Glue
Acrylic paint in Turquoise


1) Cut out envelope using the Kreate -a-lope template and the decorative edging  scissors.


2) Fold the paper as directed to form the envelope.


3) Secure the edges using the glue tape.

   4)Stamp the butterfly stamp on the inside of the flap.

5) Using the  letters stamp from the Art Journal Set , stamp in black ink down the sides of the front of the envelope.

 6) Using the Sepia ink pad gently go around the edges of the envelope and address label to give a more Vintage feel.


  7) Highlight the butterfly stamp with a bit of glitter glue


8) I wanted a bit more color so I added the turquoise dots down both sides of the stamped design. The Butterfly stamp gives the envelope a  more feminine touch but without the butterfly stamp it would be a nice envelope for a handmade  Father's day card too!!

Hope you have enjoyed and have a beautiful day!
~In Love and Faith~
Sherri

Sunday, June 1, 2014

Alice in Wonderland Necklace with Stamped Silk Sari Ribbon

This is Karen from Starshine Salon.

I tried stamping on silk sari ribbon for the first time a couple of weeks ago, and I liked the results so much that I decided to try it again.  I love the quality of Sin City Stamps; the fine details of the images really come through, even on fabric.

My necklace was inspired by Alice in Wonderland, and features a magical bottle filled with a mysterious substance and labeled, “Drink me.”  In this case, the “tag” was a spoon charm.
Sari ribbon necklace (4)
I used the stamps to add dimension to the sari ribbon and to tie the colors together.   I chose the ribbon I wanted to use, then cut and pressed it.  These are the pieces of silk left over after the saris are made.  The strips vary in width and arrive crinkled.  I wanted them flat so I could stamp on them.

When Alice drinks from the magical bottle, she wants to use the golden key to get into the beautiful garden.  But when she shrinks, she finds she has left the key on the table and can’t get to it.  Now she has all the keys she needs, right on her necklace!  I used the keys image from the Sin City Stamps Dressforms.  I stamped the image with Colorbox Chalk Ink in Warm Violet, and heat set it with my iron after the ink dried.
Stamped silk sari ribbon
The bottle had some writing printed on it, so I sanded it to remove the printing.  Then I added a loop with some wire.  I put a little coarse glitter inside and added a cork.
Bottle (2)
I stamped “Drink Me” onto the spoon, added some black Gilder’s paste to make the letters stand out, and applied violet Gilder’s paste to the handle.  When the Gilder’s paste had set, I added some wax, which I buffed after it dried.
Stamped spoon
I stacked the sari ribbon, trimmed it, then looped the ends through large jumprings, turned the edges under, and sewed it closed.
Sewn onto jumpring (2)
Then I put a few stitches through the ribbon to cinch it up.  This gives a nice place in the center for the focal to hang, and keeps the piece from looking like a big scarf.  I added jumprings around the cinched areas.
Cinched (2)
Finally, I added chain.  Now I have the perfect thing to wear for my Wonderland Tea!
Sari ribbon necklace

Larger Documented Life Journal - Design Team Sin City Stamps Cover

Hi All Lisa Here. 

 Sin City Stamps

So I love my Smaller Documented Life Journal - but now that I merged it with every calendar I have going - Work, personal - Kids…  since it's a 5x7 journal was having some issue with getting everything into the journal….  Decided (since Michaels was having 40% sale) to get the larger Smash Journal.

Here's my old one.


The journal Started out like below:  I believe it's a 9x12 size

I started with Gel Medium and the Hazel & Ruby Tissue Paper and Sin City Stamps
I pulled from my 2 favorite Plate of Rubber
Using Tim Holtz Distress Inks


I love so much how the stamps just pop over the tissue paper.


Using different colors as well on the stamps.

Then I added Gelatos on top…  using my finger to move them around and I also didn't rub them over the stamped images.


Did different colors in layers all the way down the page.

And More


Once that set I pulled out the Washi Tape and just went at it!!!


Hint - Put a layer of Gel Medium over the washi Tape to make sure it doesn't peel up.

Here's what the inside looks like - I made via Excel the pages they are 2 weeks per page - and as you can see Football is taking over my summer.  My son is doing Swimming & Football - my daughter is Cheerleading and Surfing - this year working towards a competition. 


Now to have some fun…  I pulled out my #1 favorite Sin City Stamp Stencil

You will see I use this stencil in a lot of my art projects - I just love it…  


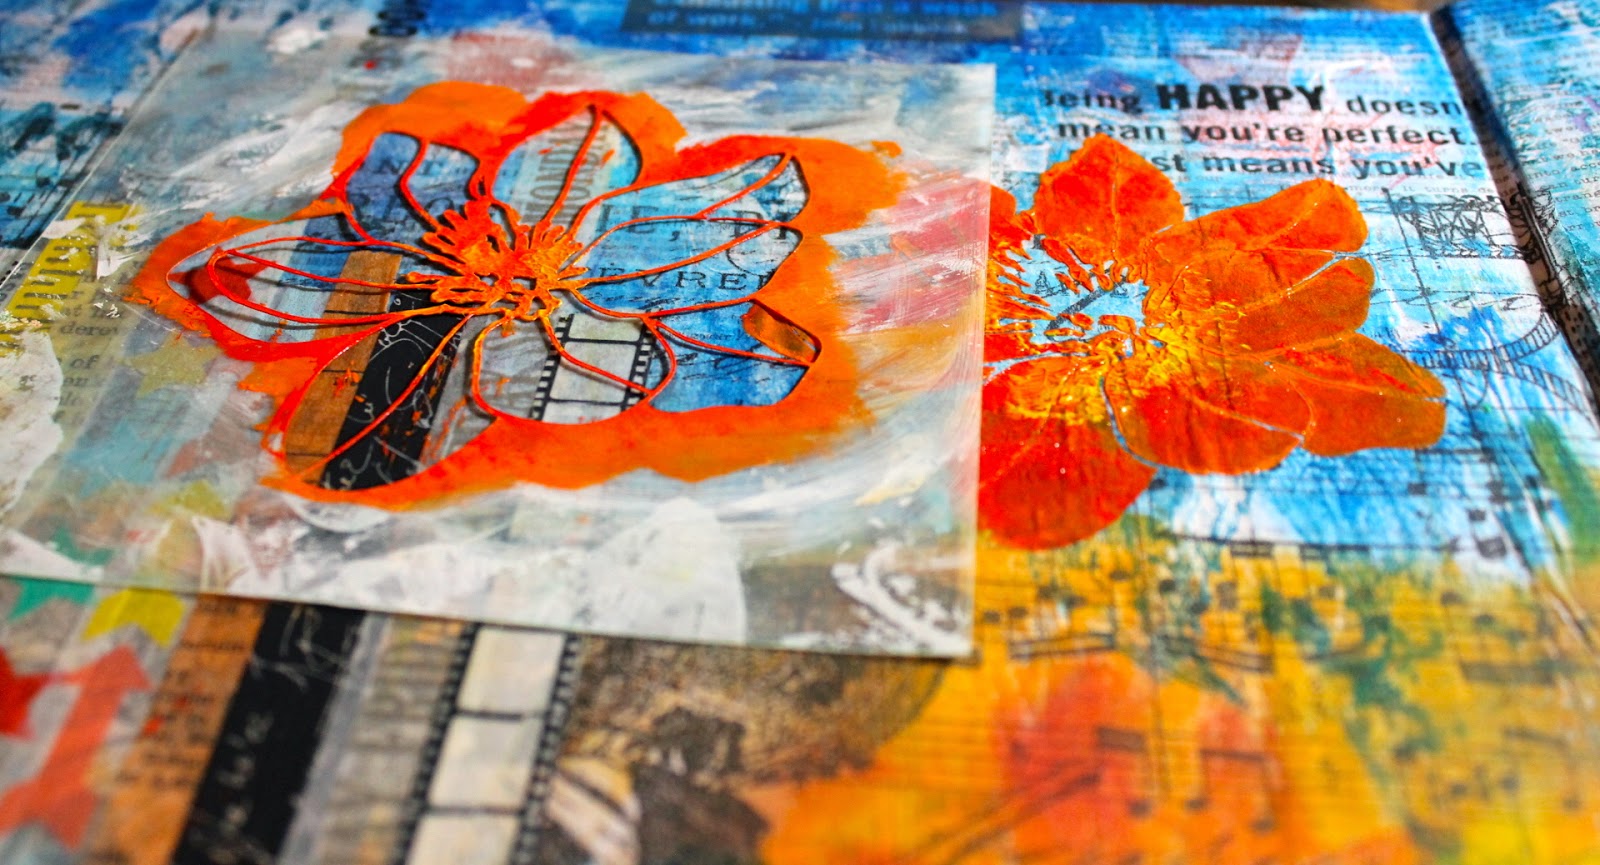
I used 3 different color paints.  Red, Orange and Yellow - and put on 2 layers of each just blending the color with a makeup sponge.
I LOVE how they came out.


You can see above how they just pop out…

I then pulled out my Liquid Acrylics I used 2 different color greens a dark and light.


Color Up.


Then pulled out the black paint and did the other side of the Journal.


more


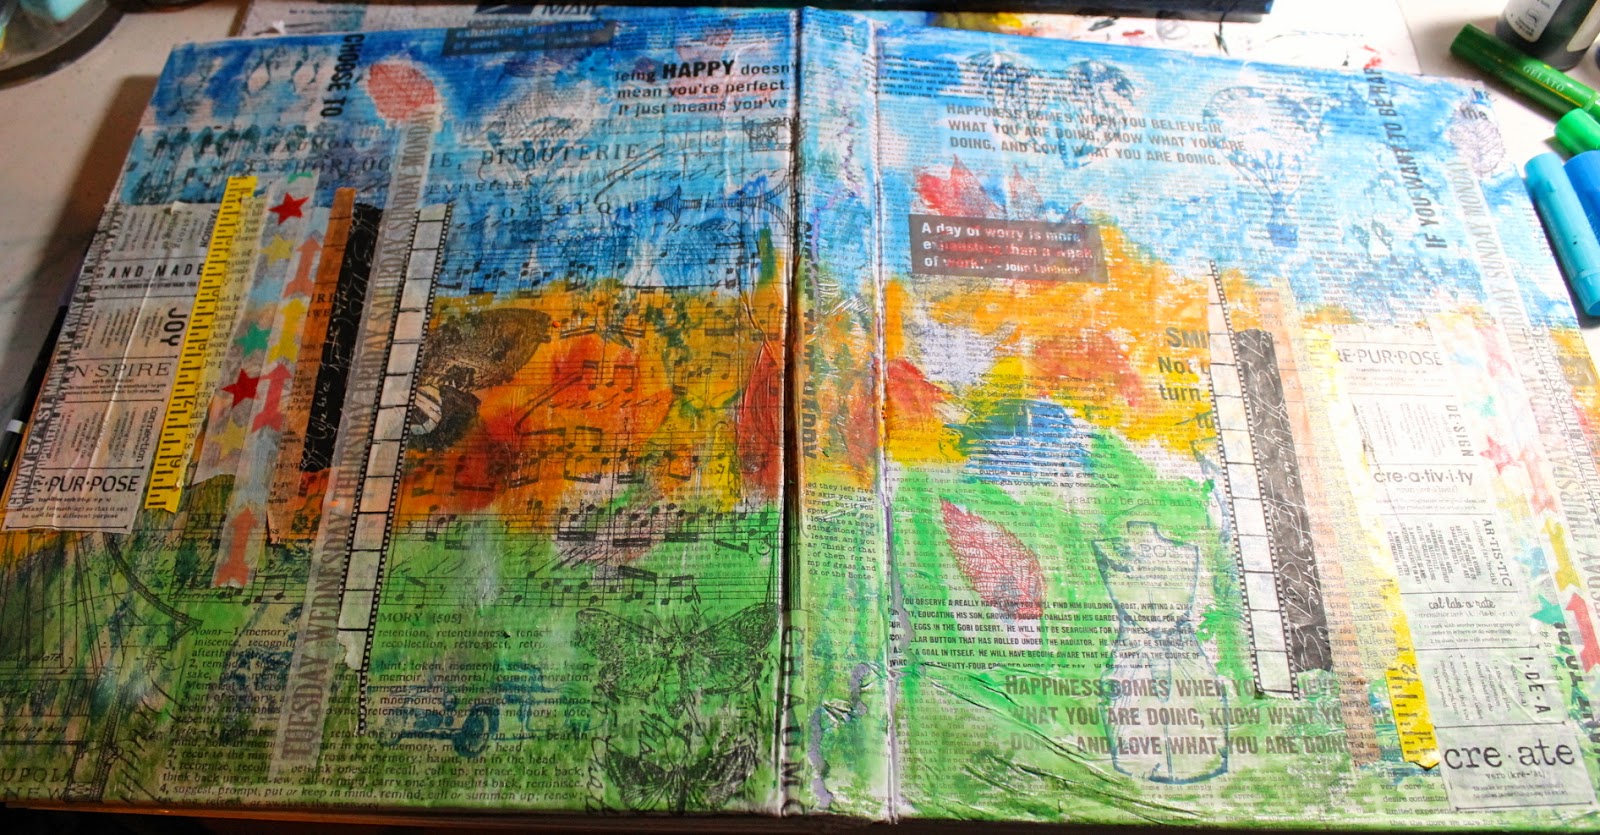
Here's the final…  Tell me you don't just fall in love!!!!


I hope you like the blog post.  As always love your comments.

Wanted to share another canvas I'm working on… it's not done but love how it's coming along.
I've been invited to do an art exhibit in September in New Jersey and I've started to make the pieces for the show.  I'm so honored to be part of it and nervous...


Thank you
Lisa


Thursday, May 29, 2014

Design Team Call


SinCity Stamps is looking for a few awesome Designers to

showcase SinCity Stamps Products!!

If you LOVE play with Stamps, ChipBoard, stencils and Masks show us
what you can do!!
We're looking for talented artists and designers who know how to
inspire others to create. For those that also seek opportunities to
have their stamp work prominently featured, SinCity Stamps Design
Team is a great fit!

What’s expected of a SinCity Stamps Design Team Member?
* Ability to create compelling projects that showcase SinCity Stamps products
* Experience taking good photos or scans of projects
* Active interaction with members of SinCity Stamps Facebook and blog
as they discover YOUR WONDERFUL DESIGNS!!

What are the responsibilities of a SinCity Stamps Design Team Member?
* The SinCity Stamps Design Team is a 6 month hitch, from August  1,
2014 – February 28, 2015
* Create a minimum of 2 (Two) projects per month. Post them on both
your blog and SinCity Stamps blog on your assigned dates each month.
You will post a teaser on your blog and the full project with
directions on the Sincity Stamps blog
* We are also looking for a few designer who would live to make class
kits with videos, if this is something you think you would like to do,
you would be required to complete class kits with full videos.
Date assignments will be given when the team is picked.
* Participate on SinCity Stamps Facebook - this is a MUST!
*  We ask that you are NOT working or Designing for another Stamp or
Chip Board company during your term with SinCity Stamps.
* Submit work for publication. SinCity Stamps will share project
submission opportunities from their editorial contacts.
* Take part in one Blog Hop during the 6 months. Date to be announced.
* Promote SinCity Stamps! Post projects created during your six-month
term on other online
Galleries and blogs. Include working links to SinCity Stamps blog and
to products used on SinCity Stamps
website.

What are the rewards of a SinCity Stamps Design Team member?
* Your bio, picture and link(s) on SinCity Stamps blog
* Promotion of your work and projects to SinCity Stamps Newsletter,
Facebook and Blog members,
a growing international community.
* FREE product in three shipments:

Apply today! Here's how:
1) Send your bio, blog address and Facebook info to
Terri@ultimatescrapbookretreat.com with “DT
Applications” in the subject line (this way you don’t end up in Junk
Mail – I get lots of spam)
2) 1st Deadline: Must have bio to Terri Sproul by June 14th
(terri@ultimatescrapbookretreat.com).
3) 2nd Deadline: Submit/Post 1 project:  Post a project on your blog
on June 15th 12AM   This post must include: a) The SinCity Stamps logo
(you will be sent logo when you send your bio to Terri Sproul) Step by
step directions on how to make this project with links to SinCity
Stamps blog and website. Your submission project can be anything you
love to make ... Scrapbook, Cards, Mixed Media, Altered Art, Eco-Art…
just think outside the box and impress me…
4) Join our Facebook and blog - this is a MUST and is very important
to the success of our team, please friend Terri Sproul and she will be
adding your name if you are part of the team to a Facebook Group page


What to include with your emailed submission –

* We want to know all about you! Send in your bio
* Please describe your style (genre): Scrapbook, rubber stamp, mixed
media, vintage, altered art, ecoart, urban, etc.
* Why would you like to be on the SinCity Stamps Design Team?

Copyright Text

Blank Page Muse 2018 Sin City Stamps 2013