Showing posts with label Phoebe by Jayne Alexander. Show all posts

Monday, January 7, 2019

Adding Dimension to Part of an Image


 Hi everyone! Charlotte here, and today I'm excited to share my first post for Blank Page Muse. I'm showing a way to add simple dimension to your card by popping up just a portion of an image. This pretty doll stamp seemed a perfect choice for the technique, but many stamps could work for it.


Blank Page Muse products used:

Other materials:
White card base
White card snippet
Stamp platform and/or stamping blocks
Black ink
Pale pink ink
Alcohol markers or other coloring medium of your choice
Scissors
Dimensional adhesive

Instructions:
Begin by placing the white card base into your stamping platform, and position the Dream Big Dreams sentiment stamp as well as the front facing doll image from the Phoebe Art Doll set. I like to first stamp onto a piece of acetate to make sure they're positioned correctly before stamping onto the card base.


Ink up with black ink (make sure it's safe to use with your chosen coloring medium) and stamp the correctly positioned stamps onto the card base. Stamp the doll image again onto a snippet of card separately from the card base.

Using a small acrylic block (or if, like me, you don't have one you can use the lid of an ink cube instead) stamp the flower cluster from the Phoebe Art Doll set with a pale pink ink repeatedly across the card base. It doesn't matter if it overlaps the image as the pale color of the ink will be hidden after the image is colored. Again, make sure the ink is safe for use with your coloring medium.

Using your coloring medium of choice start coloring the doll image. I used alcohol markers, but you may prefer colored pencils, paints, etc. For the image on the card base color everything but the dress. Then for the separately stamped image just color the dress. Feel free to color outside the lines of the dress, as you'll be cutting it out anyway.

Once the coloring is completed carefully fussy cut out the dress of the extra image.

Apply dimensional foam tape or foam squares to the back of the dress. The sleeves of the dress are very narrow, but try to get at least some of the adhesive behind them to give stability.
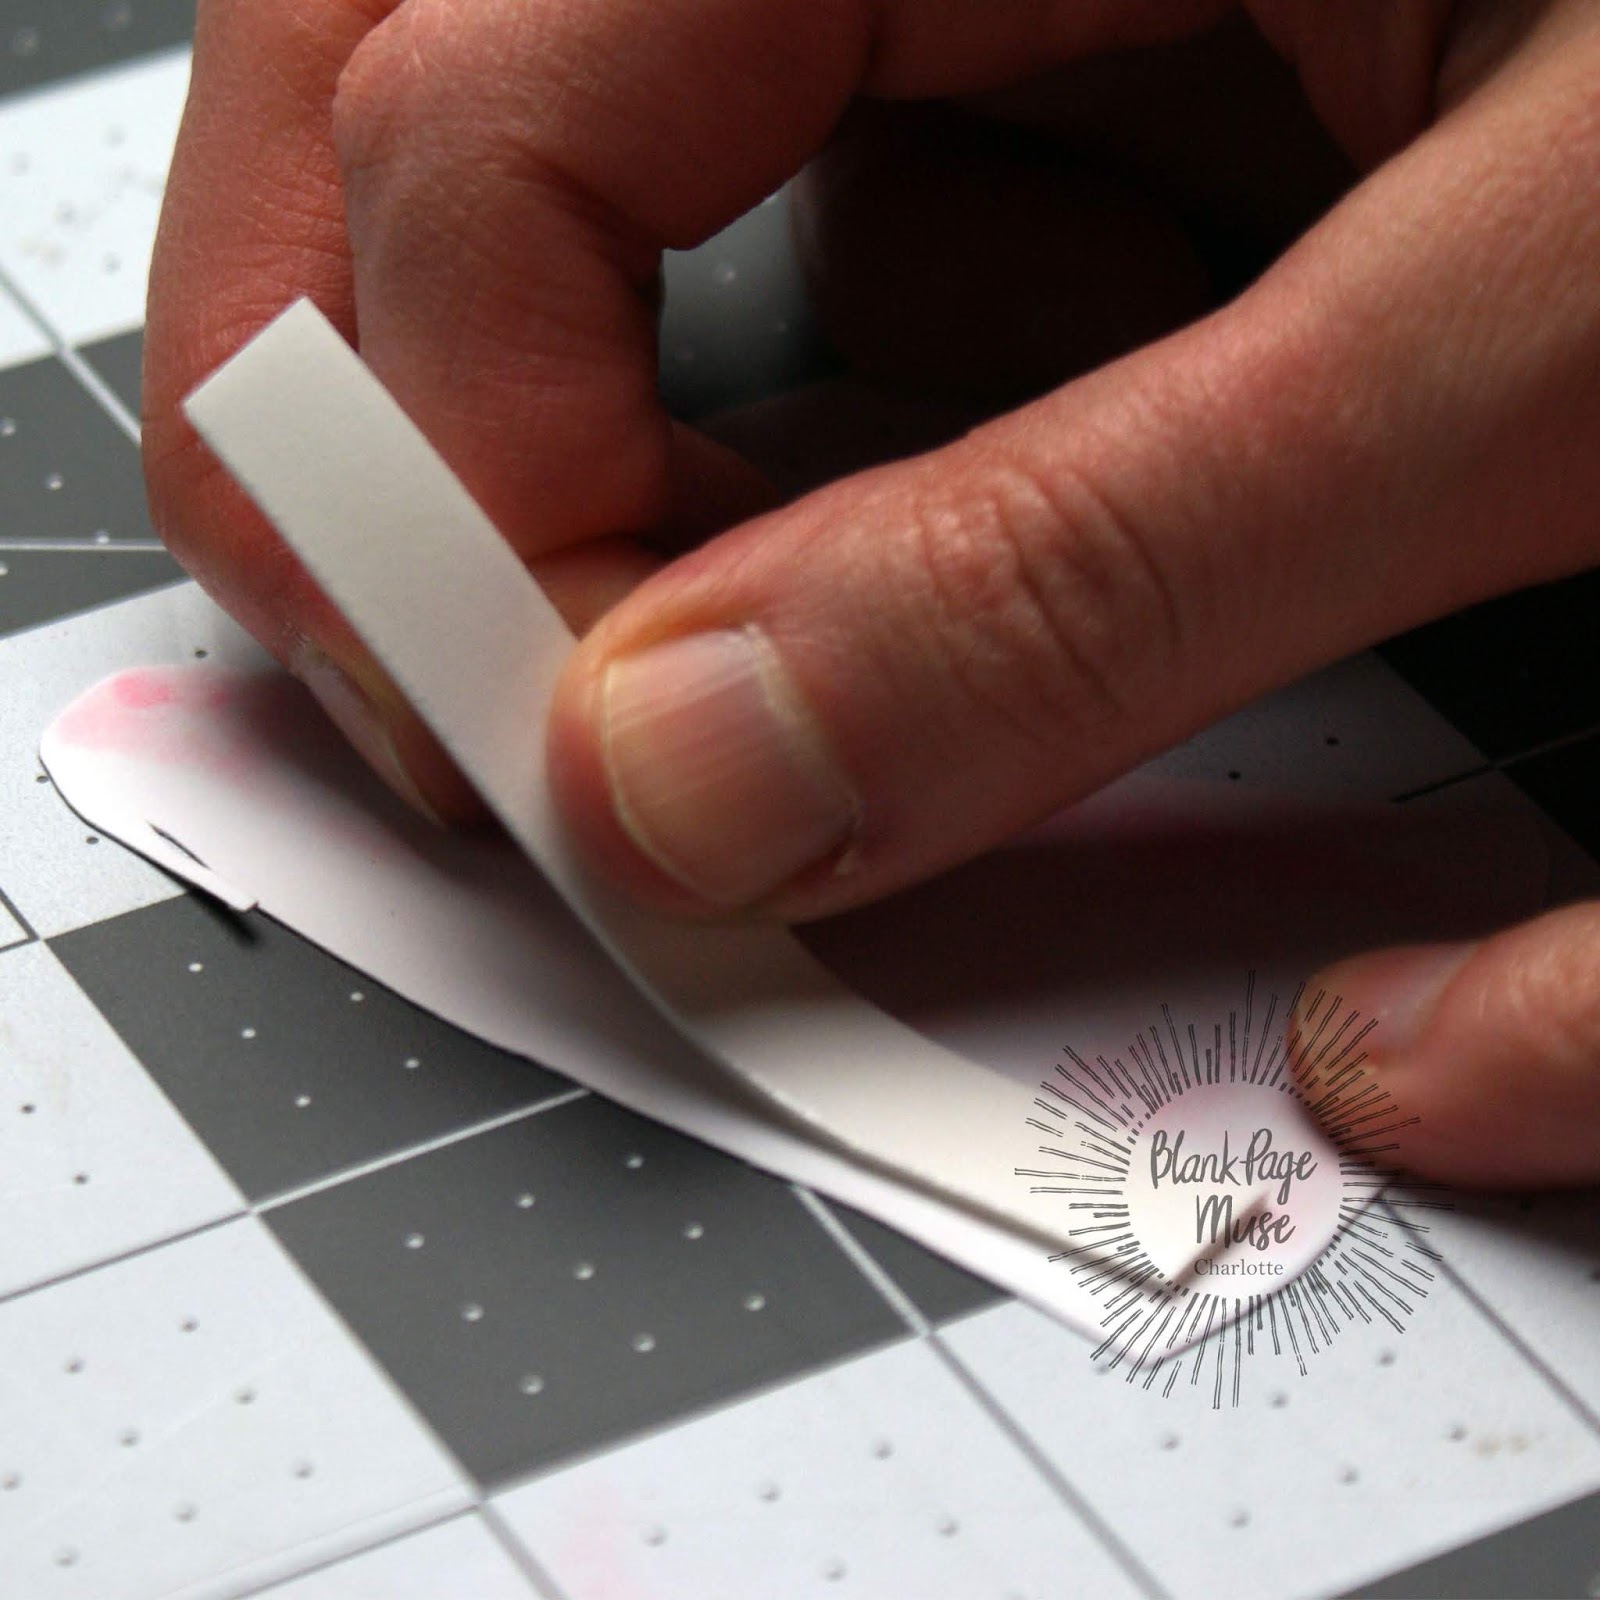
Remove the backing from the dimensional adhesive and carefully line the dress up over the image stamped onto the card base. When you are sure the position is correct, press down firmly.


 Thank you for checking out my post! I hope you liked the card and I'd love to see what you make with this technique. It's a great way to add interest to an image.


Looking for more Inspiration?

Click the links below!


Sunday, December 10, 2017

Fabric Angel Christmas Ornament

Happy Holidays from the Sin City Stamps Design Team!

It's Karen's turn to share her fabulous idea for stamping an ornament. Follow along step by step as she shows just how easy it is to make. Try this trendy mixed media idea and stamp directly onto muslin fabric.

Directions:
1. Cut a rectangle of muslin fabric 4x5" and use black ink to stamp the Phoebe Art Doll image.

2. Cut 2 additional rectangles of muslin fabric to add stability to the finished project. Next, pin the layers together and use a sewing machine to sew a stitch 1/2" around the edge. Trim away the excess to create a 1/4" seam.

3. Remove the nozzle from the bottle of mist and use a paintbrush to color the dress and hair. Apply flesh color chalk to the face and blend pink chalk into the cheeks. 

4. Fray the edges of the muslin fabric by using a pin to carefully loosen the threads. Separate the weave and gently remove rows of thread to create the fringe. Lightly apply a dusting of brown chalk along the edge of the fringed fabric to give it an aged vintage appearance.

5. Embellish the dress with gold beads and adhere a piece of gold trim for her halo. Use gold embossing powder to color the wooden accent word and heat set. Attach it over the lower section of the dress with liquid adhesive.

6. Stamp three pine branches onto muslin fabric, color, and, cut out.


7. Attach a loop of ribbon to the top of the muslin for hanging. Embellish the top of the tag with three pine branches and a wooden snowflake.

8. Finally, carefully slice through the fabric on both sides of the dress. (1 1/2")  Weave a piece of organza fabric (5x7") through the openings.  Adjust the folds of the fabric to create the wings and trim the edges to the desired length and shape.


Sin City Stamps:

Other Supplies:
muslin fabric
black ink pad
sewing machine
mists - maroon, green, brown
paint brush
chalk
wooden embellishments
gold beads
ribbon
organza fabric
gold embossing powder
heat gun
liquid adhesive

A Closer Look:


 To purchase the stamps to complete this project, visit www.sincitystamps.com

For more inspiring paper-craft projects from the Design Team, be sure to visit us at
the Sin City Blog and follow us on Facebook

Join the Sin City Fan Group. HERE 
To learn more about our designer Karen, please visit her blog, Art & Soul.

Thanks for visiting!

Monday, November 13, 2017

Art Journal Tag...Winter is a season...Quick Idea


 Hey there!

It's Kim here today with a bright Quick Idea project to share!

I'm not sure about you, but sometimes for me I really like a project that doesn't feel so overwhelming, something I can do really fast...and small. My solution, (this day anyway!) was to make a journaling tag rather than a whole page.


First step cut a tag any size you feel comfortable using. Using Distress Oxides and Ink, color the tag which is the background. Let dry. 
Then pick a quotation and hand write it out on an index card.


Stamp and color your focal image, cut out and set aside. Phoebe by Jayne Alexander sets this scene.
Once the background tag is dry do some more layering with various stamps. Stamp using the Distress Oxides, they are wonderful for stamping. Just remember they react with water, so take care. 
Add some heat embossing for texture.


Attach your focal image and sentiment.

You are done! Yay!

I think I might make a pocket binder or something to tuck these journal pages into, 
what do you think?

Have a great day!
hugs,
Kim

Copyright Text

Blank Page Muse 2018 Sin City Stamps 2013