Hi everyone! Charlotte here, and today I'm excited to share my first post for Blank Page Muse. I'm showing a way to add simple dimension to your card by popping up just a portion of an image. This pretty doll stamp seemed a perfect choice for the technique, but many stamps could work for it.

Blank Page Muse products used:
Phoebe Art Doll Rubber Stamp Sheet designed by Jayne Alexander
Dream Big Dreams Word Art Rubber Stamp
Other materials:
White card base
White card snippet
Stamp platform and/or stamping blocks
Black ink
Pale pink ink
Alcohol markers or other coloring medium of your choice
Scissors
Dimensional adhesive
Instructions:
Begin by placing the white card base into your stamping platform, and position the Dream Big Dreams sentiment stamp as well as the front facing doll image from the Phoebe Art Doll set. I like to first stamp onto a piece of acetate to make sure they're positioned correctly before stamping onto the card base.

Ink up with black ink (make sure it's safe to use with your chosen coloring medium) and stamp the correctly positioned stamps onto the card base. Stamp the doll image again onto a snippet of card separately from the card base.

Using a small acrylic block (or if, like me, you don't have one you can use the lid of an ink cube instead) stamp the flower cluster from the Phoebe Art Doll set with a pale pink ink repeatedly across the card base. It doesn't matter if it overlaps the image as the pale color of the ink will be hidden after the image is colored. Again, make sure the ink is safe for use with your coloring medium.

Using your coloring medium of choice start coloring the doll image. I used alcohol markers, but you may prefer colored pencils, paints, etc. For the image on the card base color everything but the dress. Then for the separately stamped image just color the dress. Feel free to color outside the lines of the dress, as you'll be cutting it out anyway.

Once the coloring is completed carefully fussy cut out the dress of the extra image.

Apply dimensional foam tape or foam squares to the back of the dress. The sleeves of the dress are very narrow, but try to get at least some of the adhesive behind them to give stability.
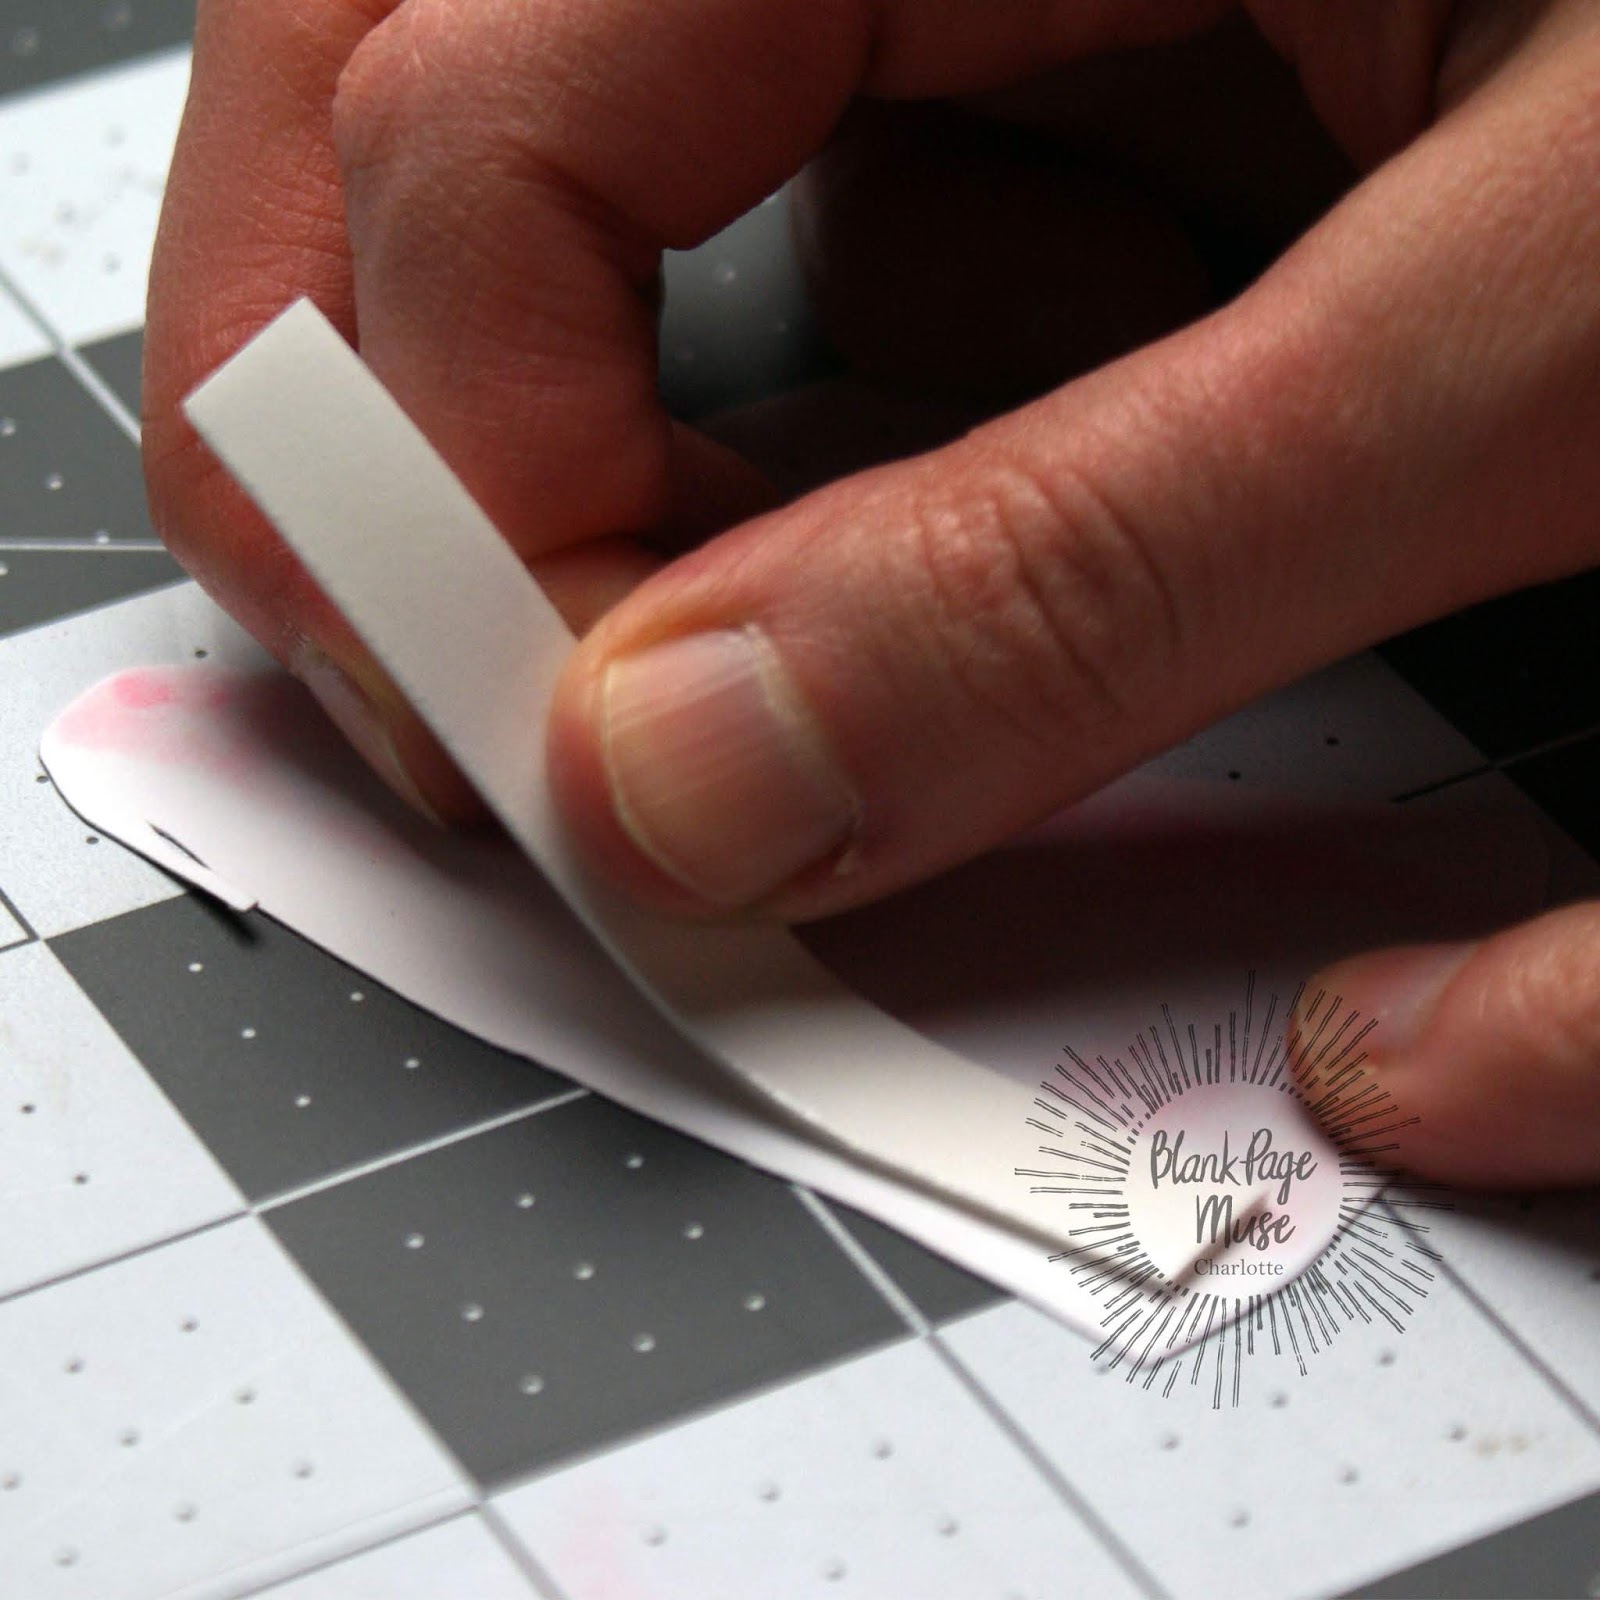
Remove the backing from the dimensional adhesive and carefully line the dress up over the image stamped onto the card base. When you are sure the position is correct, press down firmly.

Thank you for checking out my post! I hope you liked the card and I'd love to see what you make with this technique. It's a great way to add interest to an image.

Looking for more Inspiration?
Click the links below!
This is beautiful, Charlotte! Jo x
ReplyDeleteThank you, Jo! x
DeleteI love this! ��
ReplyDeleteThanks!
DeleteGorgeous and love the Shading!
ReplyDeleteThank you :)
DeleteI love the dimension and lovely soft colors. Phoebe is awesome! Thank you so much for creating for us!
ReplyDeleteKim
Thank you, Kim :)
DeleteWow, wow, wow Charlotte!! I can’t get I’ve how you’ve made this stamp look so dimensional and lively!!
ReplyDeleteThanks!
Delete