
Hello! Welcome back to the BPM blog. The BPM team is creating projects with a Christmas in July theme for this month. It is never too early to start creating Christmas projects or cards.
I used the following Blank Page Muse stamps on my card:
I prepared my cardstock for embossing with the use of an anti-static powder tool.
The alphabet stamps come as strips when ordered. I carefully cut the letters, cutting off from the strip the letters that I used on this card.
I used a washable glue stick to temporarily adhere the rubber stamp to an acrylic block.
I inked the letter stamp with an embossing ink.
I poured white embossing powder to the sticky ink.
I used a heat gun to melt the embossing powder. By the way, I stamped the wrong letters on the above photo. I thought this was the letter M. I later realized that this was the letter W.
I heat embossed all the letters on the black cardstock.
Using a dry rag, I wiped off the excess powder from the black cardstock.
I cut the embossed letters apart.
I added metallic inks on the cut out letters.
I wiped off the ink to spread and mute the color down. I set the letters aside while I work on the background panel.
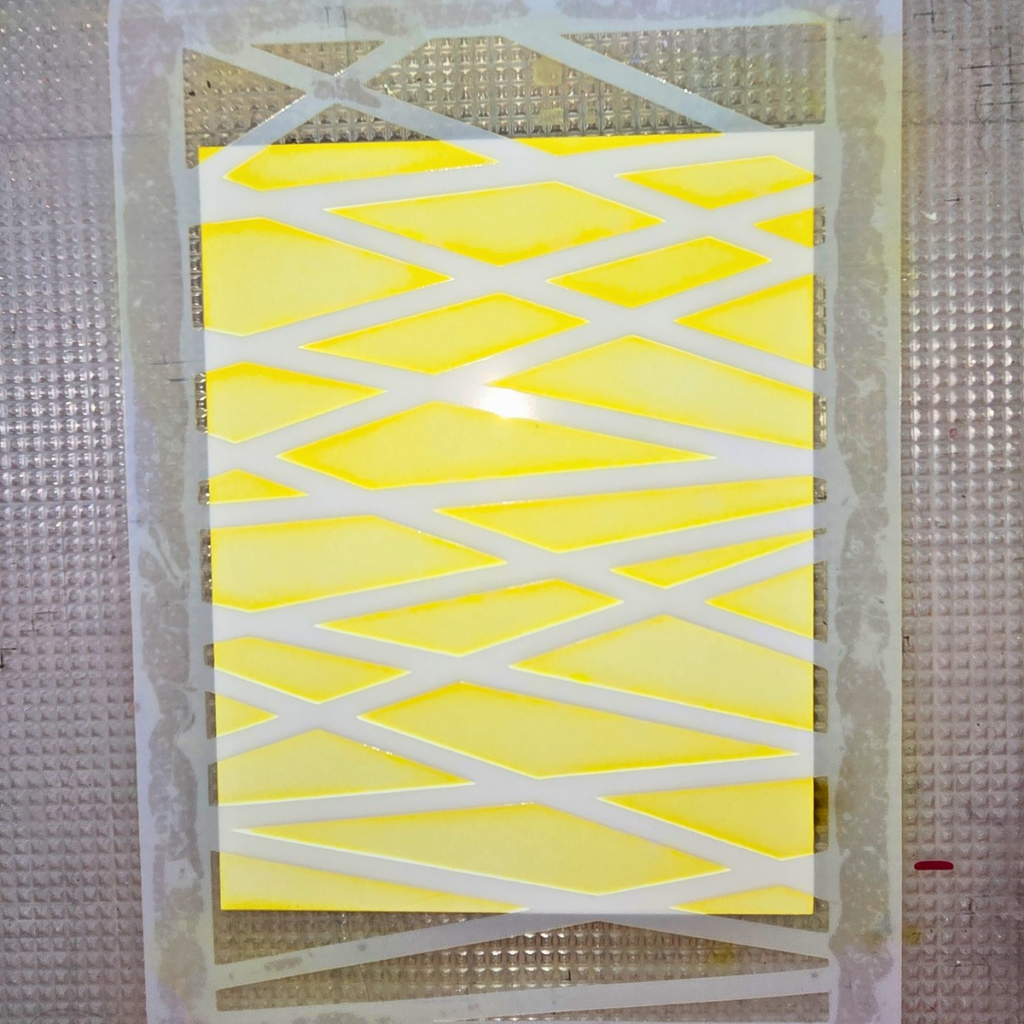
I trimmed a light pink cardstock at 5 1/2" x 4 1/4". I used a stamp positioner on this part of the project.
I inked the trees alternately with different hues of green and red. I did not do any masking when I applied the inks alternately. There were some overlapping of inks which I don't mind at all. To prevent the overlap, I think the best inks to use for this technique are the mini ink cubes. A blending brush can also be used to apply the ink to the stamp.
If you noticed, I switched to a grid paper that helped me move the cardstock panel to equally space the tree column. I feel this is a more efficient way of creating my background compared to removing the stamp from the stamp tool and repositioning it.
I turned the cardstock panel 180-degrees to stamp the red/pink trees.
I adhered tiny star sequins to the tree tops for a bit of shimmer.
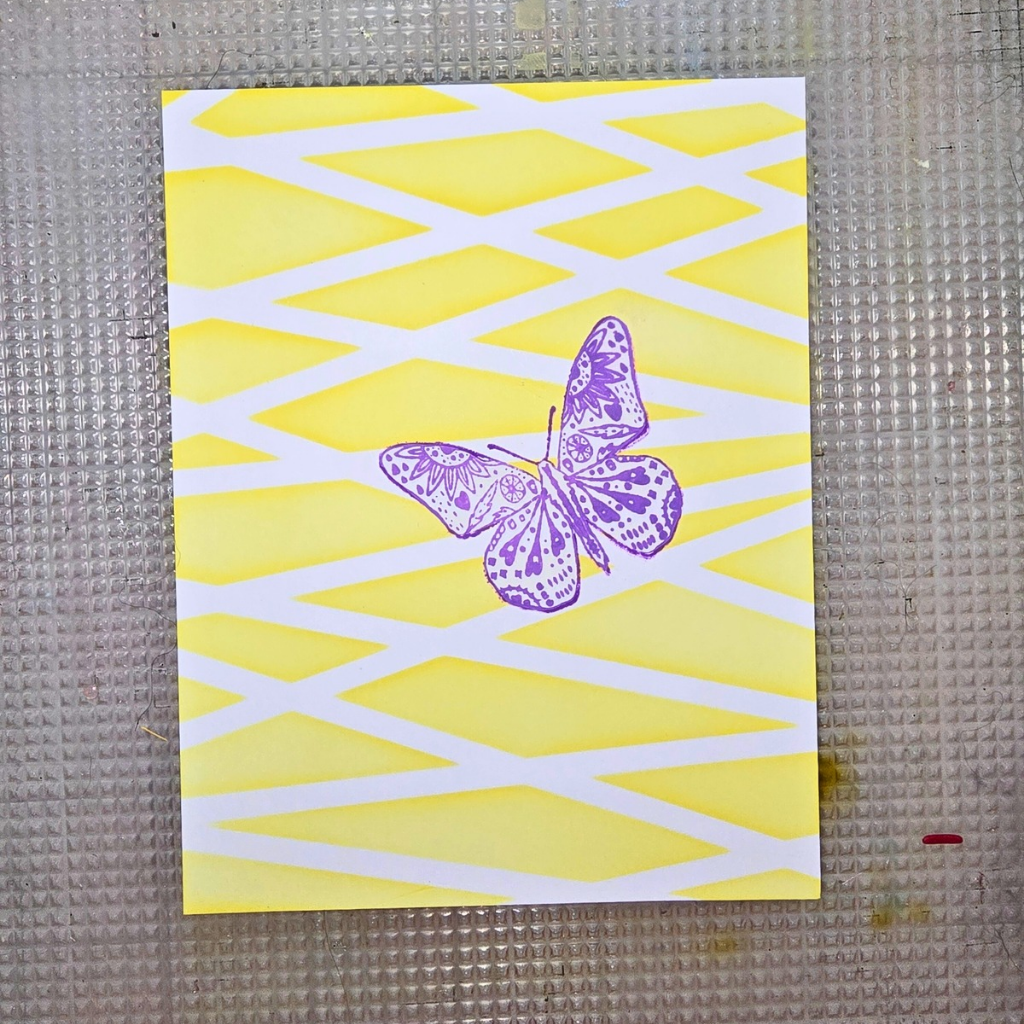
Here is what the cardstock panel looks like after all that stamping.
I gently ran the embossing pad on the edges of the panel.
I poured pearl gold embossing powder ink on the sticky ink.
I melted the embossing powder using a heat tool. You can totally skip this step. I was fiddling with the project at this point that's why I added this embossing. Somehow, it gave the panel a vintage feel.
I adhered the letters to form the word 'merry' on foam tape to add dimension to this part of the sentiment.
I adhered the letters to form the word 'Christmas' to the background panel. I used a T-ruler to help me line up the letters. I aligned the letters and not the cut out so you will notice that the ends of the cut outs are not straight.
I felt the letters got lost on the busy background. I used a gold marker to draw a line around the sentiment to frame it.
The outline was not enough. To make the sentiment pop out some more, I added green glitter to the space in between the sentiment and the outline. Of note, the glitter I used is from a dried up marker which I rarely used. Instead of pitching the marker, I pumped the marker on a dot of water. It was not enough to make the ink more fluid to write with it but it did produce a decent amount of colored glitter to paint on the panel.
I hope you like today's card. So much possibilities with this design. You can change the colors and make this into a monochromatic card. You can also keep it simple by just adding the spelled out letters with one of the stamped trees.
Visit our social media sites for more stamping fun!
Have a blessed, brilliant and creative day!


.png)


