Thursday, March 9, 2017

ATC Masterboard Madness!

Hi Sin City Stamp Fans!!!


Can you believe it's already March? - Wow this year is going fast!
Today I am sharing 2 pocket letters made using ATC backgrounds cut from "Masterboards" created with Sin City Stamps!
 I've combined collage images with the stamped backgrounds - ideas to make your stamps even more versatile!


Supplies List:
  • Sin City Stamp Set Dandelion Wishes with Butterflies
  • Sin City Stamp Set Flower and Bird Sketches
  • Collage images (I have used sheets by Lisa's Altered Art)
  • White cardboard (A4 Size or whatever is your countries standard size!!!)
  • Plain colored card
  • Paint in co-coordinating colors
  • Brayer
  • Stencils & white paint & sponge
  • Archival ink pads & optional embossing ink & powder
  • Sewing Machine - Optional
  • Washi tape
  • String & fibres
  • Embellishments of your choice ie. pearls, feathers, trim, scraps of cloth, burlap, die cuts, stickers, charms etc.
  • General supplies like glue, scissors, hole punch, tape etc.
  • ATC sheet protectors- also known for baseball cards.


Instructions:

1. Grab your supplies to make your "Masterboard" - paints, roller, stencils, sponge and your base card. You really don't need anything fancy for your base card as the paint and stamping will give it the "look"!!!
Who needs to buy patterned paper when you can make your own!!!


2. Start by placing "dots" of co-coordinating paint on your background card. I used 4 colors for each sheet. As you can see I am working on 2 at once - might as well make a big mess at once LOL!!! Color choices are entirely up to the individual - everyone always has a favorite color combo (I always love pink & purple).


3. The next process is simple,  just grab your roller and roll the paint around. Be careful though you don't want to blend the colors and end up with a big mess of awful color!! Don't worry if you have some areas of paint that are thick and others thin - it all adds to the texture and individuality of the masterboard. Allow the paint to dry completely before continuing with the next step!


4. To break up the color, grab your favorite stencils and some white paint and a small sponge and randomly sponge lightly through the stencil over your paint. This is great if you used dark colors - you need some lightness to show the stamping.


5. Once all the paint is dry we can move onto stamping the masterboards. Stamps from the "Dandelion Wishes with Butterflies" Set have been used on the pink/purple sheet and the feather stamps from the "Flower and Bird Sketches" Set have been used on the brown/green sheet. Archival inks work well for this process as they won't rub off the paint. You can also stamp with embossing ink and embossing powder for added texture. I used gold embossing powder on the brown/green sheet for some sparkle. You can stamp as much or as little as you like over the masterboards. I wanted to make sure I had stamped images on each of my ATC's, once the boards were cut up for the pocket letters.


6. The next step is to start putting together the ATC to be used in the pockets of the sleeve to make the completed pocket letter. As you know ATC's are 3.5 x 2.5inches so you will need to cut 9 plain colored card ATC's. Then cut your masterboard so that you have 9 "overlays" for your ATC's - so cut slightly smaller so you have a solid border of color once you adhere the patterned card to the plain card.


7. This next step is entirely optional as it is quite time consuming - I love to use my sewing machine so I have attached the 2 layers with a zig zag stitch! Sewing gives a really great effect and adds yet more texture to the card but alternatively you can just adhere the 2 layers together with glue or tape. If you sew,  it's nice to tidy all you threads and secure them at the back so they don't come undone!


8. Time to get your collage sheets, scissors and glasses if you need them for fussy cutting like me!! Lay out your base ATC's as though they were in the pocket letter sleeves and start to arrange your collage cut outs and extra embellishments. Once you are happy with the layout you can start to glue everything down. I made sure I left lots of background showing so the effect of the stamps could be seen on each ATC - we are promoting Sin City Stamps LOL!!!!


9. Last step is to add a bit of colour and interest to the actual pocket letter sleeve. Use some co-coordinating washi tape to "edge" each side of the spine and then use your punch to put the holes back onto the spine. It also looks great when you attach string or fibers to the holes in the spine for added color. You can also add charms, beads and bling for even more interest!!


I really hope you enjoyed this process - I love to make Pocket Letters - they can be very time consuming but well worth the effort and making your own base ATC's is much more rewarding than using purchased patterned paper!!


Have a great week of crafting!

And remember to visit our new Facebook Fans Group - lots of fun and games and sharing of fabulous Sin City Creations!!!

Sharon

Tuesday, March 7, 2017

Time is a Healer

Hello everyone, Monique here with a new mixed media project for Sin City Art Stamps


Supply list:
Chalk Paints in  Blue, Red, grey-green and white.
Metallic paint in gold
Matte varnish
Crackle medium
Antiquing cream in black
Gesso
Burlap
Cardboard 
Waterproof stamp ink in black
Colored pencils
Dies (swirl and scroll-work)
Die-cutting machine
Assorted embellishments 
twine
Alphabet stickers or stamps 
White cardstock
Distress inks in green and brown

HOW TO:


Step 1: stamp the image onto white cardstock and color it using pencils


Step 2: Take a piece of a cardboard box and remove parts of the top layer


 Step 3: Remove some threads from a piece of burlap to create frays on the edges. Add a layer of gesso on the burlap like in the picture

 Step 4: Paint the cardboard blue and add a little white using an almost dry paint brush.


Step 5 : Add some red paint

 Step 6: Die cut the swirl and the scrollwork, then paint them with the grayish green with gold.
To give it an aged look, remove some of the paint with a babywipe or wet cloth.

 Step 7: Add 3 layers of matte varnish, letting it dry in between layers.
This is to seal the image before using the crackle medium.


Step 8: Apply a layer of crackle medium. As the medium dries, it will create an effect as if it is an old painting complete with aged cracks.  Rub some black antiquing cream to further age the image by rubbing it into the cracks.

Step 9: Add water to some black paint and use this to help age the burlap.

Step 10: Assemble the piece with strong adhesive and add some finishing gold details around the edges and on your added embellishments.


Here some close up pictures, the crackle doesn't show very well in the photos but it's there!


Thanks for visiting.

Here's our quick links to find even more inspiration and to grab your own Sin City Stamps:
Sin City Stamps Store
Sin City Stamps Facebook Group
And you are here at "The Blog" but make sure you keep checking back - even better "follow" us so you don't miss any of the Inspiration Team posts

Sunday, March 5, 2017

Not so Fragile after all Art Page


Hello my dear crafty friends!
 Irit is here and welcome you to my new Sin City Stamps Inspirational Post! 
Today's art page is full of bright colors ... a tribute to International Women's Day on March 8.
Not too many people celebrate this day, but for those who do in the world- Happy Woman's Day!

So as you can see the main point of this art page is a saying.
Everyone thinks that woman area fragile, delicate , little creatures who needs men to help her.
Big No!
We are not so fragile as we look.
We are not fragile at all.
So this art piece was done for all the strong women on the earth ! I salute you all!

Product list:
SinCity stamps:
Rosette hearts rubber stamp set- key and heart from this set

Other products:
White thick cardstock
Gesso
Stencils
Acrylic paints in yellow, orange, red, teal and black.
Metalic gold paint
Modeling paste
Black permanent ink
Sticker letters
Spatula
Acrylic block
A brown stained flower
Wooden clock
A 2" circle punch
Adhesive
Random embellishments and chipboard mesh shapes
Black pen


And now as always- here is my step by step tutorial:

1. Prime your cardstock with a layer of gesso. Then use the modeling paste and stencils to make a random raised impression over the cardstock. let this dry.


2. Stamp the face stamp with the black ink onto your piece.

3. Next, stamp the Button over and over with the same black ink.


4. Randomly stamp the hearts using the same technique (no photo for this step).
Punch the circle a bit larger then the face stamp and outline it with modeling paste so the circle is raised around the face.

Paint a few chipboard mesh pieces with yellow and orange acrylic paints then add them to your piece.

Paint the whole page with the mix of the same colors.

5. Apply red and teal paints onto the page. Outline the words with red paint as shown.
6. Out line the circle around the face stamp with black pen. Glue the stickers in place.

Finish with some black paint splatters and your embellishments.


Touch up the flower with some gold paint.


I hope you liked my art page!
Thanks for coming by!

Friday, March 3, 2017

Stamped Image Masking Technique

 Hi Everyone!
I belong to a card making group that meets at my home once a month. This months theme was "Masking". There are many types of masking in the card world, and this tutorial is just one of them! I made this card for our swap and to show you how fun it is to play with Sin City Stamps!


 Materials and tools needed:


So the first thing you want to do is to stamp your images onto the newsprint paper. The reason I use news print is that it won't bleed and its thin enough to make the mask.  Here we are starting with the wheel stamp. I stamped the wheel onto the white cardstock, then again onto the newsprint.  I carefully cut it from the newsprint and placed it onto the wheel stamped cardstock with the removable adhesive.

 Next I began to stamp the bottle images as shown.  When I was done, I carefully removed the wheel image.

I stamped about 5 bottles onto the newsprint, cut them out and placed them over the pre-stamped bottles with the removable adhesive. I stamped the shell image over the newsprint bottles and then moved the bottles to the other side and added the rest of the shells.  Once all the newsprint images were removed, I started coloring in the images with color from the ink pads.

 After I was done coloring everything in, I placed the card onto the craft mat and secured in place with tape. Then I carefully cut out all the unpainted cardstock with the craft knife.
I adhered this onto the front of my card and finished with a few embellishments.  .


 Here is another card I made for myself.


 What do you think? Are you inspired?
Try it out and show us your creations on our new Sin City Stamps Fan Page on Facebook!

Wednesday, March 1, 2017

Art is Therapy Art Journal Page


Hi all!

Today I am going to show you how to create this bright Art Journal page using the
 Sin City Stamps!

Product list:

Sin City Stamps Art Journaling Stamps
Dry Wall Tape
Black ink pad

Acrylic paint in White, neon pink, neon orange , neon green and neon yellow
Gesso
Bubble wrap
Favorite background stencil
Black modeling paste
Newsprint washi tapes
Neon 3D Pearls in Blue and Green


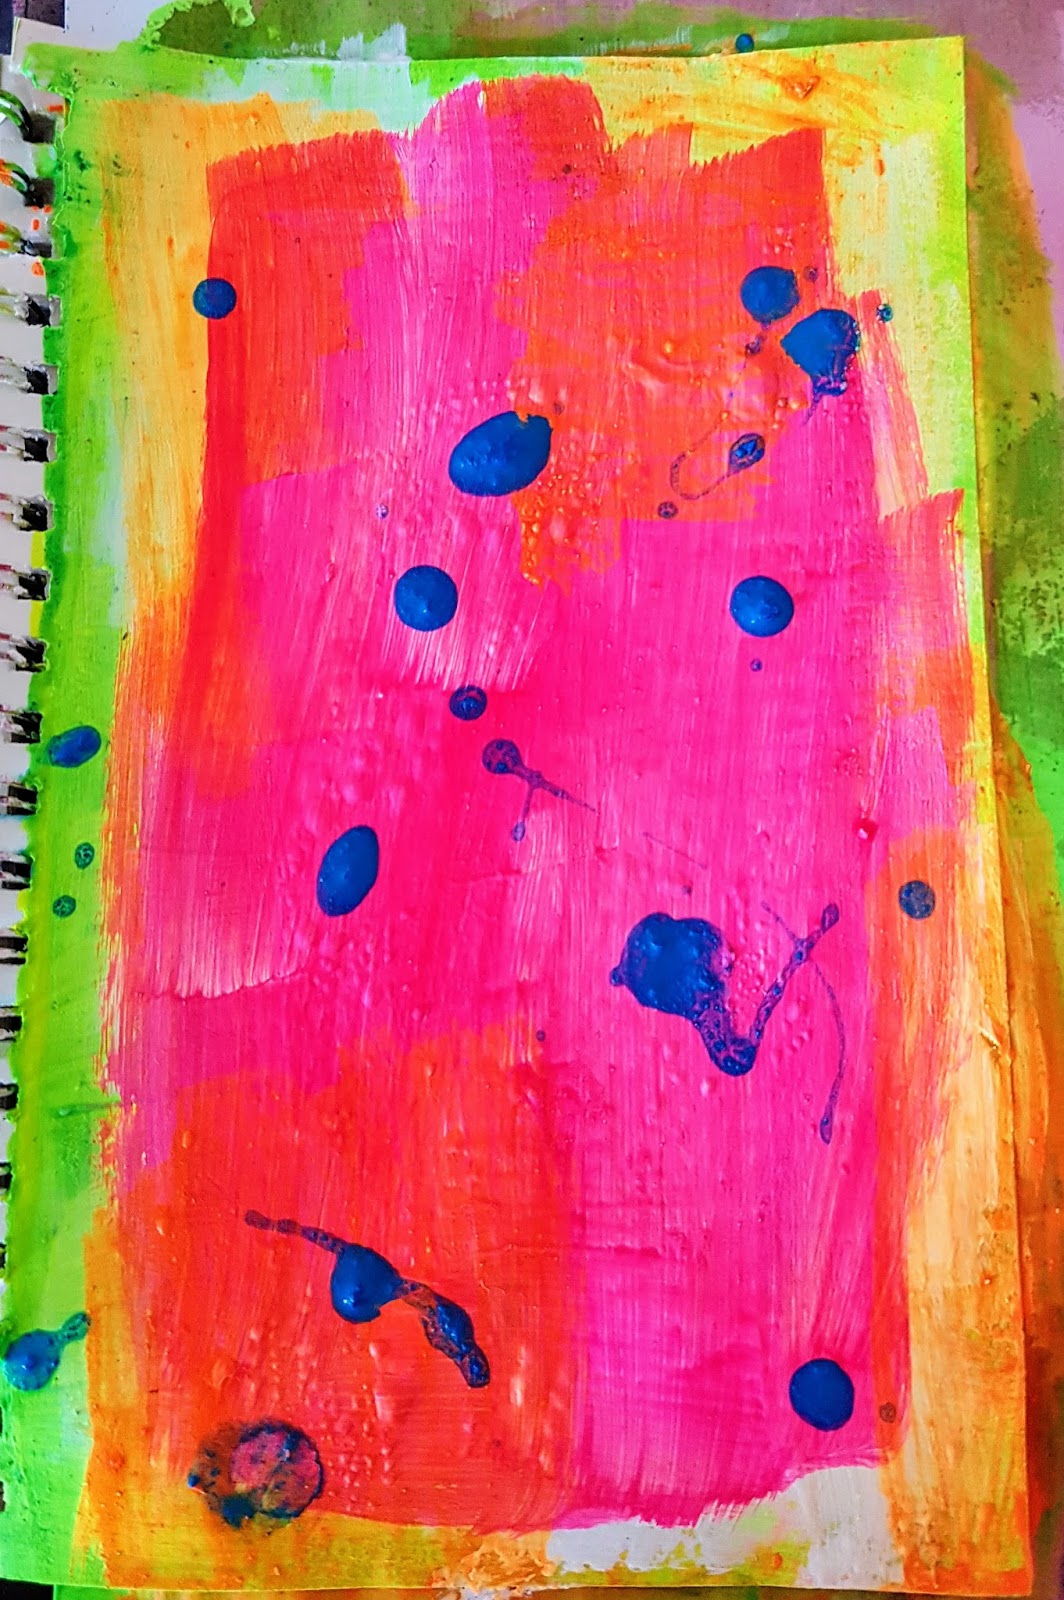
                Paint the page with green neon paint and then yellow.
Next paint over with white gesso and leave to dry.


Paint neon orange paint over the top and then another layer of gesso.


 Paint neon pink in the middle and splash over some blue paint and leave to dry.


 Using the random letters stamp from the journaling set and your black ink pad, stamp around the page in a no particular pattern.


 Apply some white paint to the bubble wrap and press onto the page, revealing a nice design.


Use a stencil to add modeling paste to the page and let it set.


 Add more paint over the stenciled design.


Tear up strips of washi tape and add them to the page before covering them over with a little gesso.


This time use black modeling paste with a stencil and let it dry before going over it with gesso.


Add more paint and then another stencil using black modeling paste.


Use the texture stamps from the journaling stamp set to build up more texture.


Cut up pieces of dry wall tape and paint over with gesso.
Stamp out the note pad stamp onto cardstock and cut out.
Add texture stamps around the edges and then stamp the word Art at the top.
Finish by adding the rest of the words using a label maker.

Copyright Text

Blank Page Muse 2018 Sin City Stamps 2013