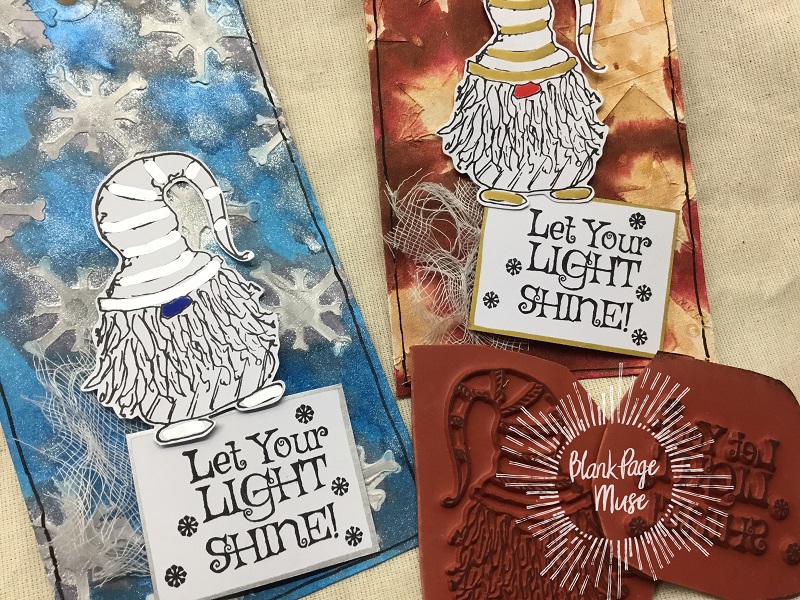
Greetings BPM Fans! Did you know that gnomes are a symbol of good luck? Farmers still use them today to watch over livestock and crops. They place gnomes in the rafters of the barn or put them in their gardens. I just think they are so cute. Just check out this adorable one from Blank Page Muse called StarBright Gnome Wintery Tree Let Your Light Shine by Pam Bray. This stamp set comes with a 5" tree and the sentiment, Let Your Light Shine. I colored him in red and green colors for a winter card, but you can color him any color and add leaves on the trees for any occasion card or project.
I hope this card inspires you to enter the Blank Page Muse December Challenge, "Celebrate!" You can turn this card into one for any festive occasion. This is a really fun card to make! Visit the BPM Blog for details.
I made this 6"x 6" card using distress inks for the background and added stars using the Stars template available at Blank Page Muse. To add the stars, I added glitter to texture paste, mixed it well, then used the stencil to add the stars. All the supplies and instructions to make this card are listed below. Give it a try!
Supplies:
- Blank Page Muse stamps: Gnome Starbright set
- Blank Page Muse stencil: Stars
- White cardstock cut to 12"W x 6"H, scored at 6", folded in half. This is the base card.
- Black cardstock cut to 5-7/8"W x 5-7/8"H for the mat.
- White bristol or watercolor paper cut to 5-3/4"W x 5-3/4"H.
- White cardstock for the sentiment
- Black cardstock to mat the sentiment
- Distress ink: Tumbled Glass, Stormy Sky, Faded Jeans, Black Soot
- Ink blending tools
- Water & paint brush or water spritzer
- Art Masking tape. I use Eclipse Art Masking Tape.
- Black ink pad
- White gel pen
- Coloring medium of choice. I used Copic markers.
- Transparent texture paste. I used Ranger Texture Paste/Transparent Gloss.
- Silver glitter - fine or extra fine
- Palette knife to apply texture paste
- Paper trimmer
- Scissors
Instructions:
- Using the bristol or watercolor paper, stamp the gnome toward the bottom of the paper.
The gnome will need to be masked so that when the tree is stamped, a few of the branches will appear to be behind the gnome. Place a small piece of masking paper onto bond paper and stamp the gnome. Using scissors, cut out the gnome.
For this card, a snow scene will be created so a mask needs to be created. Using a 6"W x 3"H piece of masking tape, place it on a piece of bond paper. Draw the snow across the masking tape then cut using scissors.
- Color the gnome with your favorite coloring medium
- After coloring the gnome, adhere the gnome and snow masks
- Using your blending tool and distress inks, ink blend the sky. use the lighter colors towards the gnome and darker colors towards the edges and corners.
- Spritz water onto the sky area making sure there are some "stars" of different sizes.
- Remove the snow mask, but leave the one on the gnome in tact.
- Stamp the tree close to the left edge. It's ok to have branches off the page.
- To add the big silver stars in the sky, first mix the glitter into the texture paste.
- Tape the stencil onto the card then use the palette knife to spread a thin layer of texture paste. Lift off the stencil carefully. Let dry until before adding the big star.
- After adding the texture paste for the big star, ensure it is dry before moving onto the next step. A hair dry or heat gun can be used to speed up the drying process.
- Remove the mask from the gnome.
- Using your coloring medium of choice, draw and color some snow drifts.
- Stamp the sentiment, trim to size. Cut a mat using black cardstock.
- Adhere the mat and sentiment to the card front.
- Adhere the card front to the black mat.
- Adhere the black mat onto the base card.
- Using a white gel pen, add a few snowflakes in the sky and on the tree. the card is complete!
This would make a cute Christmas card by adding some ornaments on the tree too, but I kept it a winter card for a friend.
I hope you give this card a try! I appreciate you stopping by today. If you have any questions or comments, please leave them below. ~Betty~
Looking for more Inspiration? Click the links below!