Showing posts with label Love of Butterflies Set. Show all posts

Saturday, May 6, 2017

Dare To be Different Journal Page

Hello There!
Today I would like to share this Journal page with you.
 It was made using a variety of Sin City Stamps!

This Journal page was so much fun!
 The Sin City Stamps used here are (butterfly) Love of Butterflies Collection and the sentiments are from the Inhale Exhale collection.
Head over to Sin City Stamps to get these and so many others!!

 Art Journaling is a great way to be messy with your Art.
 There are endless possibilities and no right or wrong way to do it!
 For this page, a basic background was created by picking up ink from a craft sheet that was sprayed with water lightly.
Random stamping of butterflies was done using black archival ink.
*Tip for stamping...Apply a generous amount of ink to your stamp and continue stamping until it is all used. This will give you that "fade-out" effect you see here.


Apply spray ink in colors of your choice both alone, and through stencils. 
*Tip for background...when using stencils, turn the stencil over to the reverse and lay on your page. Then lightly spray with water and blot dry with towel or paper towel. 
This is another way to get that "shadowed" look as in the white circles above.
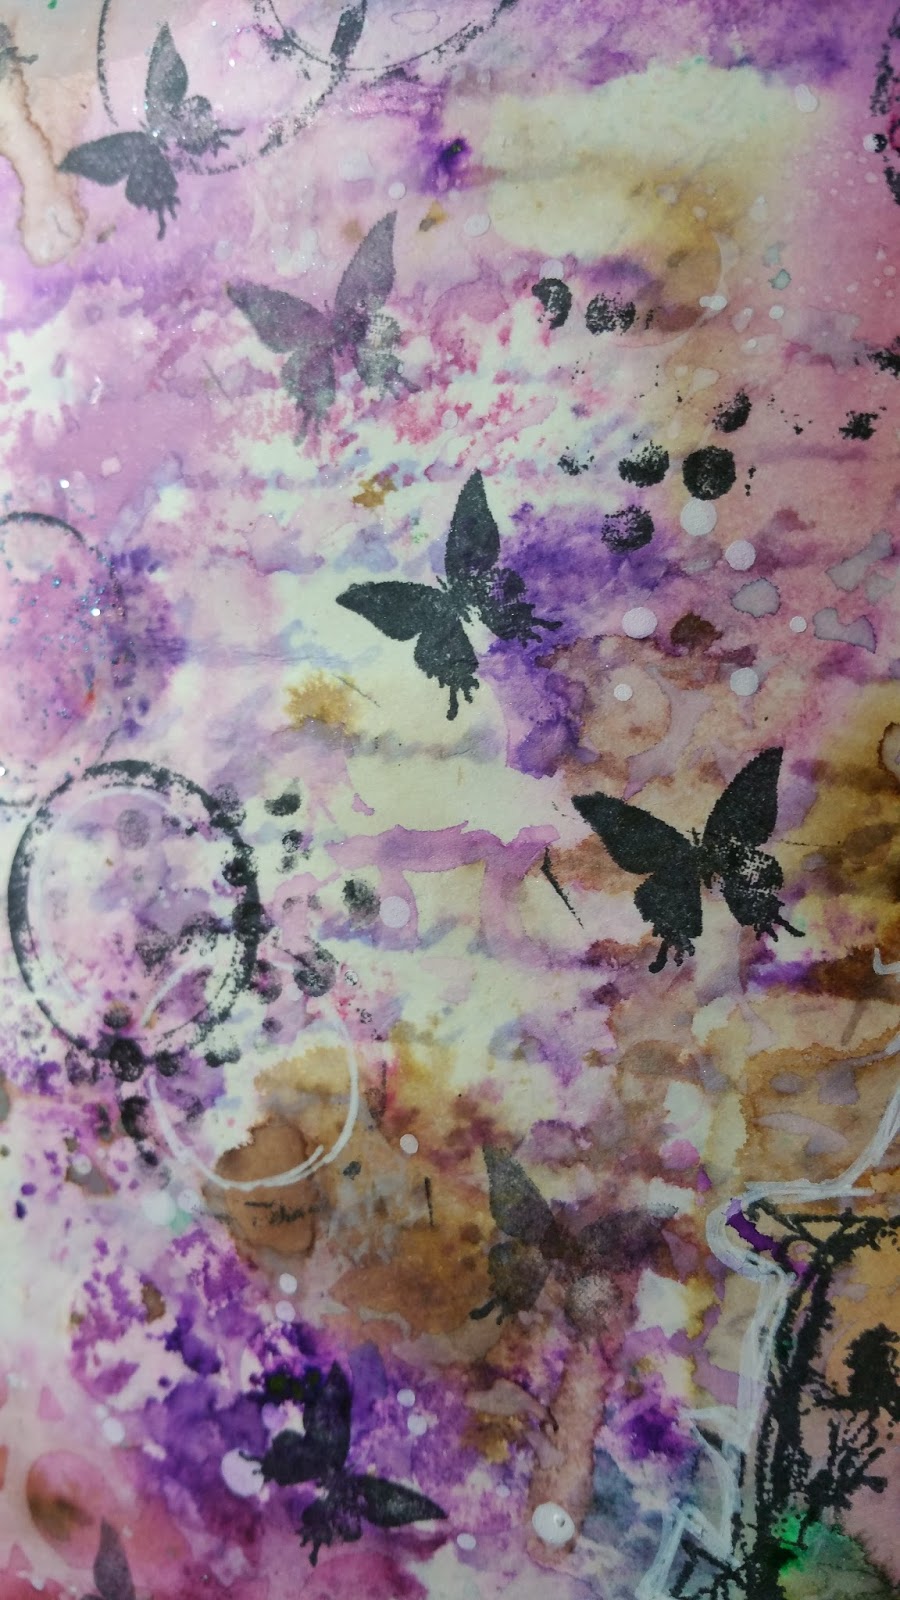
Once you have completed stamping and stenciling, go back over some things by outlining with a white gel pen to enhance.
 Splatter a bit of white acrylic paint.
For the outline of this page a journal block was used to create the wavy lines all around the outside of pages.
 A texture stamp was then stamped in black in the empty spaces.
The lines were enhanced using a black watercolor pencil and then a white marker.
I hope you enjoyed this page and it has inspired you to get some stamps, stencils and inks and create!!

Monday, September 21, 2015

Thinking of You Card

HI Chris here sharing this quick and easy card for those times when you need a just a simple beautiful card!

Supplies;
Sin City Stamps: Love of Butterflies 
Vellum
Tim Holtz Sizzix Thinlits: Celebrate
Patterned Paper: Crate Paper
Copic Markers:  LEAVES-YG67, YG63; FLOWER #1 YR04; DAISIES Y15; GRASS G28
Spectrum Noir Markers: FLOWER #1 & DAISIES EB7; BACKGROUND IB1
Pearls
StazOn Ink

To create this card I started by stamping the large butterfly onto vellum using my StazOn ink.
 I then turned my vellum piece over so that I was coloring on the back of the piece, coloring the stems and flowers.

 I colored the background with a light blue. See how pretty and muted the image looks when you turn back to the right side.

 I then matted my stamped image on patterned paper, added some pearl embellishments and then added my sentiment.


Friday, June 19, 2015

Happy Father's Day.. with Tamiko

Hey folks.. Thank Goodness It's Friday!!!!  As I look forward to the weekend, as much as the next person, I realize that this weekend contains Father's Day.  ::smiles::  I am sure there will many family gatherings and dinners to honor Dad.  This day reminds me how much I miss my dad, but I determined to fill it with only the grandest of memories.  Well let's get to my Father's Day card!


What I used to create this card is..
Ranger Archival Ink- Jet Black
Koi Water brush
Papers- book page, tissue paper and base card
Embellishments- seam binding, flowers, 
Misc.- Scissors, paper trimmer, sponge applicator, wipes, 

First I took a portion of my diamond texture sheet and pounced some gesso on it.  I used the gesso because at the time I knew I wanted to add color.  Gesso primes the chipboard, therefore giving it a chance at displaying it's fullest intensity of the color. I also use the gelatos directly to the gessoed  chipboard then moved the color with a dampened finger.  I made sure to leave some white exposed.


I crumpled up the tissue paper, then flattened lightly to adhere it to my cardstock with matte medium. Also applied it over the tissue paper, because you never know what you may add the top layers. I took a dictionary book page (which happens to high light FATHER), rubbed some gelatos and moved the color with a little matte medium instead of water. that was done to kinda set the gelatos should I decide to add anything else wet over it.  Doing that helps not totally reactivate the gelatos.


I took the chipboard and stuck it down using the tacky glue.  Grabbed my seam binding and swished it around in some water-spritzed gelato yumminess for color.


Stamped my butterflies with archival ink because once it's dry, it's waterproof..  Now I am going to add more colors with the gelatos to the wings and edges.


Once that is dry I will begin placement on the card base and add the butterflies, flowers and bling.  I have to have extra sparkle.  Even if it is given a man, it's made by a woman!  ::smiles::  I also added some black gelato to color and frame my card.  Then I decided it was a little darker then I wanted.  Looked around and BAM!  Deco Art Metallic Lustre, in the most awesome turquiose, yep.. using it!! ::laughs:: Here are a few close ups.


Thank you guys for stopping by the blog!  I hope that the weekend is full of ONLY the most awesome memories of fathers, past, present and future,  Don't forget to plan ahead and consider Sin City Stamps for are your stamping needs! 

Friday, May 1, 2015

Butterfly Wings with Tamiko

I am always super excited to get some new stamps. I get so many ideas. When I received the Love of Butterflies Plate I couldn't even begin to narrow down the projects that came to mind.  Well I insisted on playing in my Cottonwood Arts ColdPress journal and let me show you what I created.


The supplies I used for this double page journal spread are:
  • Cottonwood Art Journal- Cold Press
  • Colour Arte Radiant Gel- Stargazer
  • Colour Arte Twinkling H2Os- Various Colors
  • Sin City Stamps- Love of Butterflies Plate
  • Sin City Stamps- Circles by Pam Bray
  • Sin City Stamps- Circle Collage by Terri Sproul
  • Deco Art media Line Misters- Purple and Primary Cyan and Magenta
  • Stazon Ink Pads- Blue Hawaii and Gothic Purple
  • Faber Castell - Glass Bead Glitter Gel
  • Water Color Paper 140lb
  • Helmar 450 Quick Dry Adhesive
  • Misc items- paint brush, spatula, nylon netting, pink rhinestone mesh, scissors, water mister, pen and baby wipes

 Used Radiant Gel to lay down base background color.


Then used collaged circles and a baby wiped to remove some of the paint in a reverse stencil type motion.

Then took some netting and added a little more color back on the page  with the primary cyan mister.


I took a purple mister and mixed it with the glass bead gel and stenciled it across the upper side of the page using the circles stencil. (sorry my image showing the mixture for that was deleted)


While the bead gel dried.  I took some water color paper and did some quick washes of simular colors from the Twinkling H2Os.  Those are the coolest little pots of yummy shimmer goodness.  I do recommend spraying water in the pots and allowing them to sit and create  a bit of a paste before you paint with them. When you are done, make sure the pots are fully dry before closing.


I stamped some detailed butterfly images and fusssy cut them out.


Then I took my Helmar glue and added the bling.  I  adhered the butterflies to the page.
I also found a quote on pinterest- What if that change you're avoiding is the one that gives you wings.
What change are YOU avoiding? ::smiles::

Well I hoped you liked this page as much as I liked creating it.  It's got a lot of actual texture created by the paints and glitter beads with use of the stencils.  The butterflies themselves have small text and and images that also aid in texture too.. I think it all contributed to an awesome collaboration.  Take a moment to look around and get some of the awesome stamps, stencils, masks and die cuts over at Sin City Stamps.

Have a wonderful weekend and thank you for stopping by!!


Monday, April 14, 2014

WildHeart Art~ You've Got " Pretty Mail"~ SinCity Stamps Design Team Project featuring GreenSneakers


~You've Got "Pretty Mail"~

How special to send a letter in a lovely envelope that you have created! By using the  Kreate-A-Lope by GreenSneakers you can create a fabulous envelope in no time at all! I had so much fun, it is so easy and they look so professional! 

~Supplies~
Gelli Plate for creating your designed paper
Brayer
Asst acrylic paints
White copy paper
Embossing ink
Embossing  Powder (glitter)
Heat gun


  I started by adding paint to the Gelli Plate and spreading it around with the brayer. In the paint I stamped some of the butterfly stamps and then applied the paper pushing down firmly to create a good clear mono print.

  Here you have the outside template that creates the envelope shape.
 Place the template over the patterned paper,line up and tear around the edges.


 To get the shape you then fold the paper (print side down) around the inside template


 The envelope is then designed further with  the SinCity stamps. 


Because of the fact that there is allot of colored area I took white paint and smudged a small area so it can be  easily addressed .
 For a final touch I added some random stamped butterflies in purple ink and then embossing ink onto the butterfly stamp,applied embossing powder (glitter)  and then heated it with the heat gun.


The added touch of the embossing powder just made the envelope pop with sparkle and shine!
What a beautiful surprise to find in your mailbox~ fun to send and wonderful to receive!
Have fun with this easy and creative project!
~In Love & Faith~
Sherri

Monday, September 9, 2013

ART JOURNALING WITH TERRI SPROUL 2

Hello Friends!  Today I want to share an art journal piece I made using the Art Journaling with Terri Sproul 2 set and a stamp from the Love of Butterflies set.

 I just wanted to show you why the Terri Sproul Art Journaling 2 set is so awesome.  There are a lot more stamps than the one's I'm showing with this set, but I wanted to show that the set comes with several stamps that are prompts!  If you are stuck for a theme in our journal, you can just stamp one of these and roll with it!! 


Monday, August 12, 2013

ART JOURNAL PAGES

 
Hello everyone!  My name is Daniella and I am one of the new members on the SCS design team!  For my first post, I want to share how I used Sin City Stamps in my art journal pages.

I am taking the class that the AWESOME Terri Sproul has on Facebook.  Click HERE if you want to join the fun!!  This week, we learned about texture.  And we were to use a quote about mistakes.  

I started by priming my pages with Gesso and then I used Gelatos in Yellow, Gold and Pink.  I had to spray some ink on too!  TIP.  When you have bottles of things that are sticky or get hard at the lid, (like gesso) just put vaseline on it.  Your lids will always come off easily.


Copyright Text

Blank Page Muse 2018 Sin City Stamps 2013