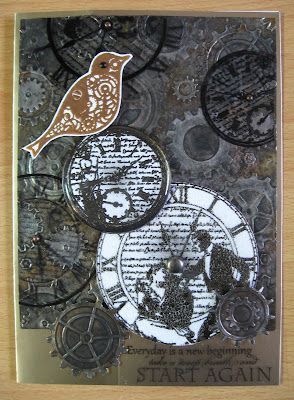
Today I brought a card done totally in metallic gold-silver-copper and black. It is without my typical palette of happy bright colors. I was so excited to find the set with a Steampunk Bird because I was waiting to try this grunge style. The bird is made of a collection of gears and so I knew I would combine it with the clocks. My card is super industrial and very masculine which is not my usual style but I really like how it came out. Let me show you how I did it.
Inhale Exhale Art Stamp Set (Sin City Stamps)
gold card base 5x7"
silver paper foil
gear embossing folder
die cutting machine
alcohol inks - rust, yellow, brown, grey
blending solution / ink applicator
black acrylic paint / paint brush / water
watermark ink pad
black & copper embossing powder
heat gun
clear crackle paint
craft knife / self-healing mat
transparency
black permanent ink pad
brads
gear embellishments
foam dimensional tape
Directions:1. Place silver foil paper into a gear/cog embossing folder and run it through a die cutting machine.
3. Make a black colorwash by combining a 50/50 mixture of water and black acrylic paint.
4. To accentuate the embossed design, use a paintbrush to apply the black colorwash over the entire embossed silver foil making sure the mixture seeps into all the crevices. Set aside to dry.
(Note: In this photo below, the black colorwash has been applied only to the right half.)
5. Stamp two clocks onto white cardstock using black ink. Apply embossing powder & heat set. Next, stamp and emboss the bird with copper embossing powder and cut out all three images. Apply clear crackle paint over the largest clock face and set aside to dry.
6. Adhere the gear embossed paper to the top of the card base leaving a narrow gold border on three sides. (5x7")
7. Adhere the clocks partially overlapping in the lower right corner.
8. Use permanent black ink to stamp three clocks onto transparency and carefully cut out. Use a brad to attach each clock. Use a craft knife to slice a small slit in the center of each clock and insert the brad.
9. Stamp a sentiment onto transparency using black permanent ink. Carefully apply a narrow strip of adhesive to the top edge of the sentiment and adhere it in the lower right corner discretely under the embossed silver foil.
10. Add a small black brad for the bird's eye Finally, embellish the clock cluster with small gear embellishments and attach the steampunk bird using dimensional foam tape.
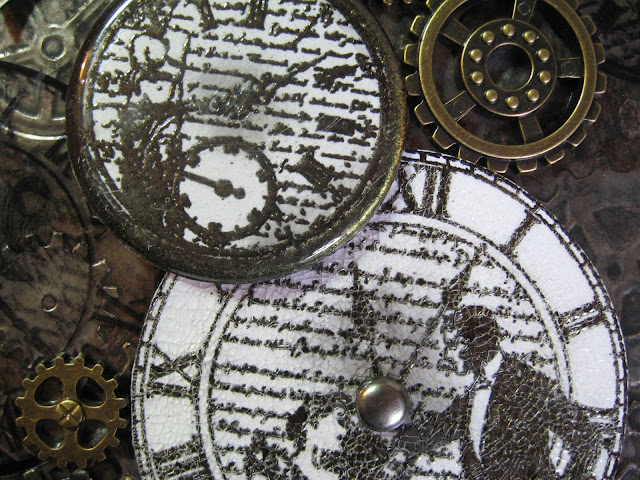
A Closer Look:
For more inspiring paper-craft projects from the Design Team, be sure to visit us at the
Sin City Blog and follow us on Facebook.


Cool card ...fab
ReplyDeleteLovely card
ReplyDeleteThis comment has been removed by the author.
ReplyDeleteGorgeous card
ReplyDelete