Showing posts with label stencil butters. Show all posts

Thursday, September 28, 2023

Pumpkins and more Pumpkins!

 Pumpkins and more Pumpkins!

It's Sue here bringing on the pumpkins!


I do like all pumpkins in the fall, and this pumpkin trio stencil from Blank Page Muse fits the bill. For this card I only used the big pumpkin from the stencil but there are actually three on the stencil.
I used Pearl White stencil butter for this card.  It's a smoother style texture paste that does go on like butter.  It comes in lots of colors but I only have a couple but, you know, you can always shop at Blank Page Muse to get whatever color you like.

Visit my blog here for more details .

stamps and products used on these cards
Blank Page Muse Pumpkin trio stencil
Special Day Birthday and Hugs by Pam Bray
Pearl White stencil butter 


Use the code BPMSue for a 15% discount at Blank Page Muse

Visit our social media sites for more stamping fun!
I Brake For Stamps -https://ibrakeforstamps.com/ 

Thank you for stopping by.


Tuesday, April 18, 2023

Birthday card with Stencil Butters

Hello from design team member, Heidi. Today I would like to share a card that is primarily stenciling.  I used two colors of stencil butter, which are found in the Blank Page Muse shop.  The ones I used are the pearl ones, and they are just sooooooo pretty!  The photos do not do this justice - it was so hard to capture!


I just randomly applied the two colors stencil butter over the stencil to cover the stencil, and then when I scraped off the excess, they blended and mixed to get a really pretty look.  The base for this was the silver glitter alcohol ink cardstock.  It does hold up well to stencil butter.

I didn’t want to cover up any of the pretty stencil, so I used a fun circle sentiment over top, matted the card in the same color turquoise cardstock, and called the card complete.

If you haven’t had a chance to try these stencil butters, they are really a lot of fun, and easy and smooth to use.

The products I used in this card are:

The Crafters Workship Wave 6x6 stencil

Turquoise Stencil Butter

Denim Stencil Butter

I Brake for Stamps sentiment from Thinking, Happy, Get Well, Thanks set

You can also find more inspiration at the links below:

The Blank Page Muse- https://blankpagemuse.com/

FB Fan Page- https://www.facebook.com/groups/blankpagemuse/

Instagram Shop- https://www.instagram.com/blankpagemuse/

Instagram Blog- https://www.instagram.com/blankpagemuseblog/

Twitter- https://twitter.com/BlankPageMuse

Pintrest- https://www.pinterest.com/blankpagemuse/boards/


Wednesday, January 11, 2023

Using Stencils and Stamps on your Mixed Media Canvas

 Today I am excited to share this Mixed Media Canvas I created to remind myself  ( and others) that you need to Believe in Yourself! I love creating this canvases that aren't too big to be overwhelming but large enough to play with different techniques. 


Supplies needed: 

Stencil butters

 6 x 6 The Crafter's Workshop Butterfly Collage Stencil  from Blank Page Muse  

Beyond the Border Mixed Media Set 2 CLEAR Stamps designed by Pam Bray

Tattered & Worn 6x6 inch sheets Paper Pack designed by Pam Bray

Other Supplies -  8 x 8 canvas board, distress ink, burlap, paper doilies, archival ink, chip board sentiment


Start by inking the edges of your canvas with distress inks.  

Trim your burlap to fit your canvas.
Adhere your burlap to your canvas. 
Add the brick paper from your Tattered & Worn 6x6 inch sheets Paper Pack designed by Pam Bray
Secure your stencil over your project. 

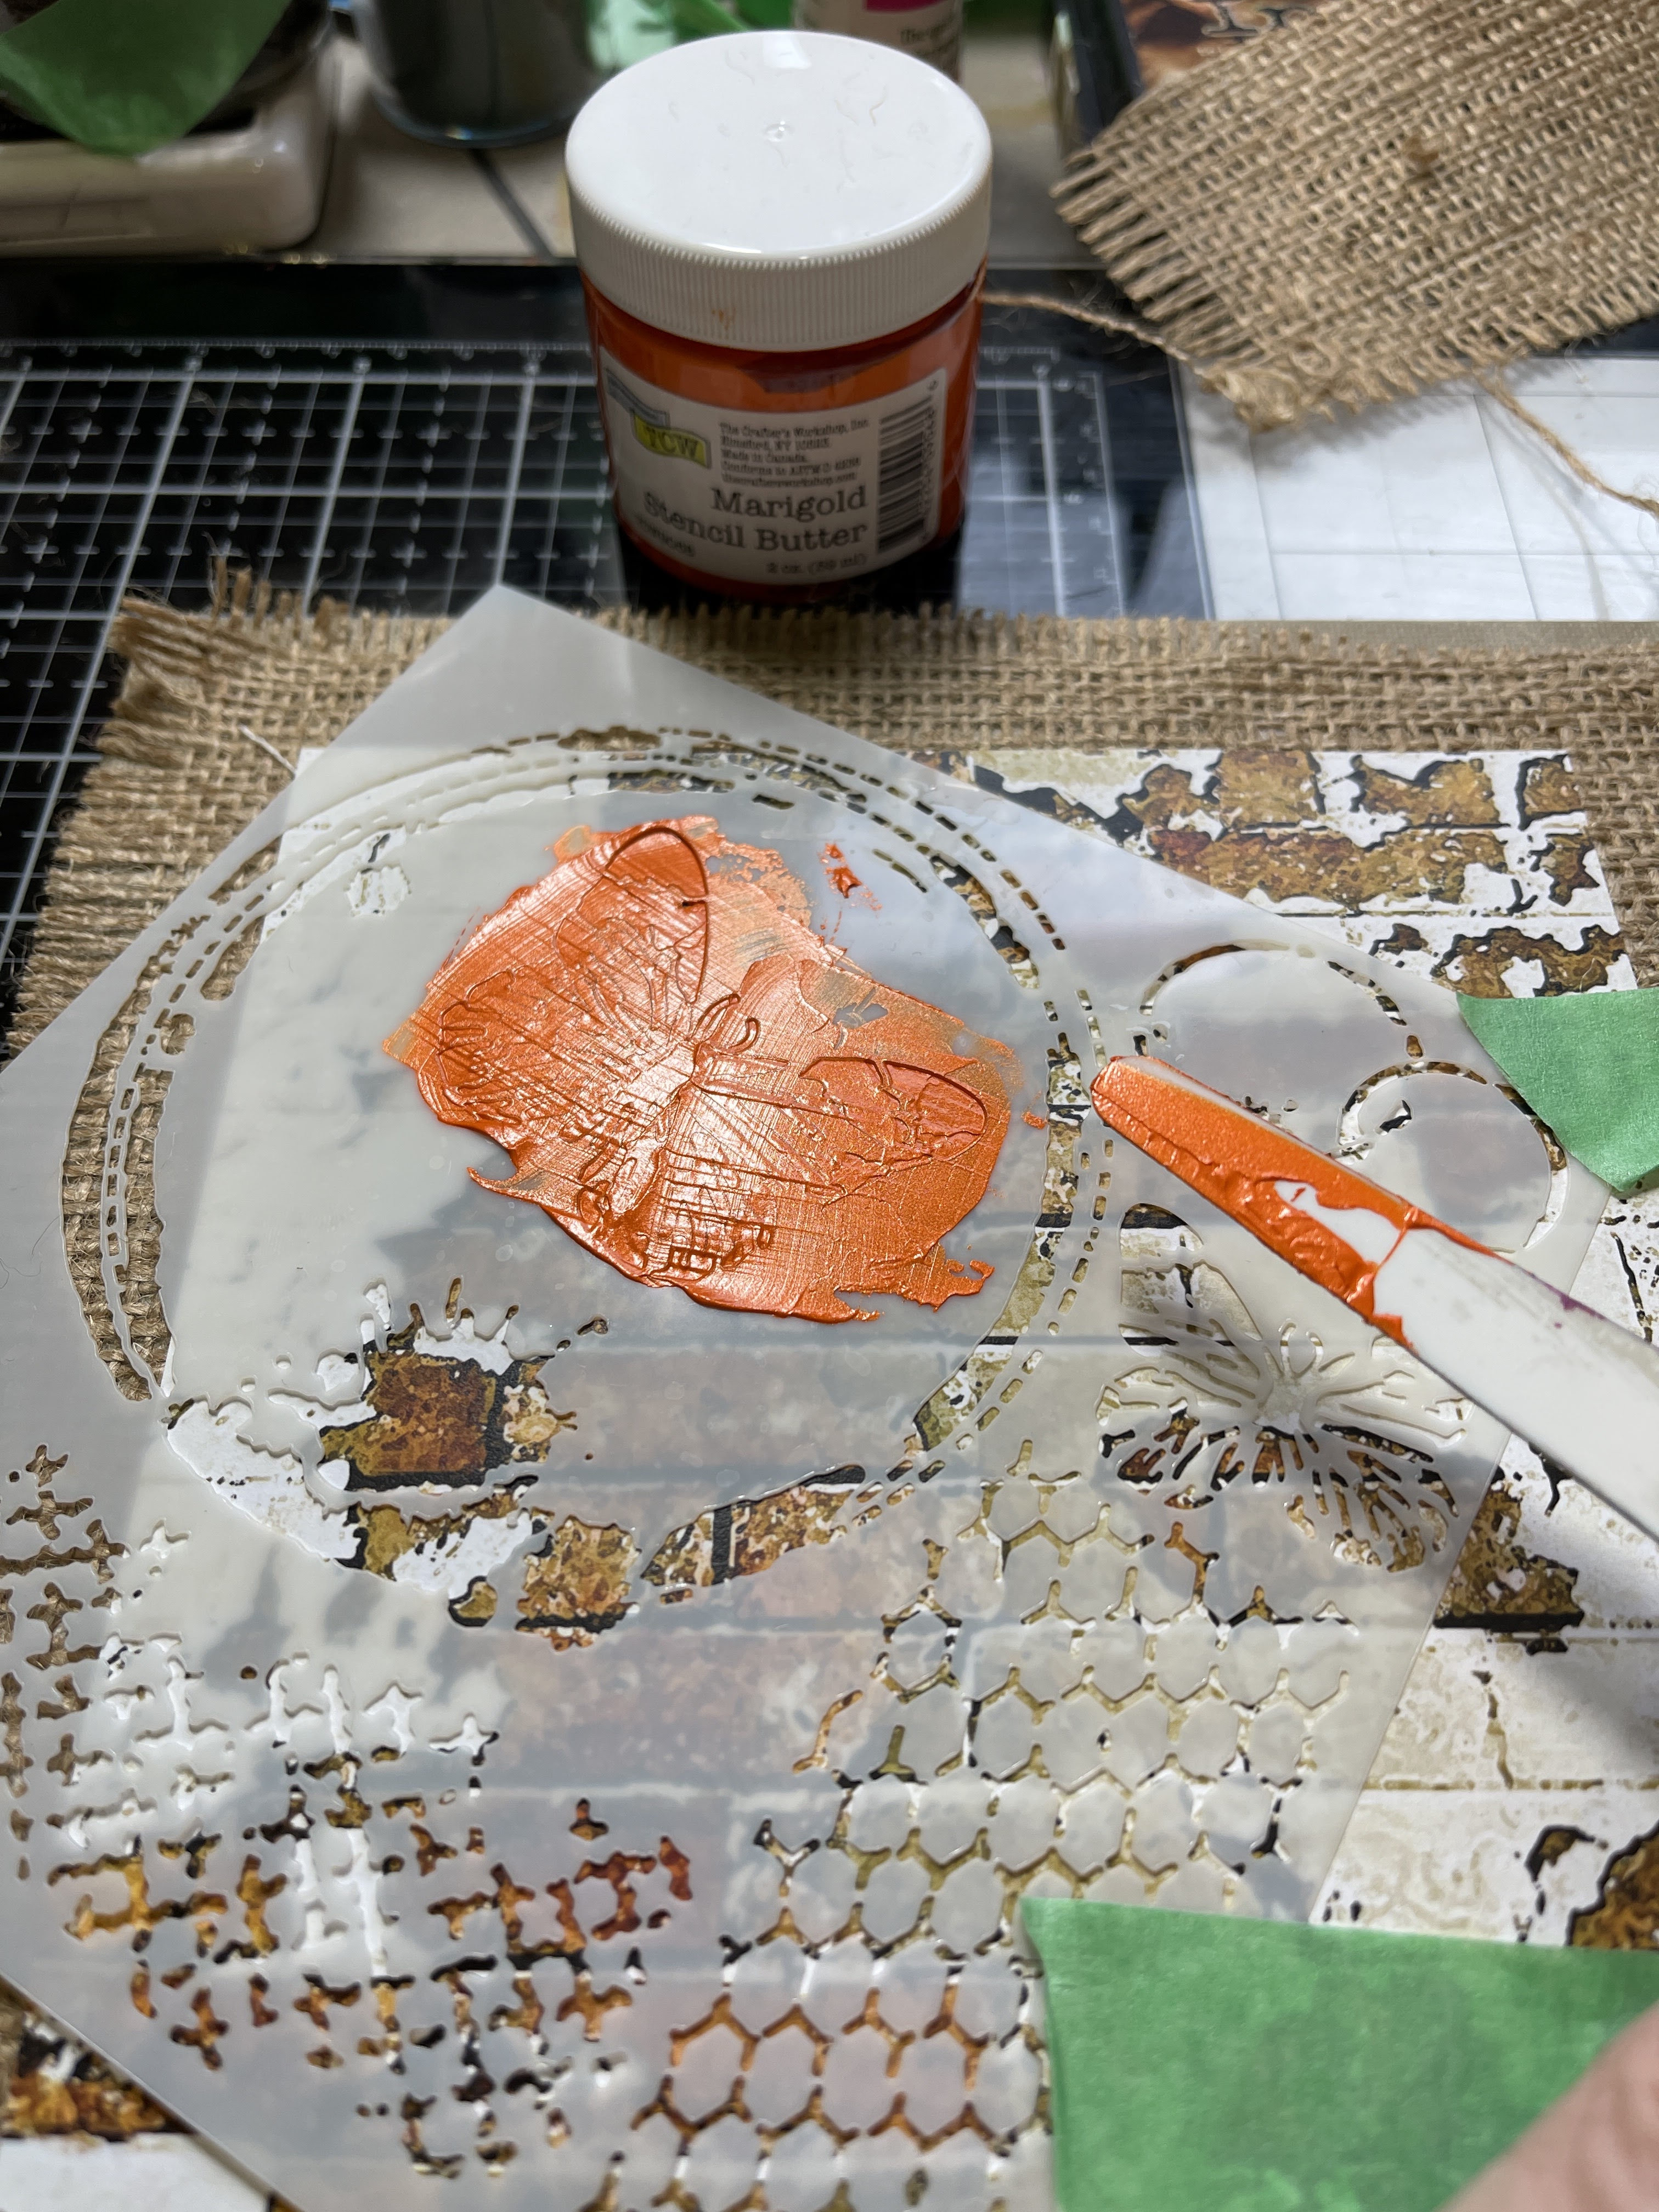
Apply your Stencil butters over your  6 x 6 The Crafter's Workshop Butterfly Collage Stencil  from Blank Page Muse  
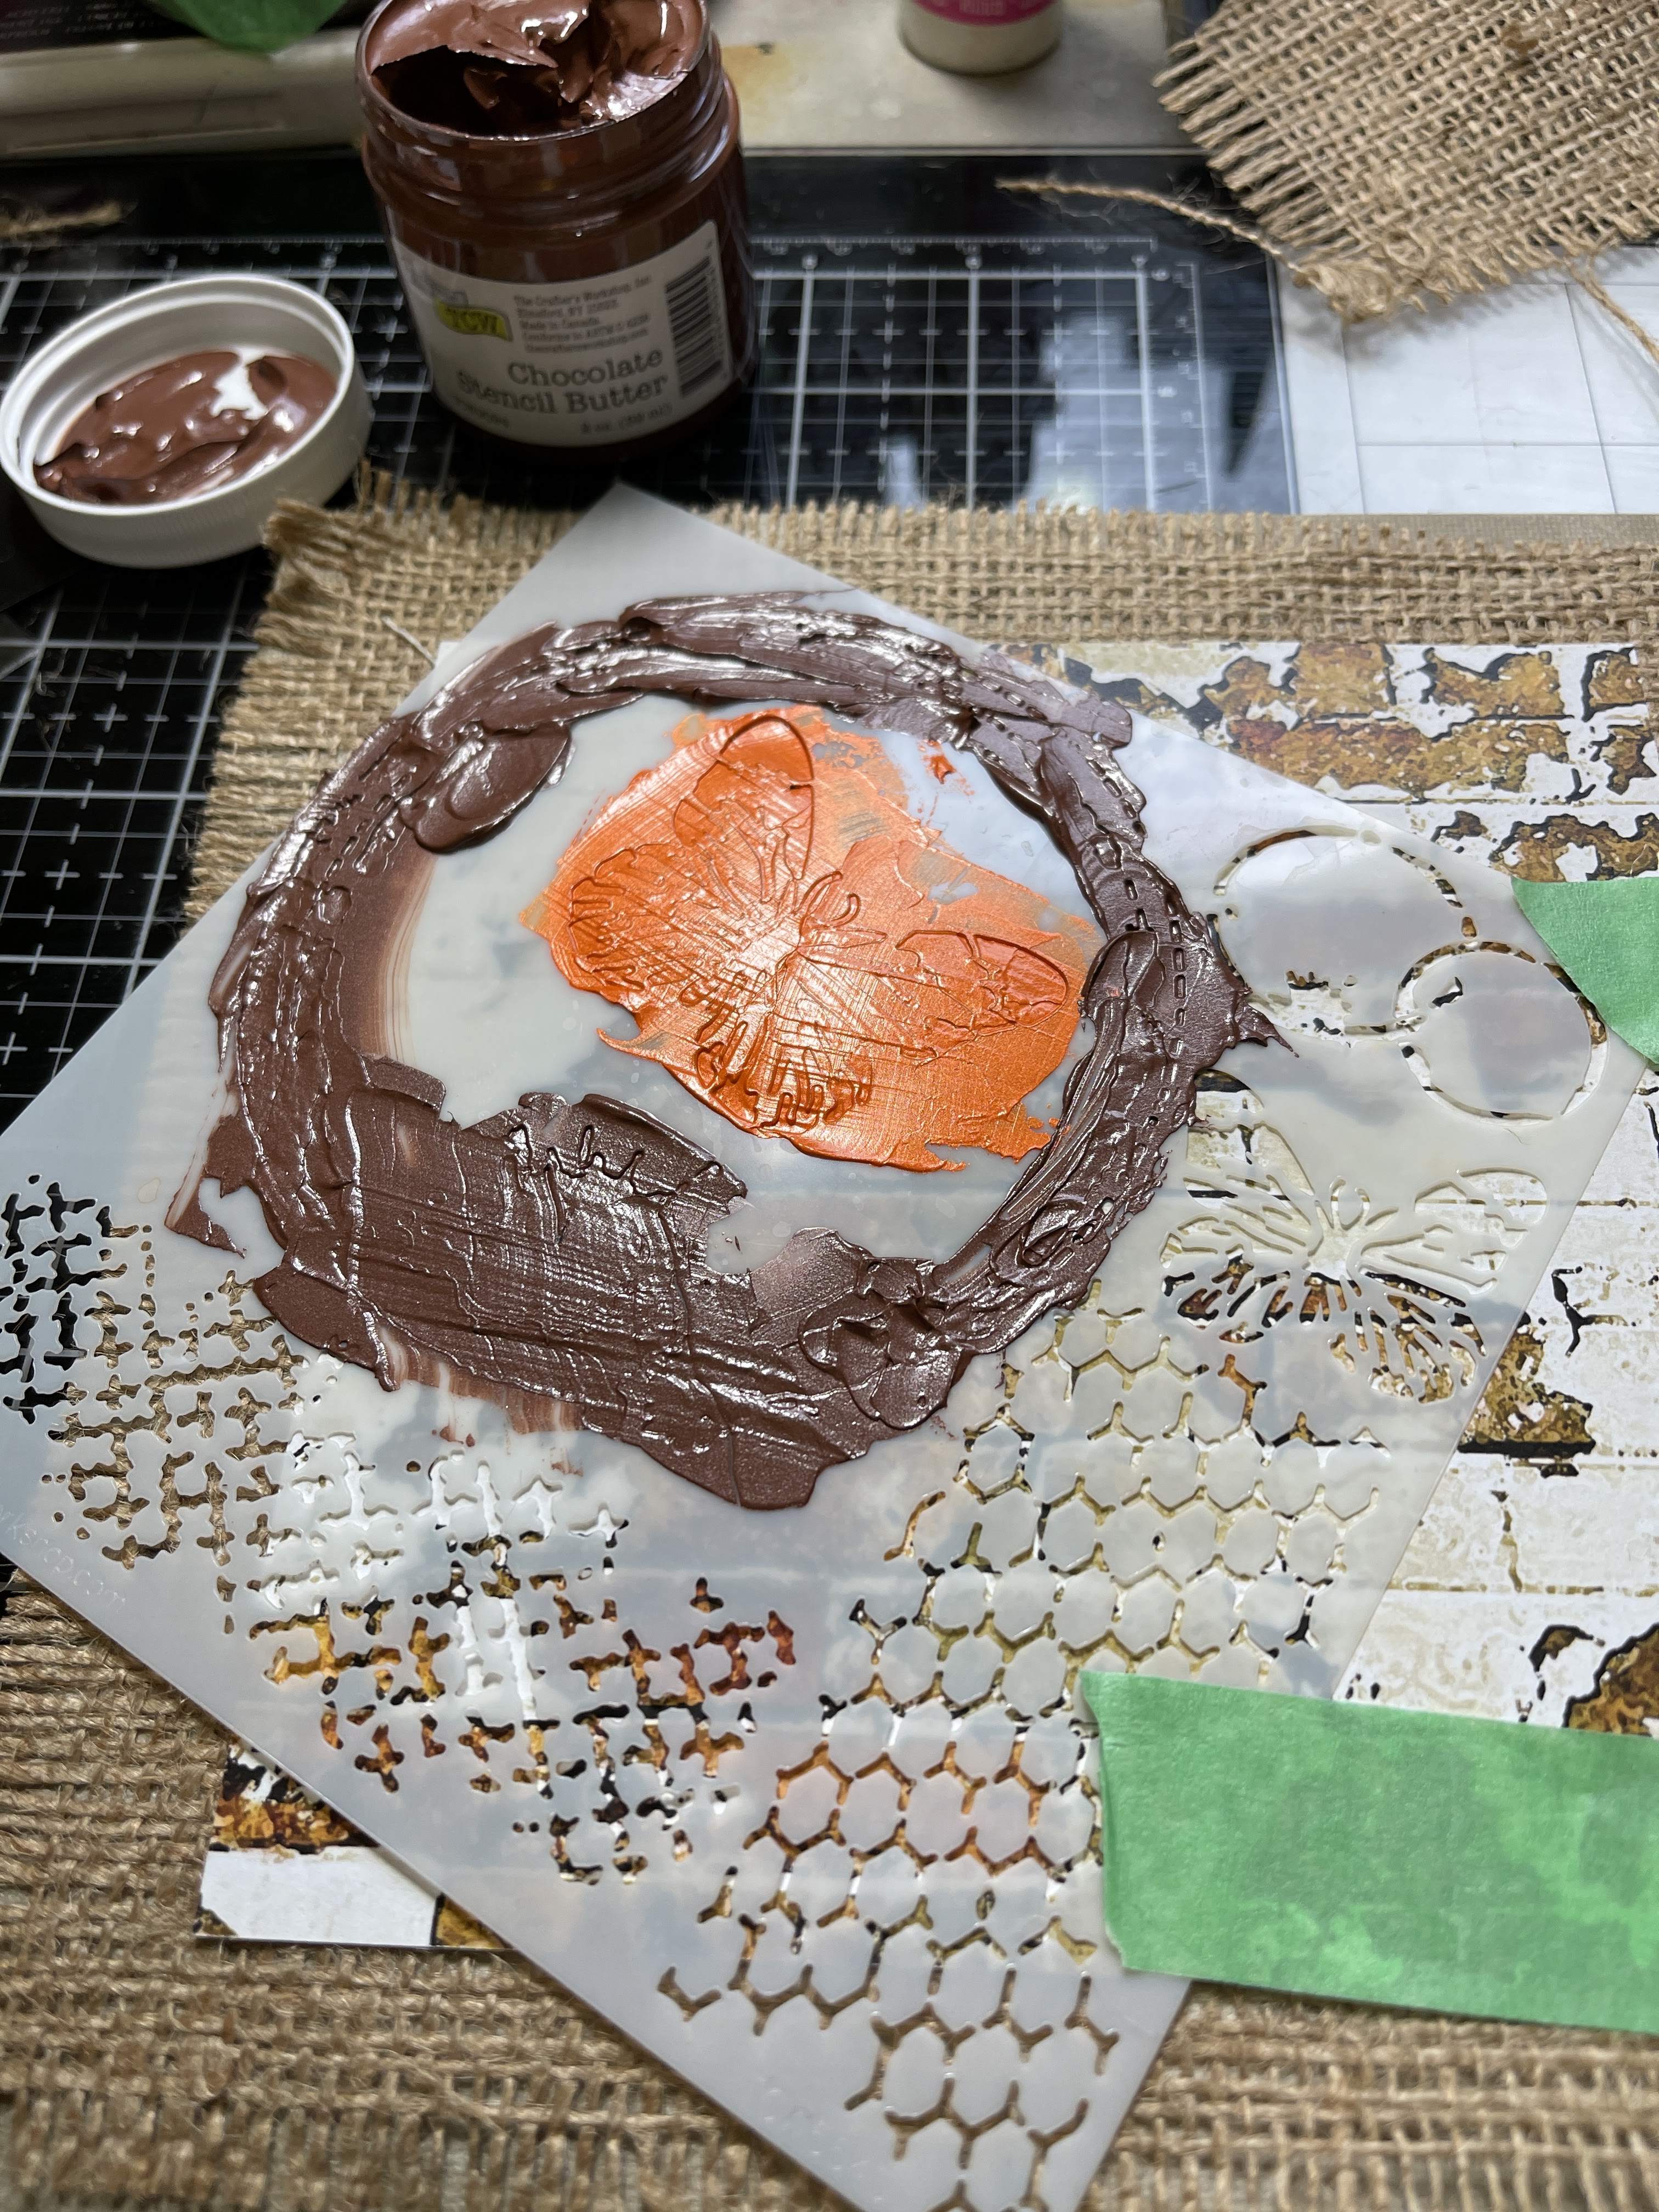
Apply your chocalte Stencil butters over the stencil. 

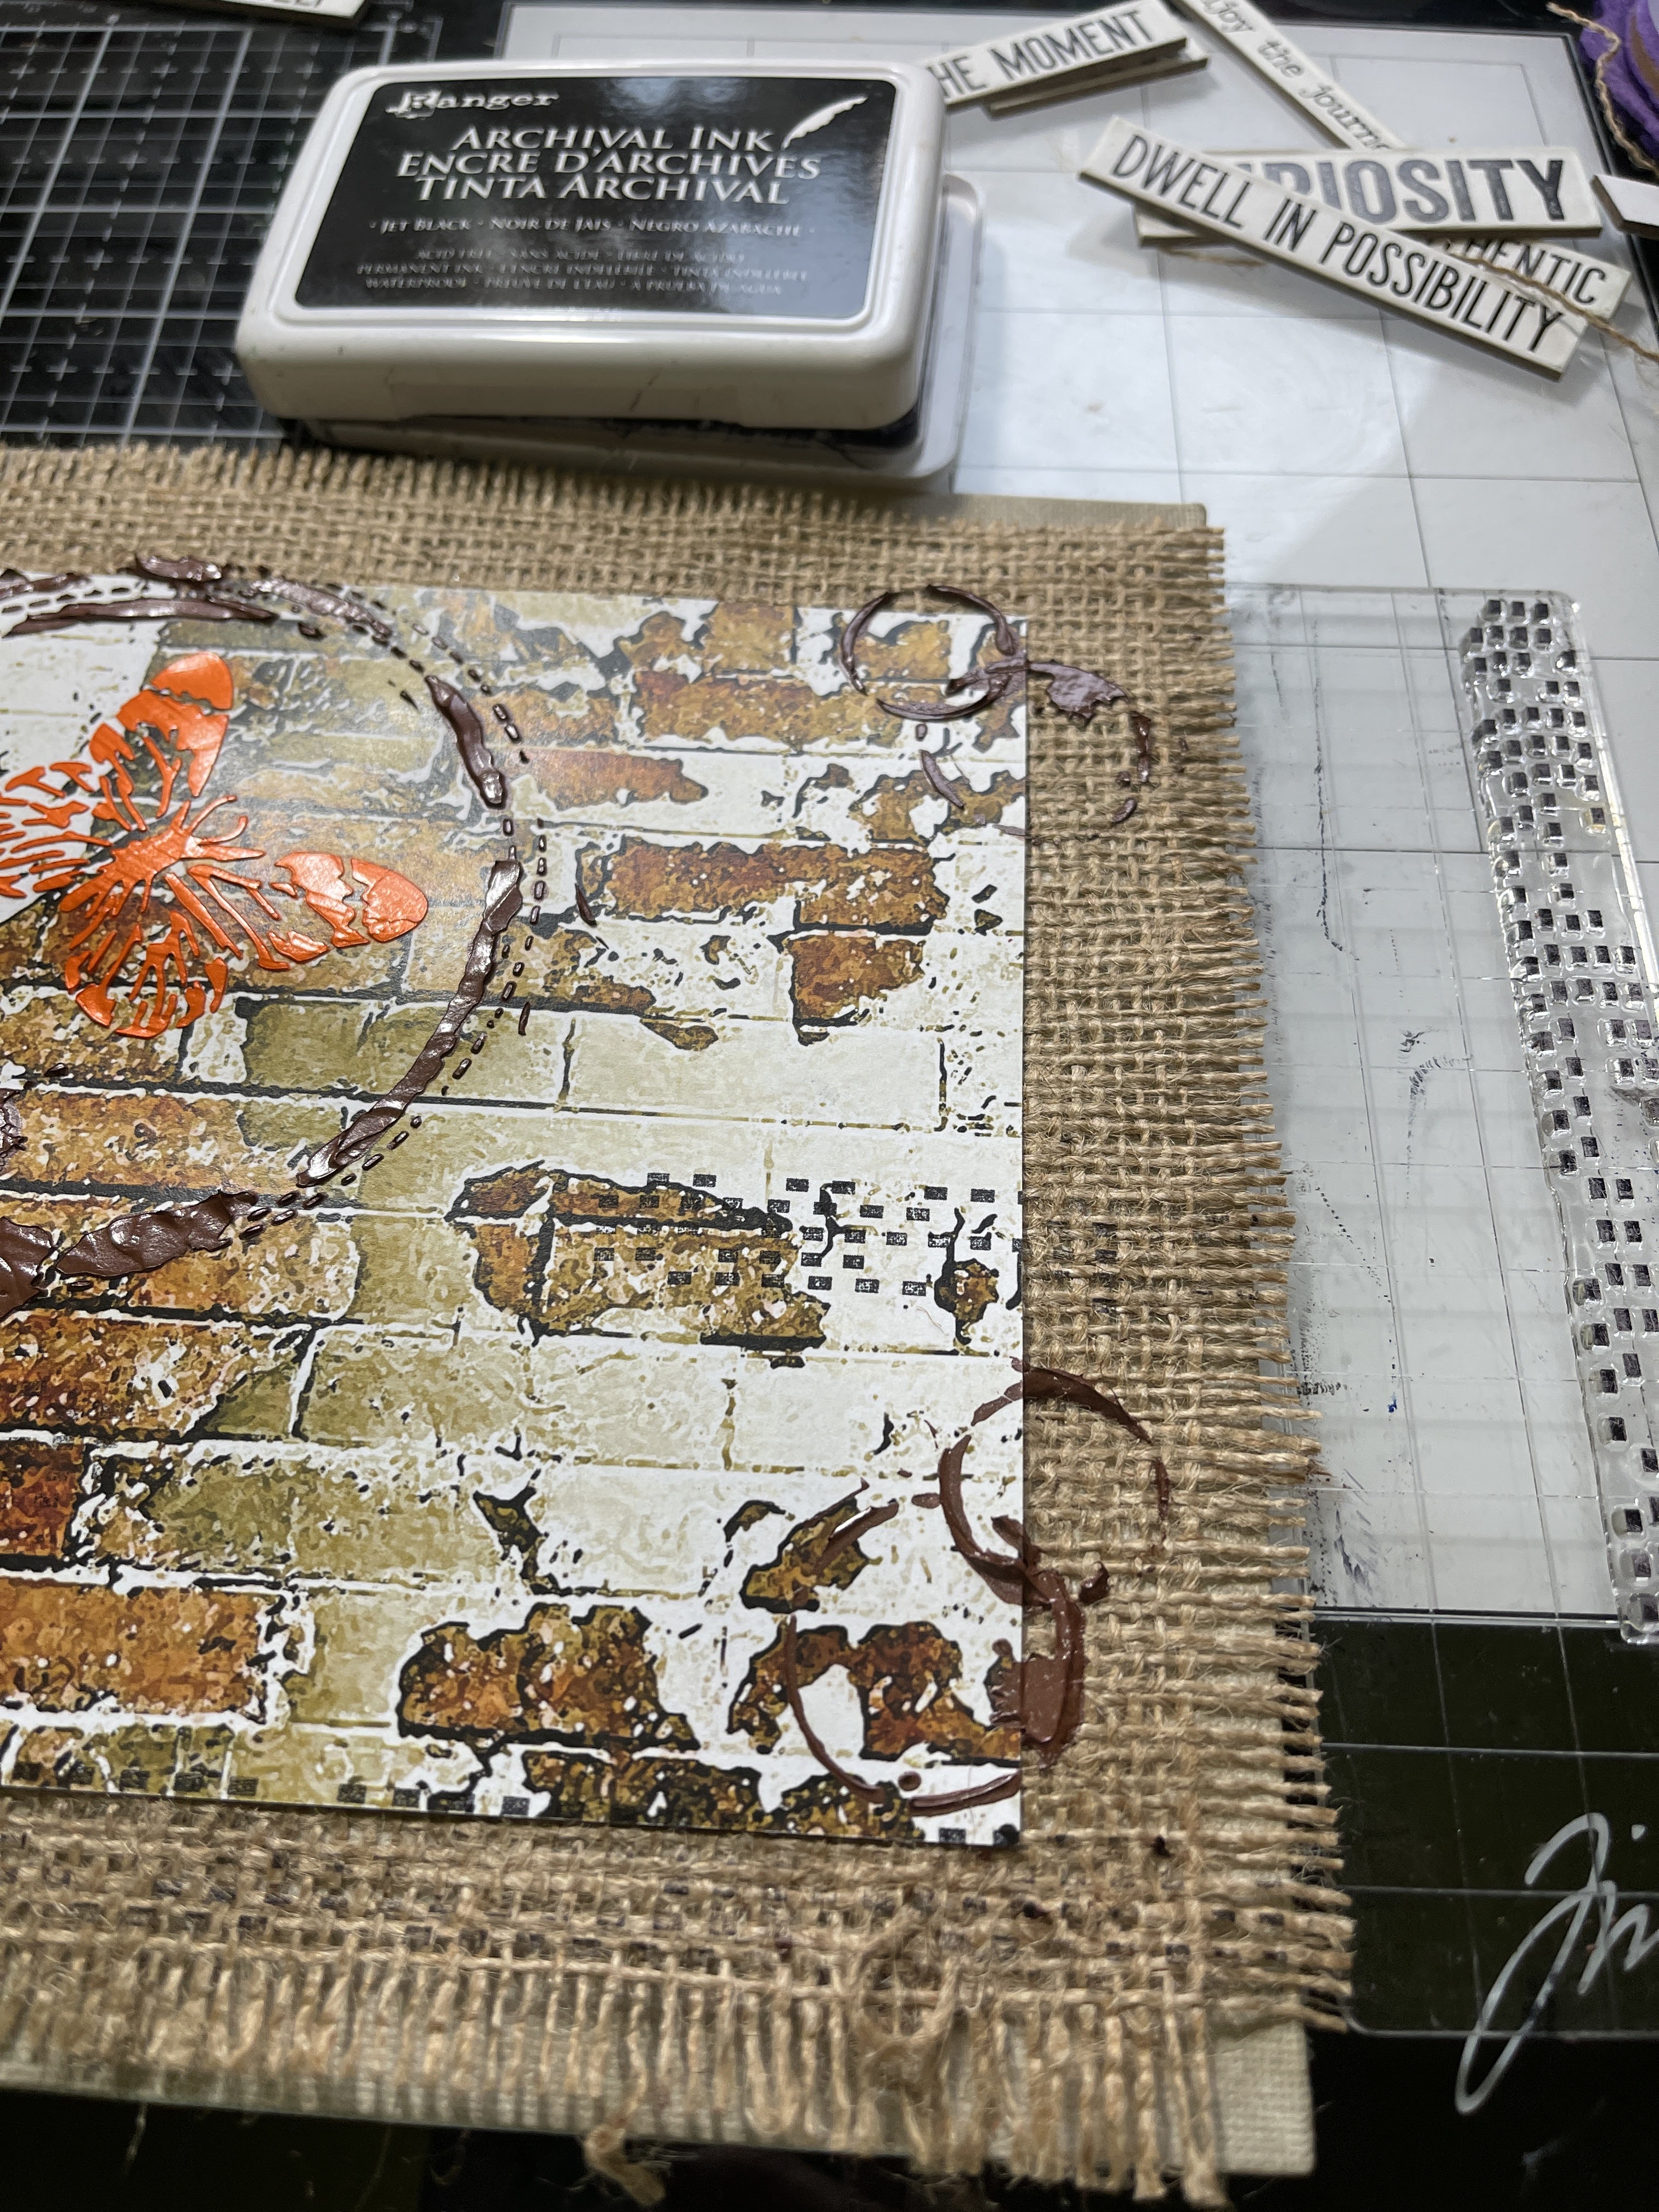
Move your stencil and add stencil butter over the smaller rings.  Ste3ncil rings several areas of your canvas. 
Using your archival ink and Beyond the Border Mixed Media Set 2 CLEAR Stamps designed by Pam Bray stamp repeatedly onto your project. 

Add your chipboard sentiment.
Add paper doilies to finish off your canvas.

I hope you are inspired to get creative with your stamps and papers from Blank Page Muse and I Brake For Stamps.  Don't forget to use my discount code BPMChris. 


Be sure to follow us at 

The Blank Page Muse- https://blankpagemuse.com/


I Brake for Stamps-https://ibrakeforstamps.com/


FB Fan Page-  https://www.facebook.com/groups/blankpagemuse/


Instagram Shop-  https://www.instagram.com/blankpagemuse/


Instagram Blog-  https://www.instagram.com/blankpagemuseblog/


Twitter-  https://twitter.com/BlankPageMuse


Pintrest- https://www.pinterest.com/blankpagemuse/boards/


Sunday, September 18, 2022

More Stencil Butters & Projects

 Hello again from design team member, Heidi!

I am making more projects with the Stencil Butters that are available in the Blank Page Muse store.  Part of this post will be me playing around with them and then I will use a couple of the backgrounds for projects.  

The first thing I did was to stencil over some of the Pam Bray patterned papers These papers are definitely thick enough to stand up to the stencil paste.  I really liked the nice opaque coverage. 


I then stenciled some of the apricot colored paste of the paper bag my order came in.  I messed up and a bunch got under the edge of the stencil.  So I went over it again with a metallic gold paste.  This one looks really cool in person and I plan to use it!


As I was going along, I randomly was using some excess paste onto scrap paper (this is the back of an order sheet, so just regular copy paper).  It was looking like this in the end, so I decided to thin out some of the red paste and just paint over the top. (This is one of the neat things about the paste, you can watercolor with it!) I wiped the excess off with a wipe and the parts that were dry resisted the paint and I think this is the coolest background.  You can see the result in the finished piece below.


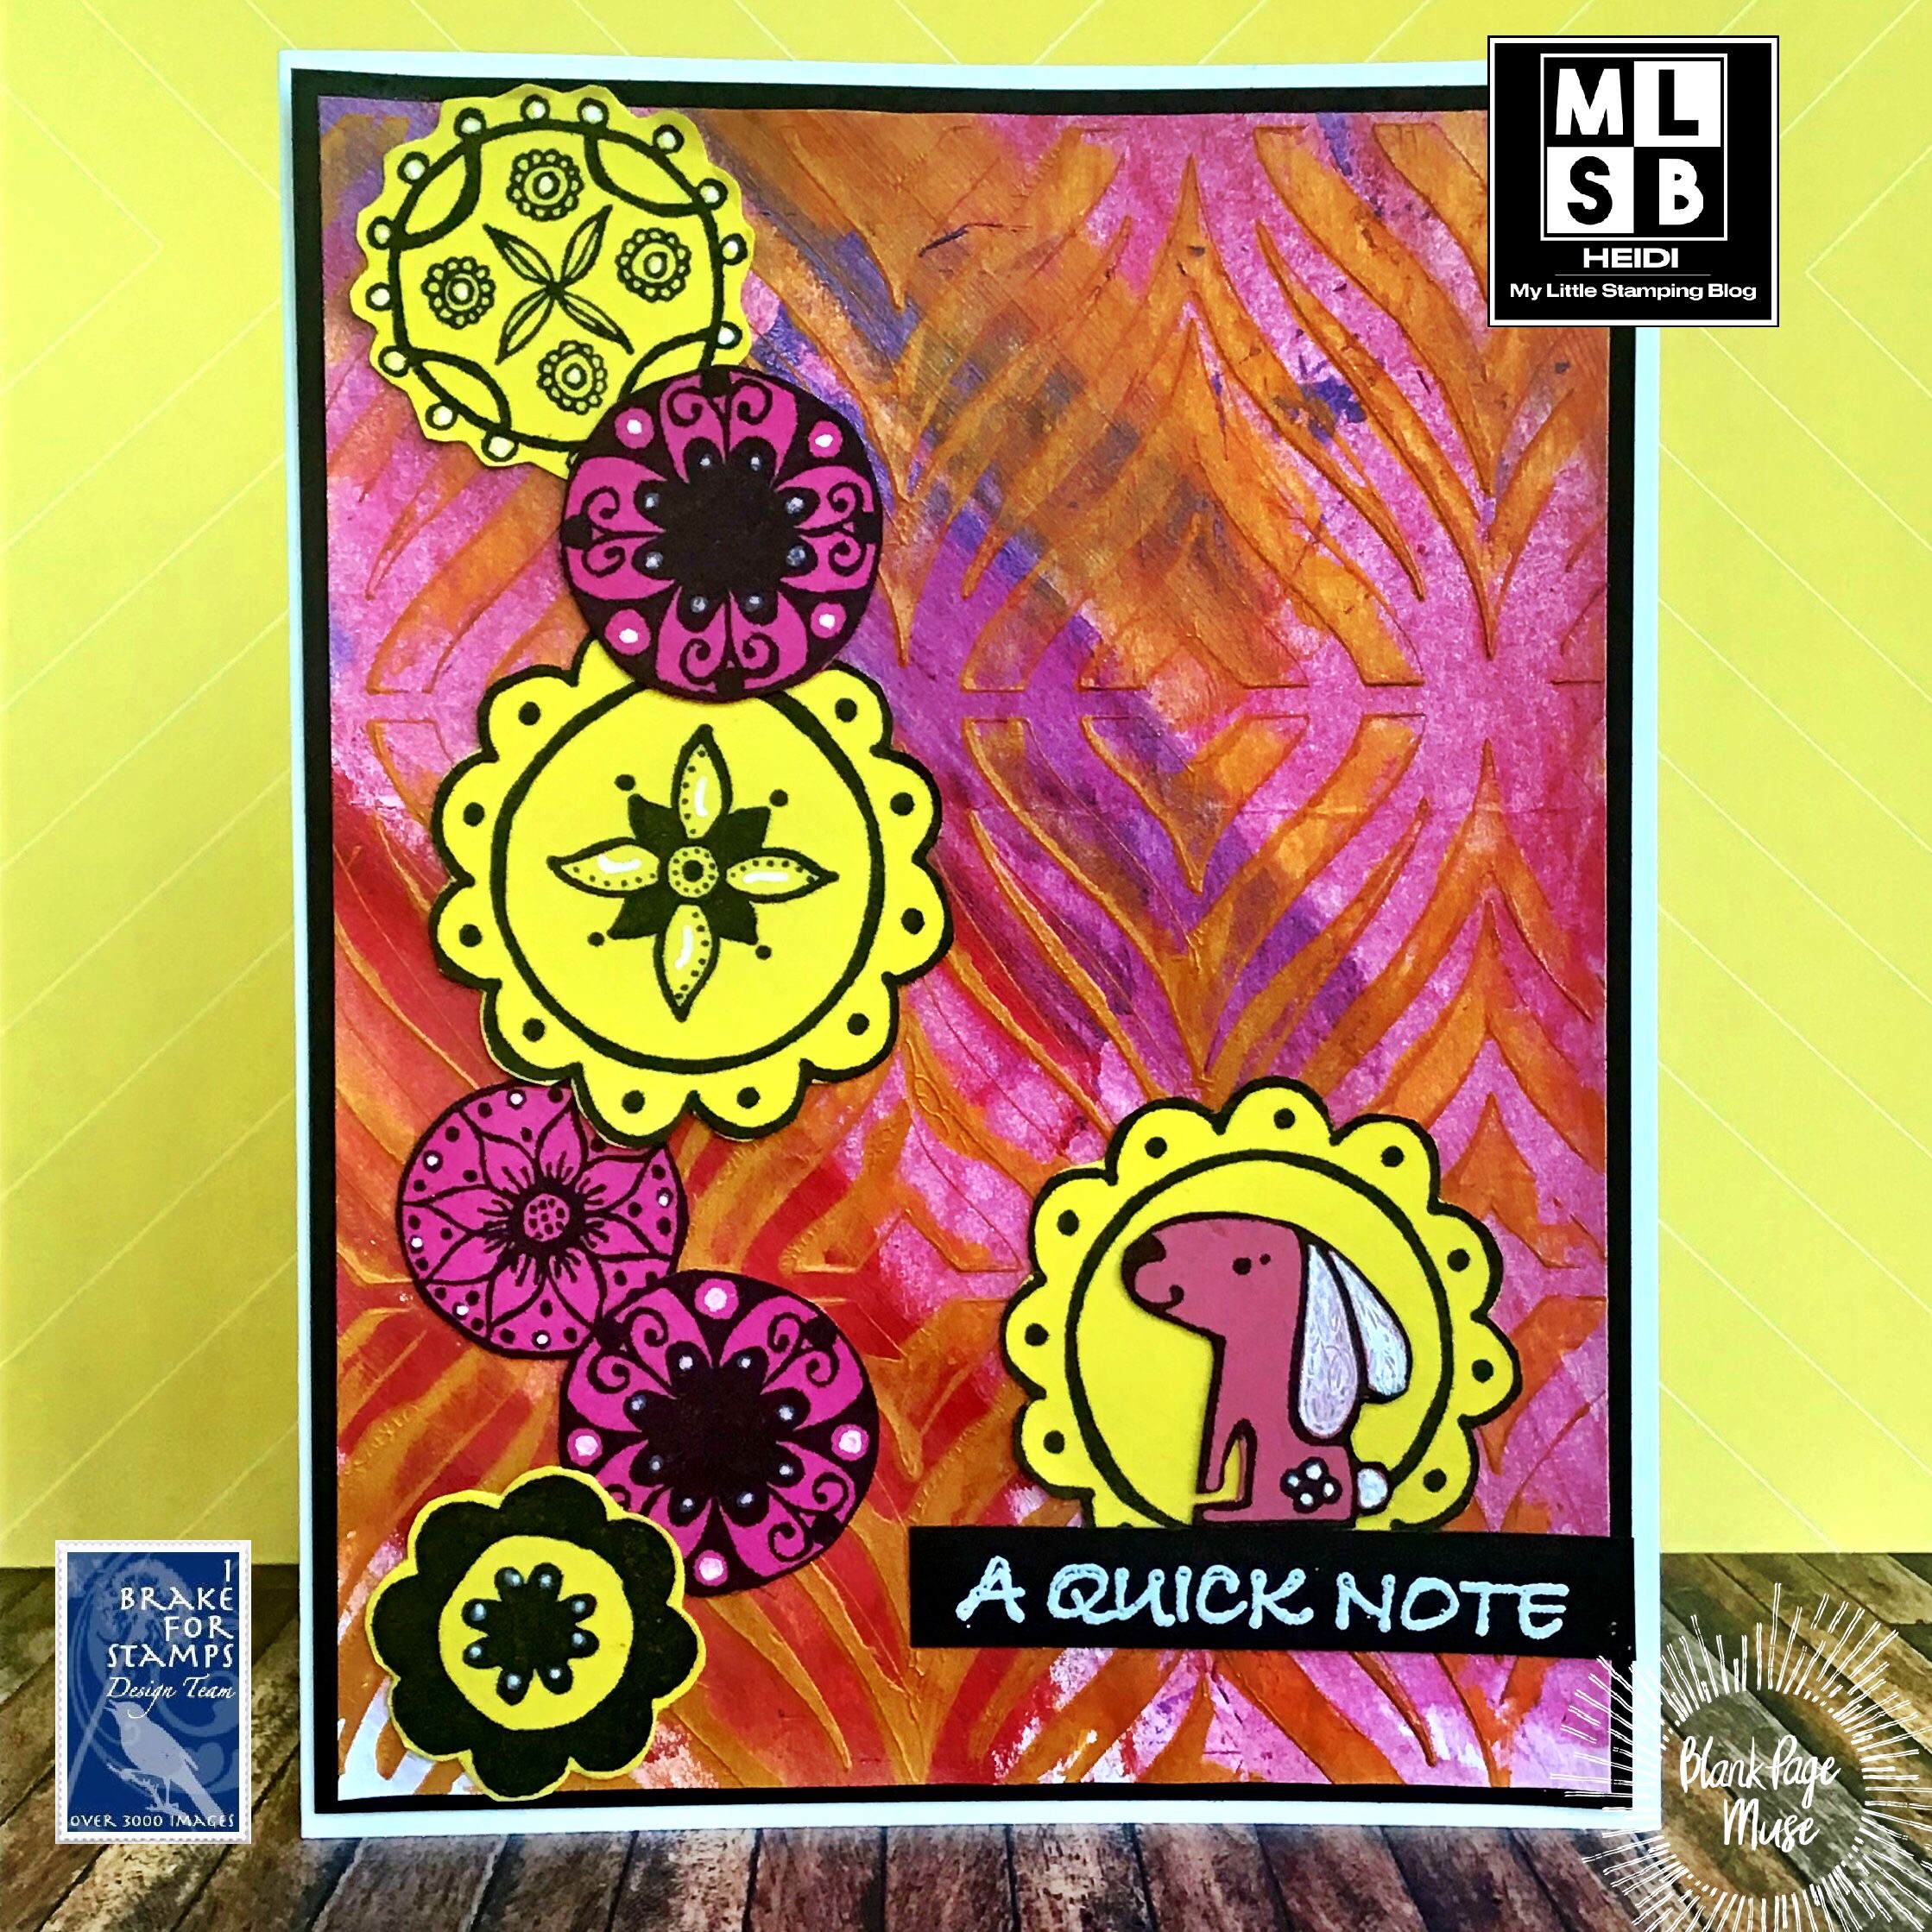
The top piece is a home décor item that I finished using Ephemera from Pam Bray’s Masquerade line

The stamps for the finished card are from the Woodland Stamp set and Petals and Flowers stamp set, both in the Blank Page Muse shop.


I hope this gave you and idea of some different ways to use your stencil butters!  I will be back with more ideas another day.  Right now, I ‘d better go clean off my craft desk!  Have a great day!


You can also find more inspiration at the links below:

The Blank Page Muse- https://blankpagemuse.com/

FB Fan Page- https://www.facebook.com/groups/blankpagemuse/

Instagram Shop- https://www.instagram.com/blankpagemuse/

Instagram Blog- https://www.instagram.com/blankpagemuseblog/

Twitter- https://twitter.com/BlankPageMuse

Pintrest- https://www.pinterest.com/blankpagemuse/boards/

Thursday, September 8, 2022

Stencil Butters and some cute Monster cards!

Hello from design team member, Heidi!

 Blank Page Muse is now selling The Crafter’s Workshop Stencil butters!  Kim sent me a few to try and I want to show you how much fun they are!  

(Spoiler alert, when I got done playing with the ones I was sent, I immediately placed an order for more colors on my own dime! They are fun!)

The neat thing about these is that you can use them like a smooth modeling paste over stencils, they are nice and opaque!  But you can also use some water on a brush and get a watery look with them too.  So with one paste you can get two looks.  They also come in shimmers and non-shimmers (just take a look on the website at the close up photo and it is obvious which are which).  I think I like the shimmers better but can see how the flat ones would work better in many project types.


The two easiest things to do with these is to apply them over stencils.  If you don’t want to use a lot of product, go ahead and apply it over your stencil with your fingers. This seems to use a lot less than if you used a palette knife and it dries the fastest!   Above, I applied it over textured cardstock, which looks so neat! I loved the tone on tone look there too!


Second, I blended two colors over a stencil.  This time, I didn’t want to get my fingers dirty so I applied it with a baby wipe.  This technique is a little different because more product builds up on the edge of the stencil opening and then more wipes off in the centers of the design so you get more texture.  They blend really well too.


I finished these cards with two of my favorite monsters in the Carmen Medlin designs which is part of the I Brake for Stamps Shoppe.  I love these guys because I can literally color them any color and they always look cute!

Monster Mash Set

Clueless Stamp set

Stencil Butters in the Blank Page Muse shop


Thanks for visiting!  Hope you have a crafty day!


You can also find more inspiration at the links below:

The Blank Page Muse- https://blankpagemuse.com/

FB Fan Page- https://www.facebook.com/groups/blankpagemuse/

Instagram Shop- https://www.instagram.com/blankpagemuse/

Instagram Blog- https://www.instagram.com/blankpagemuseblog/

Twitter- https://twitter.com/BlankPageMuse

Pintrest- https://www.pinterest.com/blankpagemuse/boards/


Saturday, September 3, 2022

Happy Birthday Pumpkin Tag

 Hi everyone, Steph Ackerman here!

 Today I am using some amazing stamps from Blank Page Muse and I Brake For Stamps.


Decorating an extra large tag can create a dramatic effect to a birthday tag.
Ink the tag with distress inks then stamp the birthday text stamp.
Stamp, color and fussy cut the Pretty Pumpkin girl and add to the tag.

The full tutorial can be found on my blog.

Thanks for stopping by.

Steph

Looking for more Inspiration? Click the links below!
The Blank Page Muse Shop https://blankpagemuse.com/

Save 15% of your Blank Page Muse orders with discount code:  BPMStephHH

Copyright Text

Blank Page Muse 2018 Sin City Stamps 2013