Showing posts with label classic Christmas. Show all posts

Saturday, December 13, 2025

Noel Cammy Girl

 Hi everyone, Steph Ackerman here today using some amazing stamps and from Blank Page Muse.


Blank Page Muse Stamps: Classic Christmas, Music Background, Cammy Girl, 

Create a 4 1/4" x 5 1/2" top fold card.
Add a layer of pattern paper next.
Stamp the music stamp in red ink, then tear it to fit a panel of black.
Adhere to the card.


Stamp and emboss Cammy.
Color with Copic Markers, then fussy cut for the card front.


Add the same pattern paper inside the card.
Tear a panel of white and stamp the phrase before adding to the card.


Thanks for stopping by.

Steph

Looking for more Inspiration? Click the links below!
The Blank Page Muse Shop https://blankpagemuse.com/

Thursday, December 17, 2020

A Very Merry Classic Christmas

Hello BPM Fans! Christmas is just a week away and with the colder weather here, I’m really in the Christmas mood. This year I am made a variety of styles of Christmas cards and classic and vintage ones are always a favorite. Today’s card features the adorable Blank Page Muse stamp called Christmas Joy Holiday Dress designed by Rick St. Dennis. 

This is the perfect stamp to use for entering a project in the Blank Page Muse December challenge, “Celebrate!” 


For this card, I cut out a couple of flourishes and pine branches out of gold mirror paper using a metal die. You can also use stickers that are similar if you don’t have a these dies or a die cutting machine. I also added some pre-made paper poinsettia flowers. The white mat with scalloped edges is also cut from a metal die. If you don’t have a similar die, use a paper trimmer to cut a rectangle shape. There are many substitutions you can make to decorate your card. You just need this beautiful stamp.

Supplies:
  • Blank Page Muse Stamp: Christmas Joy Holiday Dress by Rick St. Dennis
  • White cardstock to stamp your image.
  • White cardstock (base card) cut to 8-1/2"W x 6"H. Score at 4-1/4" and fold in half.
  • White cardstock (card front) cut to 3-1/2"W x 4-5/8"H - I used a die, but you can use a paper trimmer.
  • Gold cardstock (mat) cut to 4-1/8"W x 5-7/8" H
  • Red patterned paper or red cardstock cut to 3-7/8"W x 5-3/4"H
  • Coloring medium of choice. I used Copic markers.
  • Scissors
  • Your favorite adhesive
  • Paper trimmer
  • 1 white and 2 red one-inch paper poinsettias
  • Sentiment of choice
  • The following embellishments are optional and/or can be substituted with what you have in your stash:
    • Flourish die cuts (substitution can be leaves)
    • Pine branch die cuts (substitution can be leaves)
    • Glitter glue - I used Stickles in Crystal color (substitution can be any glitter glue)
    • Glossy Accents (substitution can be Diamond Glaze)
    • Sparkle pen - I used Spectrum Noir in clear color (substitution can be Wink of Stella)
Copic markers used:
  • Skin: E04, E11, E21, E00, E000
  • Hair: E49, E44, E42
  • Red: R89, R59, R46, R24
  • Green: YG97, YG95, YG93, YG91
  • Yellow: Y38, Y15, Y11
  • Turquoise: BG49, BG57, BG45
  • Brown: E18, E15, E11
  • White: T5, T3, T1, Blender
  • Snow: T5, T3, T1, B00, B000, Blender
Instructions:
  • Stamp image on white cardstock and color. Make sure you color the ground.
  • Cut out the stamp, trimming close to the image and adhere to the white cardstock.
  • Stamp the sentiment
  • Adhere the gold cardstock (mat) to the base card
  • Adhere the red patterned paper to the gold cardstock
  • Cut out the flourishes and pine branches using gold cardstock and adhere them to the opposite corners (I ended up using only on branch per corner).
  • Adhere the poinsettias on top of the flourishes and pine branches
  • Add Glossy Accents to the ornaments/baubles
  • Add glitter glue to the stars, feathers, holly, and zig-zag design on tree pots
  • Add glitter pen to the hat, shoes, and dress


Thank you for stopping by today. I hope you give this card a try. There is still time to make cards to send to friends and family.  Wishing everyone a Very Merry Classic Christmas!

If you have any questions or comments, please leave them below. ~Betty~

 Looking for more Inspiration? Click the links below!


Thursday, December 12, 2019

2020 Planner Pages with Christmas Stamps


Merry Christmas!!!
Pam here today and can you believe that Christmas is only 13 days away!
We are already looking into 2020 here on the Blank Page Muse Blog!!! 
SO...
Don't put your Blank Page Muse Christmas Stamps up because they will work perfect on you January Planner Pages!!!!


Begin by stamping your January pages randomly with the Pine Leaf Stamp from Blank Page Muse Classic Christmas Set using distress green inks. 
Stamp the "May the Joy of the Season Be Yours" sentiment from Blank Page Muse Classic Christmas Set on the page with black ink. 


Stamp "Noel" and "Have a Wonderful Christmas full of Love" from Blank Page Muse Classic Christmas Set on the adjoining page with black ink! 
Did you know that "Noel" can be traced further back to the Latin word natalis, which can mean "birthday" as a noun or "of or relating to birth" as an adjective. Isn't that cool to know!!!


Run border strips from Authentique Rejoice Pattern Paper through Xyron Disposable Sticker Maker! 


Stamp and color poinsettia flowers from the Blank Page Muse Classic Christmas Set on white paper; color with markers.


Fussy cut prepared poinsettia and run through Xyron 3" Disposable Sticker Maker. 


Stamp dove from Blank Page Muse Classic Christmas Set using black ink; color with makers. Fussy cut out.  


Add prepared poinsettias and border strips to planner pages. 


Add prepared dove to planner page with pop dots. 


Color "Noel" with green markers. Add circle embellishments created using circle punches. 


Stamp "Day" and small hearts inside of oval frame from Blank Page Muse Everyday Clear Planner Set using black ink. Fussy cut around image; add over the Christmas word using pop dots to create a new sentiment for January! 


I hope you are inspired to use all your Blank Page Muse Stamps for more than the seasons they were created for!!! Enjoy and happy planning! Pam

Supplies:
Blank Page Muse Classic Christmas Set
Blank Page Muse Everyday Clear Planner Set
Authentique Rejoice Collection
Xyron 3" Disposable Sticker Maker and Mega Tape Runner
Markers
Green Distress Inks
Black Ink
Pop Dots

Saturday, December 2, 2017

Poinsettia Card

Hello Friends,

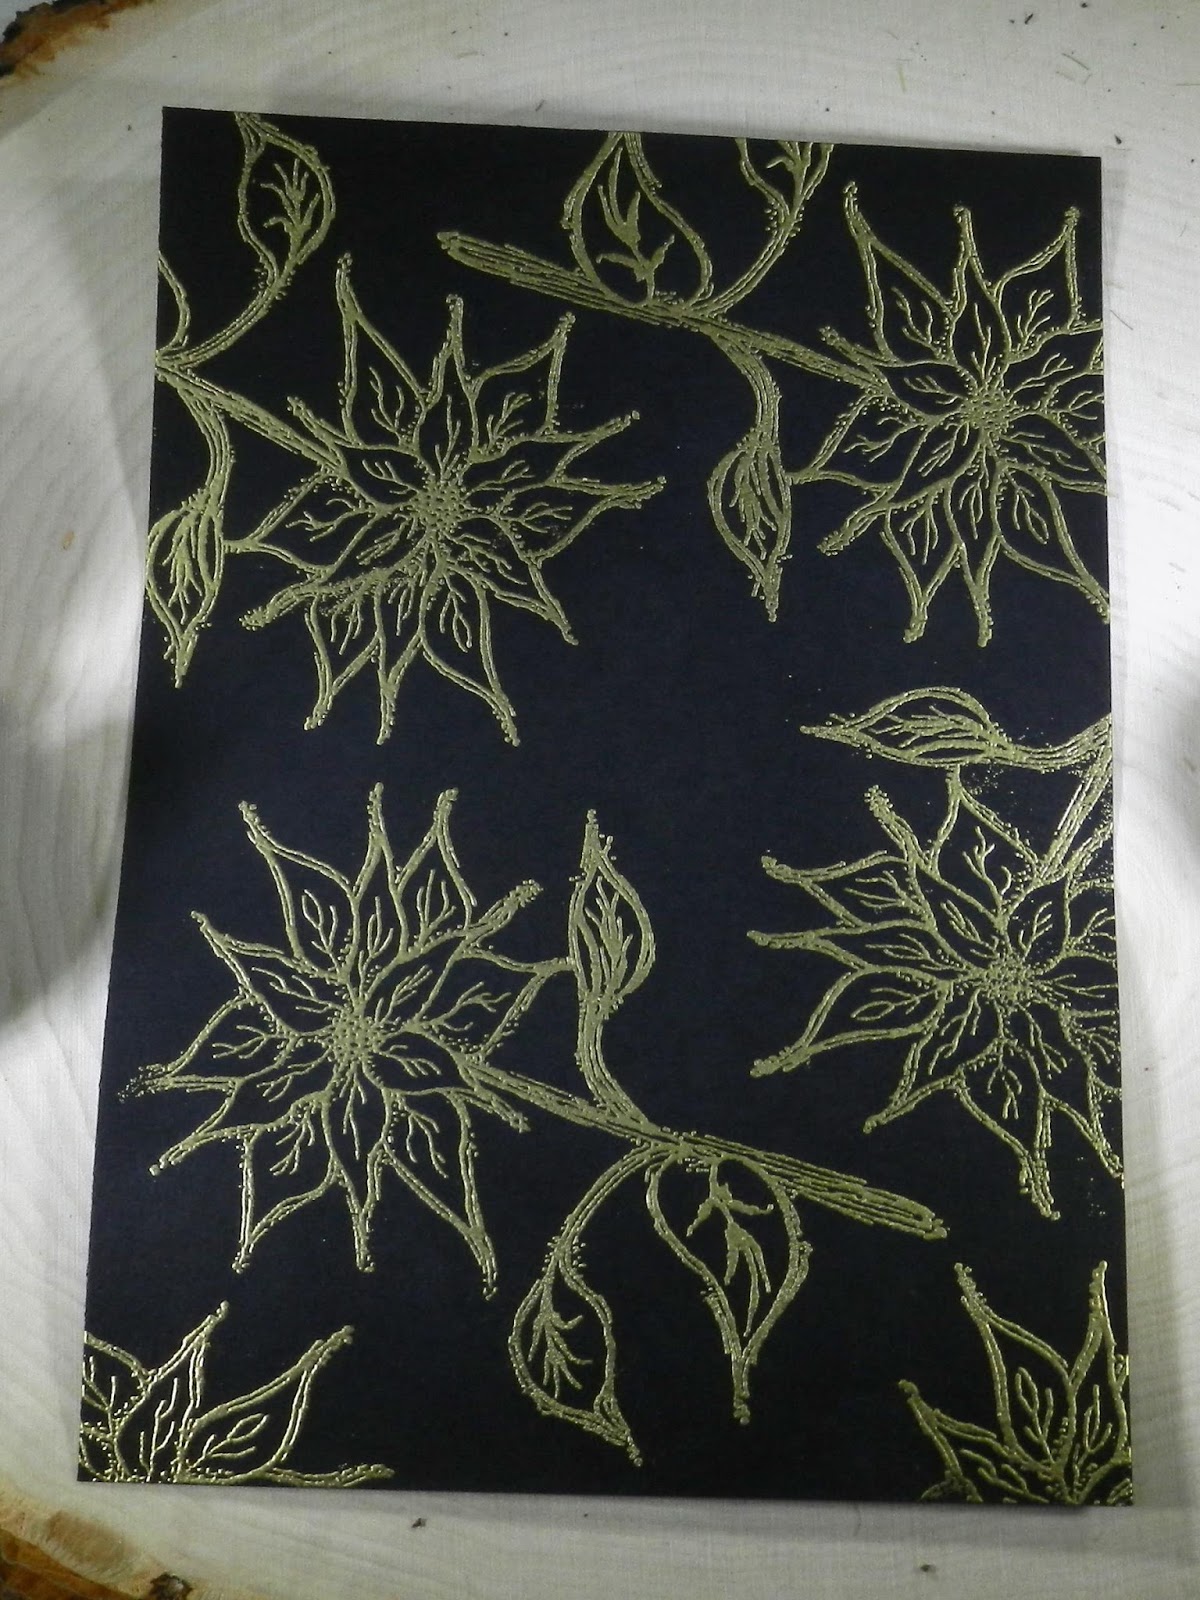
Today I am using the Classic Christmas Art Rubber Stamp Set by Pam Bray Designs from Sin City Stamps. I love how the large poinsettia stamp can be used as a background or a focal point. I have incorporated both options in my card for today.

Supplies:
  Sin City Stamps - Classic Christmas 

Other Supplies:
  Gold embossing powder
  Glitter pen
  Red enamel dots
  Red, black, green and craft card stock
  Frame die
  Copic Markers


Step 1:  Stamped poinsettia multiply times on black card stock and embossed in gold.


Step 2:  Filled in open areas with small star stamp from other Sin City Stamp set.  These too are gold embossed.


Step 3:  On white card stock gold embossed another poinsettia. Cut out the flower only and colored it in using Copic markers.  Added glitter pen to center of flower to increase the sparkle.


Step 4:  Cut out the frame in red card stock and attached to background using froam tape.


Step 5:  Next I layered this layer onto red and craft card stock.  I then added the colored poinsettia using foam tape and the leaves from the cut out flower which was also colored with Copic markers.


Step 6: Finally. I stamped the sentiment on a matching green pennant and affixed to card.  A few red dots completed the card.


Please share your cards with us on the Sin City Facebook Fan page.

X

Copyright Text

Blank Page Muse 2018 Sin City Stamps 2013