Showing posts with label Planner Pages. Show all posts

Tuesday, March 24, 2020

A Sparkly Fun Planner Page by Stephanie using DeadSeaToons Aspen!

Hello BPM Stamping Friends!

Today Teamie and Muse Stephanie has a wonderful planner page set up using our Dead Sea Toons designed Creepy cute Kid, Aspen!
 Here is a basic supply list and a couple or gorgeous pictures! How would you use these stamps in your planner or snail mail? We'd love to know!

BPM Products:

Aspen Creepy Cute Kid Stamp Stencil bundle
Pam Bray Everyday Planner Stamps

Other products:

Copic markers
Distress Ink
Washi
Polychromos Colored Pencils
Palette Hybrid ink pad: noir black


These rubber stamps are a fun size and really easy to color and customize for wherever your muse takes you! Thanks so much for sharing Stephanie!

Please follow Stephanie and leave her some love! Find here online here:
Inkypinkyboo.com
Instagram: @inkypinkyboo

Don't forget to come back and play in our Anything But a Card Challenge!

Wednesday, February 26, 2020

Quick and Easy: Aster & Arrows Planner Layout


Aster & Arrows Planner Fun


I am always looking for fun and quick ways to decorate my planners. I have found that I love using stamps and stencils to decorate my various planners! It's such a quick and easy way to make your planner more fun and bring some of your own personality to a plain page. Let's get to the short tutorial!

Blank Page Muse Products:


Other Products:

Xyron Sticker Maker
Alcohol Markers
Colorless Blender
White Paint Pen
 Colored Pencils
White Cardstock
Washi Tape
Ink pad 
Blender


Color Aster with alcohol markers. I used Copic markers and the colors are listed above on the photo. To get the mottled skin look I used a colorless blender to randomly remove color from her face. 

Use colored pencil to add a little more color and detail to the image. I used Polychromos colored pencils. (lime green, indigo blue, light and dark purple)

A white paint pen (Posca is my favorite)  is used to add highlights to the eyes and nose. I used my finger to smudge the white dot upwards to create a highlight.


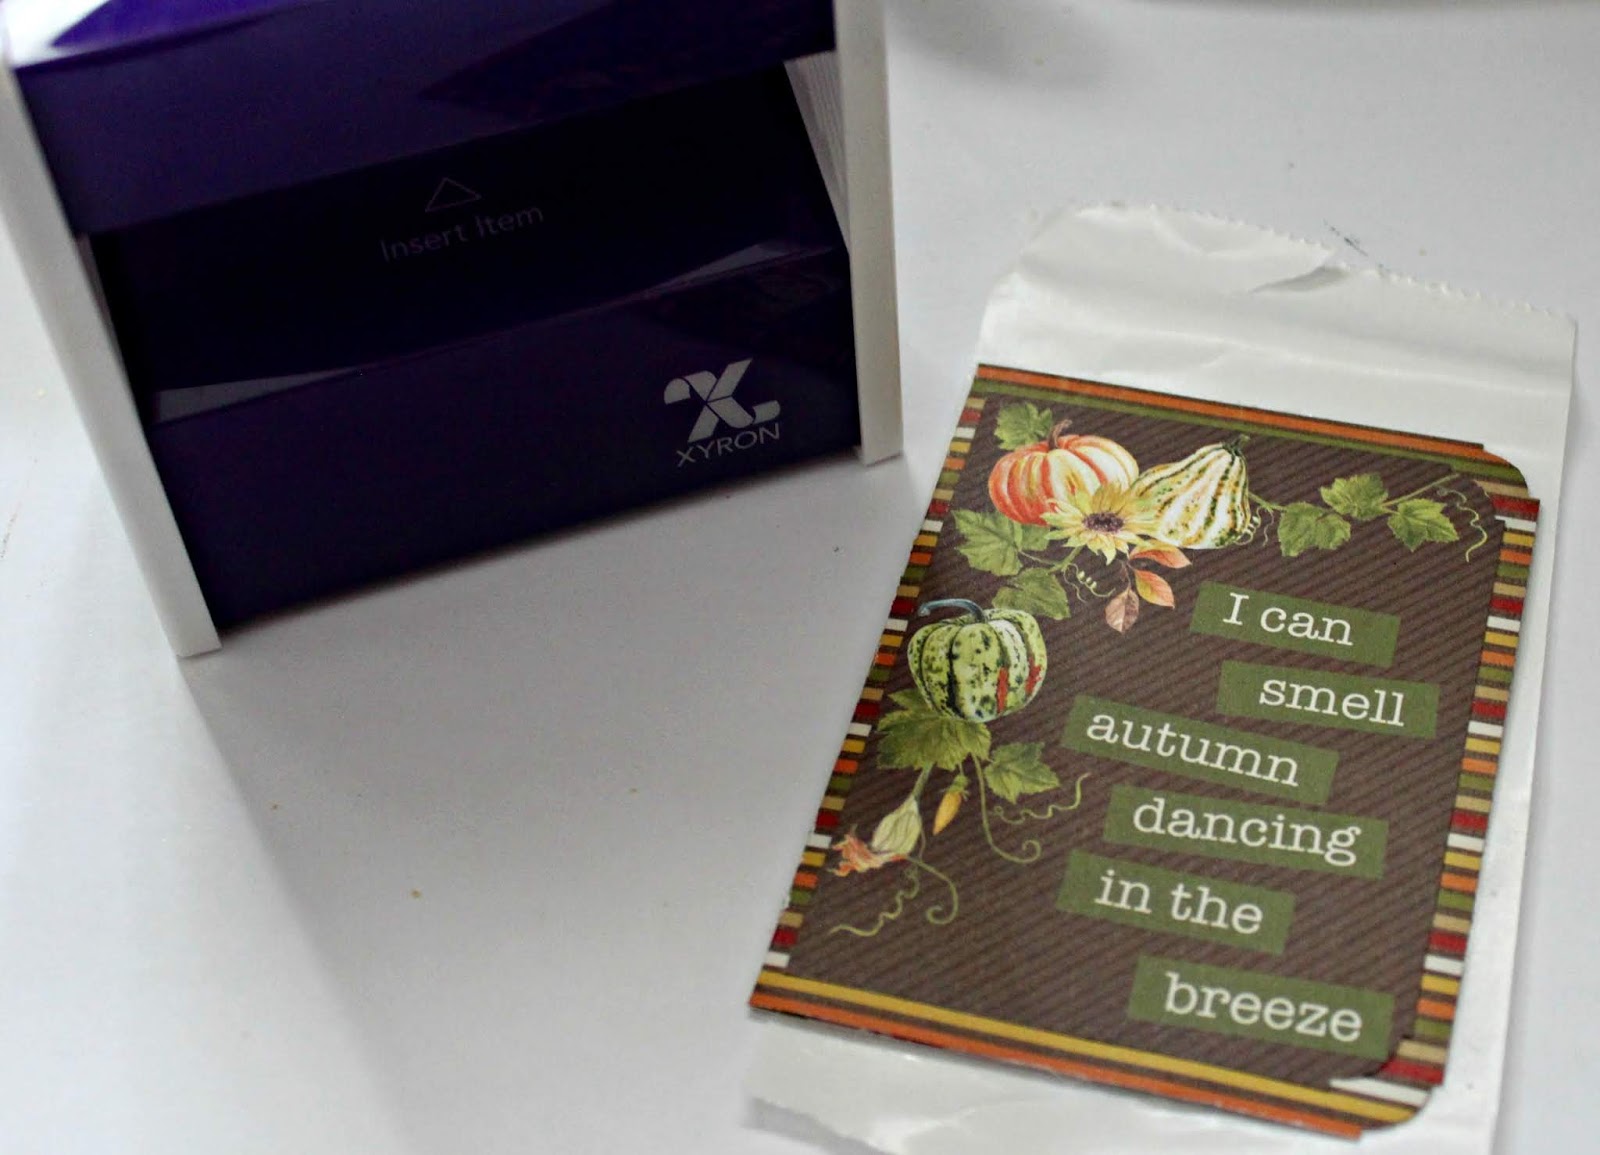
Next, I trimmed Aster and the quote and ran them through the sticker maker. You can use any kind of adhesive you want. 

Add some washi tape for your daily headers. 

Now time for some stenciling! I grabbed a complimentary colored ink pad and my blending brush. I used some spare washi (stuff that I won't be using in my planners) and used it to temporarily hold the stencil. Use your blender and stencil away.

Finally, I adhered Aster and the quote on the bottom of the planner. Aster fits perfectly in the bottom right and I centered the quote on the bottom of the opposite page.

I hope you enjoyed this quick and easy project as much as I enjoyed creating it. 


I will be sharing more Blank Page Muse Planner layouts on my Instagram as well. 
Until next time....


We hope you come back and play along in our creative challenge, you still have lots of time! Check out the link on the right side >>>>

Thursday, December 12, 2019

2020 Planner Pages with Christmas Stamps


Merry Christmas!!!
Pam here today and can you believe that Christmas is only 13 days away!
We are already looking into 2020 here on the Blank Page Muse Blog!!! 
SO...
Don't put your Blank Page Muse Christmas Stamps up because they will work perfect on you January Planner Pages!!!!


Begin by stamping your January pages randomly with the Pine Leaf Stamp from Blank Page Muse Classic Christmas Set using distress green inks. 
Stamp the "May the Joy of the Season Be Yours" sentiment from Blank Page Muse Classic Christmas Set on the page with black ink. 


Stamp "Noel" and "Have a Wonderful Christmas full of Love" from Blank Page Muse Classic Christmas Set on the adjoining page with black ink! 
Did you know that "Noel" can be traced further back to the Latin word natalis, which can mean "birthday" as a noun or "of or relating to birth" as an adjective. Isn't that cool to know!!!


Run border strips from Authentique Rejoice Pattern Paper through Xyron Disposable Sticker Maker! 


Stamp and color poinsettia flowers from the Blank Page Muse Classic Christmas Set on white paper; color with markers.


Fussy cut prepared poinsettia and run through Xyron 3" Disposable Sticker Maker. 


Stamp dove from Blank Page Muse Classic Christmas Set using black ink; color with makers. Fussy cut out.  


Add prepared poinsettias and border strips to planner pages. 


Add prepared dove to planner page with pop dots. 


Color "Noel" with green markers. Add circle embellishments created using circle punches. 


Stamp "Day" and small hearts inside of oval frame from Blank Page Muse Everyday Clear Planner Set using black ink. Fussy cut around image; add over the Christmas word using pop dots to create a new sentiment for January! 


I hope you are inspired to use all your Blank Page Muse Stamps for more than the seasons they were created for!!! Enjoy and happy planning! Pam

Supplies:
Blank Page Muse Classic Christmas Set
Blank Page Muse Everyday Clear Planner Set
Authentique Rejoice Collection
Xyron 3" Disposable Sticker Maker and Mega Tape Runner
Markers
Green Distress Inks
Black Ink
Pop Dots

Thursday, November 14, 2019

Fall is in The Air Planner Pages by Pam Bray Designs


Hello Lovely BPM Fans!
We're so glad to have you here. Pam Bray made this awesome introductory planner post to share today. Whether you are a new to planners or an expert, we hope you love these projects and that they inspire you to create!


Hi Blank Muse Fans!!! Pam here today sharing a few planner pages using the Blank Page Muse Everyday Planner Clear Stamp Set and the Fall is in Air Planner Clear Stamp Set. 


Today I am creating in the Momenta Explorer Journal...it is a fabulous journal/planner to draw, write and create with. Begin by stamping and coloring images from both the Blank Page Muse Everyday Planner Clear Stamp Set and the Fall is in Air Planner Clear Stamp Set on pages.


Stamp dates and circles from Blank Page Muse Everyday Planner Clear Stamp Seton white card stock using black ink. Punch stamped images and pattern paper with circle punches.


Run punch dates and circles through the Xyron 1.5" Sticker Maker. Adhere together.


Fold 4" x 6" pattern paper in half/ deco corner punch open side. Run prepared page through Xyron 3" Sticker Maker.


Add Epherema Card to front with Xyron Tape Runner. Adhere to top of page. 


Adhere pattern paper mats to inside of page.


Add prepared date to top of pages with pop dots.


Adhere pattern paper to back of prepared pages to create more journal space for photos or other items. Create a pocket on one page to insert tag.

Stamp tag with Blank Page Muse Fall is in Air Planner Clear Stamp Set and decorate with pattern paper. Enjoy creating planner pages with Blank Page Muse Clear Stamps. Pam

Supplies:
Blank Page Muse Everyday Planner Clear Stamp Set 
Blank Page Muse Fall is in Air Planner Clear Stamp Set
Authentique Gracious Collection
Momenta Explorer Journal
Xyron 1.5 Sticker Maker with Permanent Adhesive
Xyron 3" Disposable Sticker Maker
Xyron Tape Runner
Markers
Yellow Ribbon
Circle Punches
Scallop Border Punch
Deco Art Corner Punch
Tag
Pop Dots
DISCLAIMERS
This blog is compensated to provide opinion on products, services, websites, and various other topics. Even though the owner(s) of this blog receives compensation for our posts or advertisements. I always give my honest opinions, findings, beliefs, or experiences on those topics or products. The views and opinions expressed on this blog are purely my own. Any product claim, statistic, quote or other representation about a product or service should be verified with each manufacturer, provider, or party in question.This blog contains affiliate links, clicking and shopping through these links helps to support and run Pam Bray Designs - Scrapbook Flair Blog at no additional cost to you. Today's features are Blank Page Muse, Momenta, Authentique and Xyron Products. 

Copyright Text

Blank Page Muse 2018 Sin City Stamps 2013