Supplies used:
Sin City Stamp Sheet Dandelion Wishes with butterflies SC0085
Piece of chipboard (I used a pizza box)
Cardstock in white (use smooth cardstock suitable for stamping)
Scissors
Gesso
Acrylic paint in: yellow and dark brown
Archival stamp ink in Jet black
Colored pencils.
Decoupage Glue
Decoupage paper / Tissue Paper
Ribbon (black)
Lace (black)
Butterfly charm
Some paint brushes
Baby wipes
Acrylic block
Spray water bottle
black crayon
Step 1
Take the pizza box (or cereal box, whatever box you have) and scissors and cut out a tag shape, and punch a hole where the ribbon will be when the tag is finished.
Step 2
Gesso the tag (both sides to prevent it from warping) and let the gesso dry
Step 3
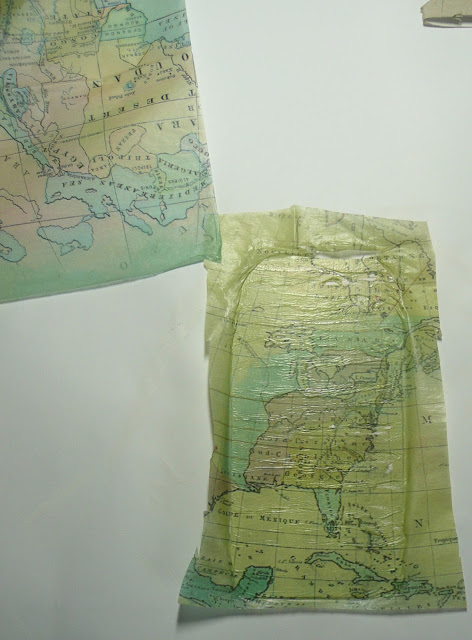
Use decoupage glue to adhere the tissue paper to the tag and cut of the edges when glue is dry.
Step 4
Paint over the tissue paper using yellow acrylic paint, and take some of the paint off again using a baby wipe. You want the tissue paper to show through the paint.
Step 5
Make a glaze by mixing brown acrylic paint and water. Cover the tag with the glaze using a paintbrush.
Step 6
Make a puff of a baby wipe and dab the glaze off in a circular motion, you need to do this before the paint has not completely dried. Make sure you can see the previous layers shine though the glaze. Doing this will give the tag a bit of an aged look.
Step 7
Make sure the paint is dry before stamping the sentiment of the Dandelion set onto the bottom of the tag.
Step 8
Stamp( 3 ) butterflies from the Dandelion set on to the tag.
This impression is used to create a shadow of the butterflies but also the little body parts that are hard to cut out will be replaced by this stamped image.
Step 9
Stamp the same butterflies onto smooth white cardstock. Color in the butterflies, with colored pencils.
Step 10
Cut out the butterflies (you can cut of the feelers and the small end of the bodies to make it easier.
Go around the edges of the butterflies with a black marker so there is no white showing. Bend the wings of the butterflies upward.
Step 11
Color in the butterfly images on the tag using a black crayon.
Step 12
Adhere the butterflies to the tag, but just use some glue on the bodies, that way the wings can still be folded. This makes it look like there are real butterflies sitting on the tag, ready to take flight.
Finish the tag by inking around the edges with the black ink pad, then adhere some lace to the bottom of the tag.
Tie the ribbon through the hole and add the butterfly charm (I used a small safety pin to do so)
For more inspiring paper-craft projects from the Design Team, be sure to follow us on Facebook.


Love this tag and how th \e butterflies look ready to take flight. Great job!
ReplyDeleteThis is fabulous, love the background of the tag and beautiful butterflies.
ReplyDeleteHugs
Linda xxx
Great!!!
ReplyDelete