Sunday, March 23, 2014

Running away.....

Do you ever have one of those days, when you just want to pack your bags and RUN....  Instead of running away, I try and run to my studio and play in my art journal.


Time for Change

Supplies:
Gelatos: Watermelon, Metallic Melon, Tangerine, Acqua Dolce, Lemon
gesso
Acrylic Paints:  Light Purple, black   
Letter Stamps
Staz-On:  Orange Zest, St. Valentine, Emerald city 
India Ink


Thursday, March 20, 2014

Things I Love Mixed Media Journal Part 2

Hello everyone.  Today I am going to share a project I made using Sin City Stamps and a really fun product  called Composi•mold reusable mold making material.  I started this Faber-Castell mini mixed media journal in a previous post, entitled Things I Love.  You can see my previous post by clicking here.


To learn more about Composi•mold, I found a wonderful video tutorial here which explains how easy it is to use.


Supplies:

Sin City Stamps:  DressformsWing-It 
Composi•mold reusable mold making material

Mixed Media Mini Journal (Faber-Castell)

Burnt Umber acrylic paint (Plaid)

Copper Gilder's Paste (Altered Pages)

German Scrap (Altered Pages)

Scor-Tape (Altered Pages)

Versamark Ink

Black embossing powder

Distress Inks, Stains, and Markers:  Rusty Hinge, Brushed Corduroy, Antique Linen, Scattered Straw, Peeled Paint; Tea Dye, Tattered Rose, Vintage Photo (Tim Holtz)

Crackle Accents, Glossy Accents (Ranger)

Niji Water Brush (Altered Pages)

Metal embellishments (various)

Helmar 450 glue

Directions:


I first painted one page with Burnt Umber acrylic paint on both sides.  

Then I trimmed a piece of G45 Typography paper to 4-1/2" x 5-1/2" and heavily distressed the edges.  I further distressed the edges with Vintage Photo distress stain.  I like to use the stain because it softens the edges and absorbs the color better.  I used a small round stick to curl two of the edges.  Then I adhered this piece to the page.

I had this metal typewriter embellishment from Michaels in my stash and wanted to replicate it for this project.  So, I turned to this fabulous mold-making product called Composi•mold.     
Following the easy directions on the package, I made the mold.  If you would like more information on this process, please see my previous post.  


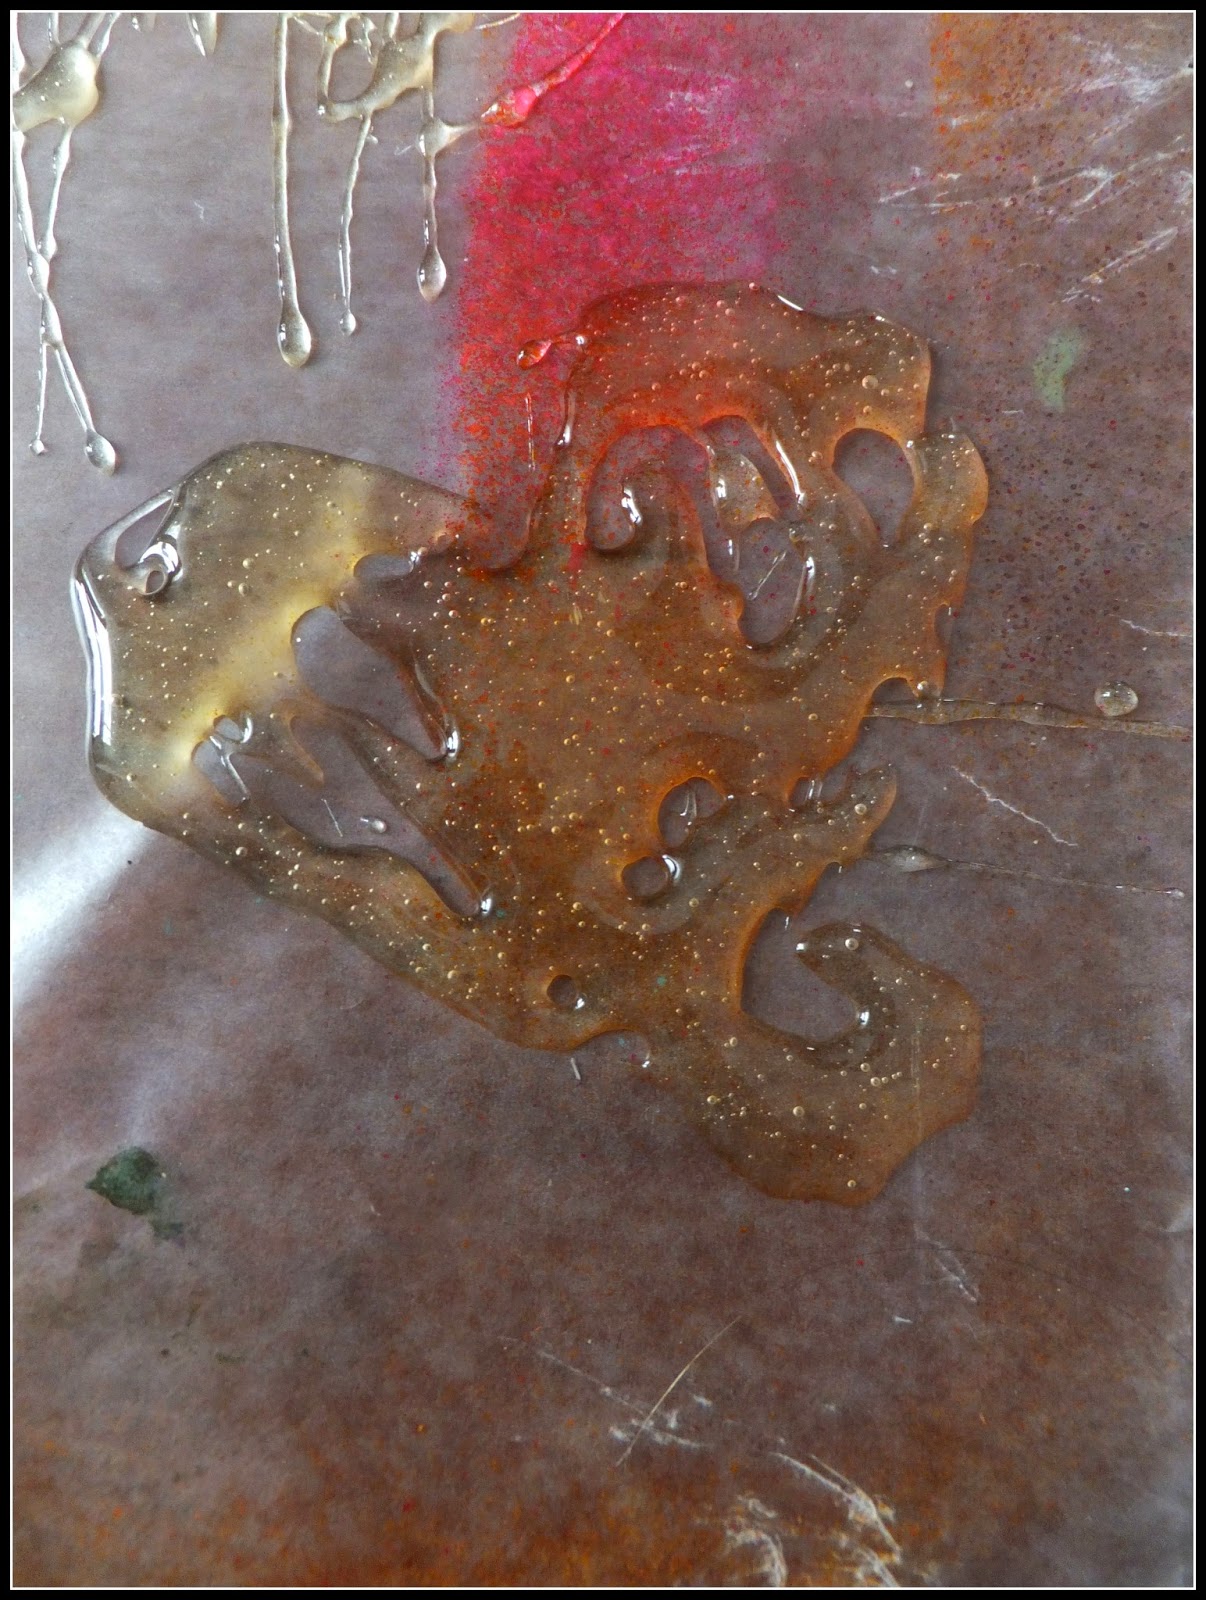
Next, I used Creative Paperclay® to make my copy.  First, I placed small pieces of the paperclay into the tight spots along the sides, as shown.

Then I finished filling the mold and turned it over to see if I got all the nooks and crannies filled.

Allow the paperclay to dry a bit before removing it from the mold.  Before the clay is completely dry, you can smooth edges and do any fine trimming, if necessary.  After the clay dries, you can also sand it to smooth out any roughness.

Paint entire piece with black acrylic paint and let dry.

Apply a wash of silver acrylic paint over the piece and wipe some of the excess off of the top.

  Next, I hit the high spots with archival black ink.  Set aside to dry.

Adhere typewriter embellishment to lower left of page, over scrap strip of gold mesh paper.  Stamp wings from Wing-It plate onto scrap print paper from Graphic 45 Typeography paper  using Versamark and black embossing powder, fussy cut wings and adhere to each side of typewriter, raising them onto either foam dots or heavy glue.  I used a big blob of Helmar 450 glue because it dries clear and remains dimensional. 
Stamp typewriter keyboard from Dressforms onto same scrap print paper from Graphic 45 Typeography paper using Versamark and black embossing powder.  Distress edges with Vintage Photo distress stain and adhere above typewriter.

Adhere the other side of the mesh strip to the right side, pulling it taut, as shown, and adhere metal letters (TYPE) I found in my stash over the end.  I also found these letter brads in my stash, so I removed the brad prongs and attached them with Glossy Accents.

I adhered two red metal numbers at the corners where I had curled the paper back.  See photo above.


Here is what I did to the reverse side.


I found this scrap of mesh material in my stash, so I trimmed it to size and adhered it to my page with scor-tape, or similar double-sided adhesive.

Scor-tape around the edges
The picture below shows where I had this brilliant idea to attach the mesh by pouring gold embossing powder over the scor-tape and the mesh and heating it.  The idea was that the melted embossing powder would hold the edges down and adhere it with a nice, embossed edge.  Unfortunately, the mesh was apparently plastic, too, and wanted to melt as I attempted to heat the EP.  So, on to Plan B.

Mesh adhered to scor-tape around edges, bottom shows my attempt at adhering with EP
Plan B:  Adhere a second strip of score-tape along the edges again, right over the mesh and first strip of scor-tape, to which I will adhere German scrap borders.

 
If you want a more vintage look, color strips of German scrap borders with Gilder's Paste or Metallic Rub-on creams.  I used Copper Gilder's Paste.
Adhere German scrap border strips to the scor-taped edges, mitering corners for a neater look.

I love how this looks now, and in retrospect, I think this ultimately looks better than if Plan A (with the EP) had worked.  

Now that my base is done, I need some embellishments.  So, I stamped three images from the Wing-It stamp plate in Versamark ink and black embossing powder.  I sponged Rusty Hinge and Brushed Corduroy distress inks over the lion, Antique Linen over  the watch face, Antique Linen with Peeled Paint over "Antique-aholic" and, and Scattered Straw over the column.

I colored the woman with a Tattered Rose distress marker, the watch with a Peeled Paint marker, and added color to the column with a Tumbled Glass marker.  I then added shading to the column with a Scattered Straw marker and a Tea Dye marker around the clock face.

Then I blended all the colors with my water brush.

Next, I fussy cut the pieces and adhered the column collage image to my page with foam dots, and wet glue for the lion image.  Adding these three metal studs gave it some added dimension and interest, as well.

 Next, I used a ticket punch on the "Antique-aholic" piece and edged with Peeled Paint Distress Ink.  Then I adhered some metal filigree jewelry findings in the upper right corner and attached my "Antique-aholic" piece over that.  This gave it some interest with a bit of dimension.

The last thing I did was add small areas of Crackle Aceents over the clock face to imitate a broken, shattered clock crystal.

I hope you are enjoying all of this month's DT posts and inspiration using stamps, embellishments, and Composi•mold.  As I said before, this is so easy to use and lots of fun.  I hope you will give it a try.  Be sure to pop on over to the SCS Store to see all the new products and the SCS Blog for tons of inspiration.


Have a wonderful and creative weekend.


Barbara

Tuesday, March 18, 2014

New Wave "Batik" Mixed Media Canvas: Part 1

I love that inspiration for projects can come from many sources.  This particular idea flashed into my mind after I saw a fellow design team member's post on drizzling the ComposiMold (www.composimold.com) over a tube to create a stamp of sorts.  Hmmmm, why couldn't I do the same type thing only drizzle it over a canvas and layer colors??  Well of course I had to try and this is a record of my steps.

First I took a blank canvas (mine is a blank canvas panel from Michael's, but any canvas should work the same) and placed it onto newspaper on my worksurface.  I melted the ComposiMold according to the directions.  Once melted, I drizzled a few spirals onto my canvas and then waited for it to firm (it doesn't take too long).

I pulled out the Pan Pastel Magenta and a Softit sponge (www.frogdogstudio.com) and went to work "painting" the open areas of my canvas.  The ComposiMold bonded with the canvas so I was able to rub color right up next to the spirals without color going underneath.  I did discover in some of the thinner areas NOT to rub too hard as it came up easily in those areas. 
A little bit of the Pan Pastel goes a long way, so don't use too much.  I found that rubbing the sponge across and then tapping the excess onto the canvas worked best.  I was able to spread the pastels easily without a chalky mess.  Once the canvas was completely covered I re-melted the ComposiMold  and drizzled a zig zag design onto the canvas.  Again, wait until it forms up before gong in with the pastels or paints.  This time I think I will sponge paint over the top....hmmm, should be interesting.
Not quite what I was expecting, but may be okay.  Turns out the Pan Pastel works as a resist to the paint...guess I should have figured that one out in advance (duh!).  Onward with the experiment and a couple more layers.  Once again melt the ComposiMold and drizzle it into some of the untouched areas.  I attempted dots this time, but control of the spoon and gel is a little difficult (the gel has a mind of its own).
WARNING:  Resist all urges to peel up the gel layers to peek underneath!!  If you do then progressive colors may wipe out the colors you have "masked". 
Once set, I took my ink pad and tapped it all over the canvas trying to get it into the nooks & crannies without overpowering the colors that may have come before. 
With this step finished,

I couldn't stand it any longer....what does it look like underneath AND (the bigger question) did it work or would all of the layers peel up with the ComposiMold??  Slowly I began to remove the dots, little by little the colors underneath were revealed.  Now to start pulling spirals and squiggles...it all worked!!  WooHoo...so nice when the picture in your head actually works out in reality :-)
The paint left some rough edges that I was able to soften by rubbing lightly over the canvas with a fingertip (back & forth and up & down). 
I kind of wish I had colored the white canvas in some way before starting.  The only part that I am not thrilled with are the white areas :-/  Good thing that everything is improved with a little embellishment. 

Watch for Part 2: The transformation & completion  
Coming soon (April 2)

Monday, March 17, 2014

WildHeart Art " Texture On The Edge Part 2" Sin City Stamps Design Team Post featuring ComposiMold

~Texture On The Edge~
Sin City Stamps Design Team Post Featuring ComposiMold
Part 2


Welcome to the second part of the this fun and creative project featuring ComposiMold.In part one I showed you all how to create a textured stamp roll using a sturdy  cardboard paper towel roll and drizzling melted ComposiMold over it.


 When ink is applied to the roll and  then rolled over a painted background ,the look is similar to the example below. 


I wanted to incorporate  more layers  into the project so I used the ComposiMold to create a stamp and a mask and also will glue them to the mixed media for additional added interest .By using melted ComposiMold I was able to design shapes and textures on wax paper. When cooled they are ready to use to layer on more interest in the mixed media project.


 Here the heart shape is used a Mask too.


  You can also use the cooled "shapes or doodles" as part of the actual design below. You can secure in place with gel medium.


You also can paint them and add to the canvas.


As a final touch you can add stamps or more stencil textures on the background. I used a letter stamp to create a more inspirational piece. ComposiMold is a really unique product to work with and holds many creative possibilities! 
As always.. Enjoy the Creative Process and step outside your "art zone" .. you never know what amazing things you can come up with!
~In Love and Faith~
Sherri

Dont forget to check out Sin City stamps  when looking for unique stamps, stencils,die cuts,chipboard ect for you next creative project!

Friday, March 14, 2014

Embellishing with Sin City Stamps and Composimold

Hi! Peggy here with you today and I would like to show you what I did with some great products that I used to create embellishments. Sin City Stamps makes great embellishments when used with Composimold.
Today I used: 
  • Sin City Stamps
  • Composimold 
  • Crystal Lacquer 
  • Sculpy Clay 
  • White Gesso
  • Double sided tape
  • Cooking Oil
  • Acrylic Paints/Pearl Ex
  • Elmer's Glue

The first thing I did was lined my glass and plastic bowls with double sided tape to hold down 
my Sin City Stamps placed face up. I took my  finger and lightly brushed on some cooking oil. 
(I used a paper towel to soak up any excess.) 
I heated my Composimold for two minutes in the microwave and stirred until melted.
I used a paintbrush to cover just the stamps at first layering evenly.
I make sure to have sufficient layers on the top to make a  good impression.
I let it set and pulled off the Composimold. The double sided tape held my stamps in place. 
I wasn't sure at first what I was going to make embellishments out of. The first thing I tried was Crystal Lacquer. I love how it grabbed every detail. I painted them with white gesso and they are ready for coloring. 


Next I wanted to make some embellishments out of polymer clay. The molds were so easy to use. 
I baked as directed and painted with white gesso. 
Before coloring I lightly sanded all the edges. 

Whalla.. instant embellishments with your stamps! The total process took only minutes. 
Check out Sin City Stamps today! 
Below is my finished home made embellies.. :
I  mostly colored with Pearl Ex and Crystal Lacquer. 

 Below I used black acrylic paint as a base and elmer's glue as a second layer and 
acrylic white and pink to create a crackled distressed look. 
Below I used Pearl Ex to color.
 Here is an embelishment made from Crystal Lacquer as my foundation.
Painted with pearl ex and crystal lacquer.


I hope you enjoyed my embellishment project as much as I had fun making them.


Copyright Text

Blank Page Muse 2018 Sin City Stamps 2013