Hello all, Monique here showing you how I made this page in my small Moleskin art Journal
Supply list:
Music paper (old sheet music or scrapbook paper)
Glue
Scissors
Glitter glue
Black and blue waterproof stamp ink
Paints in vintage green, colonial green and traditional burnt umber
Punched holly leaves
Water
Stencil
Paintbrushes
Colored pencils
Vintage image/ clip art
Black pen
Acrylic block
Pencil
Glitter cardstock in vintage green / yellow and red colors
Step 1: Put the journal on the music paper and trace around it to have a guideline to cut the paper to the right size to fit in your journal.
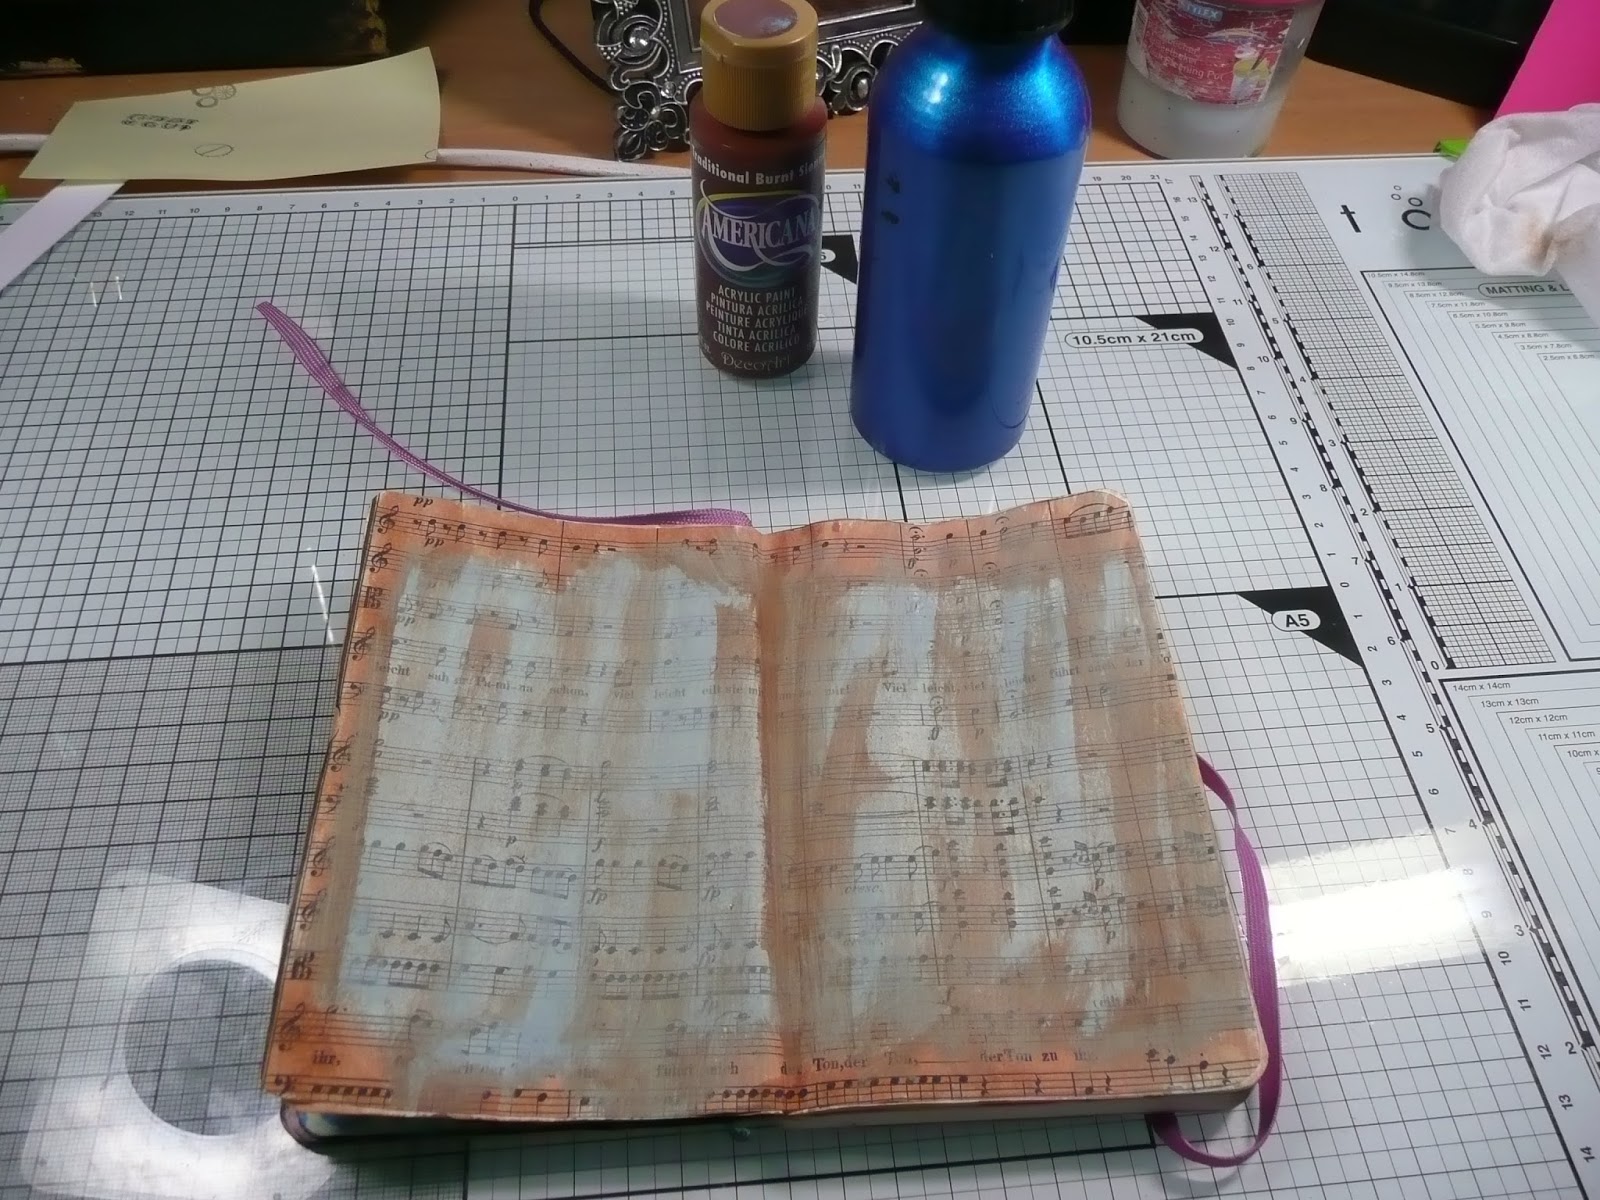
Step 2: Glue the music paper in the journal and let the glue dry.
Step 3: Add a thin layer of vintage green paint using a paint brush. Leave the edges blank. You don't have to be precise, we are aiming for an old rustic look. Make sure the print of the paper stays visible.
Step 3: Thin some burnt umber paint with a little water and paint the edges and also add a bit over the green paint, make sure you can still see the print of the paper through the paint. If you used too much paint, just remove some using a baby wipe
Step 4: Use a stencil and Colonial green paint on the page.
Step 5: Make impression using the
Sin City Fancy Curls and Flowers flourish art stamp and a waterproof blue ink on the edges and the corners, but also in the middle of the page. Use different parts of the stamp by turning it, like in the picture.
Step 6: Use the
Sin City Skull Streetlight Halloween art stamp on the left page, make sure your stamp ink is waterproof otherwise it will smudge when adding next layers.
Step 7: Make an impression using the
Sin city angel feathered wings heart shaped rubber stamp, make sure the wings are in the right spot to be the wings of the vintage figure, so make a little mark on the paper before stamping by putting the image in place, remove it after you made the positioning mark and stamp the wings using black waterproof ink.
Next color the wings. I used pencils in Blue, Purple and white
Step 8: Adhere the vintage image on the wings impression, make sure the feet line up with the bottom part of the wings. Next trace around the image using a black pen that will allow you to fade it into the background a little before it dries permanently ( I used a Faber Castell Pitt marker). Also use this pen and same technique to create a bit of a surface for the lamp and the angel to stand on. So draw a line and fade it out using your finger.
Step 9: Punch out the holly leaves and berries using glitter cardstock, I used green and yellow for the leaves and pink for the berries. Use the holly to cover the skull on the lamp.
Step 10: Add glitter glue on the edges of the page and on the "ground"where the lamp and the angel are standing. Also add a bit on the lamp, I was aiming for a snow effect.
Step 11: Write a sentiment.
Here some more pictures of the finished page.
Thanks for visiting.
To purchase these supplies, visit www.sincitystamps.com
Sin City Stamps Blog
Follow us on Facebook.
Join the Sin City Fan Group. HERE