
Hi Chris here today, and I want to share this cool card I made. I love that it looks so sweet, but didn't take hours to make. I used mostly white papers and embellishments and inked them all to match -- which is a great way to stretch you supplies! Plus I got to play with lots of ink and markers *grin* Sometimes you need a card that whips up in short amount of time, but still lets you play!!!
For this project I used
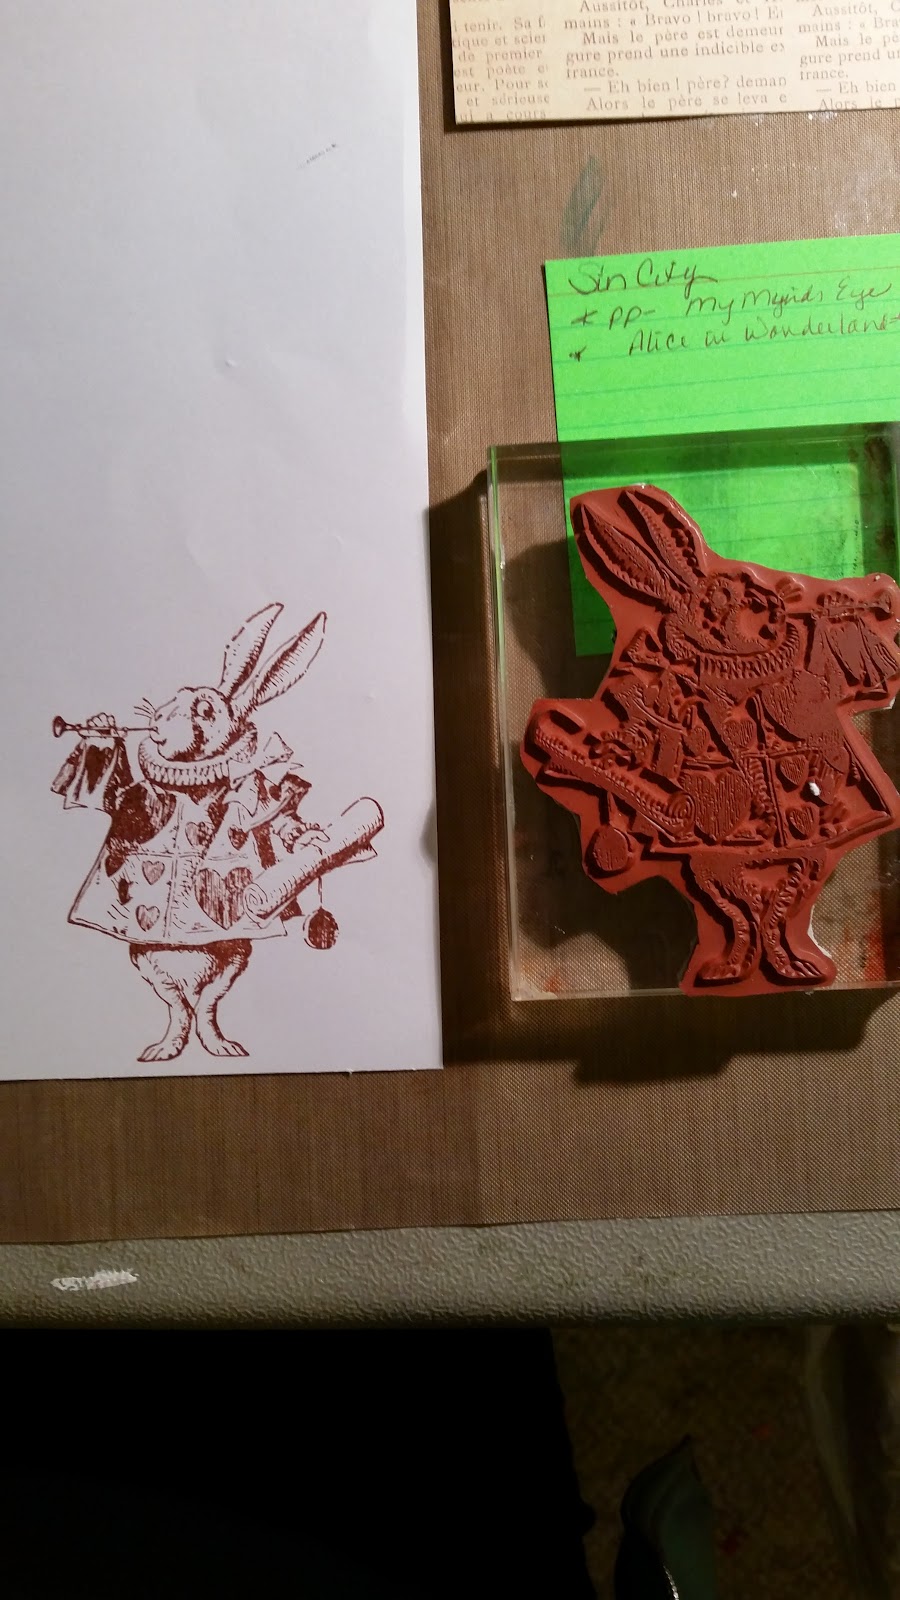
Sin City Stamps Alice 2
My Minds Eye patterned paper
Tim Holtz Distress Inks- Broken China, Spiced Marmalade, Scattered Straw, Tea Dye, Abandoned Coral
Tim Holtz Distress Markers - Old Paper, Tattered Rose, Tumbled Glass, WIld Honey, Barn DOor, Squeezed Lemonade, Evergreen Bough, Peacock Feathers
Ranger Archival Ink - Sepia
Pre-Made Banner - The Paper Studio
Sizzix Die #660220
Elmer Spray Adhesive
Colorbox Design Adhesives
Doodlebug Glitter
Card Base- The Paper Studio
I started by inking my background paper with my distress tool first with Broken China, and then with the Spice Marmalade. I let the colors overlap slightly. I left the center mostly free of ink to provide a bright area behind my stamped image.


I then die cut the "scroll" lattice using the Sizzix die and white paper, but decided the white didn't match the vintage-y style I was trying for so I gently inked the paper with distress ink.

I added the die cut to the lower right hand corner of my background piece, and then trimmed off any excess. To adhere this delicate die cut I did break out the spray adhesive.


I then attached the banner to the upper left hand corner of my card.


I stamped the rabbit on to white paper using the Sepia Archival Ink.
I then used my Tim Holtz Distress Markers to color him in. Since I was going for a more vintage-y look I tried to stick with more muted colors. To tone down the brighter colors I added a bit of Old Paper accents to the areas colored with Squeezed Lemonade and some Evergreen Bough to the Peacock Feather areas. I then Fussy cut out my image. ( The image below show how bright the Squeezed Lemonade and the Peacock Feathers were before I toned them down.)


I hope you decide to try some of these techniques.
Love the card and detail
ReplyDeleteThank YOu so much for the kind comments :D
DeleteSo cute, love that stamp!
ReplyDeleteI know I love these stamps :D
DeleteLove your card! The stamp is awesome!!
ReplyDeleteWhat a fun card. Love the theme, too! Great stamps.
ReplyDeletesuper fun card! cute stamps!
ReplyDeleteSuch a fun and cute card, Chris!
ReplyDelete