Sugar Skull Halloween
Good day, fellow crafters. It's Tamara once again, with a new post where I am going to be showcasing my latest card created using I Brake for Stamps and Blank Page Muse products!
Sugar skulls, known as "Calaveras de Azúcar" in Spanish, are a traditional part of Day of the Dead (Día de los Muertos) celebrations, particularly in Mexico. These colorful, decorative skulls are made from a sugar paste and are often adorned with vibrant icing, beads, and foil to create intricate designs. They hold a deep cultural significance, symbolizing the deceased and serving to honor and remember loved ones who have passed away.

To create this project, you will need the following:
Focal Image
- Place the watercolor sheet into the stamping tool and secure

- Position and secure the stamp into place
- Ink the stamp with black ink
- Stamp the image by applying even pressure
- Repeat as necessary for a clean image,
- Allow the ink to dry

- Dampen the colors to be used in the watercolor pallet with some water and allow it to become saturated with pigment
- Using the fine-tip watercolor brush, carefully color the focal image.
- Allow to dry completely
- KEY TIP: Be sure to keep the brush clean between each color change and do not over-saturate the brush to prevent the colors from running

Background Panel

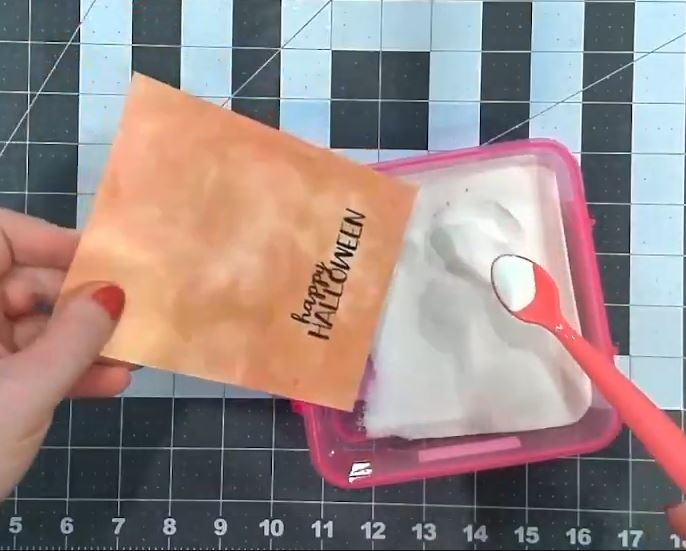
- Use white cardstock, colored paste (the color choices are optional), and a blending pad, apply the paste to the card until the desired hue is reached.
- Once the desired hue is reached be sure to allow the background panel to dry completely. This will prevent the paste from being smeared or removed accidentally in subsequent steps.
Sentiment

- To create the sentiment, place the background panel into a stamping tool and secure it in place
- Align the sentiment stamp and secure for stamping
- Apply black ink to the stamp
- Stamp the image and ensure that even pressure is used
- The inking and stamping may need to be repeated to ensure a crisp image
- While the ink is still wet apply a covering of clear embossing powder
- Heat set the powder with a heat tool
Embossing the Background Panel
The next step is to emboss the Background Panel using an embossing folder.
- Place the panel into the embossing folder
- Run the embossing folder through your die-cutting machine based on the manufacturer's recommendations
- Repeat if the impression does not transfer cleanly, however, do not remove the panel from the folder before you are satisfied so everything remains aligned
The final step is assembly.
- Trim the background panel to 4.25" x 5.5" using a paper trimmer
- Use liquid glue to adhere the background panel to the card base
- Apply foam tape or pop dots to the back of the focal image to add dimensions
- Remove the backing from the foam tape
- KEY TIP: Add some liquid glue onto the foam tape or before adhering into place. The liquid glue will allow a small opportunity for repositioning before the foam tape adheres to the background panel


- Optional: For more dimension and sparkle, add some flat back gems to the eyes and forehead using the jewel picker and some liquid glue
The stamps I used can be found by following the links in the materials list or you can find them with a quick search on www.blankpagemuse.com. Visit our social media sites for more stamping fun!
I Brake For Stamps -https://ibrakeforstamps.com/
The Blank Page Muse- https://blankpagemuse.com/
FB Fan Page- https://www.facebook.com/groups/blankpagemuse/
Instagram Shop- https://www.instagram.com/blankpagemuse/
Instagram Blog- https://www.instagram.com/blankpagemuseblog/
Twitter- https://twitter.com/BlankPageMuse
Pinterest- https://www.pinterest.com/blankpagemuse/boards/
No comments:
Post a Comment
Thank you for visiting and leaving your kind words!
~~~
A note regarding the GDPR and EU ePrivacy Regulation:
Those leaving a comment on any post on this blog do so on the understanding that their name and personal details will be visible to anyone who visits this blog.
People entering a piece of artwork into any competition or giveaway promoted here, they do so in the knowledge that their name and blog link are visible to all who visit this blog and in so doing have published their own personal details and consented to our use of that personal information should it be selected as a winner.
Thank you.