Tuesday, March 18, 2014

New Wave "Batik" Mixed Media Canvas: Part 1

I love that inspiration for projects can come from many sources.  This particular idea flashed into my mind after I saw a fellow design team member's post on drizzling the ComposiMold (www.composimold.com) over a tube to create a stamp of sorts.  Hmmmm, why couldn't I do the same type thing only drizzle it over a canvas and layer colors??  Well of course I had to try and this is a record of my steps.

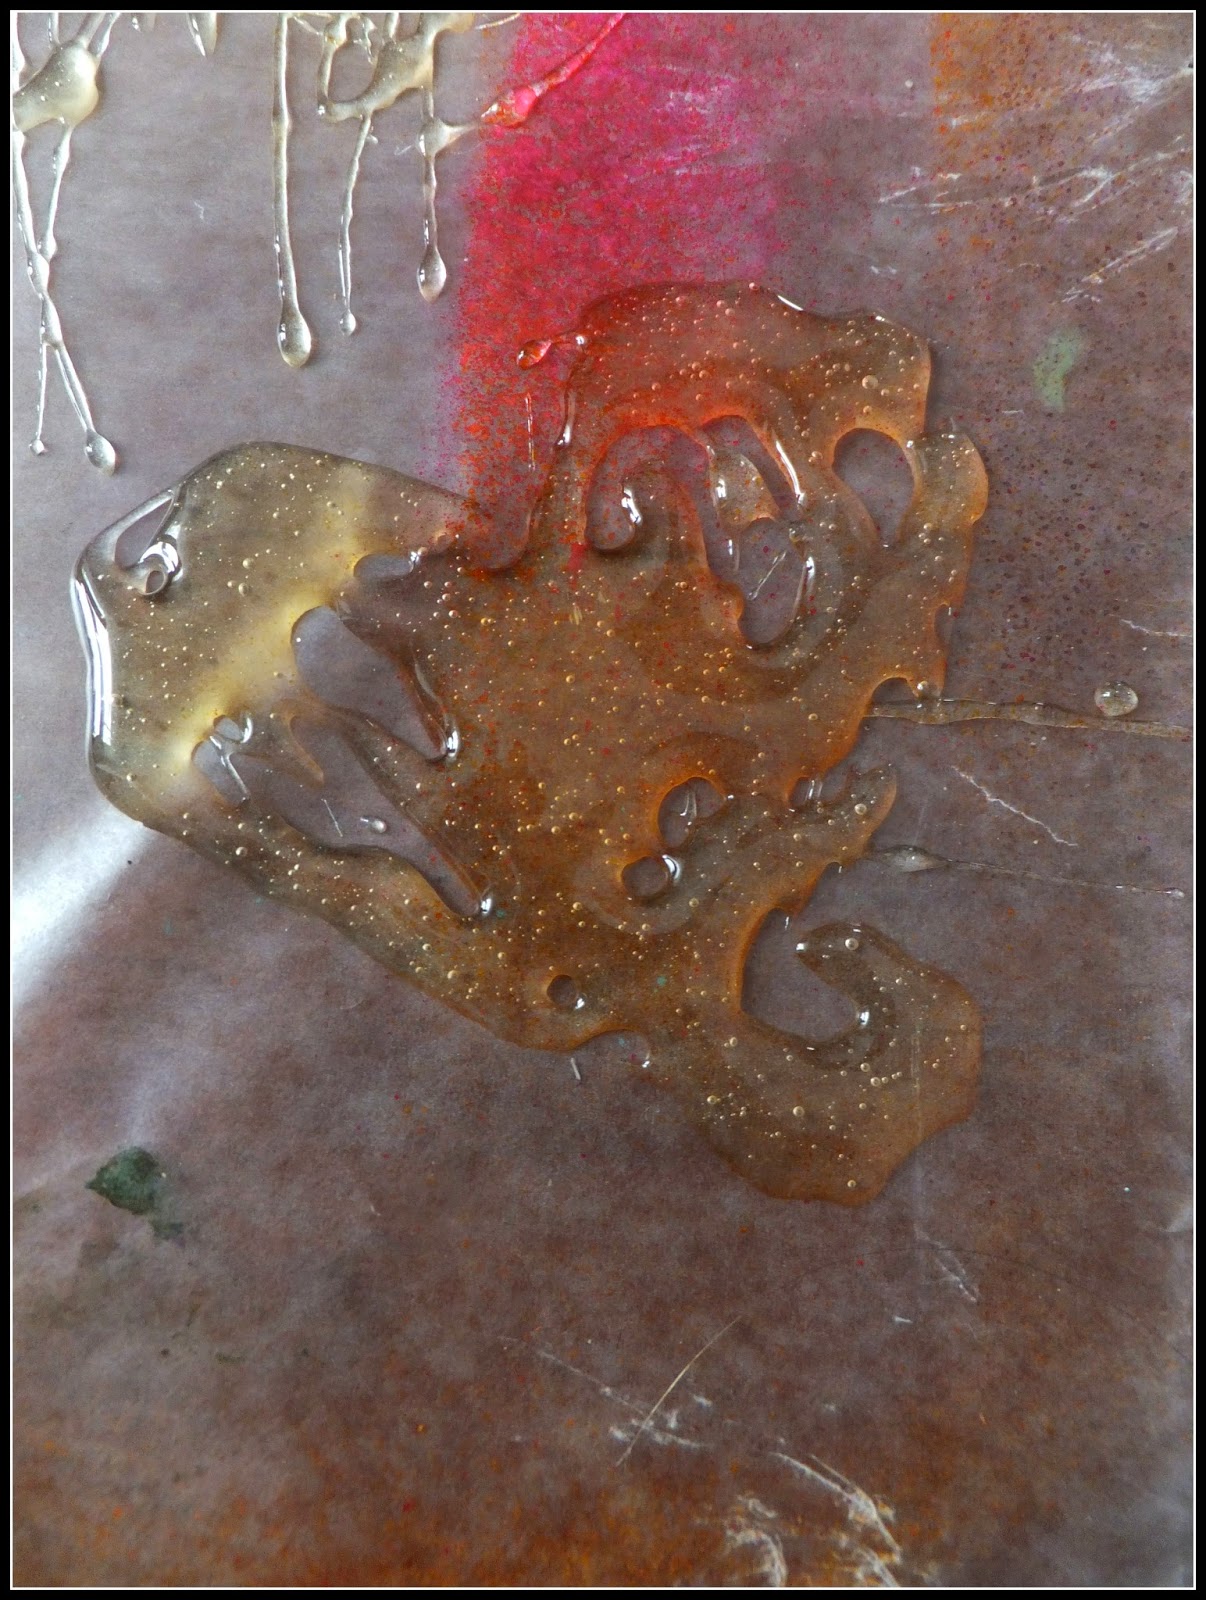
First I took a blank canvas (mine is a blank canvas panel from Michael's, but any canvas should work the same) and placed it onto newspaper on my worksurface.  I melted the ComposiMold according to the directions.  Once melted, I drizzled a few spirals onto my canvas and then waited for it to firm (it doesn't take too long).

I pulled out the Pan Pastel Magenta and a Softit sponge (www.frogdogstudio.com) and went to work "painting" the open areas of my canvas.  The ComposiMold bonded with the canvas so I was able to rub color right up next to the spirals without color going underneath.  I did discover in some of the thinner areas NOT to rub too hard as it came up easily in those areas. 
A little bit of the Pan Pastel goes a long way, so don't use too much.  I found that rubbing the sponge across and then tapping the excess onto the canvas worked best.  I was able to spread the pastels easily without a chalky mess.  Once the canvas was completely covered I re-melted the ComposiMold  and drizzled a zig zag design onto the canvas.  Again, wait until it forms up before gong in with the pastels or paints.  This time I think I will sponge paint over the top....hmmm, should be interesting.
Not quite what I was expecting, but may be okay.  Turns out the Pan Pastel works as a resist to the paint...guess I should have figured that one out in advance (duh!).  Onward with the experiment and a couple more layers.  Once again melt the ComposiMold and drizzle it into some of the untouched areas.  I attempted dots this time, but control of the spoon and gel is a little difficult (the gel has a mind of its own).
WARNING:  Resist all urges to peel up the gel layers to peek underneath!!  If you do then progressive colors may wipe out the colors you have "masked". 
Once set, I took my ink pad and tapped it all over the canvas trying to get it into the nooks & crannies without overpowering the colors that may have come before. 
With this step finished,

I couldn't stand it any longer....what does it look like underneath AND (the bigger question) did it work or would all of the layers peel up with the ComposiMold??  Slowly I began to remove the dots, little by little the colors underneath were revealed.  Now to start pulling spirals and squiggles...it all worked!!  WooHoo...so nice when the picture in your head actually works out in reality :-)
The paint left some rough edges that I was able to soften by rubbing lightly over the canvas with a fingertip (back & forth and up & down). 
I kind of wish I had colored the white canvas in some way before starting.  The only part that I am not thrilled with are the white areas :-/  Good thing that everything is improved with a little embellishment. 

Watch for Part 2: The transformation & completion  
Coming soon (April 2)

Monday, March 17, 2014

WildHeart Art " Texture On The Edge Part 2" Sin City Stamps Design Team Post featuring ComposiMold

~Texture On The Edge~
Sin City Stamps Design Team Post Featuring ComposiMold
Part 2


Welcome to the second part of the this fun and creative project featuring ComposiMold.In part one I showed you all how to create a textured stamp roll using a sturdy  cardboard paper towel roll and drizzling melted ComposiMold over it.


 When ink is applied to the roll and  then rolled over a painted background ,the look is similar to the example below. 


I wanted to incorporate  more layers  into the project so I used the ComposiMold to create a stamp and a mask and also will glue them to the mixed media for additional added interest .By using melted ComposiMold I was able to design shapes and textures on wax paper. When cooled they are ready to use to layer on more interest in the mixed media project.


 Here the heart shape is used a Mask too.


  You can also use the cooled "shapes or doodles" as part of the actual design below. You can secure in place with gel medium.


You also can paint them and add to the canvas.


As a final touch you can add stamps or more stencil textures on the background. I used a letter stamp to create a more inspirational piece. ComposiMold is a really unique product to work with and holds many creative possibilities! 
As always.. Enjoy the Creative Process and step outside your "art zone" .. you never know what amazing things you can come up with!
~In Love and Faith~
Sherri

Dont forget to check out Sin City stamps  when looking for unique stamps, stencils,die cuts,chipboard ect for you next creative project!

Friday, March 14, 2014

Embellishing with Sin City Stamps and Composimold

Hi! Peggy here with you today and I would like to show you what I did with some great products that I used to create embellishments. Sin City Stamps makes great embellishments when used with Composimold.
Today I used: 
  • Sin City Stamps
  • Composimold 
  • Crystal Lacquer 
  • Sculpy Clay 
  • White Gesso
  • Double sided tape
  • Cooking Oil
  • Acrylic Paints/Pearl Ex
  • Elmer's Glue

The first thing I did was lined my glass and plastic bowls with double sided tape to hold down 
my Sin City Stamps placed face up. I took my  finger and lightly brushed on some cooking oil. 
(I used a paper towel to soak up any excess.) 
I heated my Composimold for two minutes in the microwave and stirred until melted.
I used a paintbrush to cover just the stamps at first layering evenly.
I make sure to have sufficient layers on the top to make a  good impression.
I let it set and pulled off the Composimold. The double sided tape held my stamps in place. 
I wasn't sure at first what I was going to make embellishments out of. The first thing I tried was Crystal Lacquer. I love how it grabbed every detail. I painted them with white gesso and they are ready for coloring. 


Next I wanted to make some embellishments out of polymer clay. The molds were so easy to use. 
I baked as directed and painted with white gesso. 
Before coloring I lightly sanded all the edges. 

Whalla.. instant embellishments with your stamps! The total process took only minutes. 
Check out Sin City Stamps today! 
Below is my finished home made embellies.. :
I  mostly colored with Pearl Ex and Crystal Lacquer. 

 Below I used black acrylic paint as a base and elmer's glue as a second layer and 
acrylic white and pink to create a crackled distressed look. 
Below I used Pearl Ex to color.
 Here is an embelishment made from Crystal Lacquer as my foundation.
Painted with pearl ex and crystal lacquer.


I hope you enjoyed my embellishment project as much as I had fun making them.


Wednesday, March 12, 2014

Mixed Media - Sin City Stamps Design Team Blog - All Grown Up


Mixed Media - All Grown Up

I've been putting of using this image for a long time.  Here's a family photo of my daughter on her 8th grade graduation.    It was a very emotion night..  I couldn't believe she was heading to High School.  My son graduations this year - I think last year it hit me that I was almost done with Middle School…  Rough Day…  Hope you enjoy the process.

I started out with a 8x8 Canvas I purchase from Michael's

And Use Liquitex Black Gesso


Once Dried (Helped along with a heat gun)  I pulled out my Dylusions Stencil "Bubbles Large" And Light Modeling Paste


Then I ripped up some Book Text - and pulled out my Tim Holtz Distress Ink "Antique Linen"- and distress tool.   (I hate the knob on them so I pulled it out)


I then also added to the edge Time Holtz Distress Ink Frayed Burlap And added with with Golden Gel Medium to the canvas


I used some more of the Light Molding Paste with Tim Holtz Bubble THS002
And started ripped up some paper for the background - I used Fancy Pants Design "Trend Setter" 6x6 paper pad - and a sheet from American Crafts Darling Dear Paper Pad 6x6  - I also distressed the edges with the Ranger Tool  & Started added some washi Tape.


I pulled out my #1 favorite stamp from Sin City Stamps from the Plate of Rubber - Classic Spark 
I used Color Box Mix'd media Ink - Jasmine

I used Time Holtz Distress Stain - Antique Bronze Around the Edges.

Alphabet Stencils - and Did a quick small spray with Dylusions Grushed Grape Ink Spray


Then distressed my photo - but first I used another new favorite from Sin city Stamps By Pam Bray - View master Die Cuts


I wanted it to add some shimmer - so what do you pull out.  Huh?? Let me think…

#1 - Lindy Stamp Gang - Moon Shadow Mist - Treasure Island Turquoise
Glimmer Embossing Power 
Heat set..

(Hint…   So the embossing powder doesn't go everywhere since I'm dumping it into the Lindy Stamp Gang… I heat from the bottom - once it starts to melt you can bring the heat tool to the top.  Just be careful not to make it too close to the canvas.


So I wanted to add flowers (of course) - so pulled a bunch - below is what that pile looked like...


Started to add flowers..  
Prima Flowers - Allure Aurora
Recollections Small White Flower #267920


Then I added The Prima - Junkyard Finders - Vintage Trinkets - Typo Zipper


Still adding more flowers…   I sprayed a few with the same Lindy stamp Gang Spray.
I also used Recolllection Floral Embellishments "Purple" with the Black Glitter Brad
It was too white of me.


Since I love these 2… And my eldest (hard to get him in a photo)
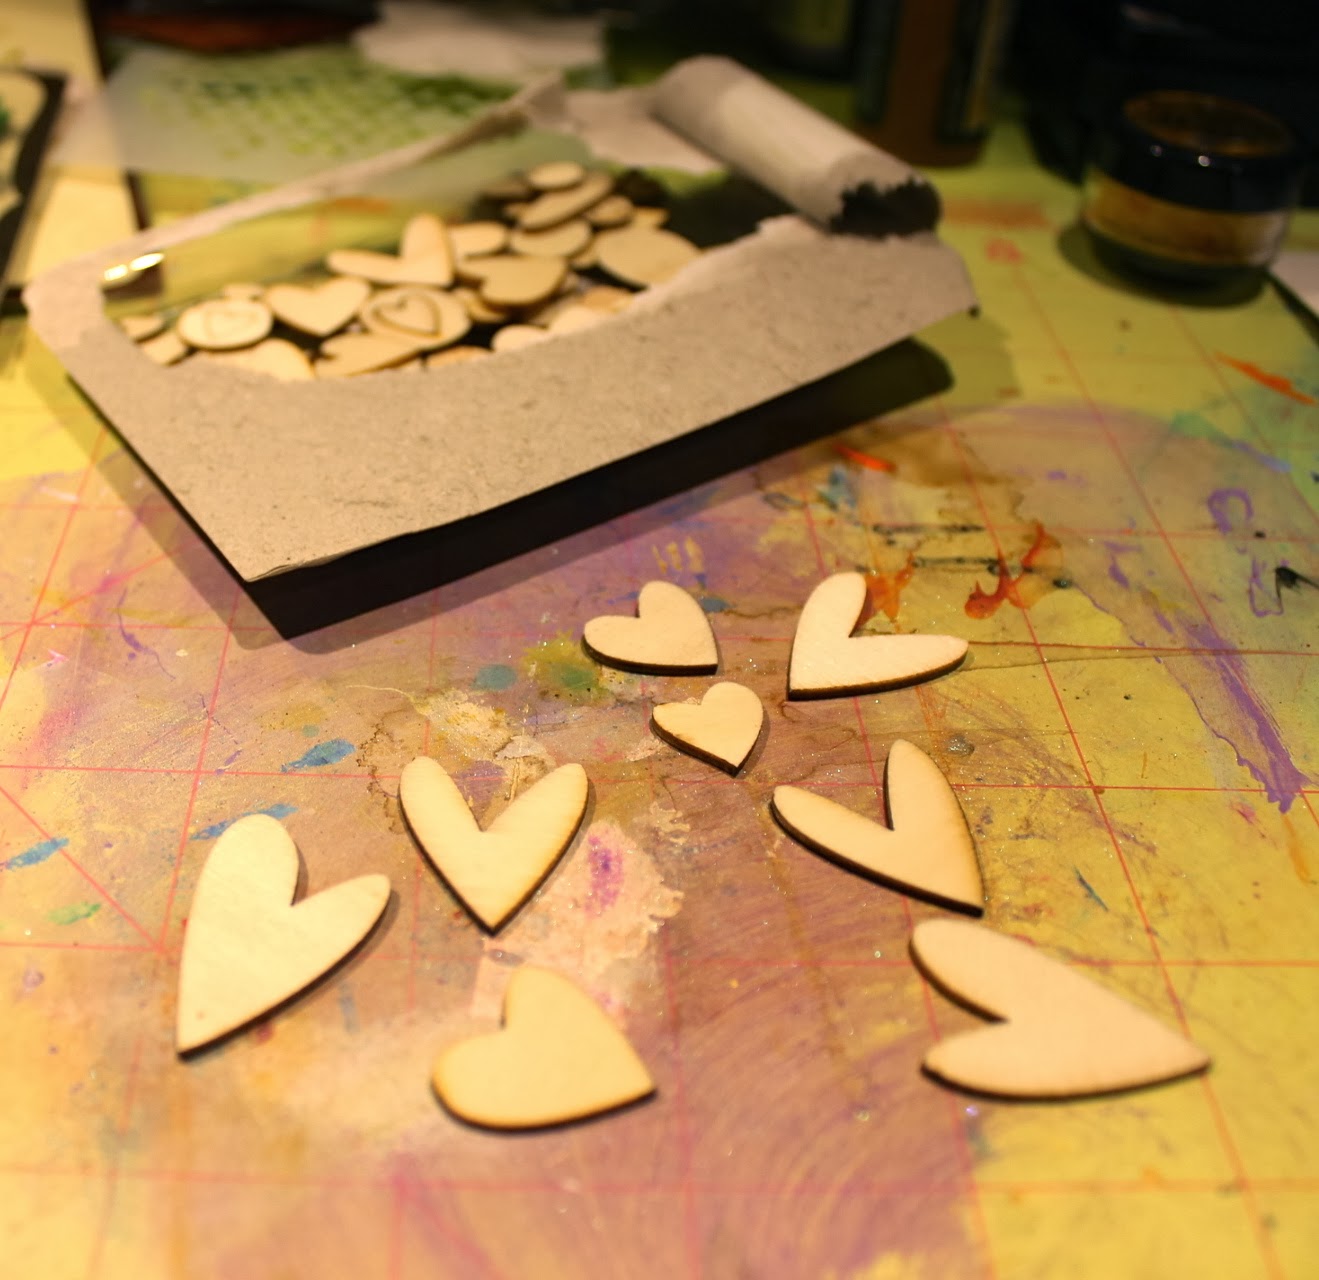
I pulled out these Studio Catico - Wood Veneer - Hearts and pulled a few out.


 I added some of the Tim Holtz Distress Paint that I put around the canvas. 
now I still wasn't happy


I pulled out my Silks - Carmen (the red) and Silver Bells and painted the Hearts.


I then pulled out my Twinkling H20's  Yellow - #26351

Now it was too yellow (LOL)….  


So what to do…  Of course go to the grunge… And  I used my black ink and just touched the flowers up… and on the hearts…   I loved how it came out now…  Here's some photos.


Some close ups.


What was funny… is that I didn't realize it but I pulled the purple from her dress… and the yellow from my son's shirt.  and the red from my camera strap into the photo…  Funny how your mind works when your just creating.


Good shot of the View Finder Die Cut..  I just love it.


I very much hope that you enjoyed the step by step…   I'm really excited to get started on my next post.   A product that we were given to used is from Composi-Mold.. And of course It's freaking me out.  But we have to use it this month -   So that's what I'm attempting to work with next.   I will be making a video with it as well - because I'm sure I'll screw it up - but in the end it will work out LOL…   Please check out the other posts on the blog… The artists on here are amazing..  Please visit my blog as well.  http://lisamita.typepad.com/blog/


Copyright Text

Blank Page Muse 2018 Sin City Stamps 2013