
Happy Friday fellow stampers... I am so excited to share my
very first DT (Design Team) project for SinCityStamps. With it being so close to Valentine’s Day I
wanted to incorporate some form of a heart into my project. For my first project I decided to make a tag
and use two wonderful stamp sets that can be purchased from http://www.sincitystamps.com.
I hope you
enjoy my first project and it was so much fun to make. Below you will find step-by-step instructions
on how to make your very own Queen of Hearts Tag.
Supplies List:
- facade
(surface): #10 and # 8 size manila tags
- distress ink: gathered twig
- distress spray stains: gathered twig and barn door
- markers (distress marker colors): vintage photo, antique linen, tumbled glass, brushed corduroy, barn door, old paper, spun sugar, black soot, weathered wood and victorian velvet
- archival ink: jet black
- glitter: distress glitter fired brick
- embellishments: crinkle ribbon, mini gears, jump ring, word token, brads, metal corners, heart charm.
- idea-ology: label letters and trimmings
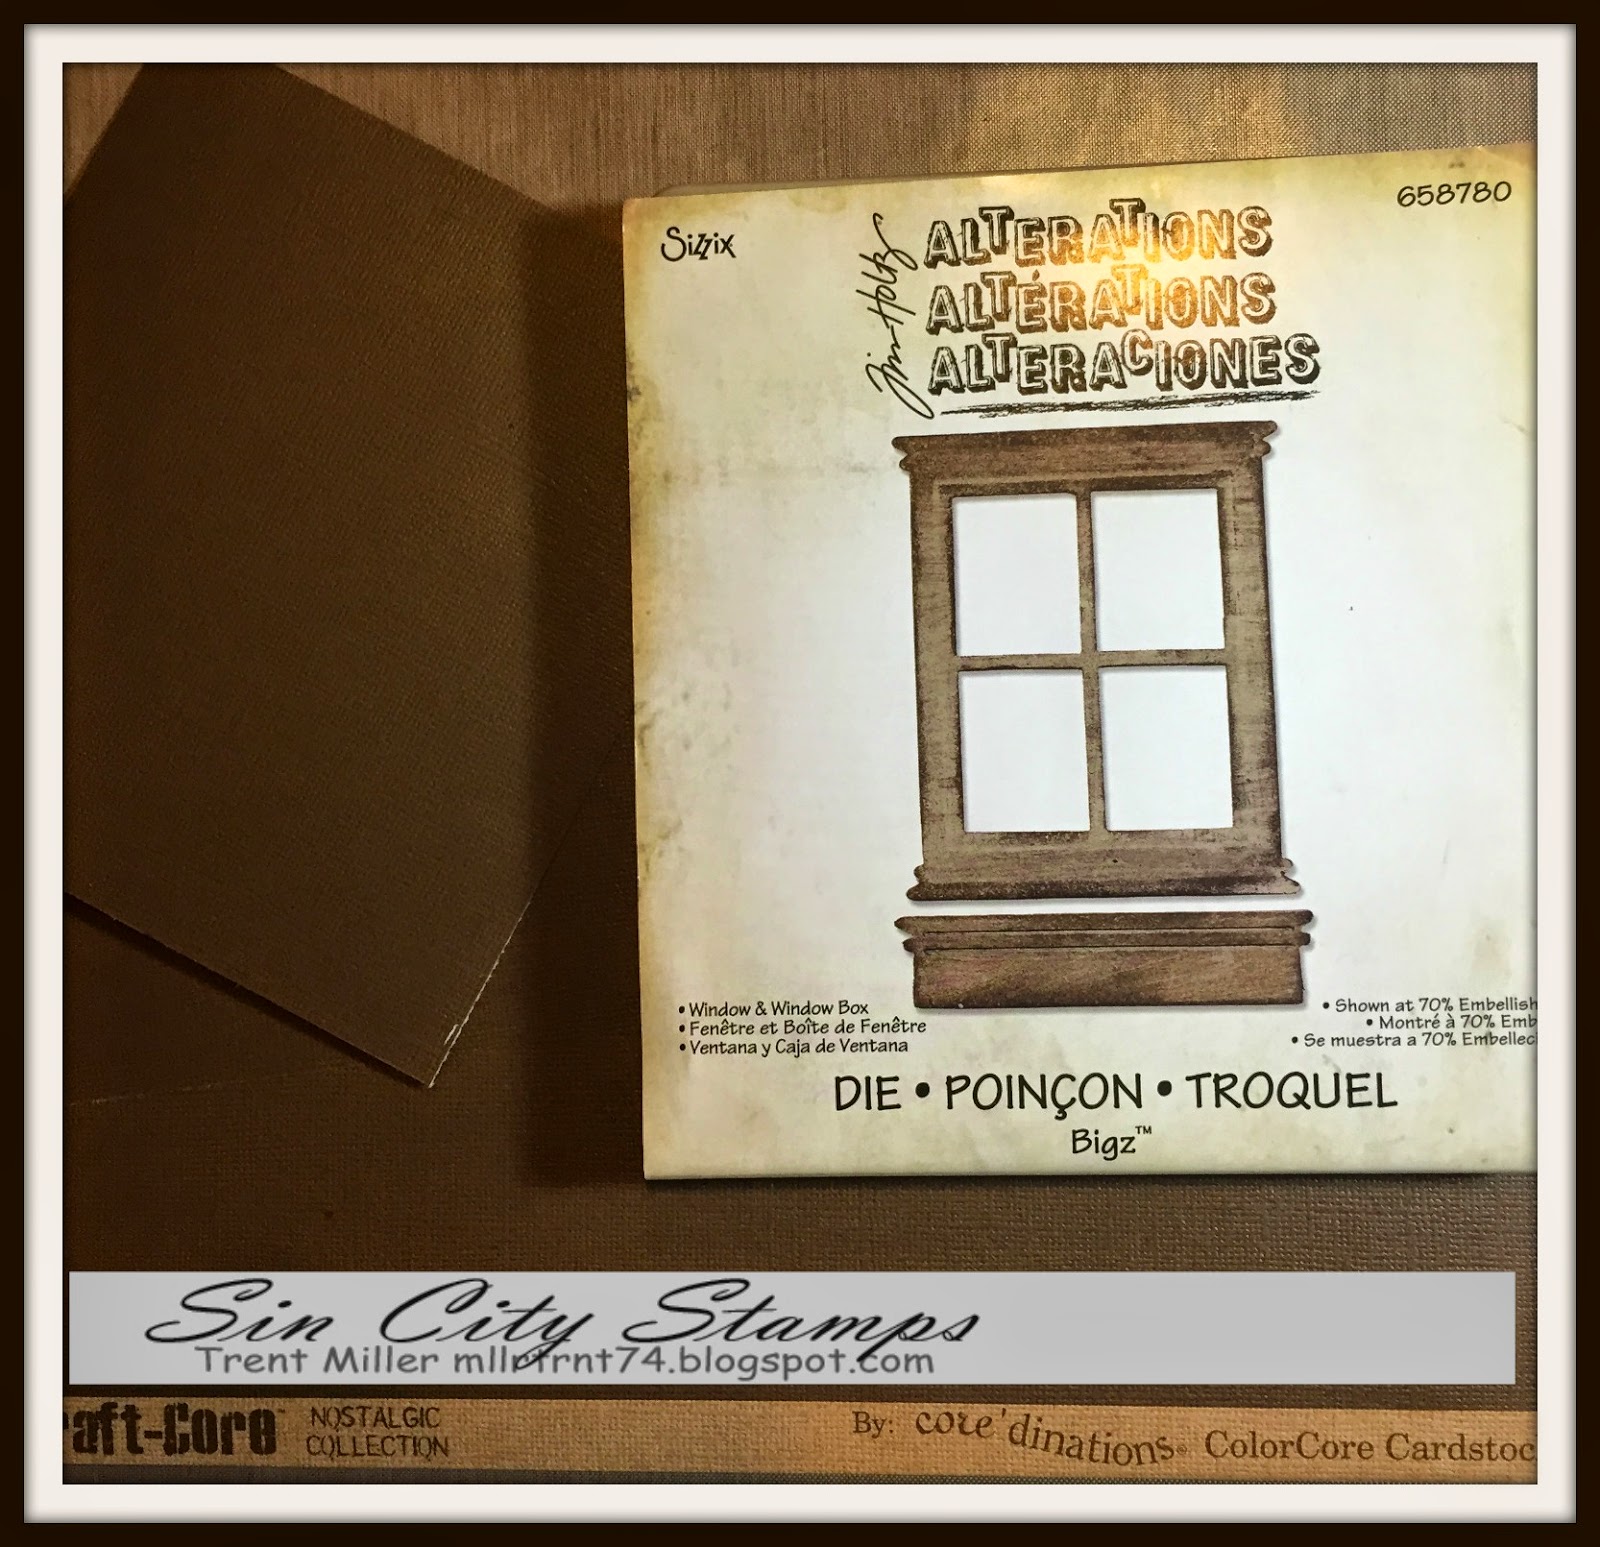
- die cut: Sizzix Alterations - Window & Window Box # 658780
- paper: Kraft-Core nostalgic collection - core'dinations color brown
- adhesives: glossy accents,
double sided tape and pop dots
- tools: craft sheet, mister,
heat tool, scissors, ink blending tool, ripper, sanding block, stamp pads, stamp cleaner, vagabond and sewing
machine
- stamps used: Alice Art Rubber Stamp Set and Metal Madness Stamp Set
Step 1: The
first step in this project is to determine the background; which is the base to
any project for me. First start by
taking a plain #10 manila tag and cover it with a coat of distress ink. I chose to use gathered twig but any color
can be used when completing this effect.

Step 2:
Now that you have the background of the tag started lets then create the water
drop effect onto the surface of that.
Take a water mister and squirt water into the palm of your hand. Then flick the water onto the tag.

Once you have splattered the tag with water take a heating tool and dry the tag. This will give you a really cool splatter effect. If you still have water splotches on the tag you can use a rag (or paper towel) to blot it off the tag.
Step 3: Then take the Sizzix Alterations Window & Window Box die (#658780) and cut out the window using a piece of brown Kraft-Core core’dinations cardstock. If you don’t have this die you could make a frame to then use when completing this project.
Now, let’s cut the paper to be a size of 5in X 5in and sand
the paper with a sanding block to achieve a worn look and feel.

Take your die cut and cut out the die.
Step 4:
Now we will take the #8 size manila tag and from the Alice Rubber stamp set you
will use the Queen of Hearts stamp.
Using black archival ink stamp cover the stamp with ink and then stamp
this onto the tag.


Step 5: In this step we are going to fill-in areas of
the stamp by using markers. Using the markers
color in the stamped Queen of Hearts to achieve the color effect you want. For this project I used various distress marker
colors to achieve the look I wanted.

Step 6:
Now we will cut the tag down to fit in behind the window frame. Attach this to the window with double sided
tape. With a paper distresser rough up
the edges of the frame and I then applied some embellishments to finish framing
out the stamped image.

Step 7: We
are going to go back to the #10 tag that you completed with the splatter effect
and using the background stamp from the Metal Madness set stamp, stamp it on to
the tag. I also then stamped using the
metal madness border stamp on the bottom and top of the tag.

You will see that I stamped this off center. This is so that I could run a piece of ribbon
down the left side of the tag as an accent.
Step 8: We
are now going to run a piece of trimming down (ribbon) the tag. I dirtied up the trimmings with gathered twig
distress ink. To apply it to the tag use
double sided tape. I then ran a simple
stitch through the trimmings to further anchor it on the tag (this is not
required).

Step 9:
Take the stamped Queen of Hearts and place it in the center of the tag as shown
below. Use pop-dots to apply it to your
tag.

Step 10:
Using the heart and diamond stamps from the Alice Art rubber stamp set apply
them to the bottom of the tag.
Step 11:
Take glossy accents and apply that over the top of the stamped heart image on
the tag.

Step 12:
Then use distress glitter fired brick and apply that over the top of the heart
and dry with your heating tool.

Step 13: Finish
off the tag by roughing up the edges with the paper distresser and then apply
distress ink to sides of tag to dirty up the edges.
Add more embellishments to further complete your project to
your satisfaction.
Step 14:
Final step was to take some crinkle ribbon and color it using Distress spray
stains. When coloring the ribbon gently
mist water on ribbon and then spray ribbon with distress stain. Then dry with
heating tool.

I then dirtied the ribbon with gathered twig and attached to
the top of the tag and completed it off with an embellishment.

Thanks for checking out my project and if you don’t have the
metal madness or Alice Art stamp sets in your stash be sure to add them. These are must haves and great additions for
anyone’s craft stash.
Check out the store today there are such great stamps,
stencils and products that you can chose from that will be great additions to
your home.
Love your tag! I just bought these stamps!!!!!
ReplyDeleteChris so glad you liked my project. These are great stampsets and you will absolutely love them.
ReplyDeleteADORE...
ReplyDeleteThanks Terri
DeleteThat grumpy Queen of Hearts looks fabulous on your beautiful tag!
ReplyDeleteSandee thanns
DeleteLove the process you took me through with each step! Your tag is AMAZING!! :)
ReplyDeleteMiss Miko glad you liked. Was a fun one to make
DeleteExcellent post. The process and the cards is fantastic.
ReplyDeleteThank you Glenda
DeleteFabuloso tag and tutorial, Trent. You did a great job and very clear instructions. So inspiring!
ReplyDeleteThanks Barbara
DeleteNice piece. Love the stamp. Huge fan of '31 version of Alice in Wonderland and Sin City Stamps. Thx.
ReplyDelete