Friday, May 3, 2019

Blank Page Muse Spring Release New Art Rubber Stamps Blog Hop Day 2 Shaloo Webster

Welcome to Day 2 of our Blank Page Muse Spring Hop!

Thanks for coming back! Enjoy the visit and we look forward to reading all of your thoughtful comments. Visit each blog and comment. Come back on May 10 and we'll announce the winners of some of the new stamps!

Today we're sharing some fabulous new rubber stamps designs that are hand drawn by UK artist Shaloo Webster!

Here is a little introduction written by Shaloo:

Hello Everyone,

I am Shaloo Webster from Manchester, United Kingdom and welcome to my world of art and photography.
I am a self- taught artist who is passionate about arts, crafts, photography and colours.
To me creating an art-work with your heart and soul is a wonderful feeling. I don't plan what I am going to draw... I just start creating my art where my heart and mind goes and in the end I get a beautiful piece of art work.

I have also created many handicrafts - mini canvas art, art work on porcelain, resin, glass etc.. I have sold them in fairs, via facebook pages- Shaloo's Arts and Handicrafts, mixed media arts and crafts, Instagram-shaloowebster,Twitter-@shaloowebster.

My artwork is inspired by Zentangle art, Henna art, Kalamkari art ( Indian art where a pen and craft is used) and nature.
Some of my artwork is digital too. I have made lots of mandalas and art on other subjects too. I am always trying to use different mediums. It is good to be innovative.
My art work has been given a First and a Second place in an art competition and one of my mixed media artwork has won an online blog challenge which was created by Andy Skinner from DecoArt.

All of my artwork is made with love. Main purpose of my art work is to spread peace, love and happiness in the world. To bring joy and a smile on people's faces when they see my artwork or photographs taken by me.

I do hope you and your loved ones will enjoy my art work as much as I have enjoyed creating them.


Shaloo's first stamp design is hand drawn and comes with the beautiful sentiment
Happiness blooms from within.


This card was created by our lovely Inspiration Team Member, Samantha.
Check out the fabulous details on her blog HERE 


Kindness changes everything is paired with this lovely Henna inspired floral motif, also hand drawn by Shaloo.
This fun and colorful card was crafted by Karen. Hop to her blog HERE


This bright card was made by Chris, see more on her blog HERE


This card is also featured on Samantha's blog, HERE


Karen brings on the sparkle and shine with this lovely card. You have to see all her details HERE


Wow! We really hope you are enjoying all these new stamps and marvelous samples crafted by the Blank Page Muse Team! Make sure to hop along and leave a comment on each blog. 
Tell us on this blog which stamp is your favorite, we have to know!! 

Come back on May 10th and we will announce the winners of some of these cool stamps! How's that sound?? 


Father's Day Double Tag

Father's Day Double Tag


Blank Page Muse Stamps Used:


Other Products Used:

Art-C Tea Stained Tags
Archival Ink
Washi Tape


Be sure to use coupon code: BPMDtStephanie2019 to save 15% off your order!

Stephanie here sharing my steampunk themed Father's Day Double Tag. I love everything steampunk and jumped at the idea to create a Father's Day Tag. Using prestained tags made this project a quick one. Let's get started!

1. Use washi tape to adhere the tea stained tags together


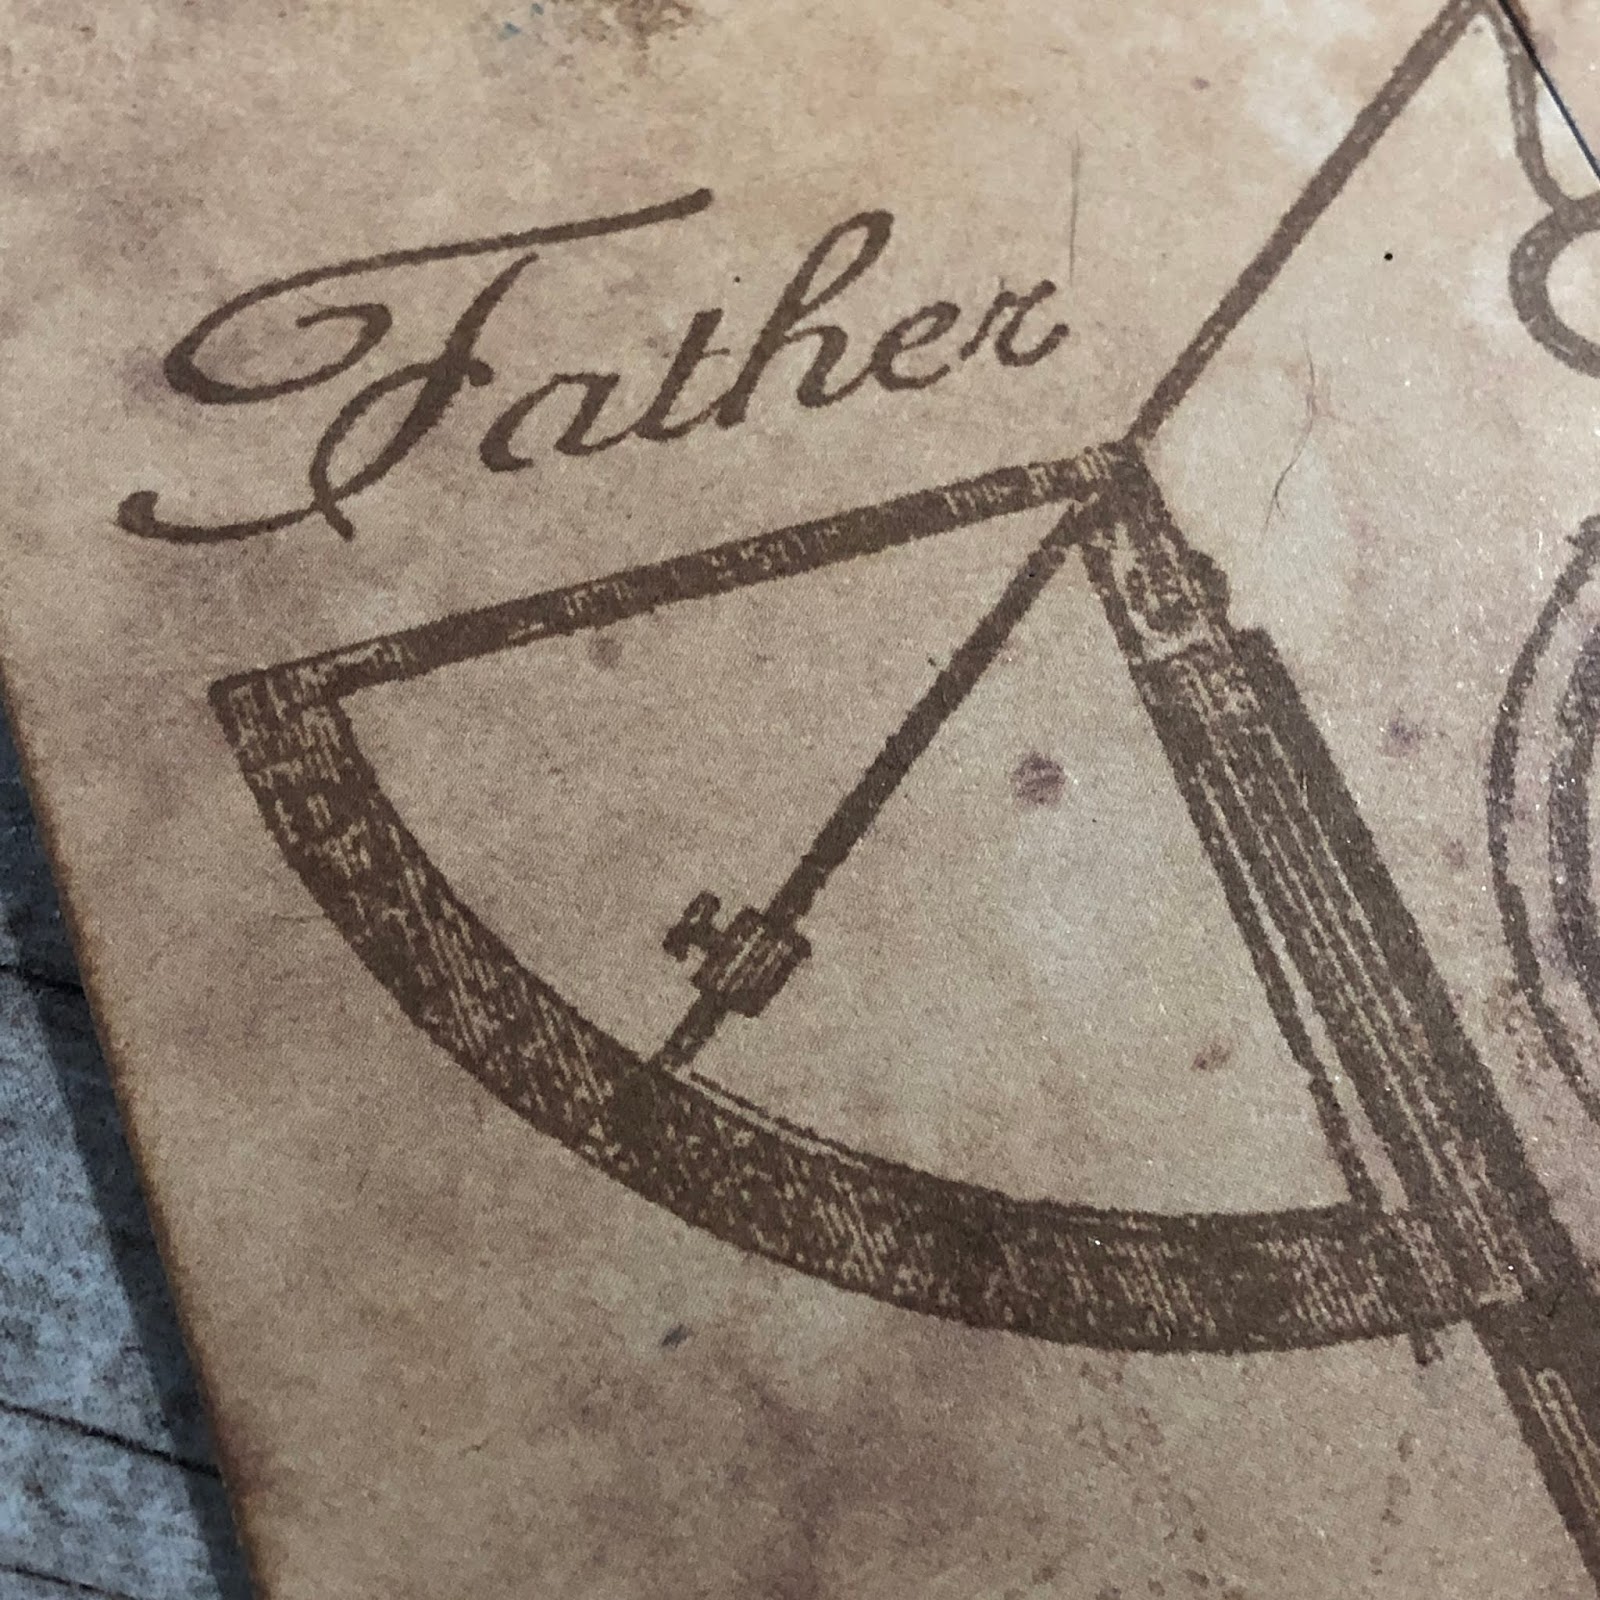
2. Stamp the bottom left of the tags with the Steampunk Pocket Watch & Scale.


3. Randomly stamp the Diamond Repeating Pattern Back stamp over the tags making sure to avoid the Pocket Watch and Scale. On the top right portion of the tag stamp Time Flies quote.


 4. Stamp "Father" over the scale portion of the tag. 


Check out the amazing details in the pocket watch in the photo below. It blows my mind how detailed it is!


I hope you enjoyed this Father's Day tag. I know I had fun creating it! Check the links below for more BPM goodness!

For more BPM Inspiration just follow the links below!

More projects by Stephanie

Thursday, May 2, 2019

Blank Page Muse Spring Release New Art Rubber Stamps Blog Hop Day 1 Pam Bray

Welcome to Day 1 of our 3 day Blog Hop celebrating some brand new red rubber art stamps!
Over the next few days we'll be sharing new stamp designs from Pam Bray Designs and two new Blank Page Muse designers, Donna Gray and Shaloo Webster!

We hope you'll join us and hop along to see all the gorgeous creations by the Blank Page Muse Inspiration Team! Leave a comment on each blog and here as well, we'll be doing a giveway for the new stamps! Tell us which is your favorite new stamp design from Pam!

Day 1 introducing new rubber art stamps by Pam Bray Designs.

First up Dare to Dream. This stamp is very versatile, it is a big stamp at 4 by 5 inches! It's great for coloring and for fussy cutting to make it dimensional.

Here is a peek at a stunning canvas by Pam Bray using her design. Hop over to her blog HERE
 to learn how she made it! 


Chris Pozzi made two fabulous cards with different techniques, see all the details on her blog HERE.


Mixed media textured card by Jessica, see her blog HERE

ATCoins are fast, fun and so popular now. These were made by Katie, check out here blog HERE


The soft and colorful card was made by team member Iona, hop over to her blog HERE


Pam's next design is this 4 by 5 inch Scribble Daisy Collage Background stamp!

Check out this card using the new background stamp, it's so happy and full of Spring colors and joy! Pam has all the details on her blog, HERE

This card also features the beautiful Scribble Daisy and leaf from Pam's newest mixed media rubber stamp set.

This plate of rubber is about 6 by 8 inches. Scribble & Scratch Mixed Media Rubber Stamps.
Cathy made this watercolor effect card with the Scribble Daisy, see more on her blog HERE


Love these swirls of color and the Scribble Swirls, also by Cathy! Visit her blog HERE


Chris made this beautiful Scribble Daisy card. She shares how it was crafted over on her blog, HERE


Iona made these really fabulous pattern using the Scribble Leaf! Love it! See her blog HERE


Wow! We really hope you are enjoying all these new stamps and marvelous samples crafted by the Blank Page Muse Team! Make sure to hop along and leave a comment on each blog and here, too. 
Tell us your favorite stamp design by Pam, we'd love to know!

 Come back on May 10th and we will announce the winners of some of these cool stamps! 
How's that sound?? 

Fractured Princess Art Journal Page

I have really been trying to push myself to just create!  I started this art journal as a way for my to collect my creations.  This entire page is based around the sentiment quote about Life is not a fairy tale!  
Now a little side-note.. just because life isn't a fairy tale and doesn't always turn out the way you planned, doesn't mean it isn't good!  
My journal page turned out a little more neon-y in color than I originally planned, but as I am a child of the 80's I thought it was perfect! 


Blank Page Muse Supplies


Shop now and save! Use code BPMDtChris2019 to save %15 off your total order!

Other Supplies
7G Blank Starter Journal, Cricut or crown to trace, Archival Ink, 
Distress Ink, VersaMark, Polka Dot Stencil, Gems, Embossing Powder
Ephemera, Adhesive, Embellie Gellie

Start by cutting crown. Coat Crown with VersaMark. Emboss with Baked Texture Artist Embossing Powder by Seth Apter & Emerald Creek ANCIENT AMBER.


 Stamp Vintage Shoe and Fancy corners with Archival ink.


 Stamp Script from Art Journaling set onto ephemera and adhere.


Emboss Vintage shoe with embossing powder.


After stamping My Story Repeatedly onto journaling page, Ink page with Distress inks.  


Using Versamark ink, ink through polka do stencil, Emboss with embossing powder.


 Attach Crown and gems to page. Emboss entire page with Baked Texture Artist Embossing Powder by Seth Apter & Emerald Creek VINTAGE BEESWAX and attach quote to finish.


Be Sure to follow us for more great ideas!
The Blank Page Muse- https://blankpagemuse.com/

Wednesday, May 1, 2019

Crazy Cat Card

Hello Blank Page Muse fans.  Gail here today with a fun and quick kitty card!


On a white card base use black archval ink and stamp Blank Page Muse Cat with Toilet Paper Streamer and the sentiment.  Colour the card and rat with Stormy Sky and Pumice Stone distress ink and add a Pumice Stone wash to the 'floor'.


Blank Page Muse stamps used
Cat with Toilet Paper Streamer
I Can Go From Normal to Insane Word Phrase

Other Supplies
White card base
Distress Inks
Black Archival Ink

Looking for more Inspiration?
Click the links below!

The Blank Page Muse Shop https://blankpagemuse.com/
FB Fan Page https://www.facebook.com/groups/bla...
Instagram - Shop https://www.instagram.com/blankpage...
Instagram - Blog https://www.instagram.com/blankpage...
Twitter https://twitter.com/BlankPageMuse
Pintrest https://www.pinterest.com/blankpage...

Just a Note

Hello there all our fellow BPM fans! Jess here today sharing with you a note card using some of those fabulous red rubber stamps!! This month, I'm going for a more masculine appeal. I just love this stamp set by Kate Leitch too! Come along, let's craft some fun pieces for the guys in our lives!

Products used:
Blank Page Muse: Seth Apter Rocky Road embossing powder
Spectrum Noir: Watercolor paper
Ranger Ink: Archival Black ink
American Crafts: Sticky Thumb - foam dots
(Shop now and save! Use code BPMDtJessica2019 to save %15 off your total order!)

Here is a fun photo of the stamp sheet I used!

You cannot tell me that this script stamp is not GORGEOUS! I just had to show it off a bit!
1. Cut your desired note card size
2. Begin by distressing the edges of your paper with a pair of scissors or other tool of your choice
3. Get out your stamp, embossing pad, and powder

4. Emboss your script stamp directly in the middle of the card
5. Heat emboss your stamped script using your heating tool
6. Stamp and cut out your images using black ink
I like leaving a very thing white line surrounding the images to make them POP.


6. Now get out your distressing tool of choice and some ink. We are getting inky!
7. Start blending from the edges inward
The idea here is to have the inner part of the note card the lightest, making the stamped images the focal point. 
8. Finally, use some foam dots or cardboard pieces to mount your stamped images.

Here we are! We have our finished notecard! 
Here are some close-ups for you to enjoy


 Thank you for stopping by today!
We look forward to seeing you next time!

Visit and follow us for more inspiration:

Copyright Text

Blank Page Muse 2018 Sin City Stamps 2013