Hello, this week I made a beautiful shadow box using stamps from Blank Page Muse! Isn't it gorgeous? It is a really simple up cycling project using a lid of s small box and a few other supplies. It's really easy! I have a quick tutorial for you below so you too can make this shadow box.
Blank Page Muse Stamps used:
Other supplies:
- small box cover
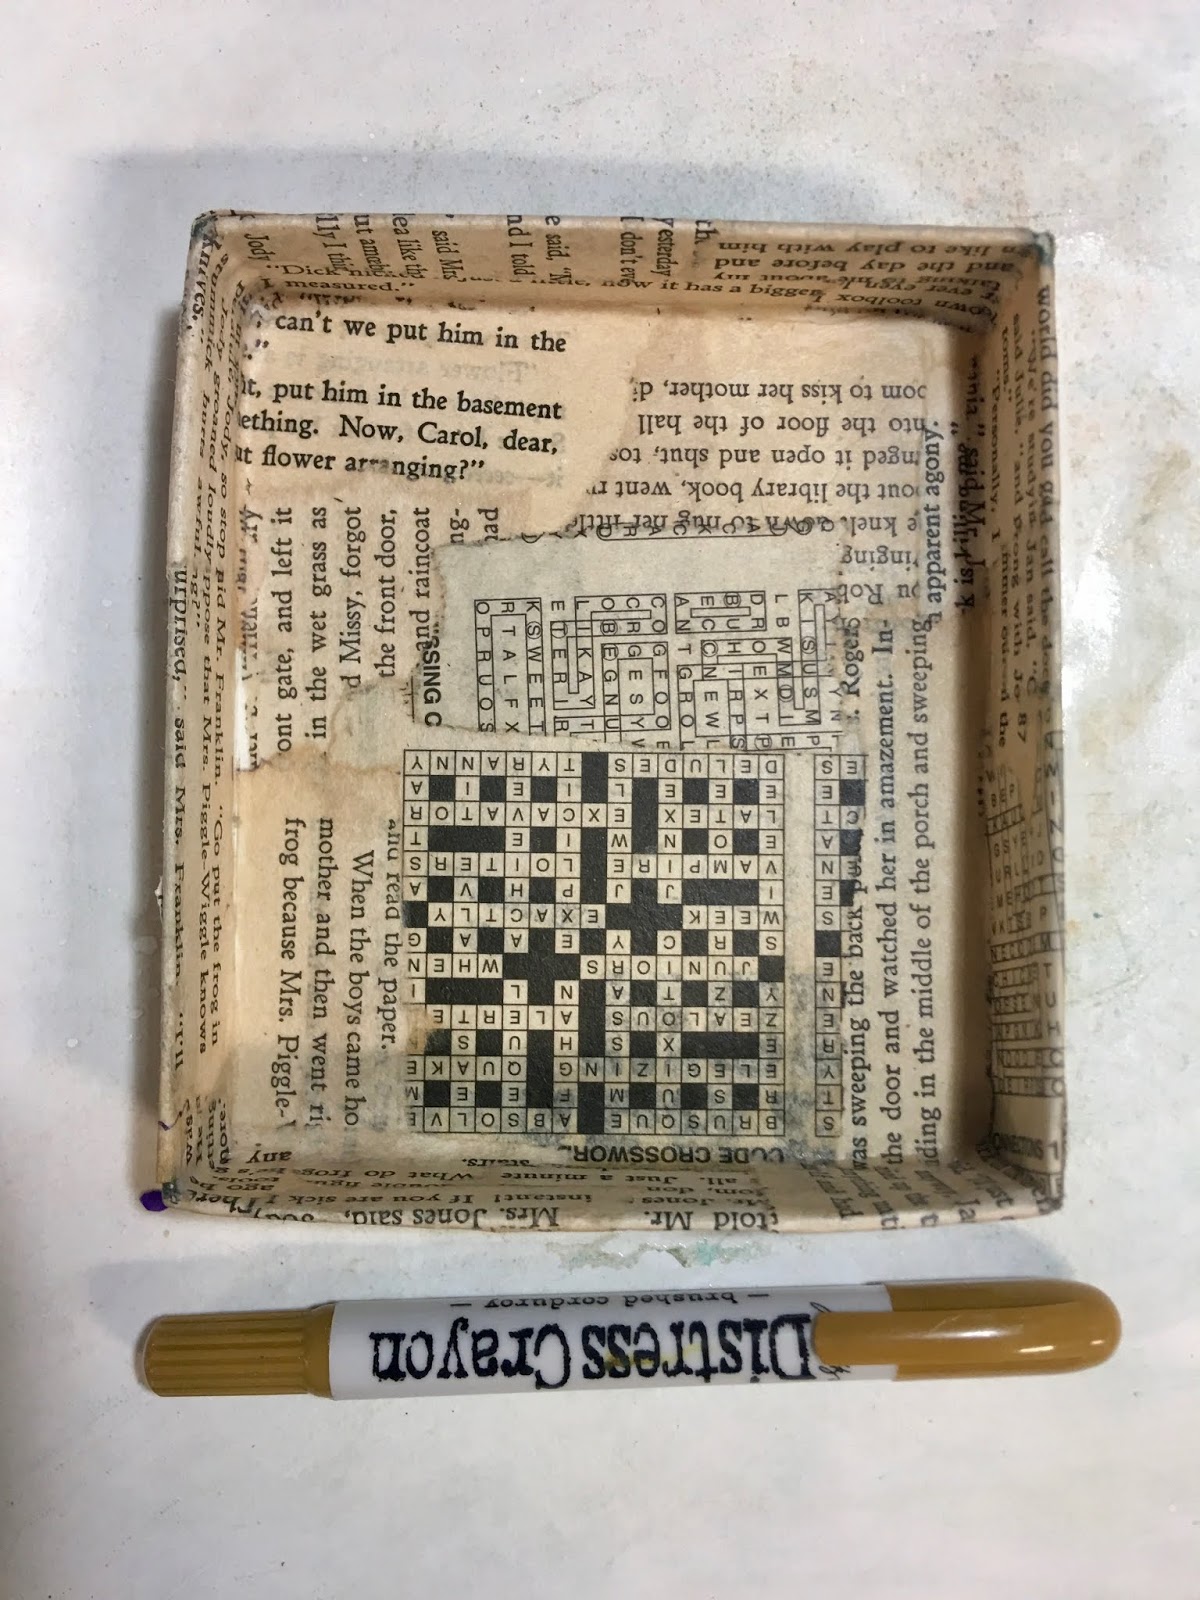
- Distress Crayon - Brushed Corduroy
- matte medium
- white acrylic paint
- Dylusions Ink Spray - Pure Sunshine
- cardstock
- embellishments
- strip of cardboard slightly bigger than the width of the box cover
- glue gun
- foam tape
Follow the simple steps below.
Use matte medium to stick on book paper all over the box cover. Allow to dry thoroughly.
Scribble on the cover with a water soluble crayon and then use white acrylic paint or gesso to spread the color around. Set aside to dry.
Spray the cover with spray ink and spread around with a paintbrush.
Fold the edges of the cardboard and glue in place using a glue gun.
Trim the craft sticks as needed and stick neatly in a line on a piece of masking tape.
Paint white and allow to dry. Scribble the water soluble crayon on a craft mat and using a wet paint brush apply to the craft sticks. Stick onto the cardboard strip leaving a gap at the bottom.
Fill the gap with the shredded craft paper using hot glue to keep in place. Glue on the embellishments
Layer foam tape until high enough to stick on the bird allowing his feet to rest on the fence.
Add a dab of glue to secure the feet.
Here are some more pictures.
Thank you so much for stopping by. I do hope you enjoyed this tutorial. Remember to subscribe so you don't miss a post and look us up on social media (links below).
Happy crafting!
Suzette
Instagram Shop- https://www.instagram.com/blankpagemuse/
Instagram Blog- https://www.instagram.com/blankpagemuseblog/
Twitter- https://twitter.com/BlankPageMuse
Pintrest- https://www.pinterest.com/blankpagemuse/boards/