Hello BPM Fans,
Today's card has a stamped background, as well as, stamped embellishments. The background was done simply in black & white. Black & white plus one additional color is a great choice for this style of genre.
The key to creating a layered effect is to use the technique called masking. Masking enables you to achieve the effect of one image behind another. Stamp the same image a second time on scratch paper and cut out. Place the mask over the first stamped image which serves to protect it and then stamp a design overlapping it. Part of the image will be on the mask and when removed, you reveal that one image appears behind the other creating a layered look. Take the plunge and create your own distressed vintage masterpiece.

Blank Page Muse Stamps:
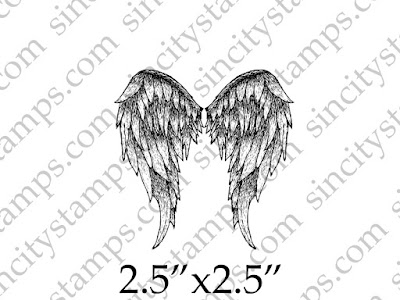
Angel Feathered Wings Heart-shaped Art Rubber Stamp

Romantic Rose on Music Art Rubber Stamp

Faded Page Text Words

Other Supplies:
Romantic Rose on Music Art Rubber Stamp

Faded Page Text Words

- black ink pad
- pink ink pad
- sponge applicator
- clear mounting block
- paper roses
- gems
- liquid adhesive
- pearl dimensional paint
- card base 5x7"
1. Stamp the mannequin image and the set of wings onto white cardstock using black ink. Stamp the rose image twice onto white cardstock once using black ink and once using pink ink. Carefully, cut out all the images and set aside.
2. Tear the edges of the rose image and apply pink ink. Mount the pink rose over the intact black image. Apply pink ink around the edges of the mannequin using a sponge applicator.

3. Use black ink to stamp 3 different size clocks directly onto the distressed card base. Make masks of the clocks on scratch paper, cut them out, and place them over the clock. Next, stamp the script image overlapping the mask to fill in the open spaces between clocks.


(Practice assembling the cluster of elements but do not adhere them yet.)

4. Tie a faux bow with pink organza ribbon and attach it vertically on the left side of the rose embellishment adhering the tails to the backside. Add 2 clocks behind the stamped embellishments and assemble the cluster of elements but do not adhere them. Add small accent words to the background by stamping them with black ink.

5. Adhere all the main elements in the center of the card to create a cluster. All elements should be touching and/or overlapping to create interest and added depth. Embellish with paper roses (1 large & 3 small) and a selection of small daisies. Adhere gems to the centers of the daisies. Use dimensional paint to create faux pearls and add a generous scattering of random clustered dots.


To purchase the stamps to complete this project, visit www.blankpagemuse.com
Apply coupon code "Summer2018Karen"
during checkout to Save 15%
off each stamp from Blank Page Muse.
Valid until August 31, 2018 (midnight - Pacific Time)
For more inspiring paper-craft projects from the Design Team, be sure to visit us at
The Blank Page Muse Blog
Follow us on Facebook.
Join the Blank Page Muse Fan Group. HERE
Learn more about our designer Karen at Art & Soul.Apply coupon code "Summer2018Karen"
during checkout to Save 15%
off each stamp from Blank Page Muse.
Valid until August 31, 2018 (midnight - Pacific Time)
For more inspiring paper-craft projects from the Design Team, be sure to visit us at
The Blank Page Muse Blog
Follow us on Facebook.
Join the Blank Page Muse Fan Group. HERE
Join Us in the NEW Monthly Creative Challenge
Come checkout the Blank Page Muse Creative Challenge. This month's theme is the technique "Let's Go to the Beach." Create a new project following the theme and add it via the Inlinkz linky tool. There will be a random drawing prize for a Blank Page Muse Gift Certificate. You can find all the guidelines HERE.
Thanks for visiting!


No comments:
Post a Comment
Thank you for visiting and leaving your kind words!
~~~
A note regarding the GDPR and EU ePrivacy Regulation:
Those leaving a comment on any post on this blog do so on the understanding that their name and personal details will be visible to anyone who visits this blog.
People entering a piece of artwork into any competition or giveaway promoted here, they do so in the knowledge that their name and blog link are visible to all who visit this blog and in so doing have published their own personal details and consented to our use of that personal information should it be selected as a winner.
Thank you.