Hi Everyone,
Jess here today with a little something to keep your page when your book gets too scary to read at night!
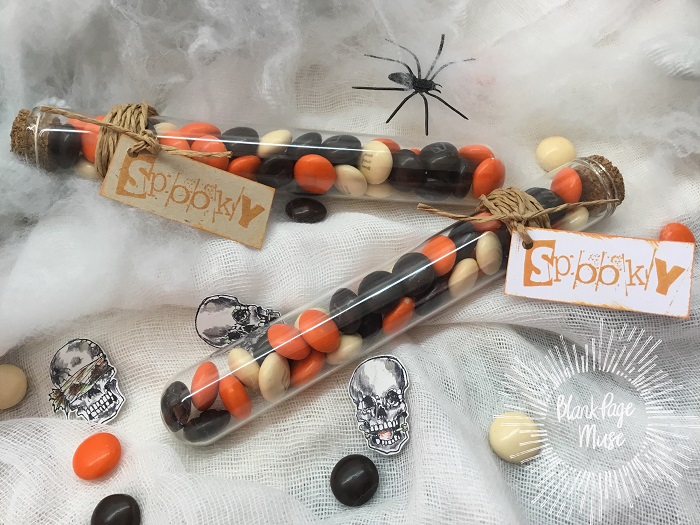
Blank Page Muse Stamps Used:
Ashes of Ex-Lovers Bottle
Mummy Ribs Bottle
Powdered Cobwebs Pot
Halloween Bingo Set
31
Other Products used:
Staz On ink Gothic Purple
Archival ink in Jet Black, Potting Soil, and Plum
Distress ink in Wilted Violet, Shaded Lilac, Dusty Concord, Carved Pumpkin, Black Soot, and Pumice Stone
Distress Spray ink in Walnut Stain
Dylusions Spray in Fresh Lime
Sizzix Halloween Sideorder and Halloween Script
Sari Ribbon
Ken Oliver Water-media Bookmarks
Card Stock
Adhesive
Stamp your bookmark with your
Ashes of Ex-Lovers Bottle,
Mummy Ribs Bottle, and
Powdered Cobwebs Pot. Using your permanent ink, stamp each bottle in a different color and at various angles to create interest.
Once the inks are dry use Distress ink to cover the entire bookmark.
Layer your bookmark onto various colors of cardstock.
Punch a hole in the top of the bookmark. Add your die cut skeleton images, words, and your sari ribbon.
For the second bookmark the paper layering will be the same. Using the permanent ink stamp your Oct. 31 and Spider from the
Halloween Bingo Set. Add in the tiny
31 to fill in the gaps.
Once your ink is dry create your background. Cover the entire bookmark using Shaded Lilac Distress Ink. On your craft mat smoosh on the other two purple shades and spritz with water. After your have sprayed your water tap your bookmark in the color. Be sure you only tap it in a couple times. If you just rub it around you won't get speckles and splats. Look at your bookmark and see if you like the patterns that are appearing. If you do, stop and dry your layer. Once the layer is dry then you can go back and tap into the ink again. Drying between layers makes a huge difference.
Add on your die cut image.
Spray your sari ribbon and dry it. Add the ribbon to the top of the bookmark.
I hope you're inspired to create some on your own. They are easy and fun to make!
Happy Crafting,
Jess
Thanks for coming by!
Please visit the following for more inspiration!